Yaesu Musen 20345X40 AMATEUR RADIO WITH SCANNING RECEIVER User Manual OM
Yaesu Musen Co., Ltd. AMATEUR RADIO WITH SCANNING RECEIVER OM
Contents
- 1. User Manual
- 2. User Manual 1
- 3. User Manual 2
- 4. User Manual 3
- 5. User Manual 4
- 6. User Manual 5
- 7. User Manual 6
- 8. User Manual 7
- 9. User Manual 8
- 10. User Manual 9
- 11. User Manual 10
- 12. User Manual 11
- 13. User Manual 12
- 14. User Manual 13
- 15. User Manual 14
- 16. User Manual 15
- 17. User Manual 16
- 18. User Manual 17
- 19. User Manual 18
- 20. User Manual 19
- 21. User Manual 20
- 22. User Manual 21
User Manual 1
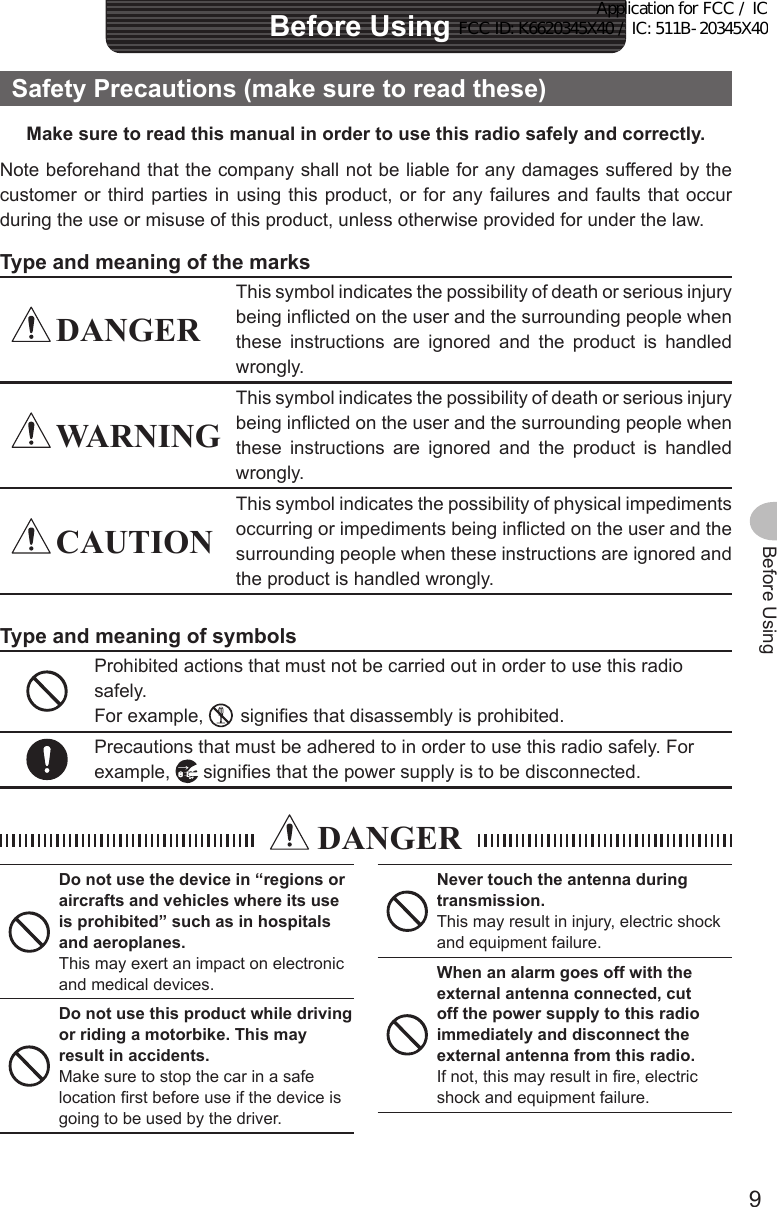
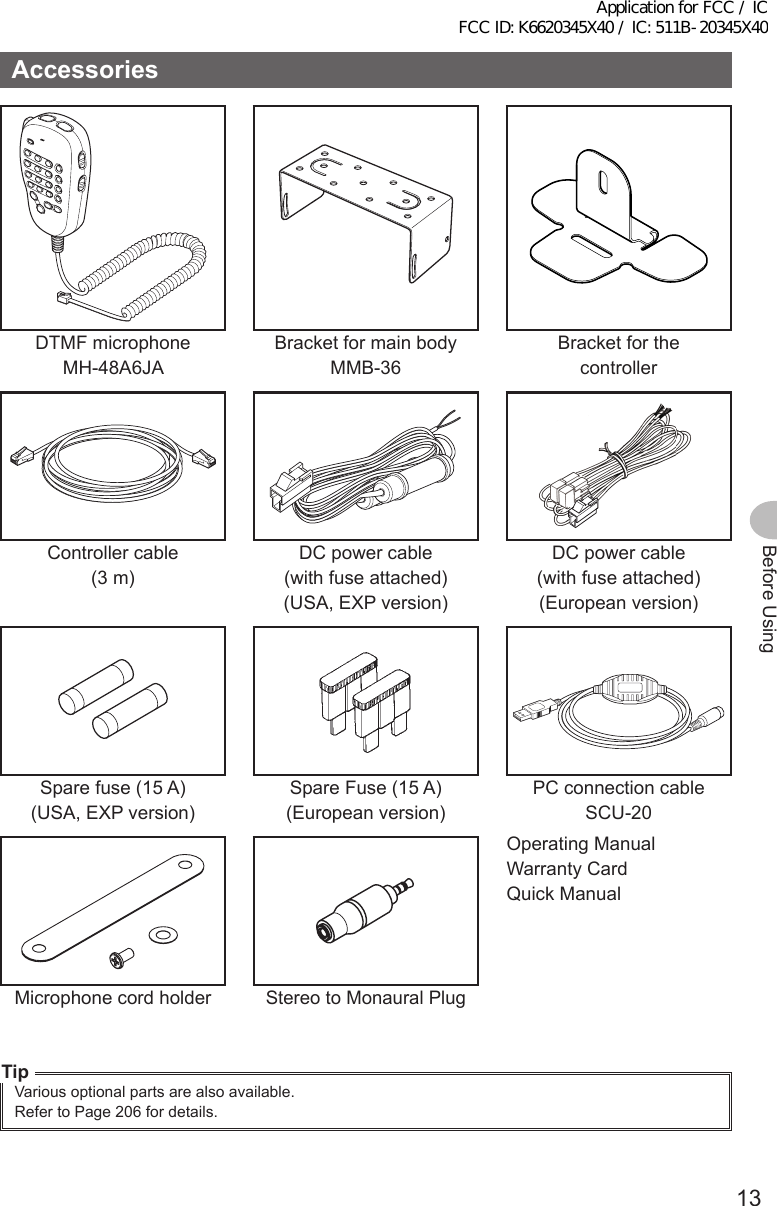
![5Before UsingIntroductionHow to read this manualIn this manual, controller operations are expressed as follows:Press ............................................Indicates that the key or switch is to be pressed quickly.Press for 1 second or longer .........Indicates that the key or switch is to be pressed for one second or longer.Touch [SQL] .......................................Indicates that the symbol on the touch panel screen is to be touched quickly.Touch [SQL] for 1 second or longer ...Indicates that the symbol on the touch panel screen is to be touched for one second or longer.Select [MODE] ...................................Indicates that the items are to be highlighted on the touch panel screen.The following symbols are also used in this manual:Caution ...Explains information to avoid incorrect operation.Tip ...Explains operating hints and helpful advice.Also note: the actual product may differ from the drawings shown in this manual.Application for FCC / IC FCC ID: K6620345X40 / IC: 511B-20345X40](https://usermanual.wiki/Yaesu-Musen/20345X40.User-Manual-1/User-Guide-2766128-Page-5.png)
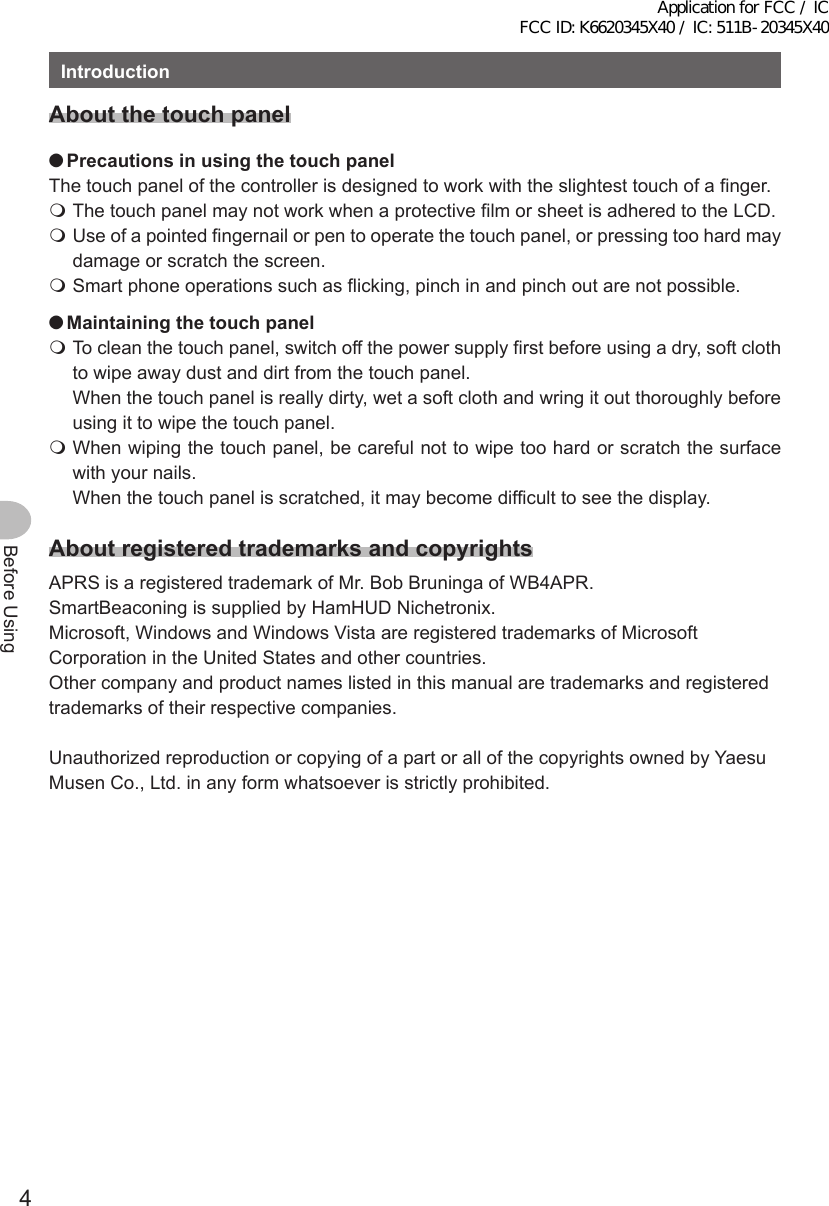
![17Before UsingNameandFunctionofEachComponentMicrophone(MH-48A6JA)LOCKP3P2P171482059BACD36P4LAMPDTMF MICROPHONEMH-48ABCJKLTUVGHIPQRSDEFMNOWXYZMIC[UP] Frequency is increased by 1 step.[DWN] Frequency is decreased by 1 step.[LOCK] Locks / unlocks the [UP] and [DWN] keys and [P1] to [P4] keys.[LAMP] Turns the lamp on the body of the microphone on/off.[MIC] Speak into here during transmission.[1]to[0] Enters the numbers and letters.[✽] Changes the VFO/Memory operating mode of the operating band.[#] Activates the GM (Group Monitor) functions.[A] Switches the operating band to Band A.[B] Switches the operating band to Band B.[C] Adjusts the squelch level.[D] Switches the display.[P1] Turns off the squelch (T.CALL: European version).[P2] Recalls the receiver home channel.[P3] Changes the communication mode.[P4] Changes the transmit power.[PTT] Press this key to begin the transmit mode.TipPreferred functions can be assigned to buttons [P1] to [P4]. Select using the [CONFIG]→[10MICPROGRAMKEY] in the set-up menu.Application for FCC / IC FCC ID: K6620345X40 / IC: 511B-20345X40](https://usermanual.wiki/Yaesu-Musen/20345X40.User-Manual-1/User-Guide-2766128-Page-17.png)