Wistron MS2146 Notebook PC w/802.11b module WM3B2100 User Manual AJC e
Wistron Corporation Notebook PC w/802.11b module WM3B2100 AJC e
UserManual.wiki
>
Wistron
>
MS2146 User Manual
>
Part 3
Contents
1.
Part 1
2.
Part 2
3.
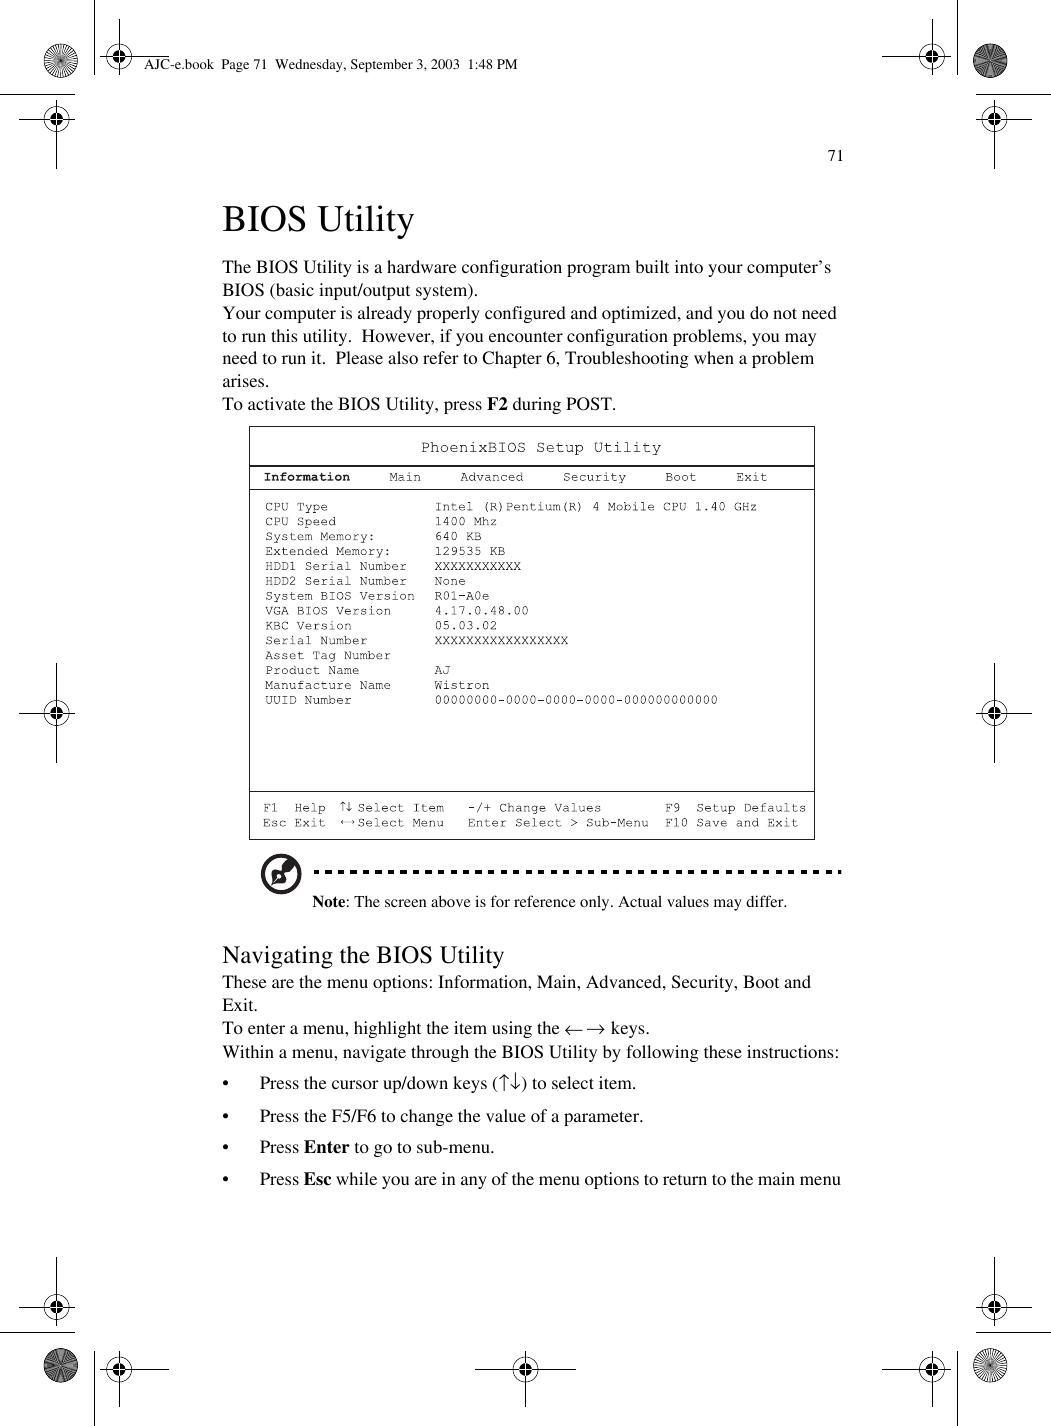
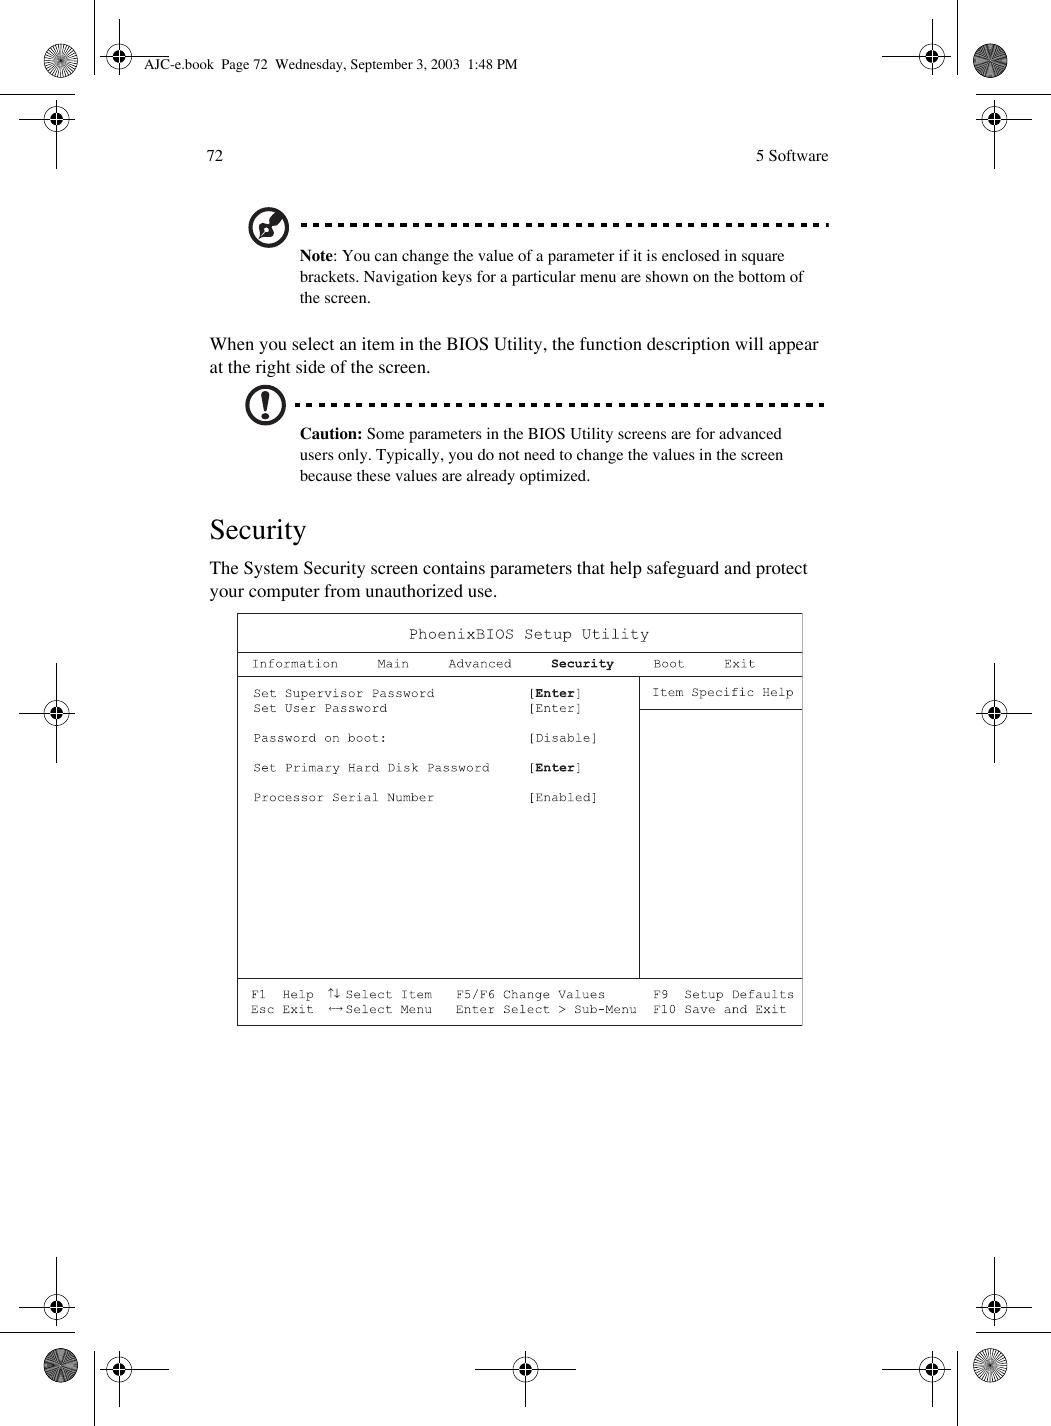
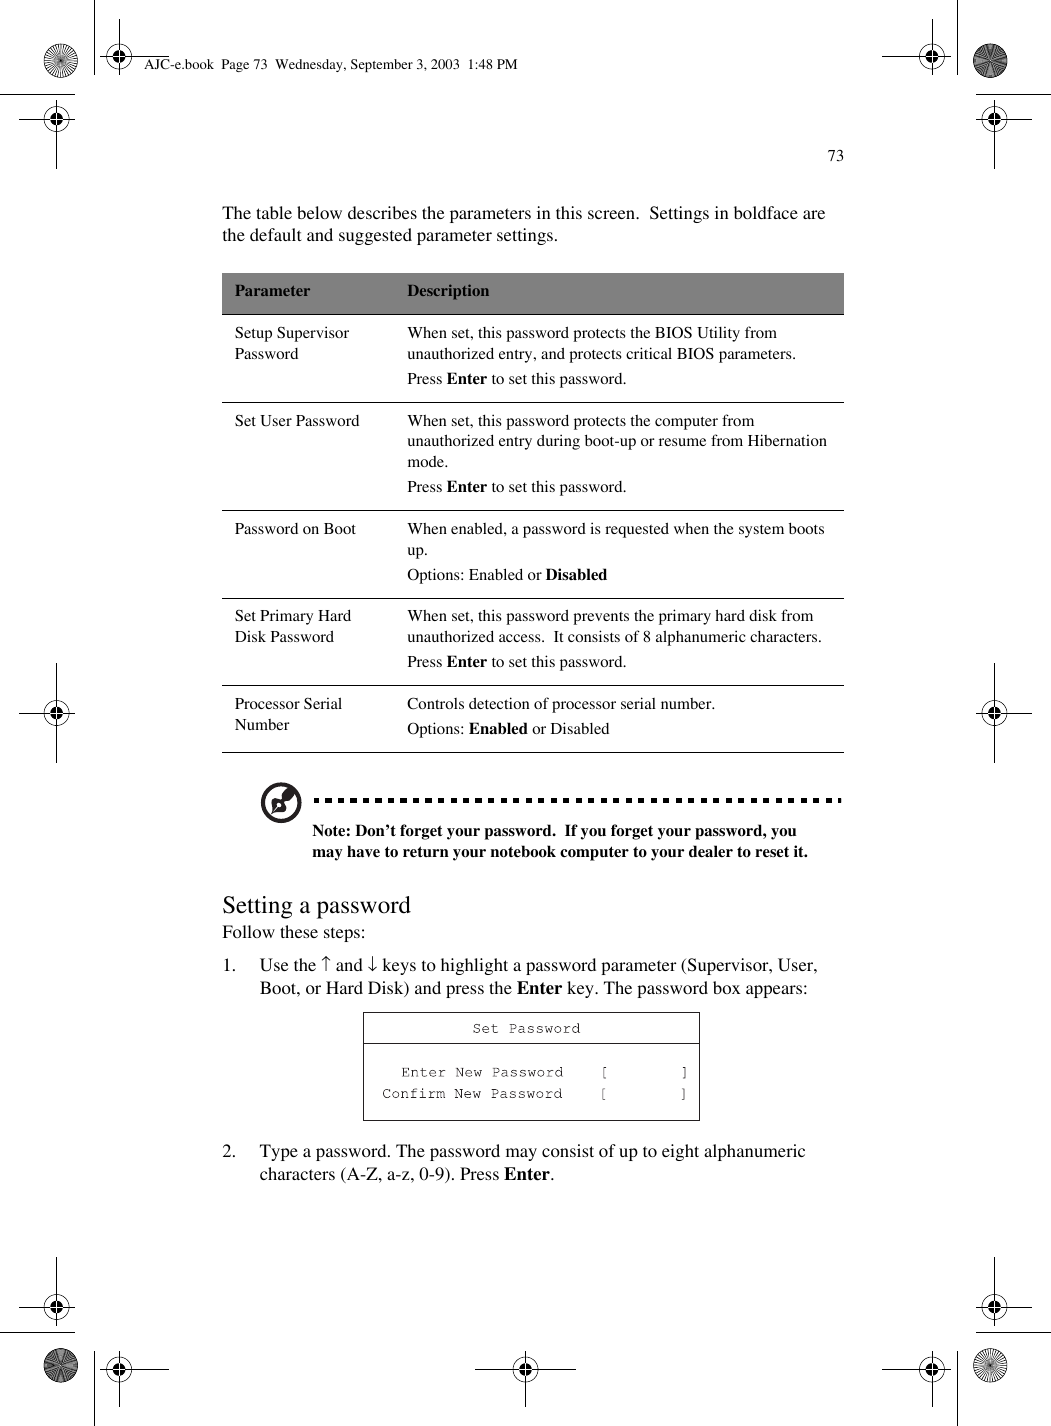
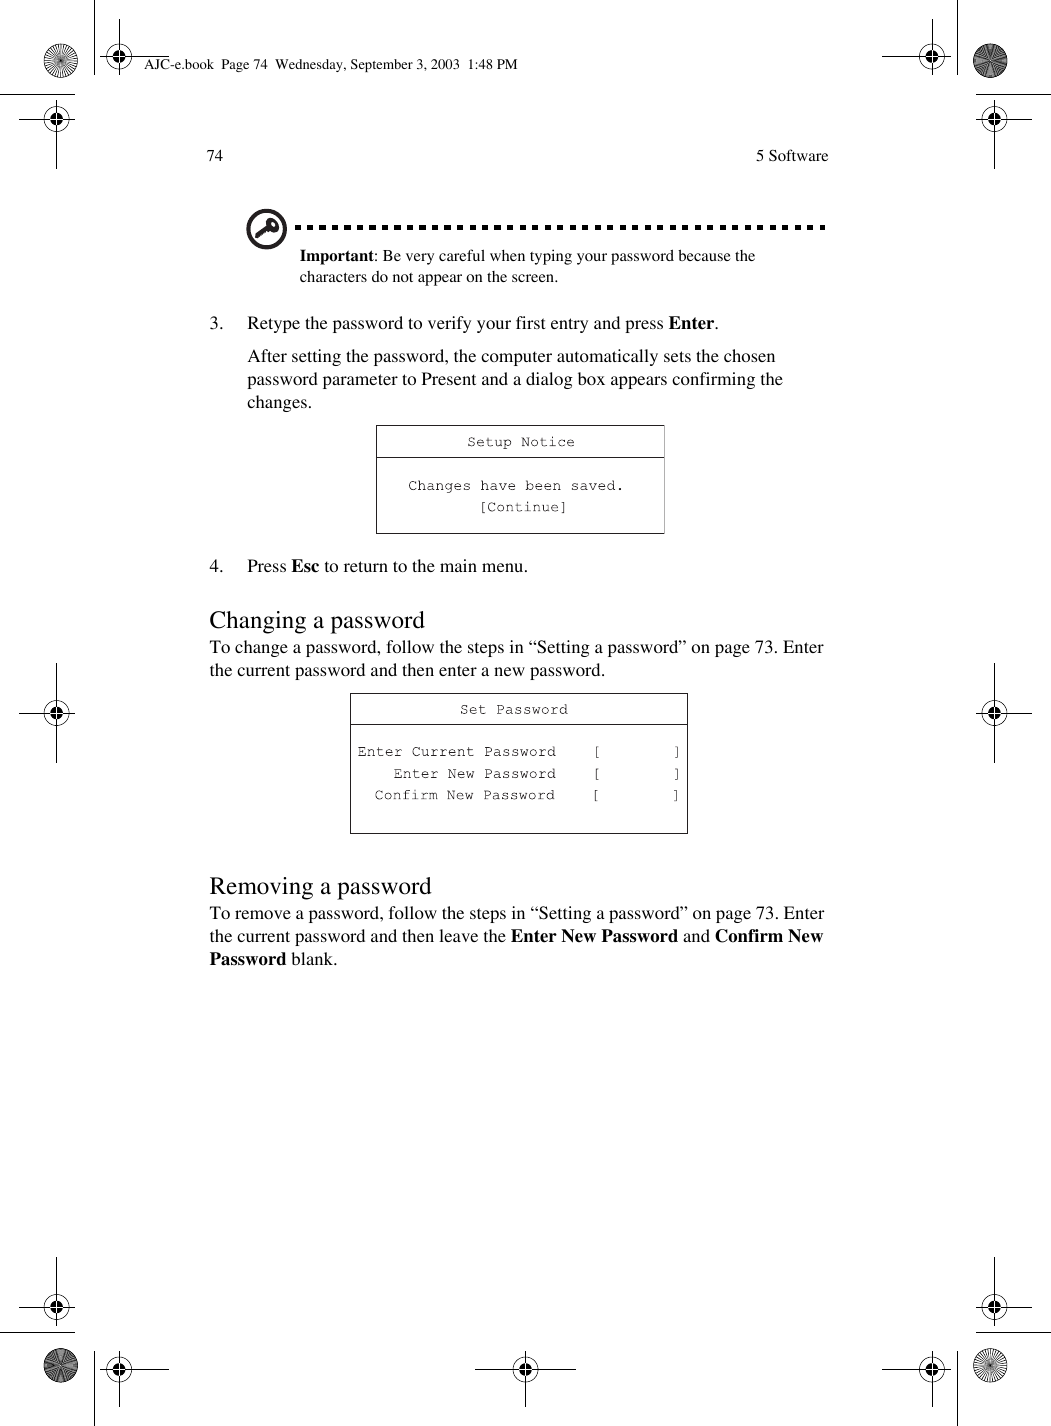
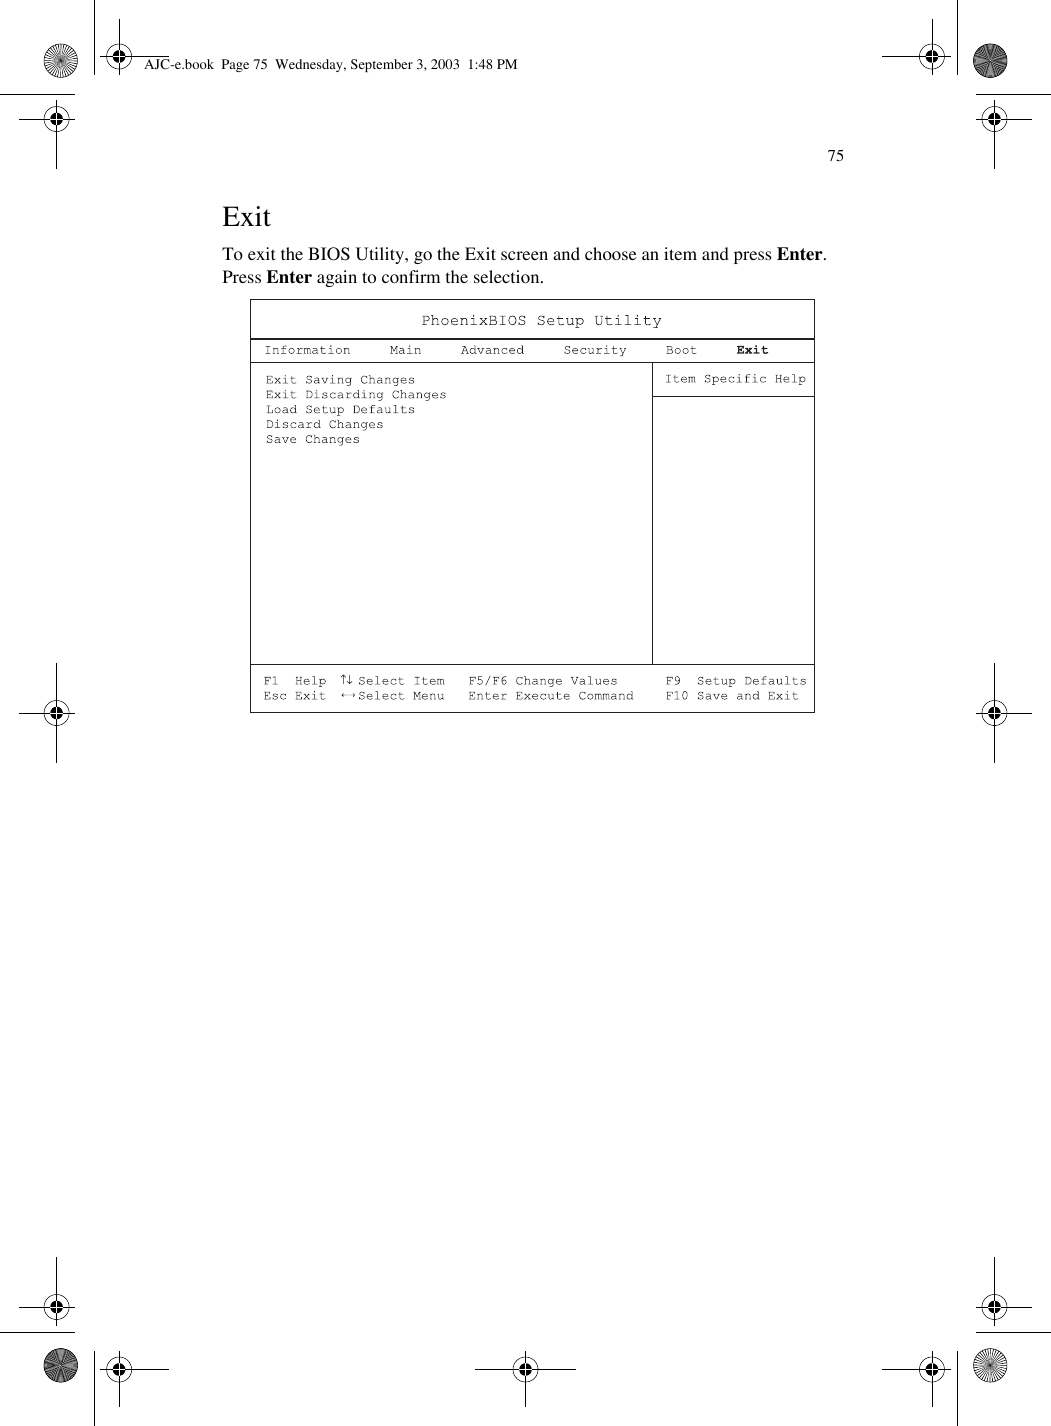
Part 3
4.
Generic Intel instruction sheet
Part 3
Navigation menu
Upload a User Manual
Namespaces
Wiki Guide
HTML
PDF
Info
Views
User Manual
Discussion / Help
Navigation