Weifang Goertek Electronics GSH300 Bluetooth Headset User Manual GSH300 2 11 1
Weifang Goertek Electronics Co.,Ltd Bluetooth Headset GSH300 2 11 1
UserManual.wiki
>
Weifang Goertek Electronics
>
GSH300 User Manual
Revised manual
Navigation menu
Upload a User Manual
Namespaces
Wiki Guide
HTML
PDF
Info
Views
User Manual
Discussion / Help
Navigation

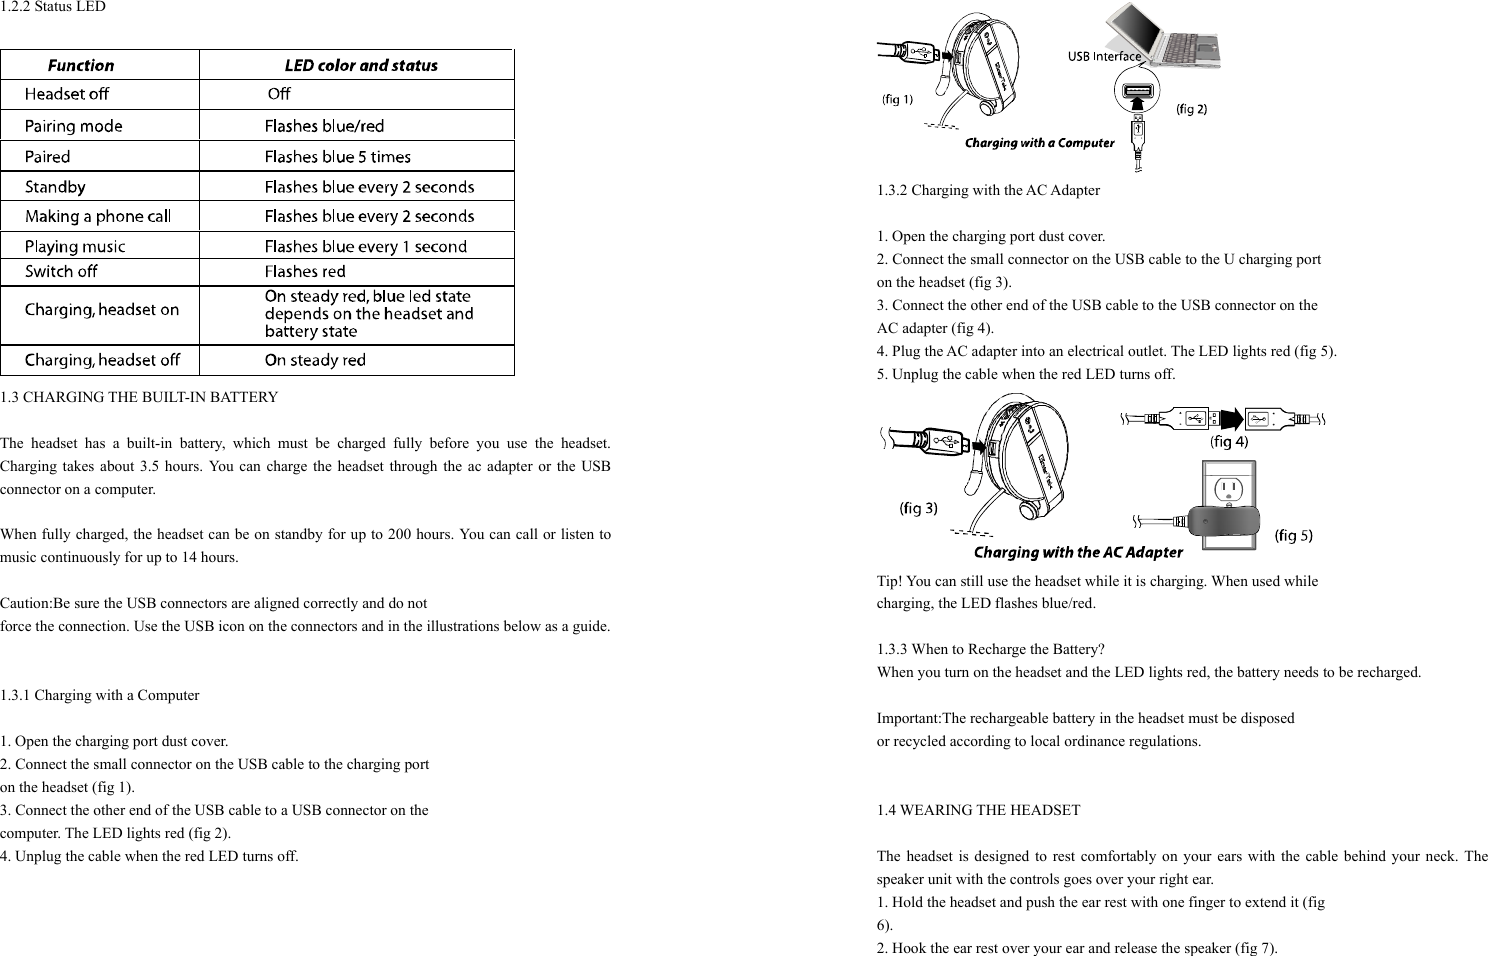
![1.5 PRACTICE USING CONTROLS With the headset on, push Vol- with your index finger and Vol+ with your middle finger. Use your thumb to press the 3-Way and MFB buttons (fig 8). Of course, you can use any method to operate the controls. Just use one method and it will quickly become second nature. 1.6 HEADSET RANGE OF OPERATION The range of operation between Bluetooth devices is about 10 meters. Bluetooth does not require line of sight and can transmit through walls and other nonmetal obstacles. Thick or reinforced concrete can limit the range. 1.7 POWERING THE HEADSET ON AND OFF To indicate operation status, the headset LED lights . While trying out headset functions, you can put the left speaker on and hold the right speaker to see the controls and the LED. 1. Standby Mode: Long-press (about 3 seconds) MFB until the LED flashes blue. Pairing Mode: Long-press (about 5 seconds) MFB until the LED flashes red/blue. (After about 3 seconds, the LED flashes blue [standby]; keep the button pressed until the LED flashes red/blue.) Important: You cannot go from standby mode to pairing mode. You must turn off the headset, and then long-press MFB to be in pairing mode. 2. To turn off the headset, long-press (about 5 seconds) MFB until you hear a beep. Then release MFB. The LED flashes red five times and the headset turns off. 2 Phone Operation You can use the headset with most Bluetooth-enabled phones. (Visit http://www.goertek.com for a list of supported phones.) The headset supports Bluetooth handsfree and headset profiles; however your phone may not support all the features mentioned below. 2.1 PAIRING THE HEADSET WITH A PHONE Before you can use the headset to make calls, you must pair the headset with your phone. Pairing creates a secure link between your phone and the unique ID of the headset. You only have to pair devices once. 1. To put the headset in pairing mode, long-press (about 5 seconds) MFB until the LED flashes red/blue. 2. Scroll to the Bluetooth menu in your phone and search for active devices. (Refer to your phone’s user manual for details.) 3. When the search completes, a list of devices found is displayed. (The screen examples here are from a Nokia 6230.) 4. Select GSH300 and when prompted input the default passkey [0000]. When successfully paired, the red/blue LED on the headset changes to flashing blue. You can pair the headset with up to eight Bluetooth devices. When you turn on the headset, it automatically tries to pair with the last device it was connected to. When you pair the device with a ninth device, the oldest-paired device is deleted.](https://usermanual.wiki/Weifang-Goertek-Electronics/GSH300/User-Guide-635142-Page-4.png)
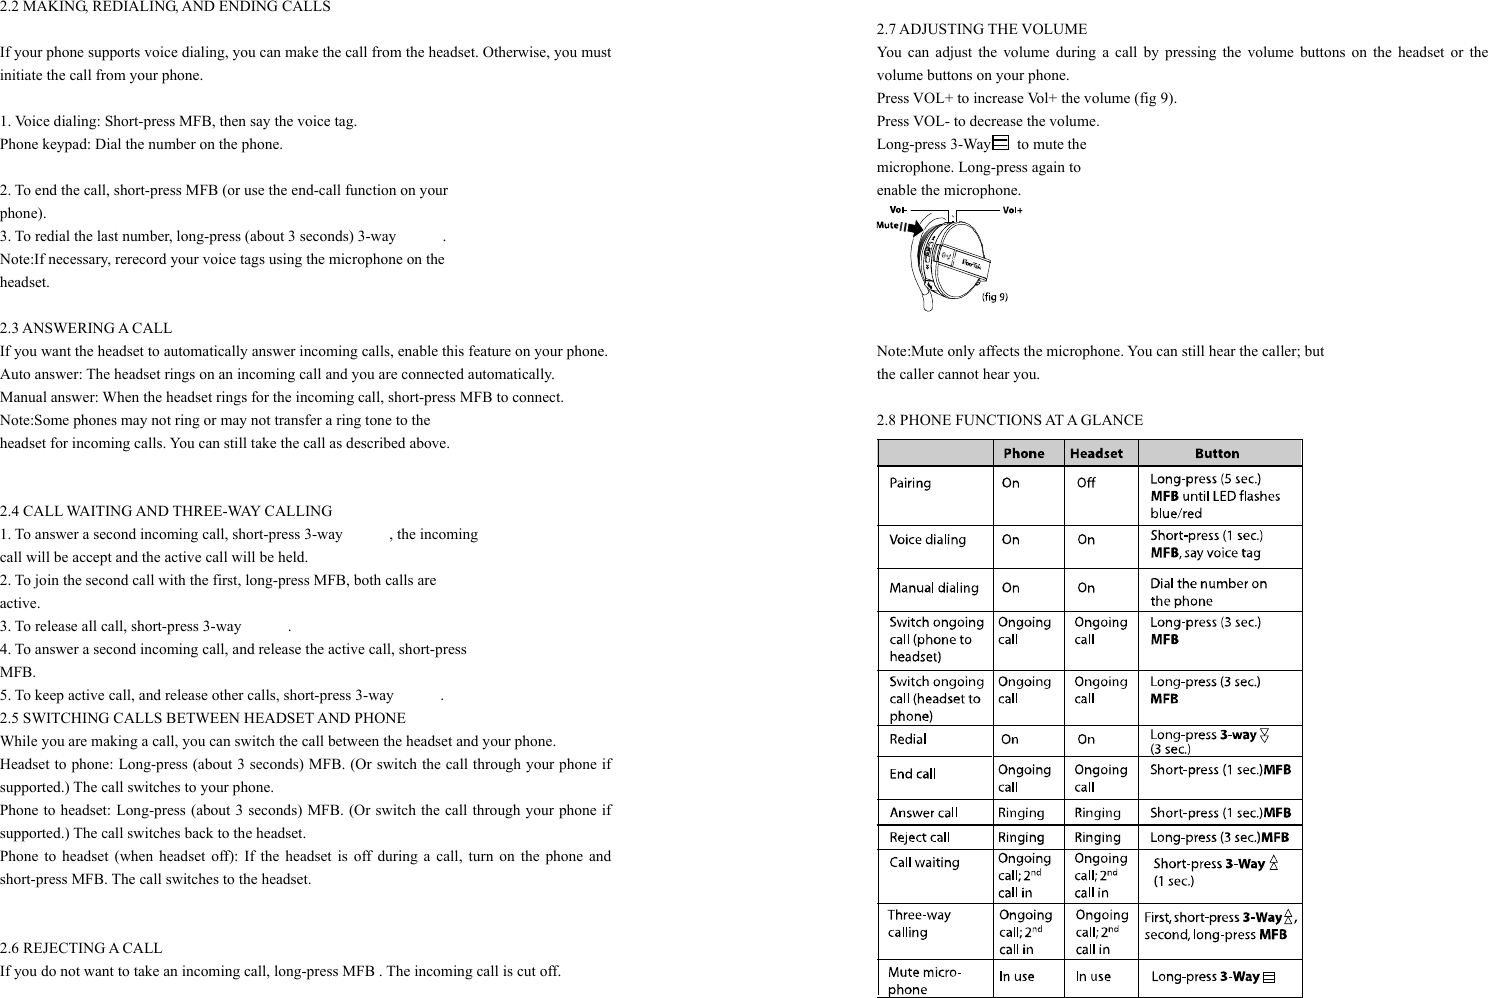
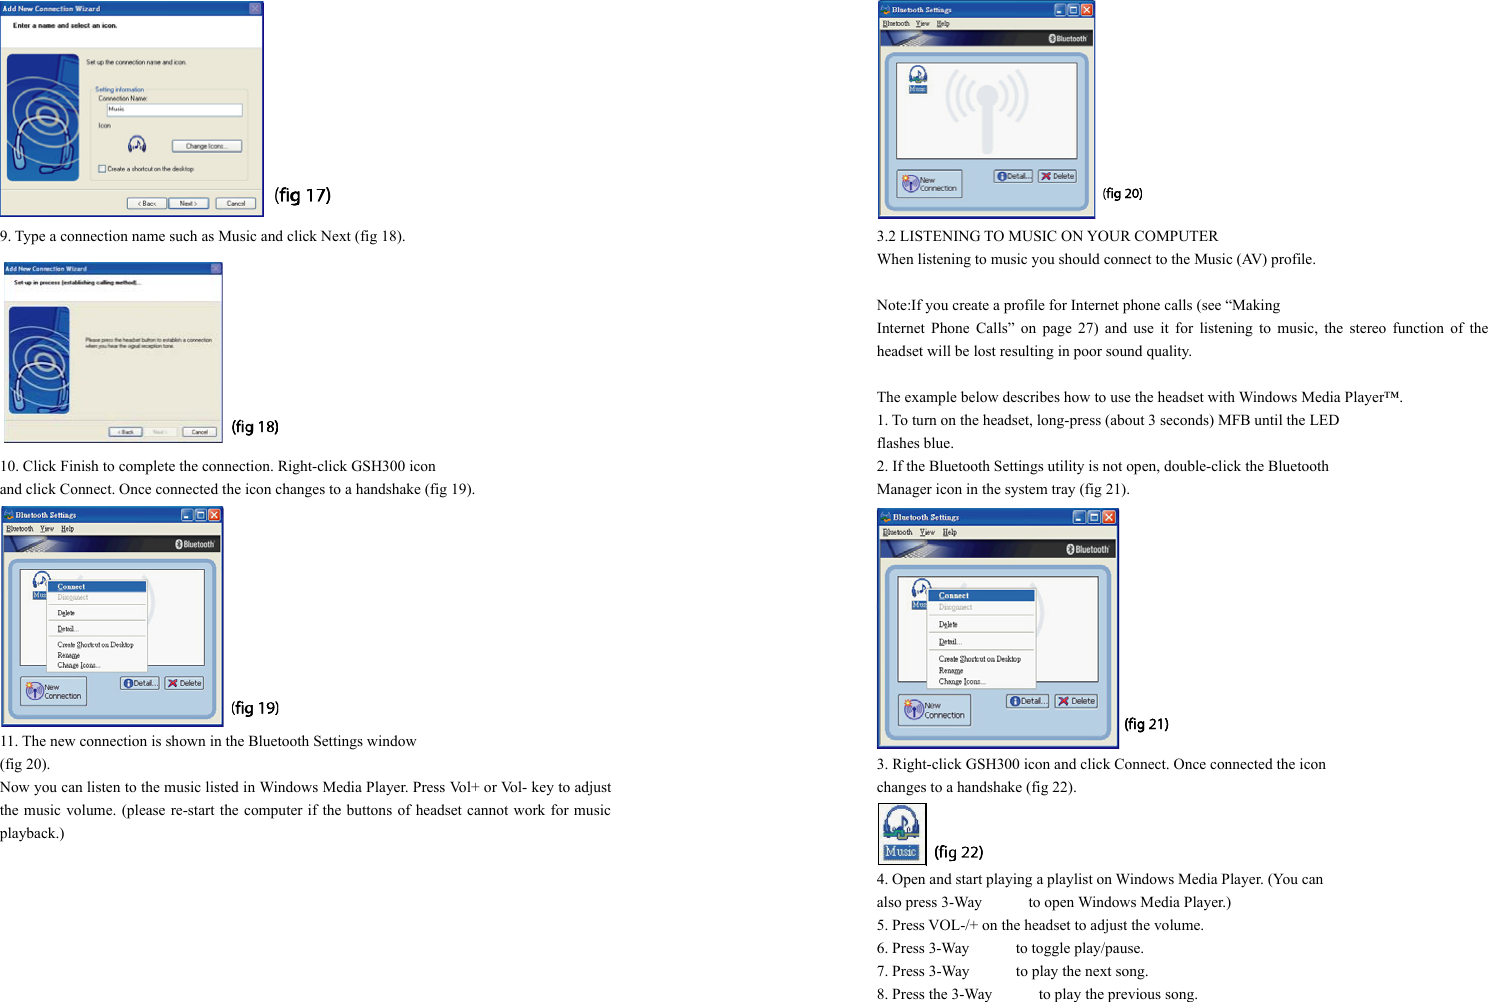
![3 Music Playback You can listen to music in high-quality stereo on your computer or an audio player if the device supports streaming audio over Bluetooth (through a Bluetooth AV profile). You can purchase a Bluetooth dongle (transmitter/receiver) that connects to the USB connector on the computer; some models also connect to the audio-out connector on an MP3 player or other audio device. 3.1 PAIRING WITH A COMPUTER FOR MUSIC PLAYBACK This section assumes you have already installed a Bluetooth USB dongle on your computer. Before you can use the headset for music playback with your computer, you must pair the headset with your computer. The headset must be turned on in pairing mode. The following instructions are for pairing with the Toshiba® Bluetooth Setting utility. 1. To put the headset in pairing mode, long-press (about 5 seconds) MFB until the LED flashes red/blue. 2. Right-click the Bluetooth Manager icon (fig 10) in the system tray and click Service Properties (fig 11). 3. In the Service Properties window, check AV Remote Control Service and click OK (fig 12). 4. Right-click the Bluetooth Manager icon in the system tray and click Add New Connection (fig 13). 5. Select the Custom Mode radio button and click Next. The wizard searches for the device and the following screen appears (fig 14). 6. Select GSH300 and click Next (fig 15). 7. Under Service Class, select Audio Sink and click Next (fig 16). 8. Type in the default passkey [0000] and click OK (fig 17).](https://usermanual.wiki/Weifang-Goertek-Electronics/GSH300/User-Guide-635142-Page-6.png)