VeryKool USA I603A Mobile Phone User Manual I603A
VeryKool USA Inc Mobile Phone I603A
UserManual.wiki
>
VeryKool USA
>
I603A User Manual
User Manual
Navigation menu
Upload a User Manual
Namespaces
Wiki Guide
HTML
PDF
Info
Views
User Manual
Discussion / Help
Navigation


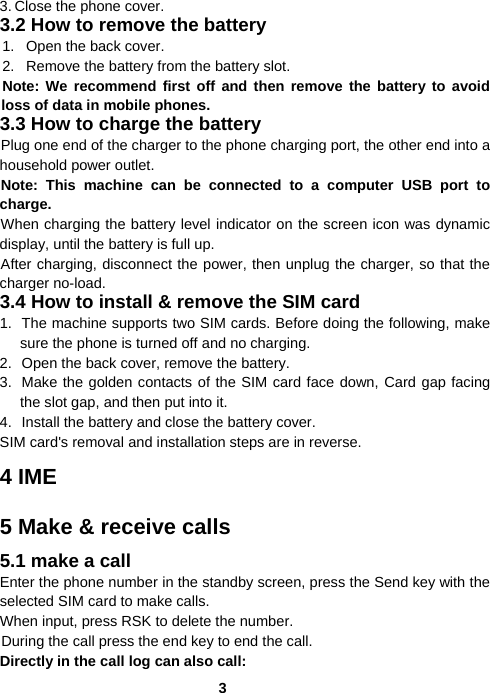
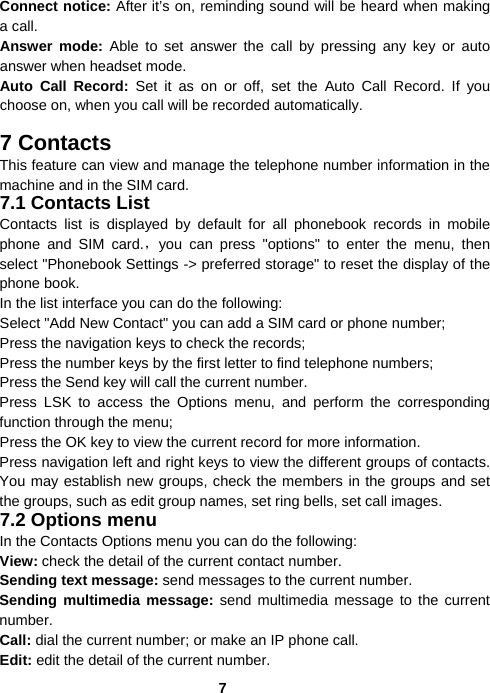
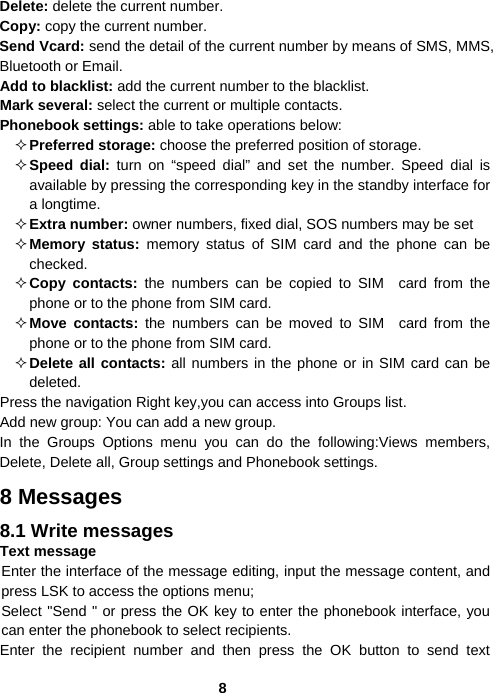
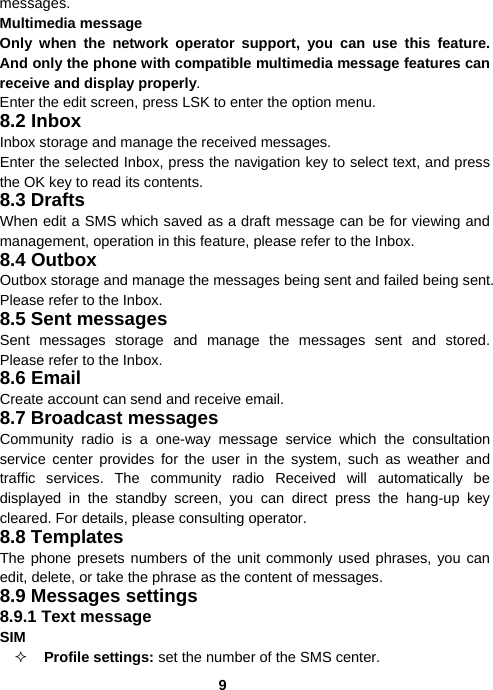
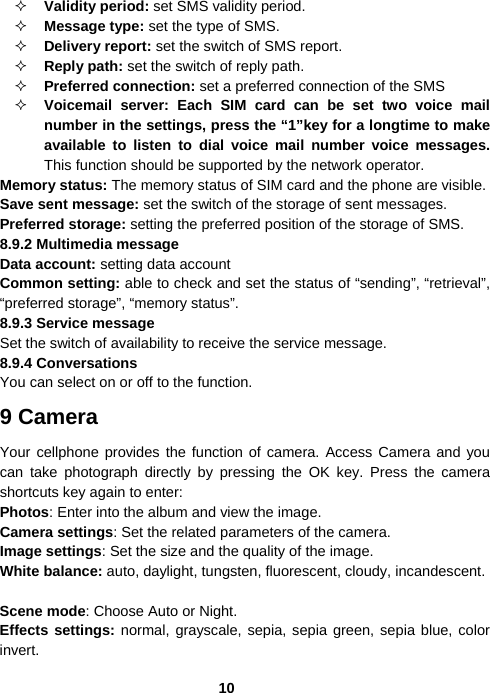
![11Storage: Select storage locations of photos, you can select phone or memory card. Restore default: Set to return to the default settings. 10 Multimedia 10.1 Image viewer In [image viewer] interface, press the [options] can undertake the following function: View: able to view the selected image. Image information: review images for details. Browse style: able to choose list style or matrix style. Send: send the image by the means of Bluetooth or MMS. Use as: set the pictures selected as “Wallpaper”, “Screen saver”, “Power on display”, “Power off display” or “Caller picture”. Rename: change the name of the selected pictures. Delete: delete the selected pictures. Sort by: sort the images by their names, types, times or sizes. Delete all files: delete all pictures. Storage: set the default path of picture storage. 10.2 Video recorder Enter photographed point interface. Press navigations up and down keys to adjust the focal length. Press navigations left and right keys to set the exposure compensation. Click OK key to complete photograph. Press LSK to enter in the options menu, you can undertake associated Settings: Camcorder settings: EV: set the exposure compensation. Night mode: Open or close night mode. Anti-flicker: set the value of anti-flicker is 50Hz or 60Hz. Video settings: Video quality able to set “normal”, ”Good”, ”Fine”, ”low”. White balance: auto, daylight, tungsten, fluorescent, cloudy, incandescent. Effects settings: normal, grayscale, sepia, sepia green, sepia blue, color](https://usermanual.wiki/VeryKool-USA/I603A/User-Guide-2120394-Page-20.png)