VTech Telecommunications 80-9454-00 DECT 6.0 Cordless Telephone User Manual Part II
VTech Telecommunications Ltd DECT 6.0 Cordless Telephone Part II
UserManual.wiki
>
VTech Telecommunications
>
80-9454-00 User Manual
>
User Manual Part II
Contents
1.
User Manual Part I
2.
User Manual Part II
User Manual Part II
Navigation menu
Upload a User Manual
Namespaces
Wiki Guide
HTML
PDF
Info
Views
User Manual
Discussion / Help
Navigation
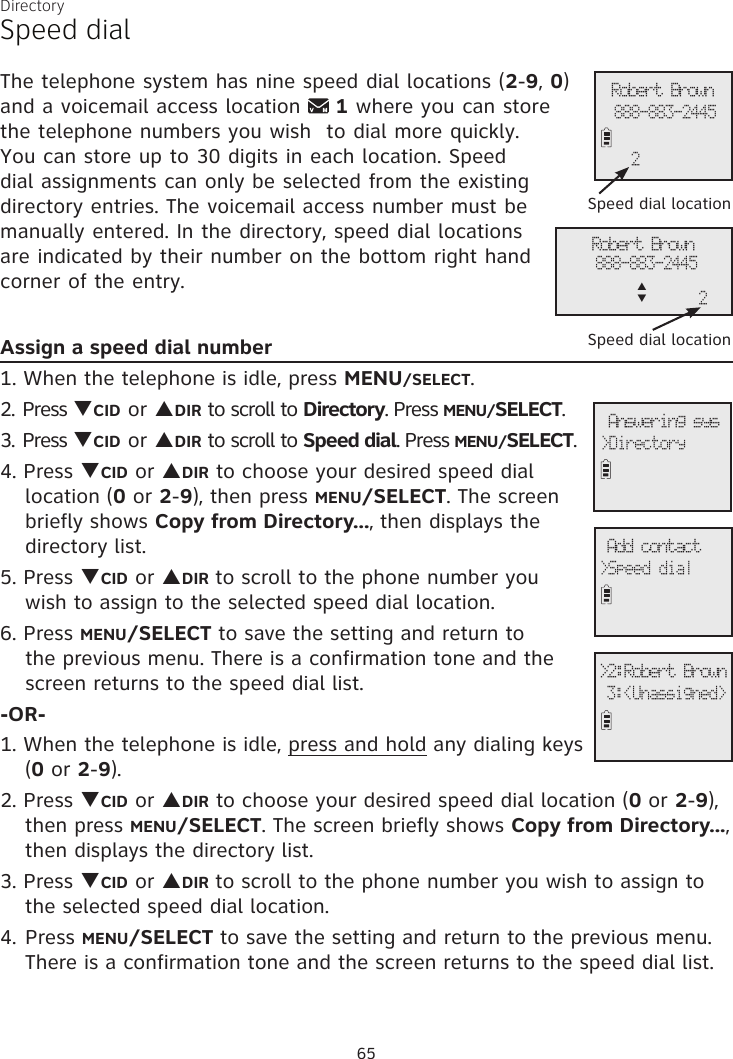


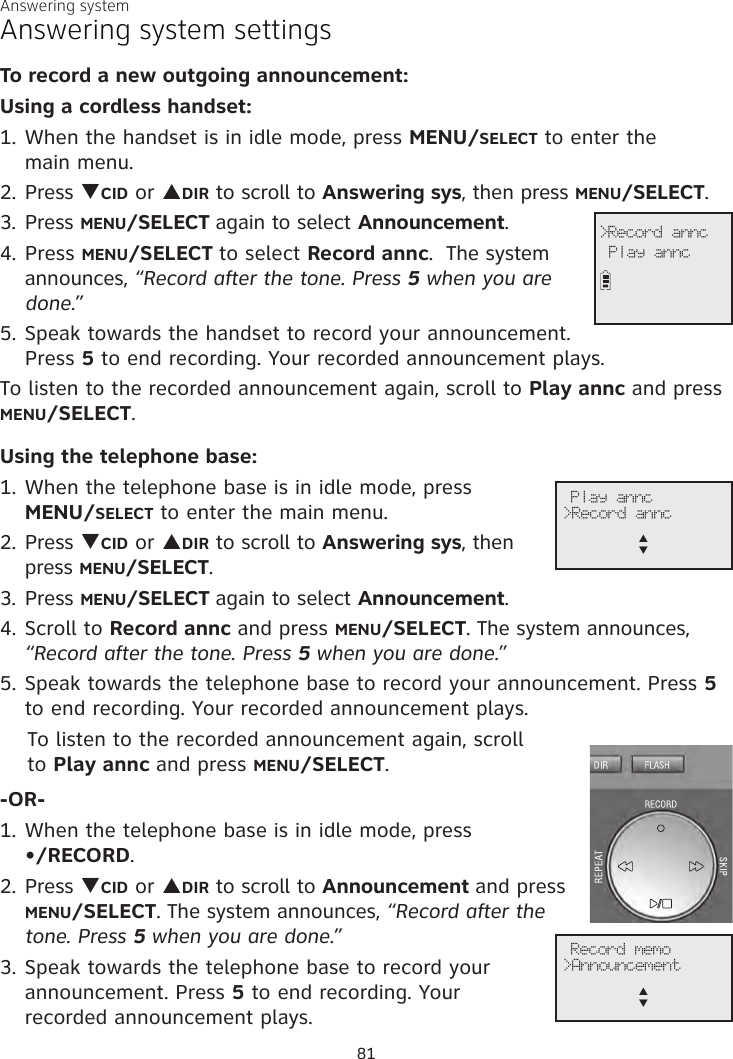
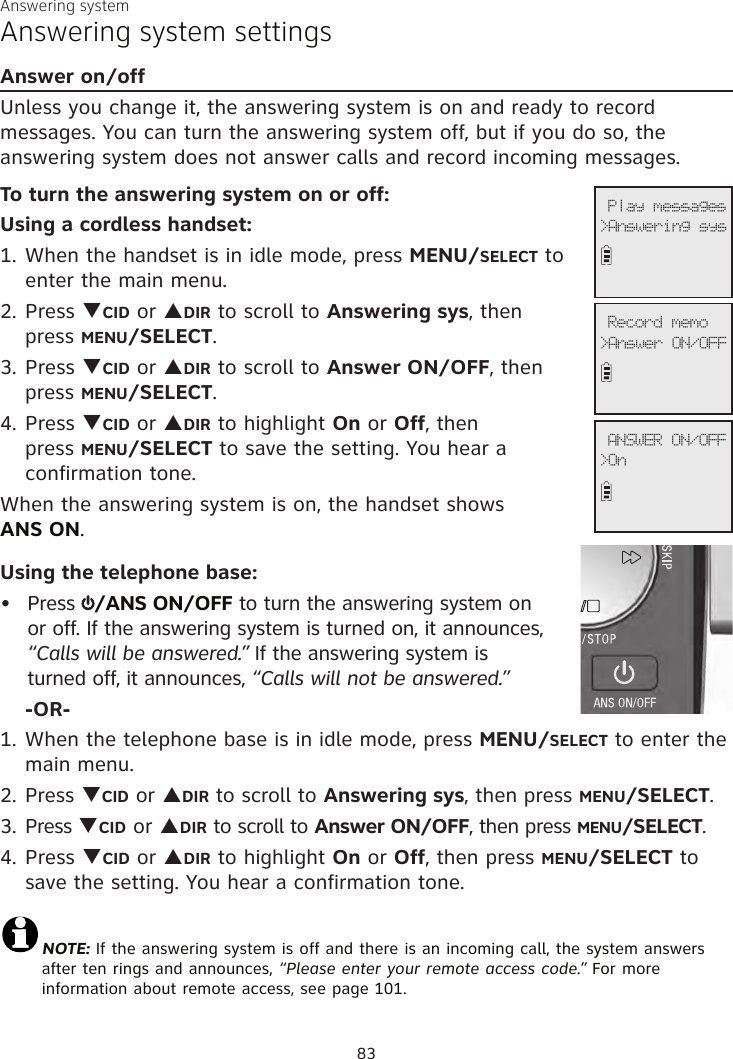
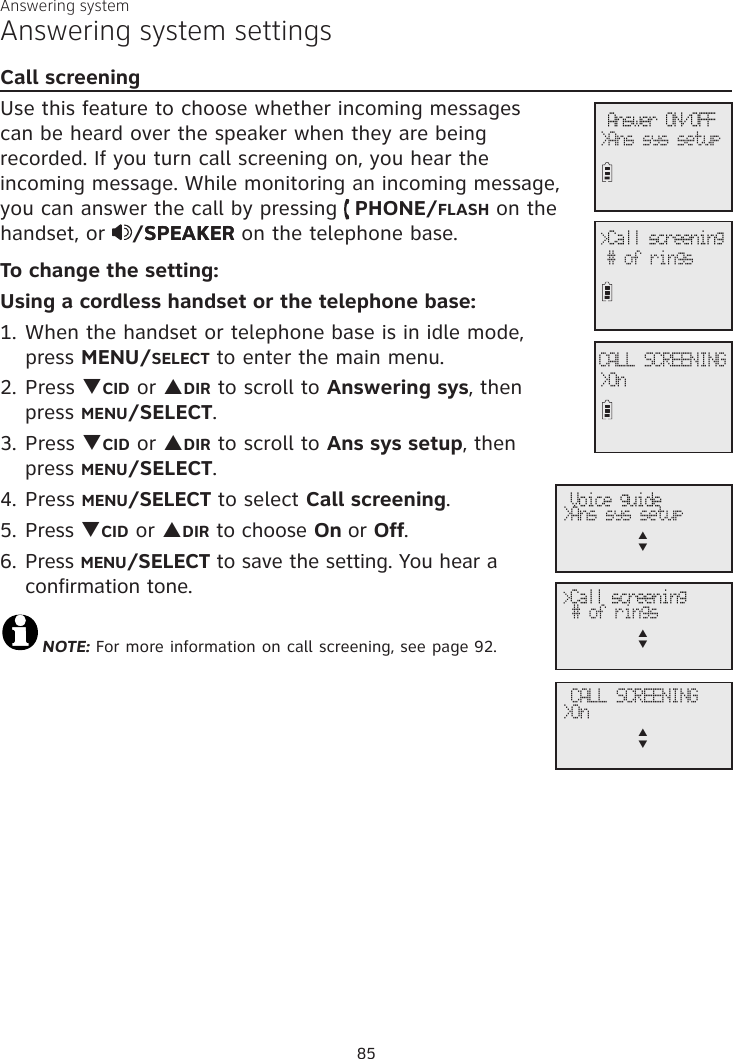

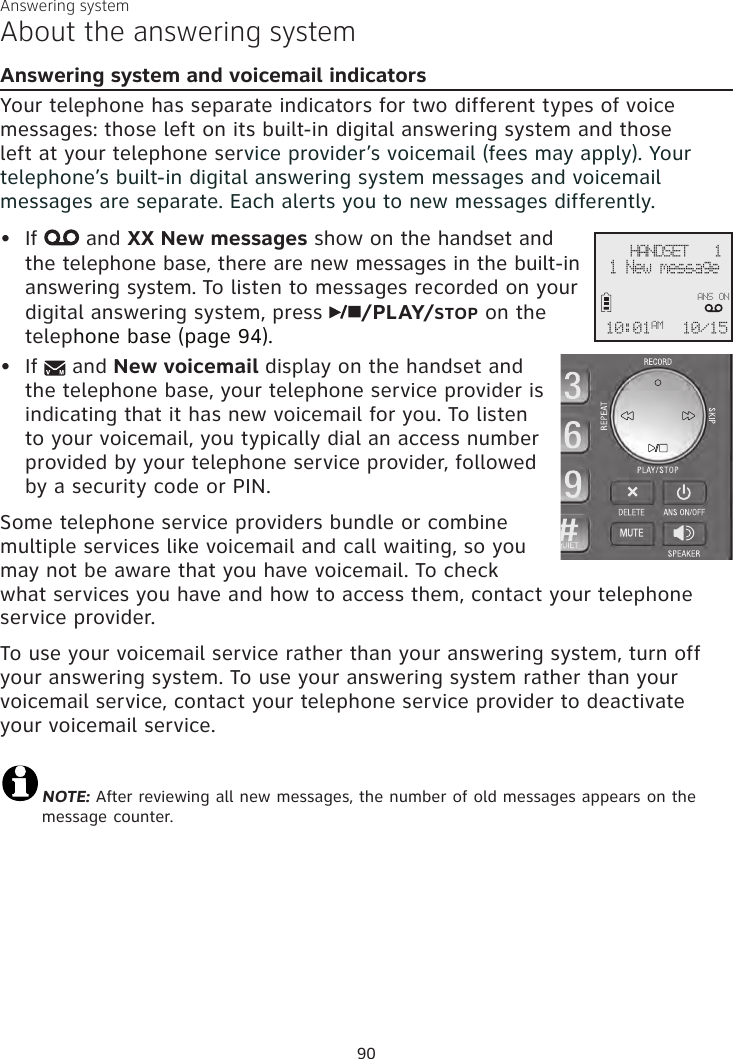
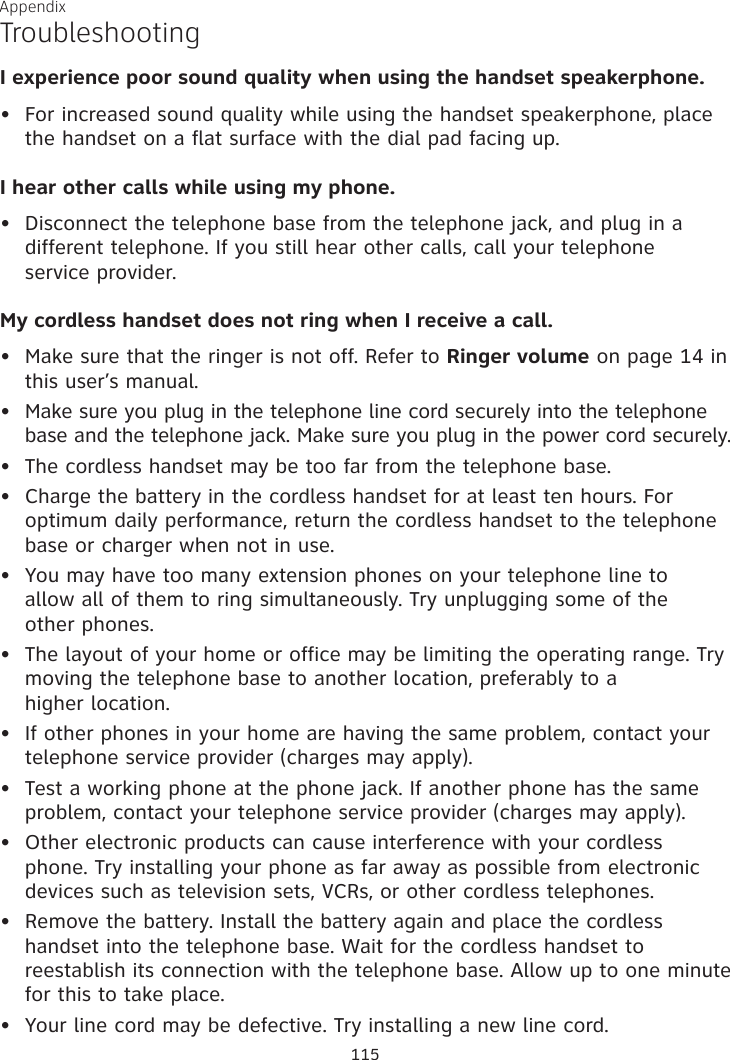
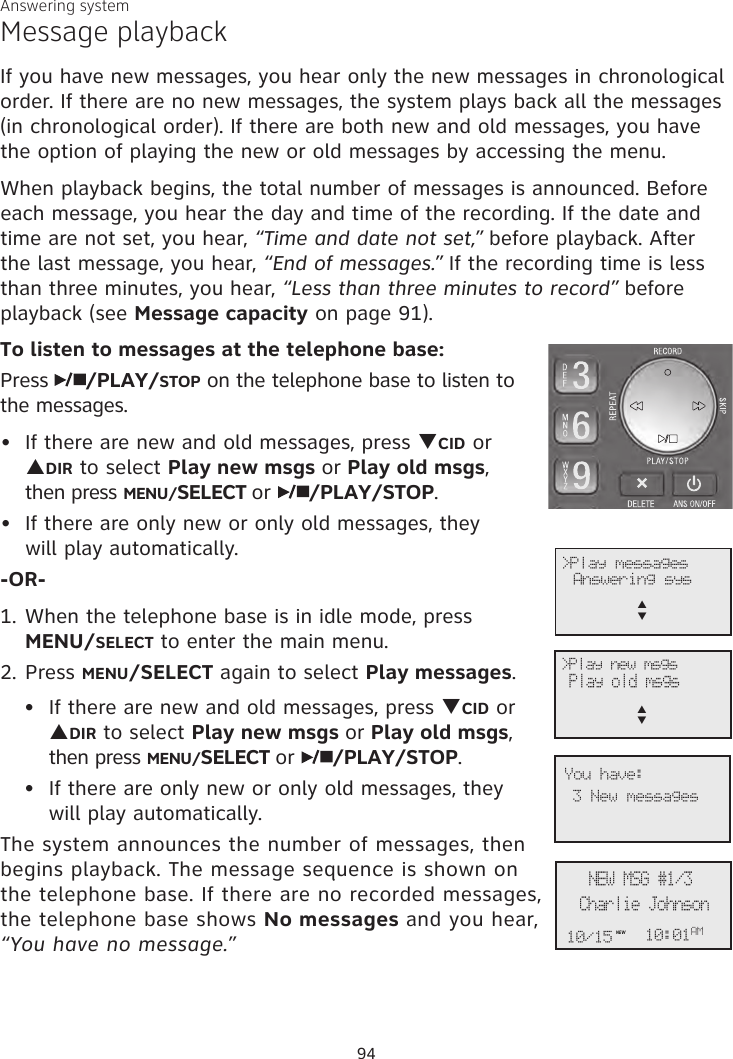
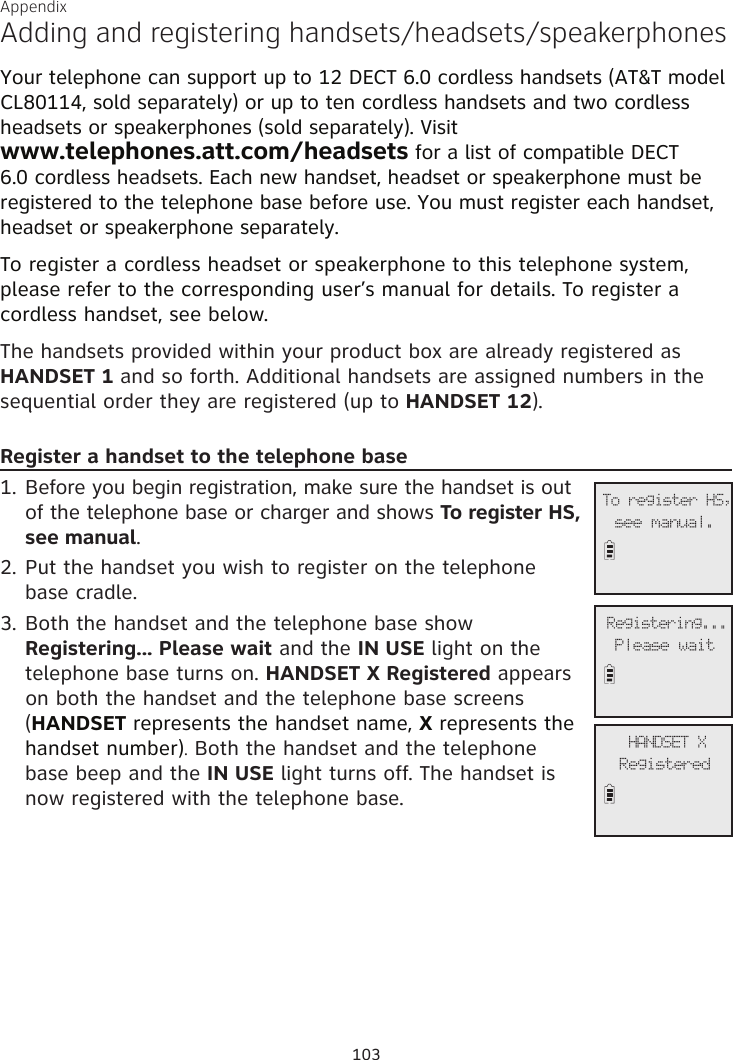
![Answering systemAbout the answering systemVoice promptsThe system provides voice prompts to guide you through the setup procedures at the telephone base, message playback, remote access and recording outgoing announcements. Call screeningTo screen a call at the telephone base:If the answering system and call screening are on (see Call screening on page 85), the announcement and the incoming message broadcast at the telephone base when a call is answered by the answering system.Options while a message is being recorded:Press q/VOLUME/p on the telephone base to adjust the call screening volume.Press /PLAY/STOP or CANCEL to temporarily silence the call screening.Press /PLAY/STOP to temporarily turn on the call screening if call screening is set to off.Press /SPEAKERSPEAKER to answer the call.To screen a call at the handset:While a message is being recorded, the handset shows To screen call, press [SELECT]. Press MENU/SELECT to screen the call.Options while a message is being recorded:Press qCID/VOLUME or pDIR/VOLUME on the handset to adjust the call screening volume.Press OFF/CANCEL to temporarily silence the call screening.Press MENU/SELECT to temporarily turn on the call screening if call screening is set to off.Press /SPEAKERSPEAKER to broadcast the announcement and the incoming message through the speakerphone. Press again to turn off the speakerphone.••••••••92](https://usermanual.wiki/VTech-Telecommunications/80-9454-00.User-Manual-Part-II/User-Guide-2218749-Page-28.png)

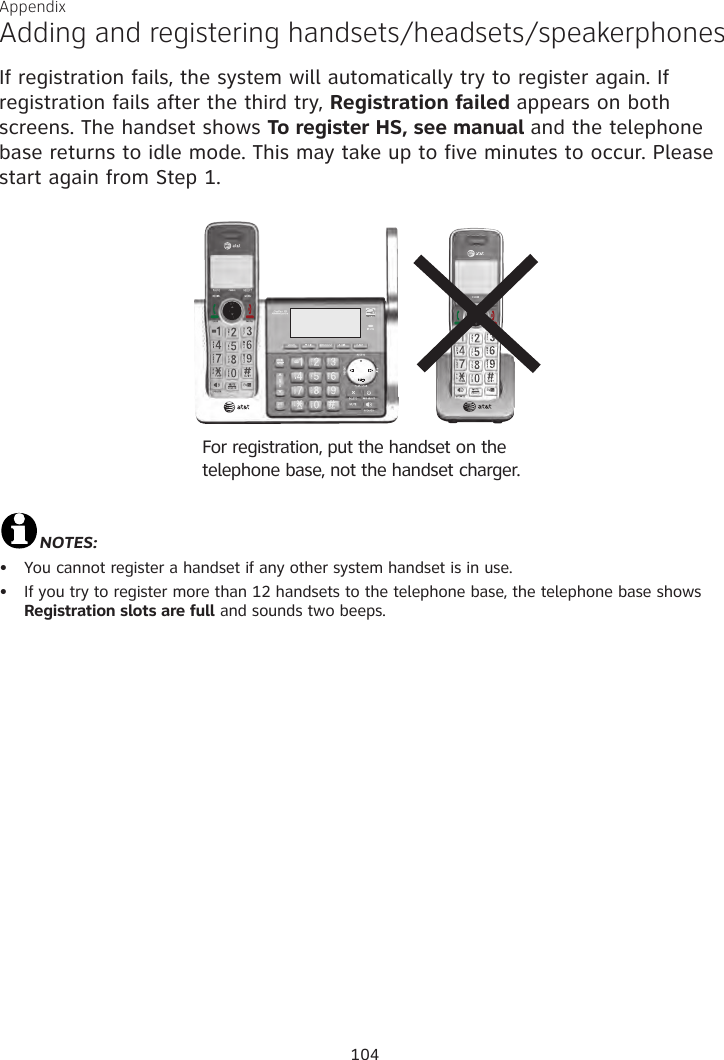
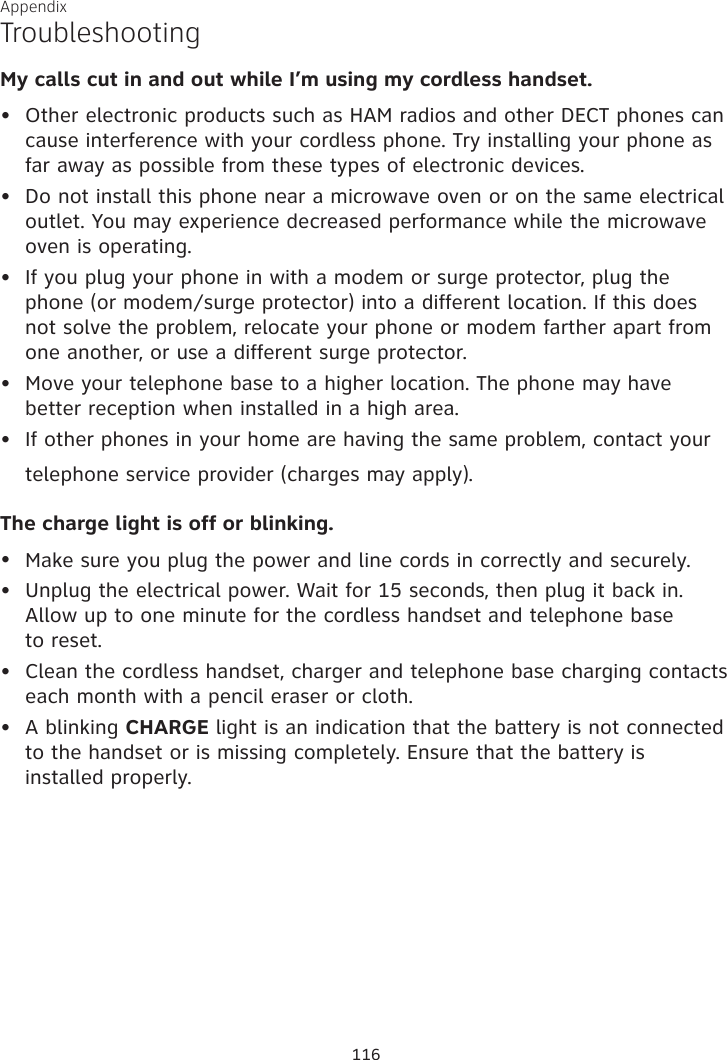
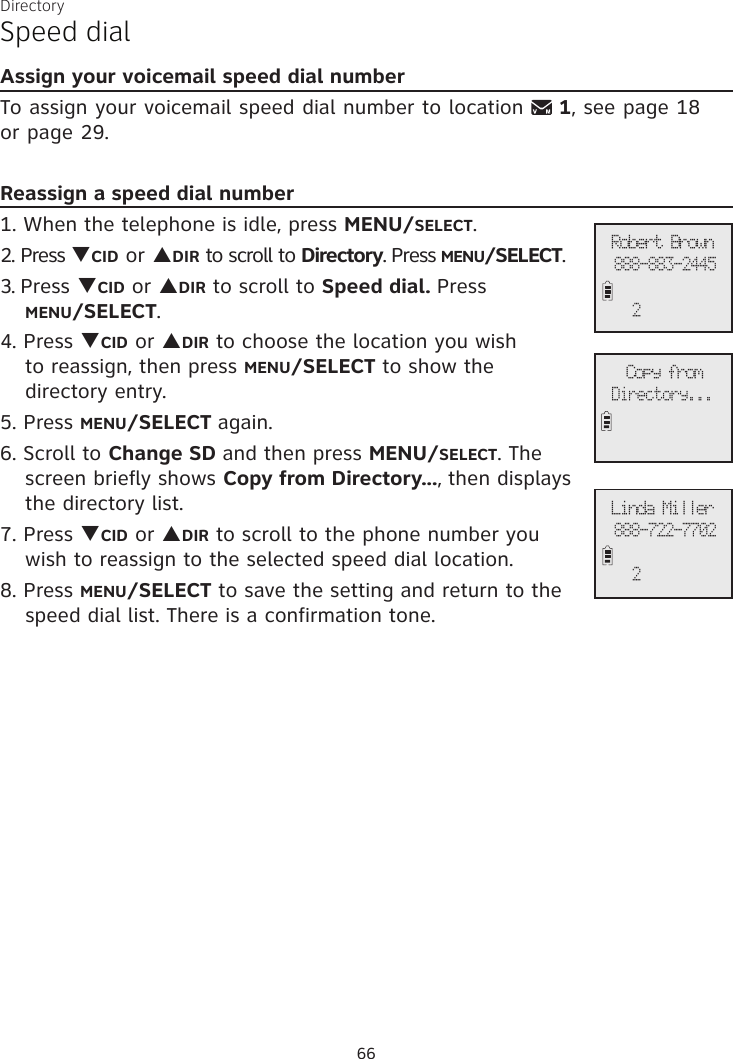
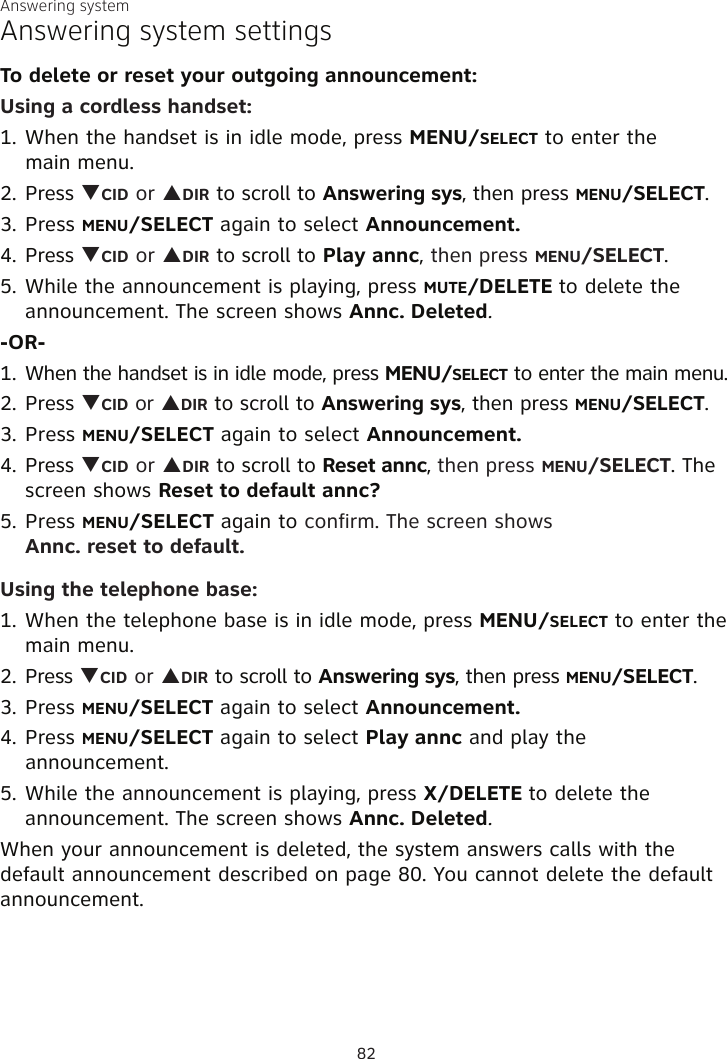
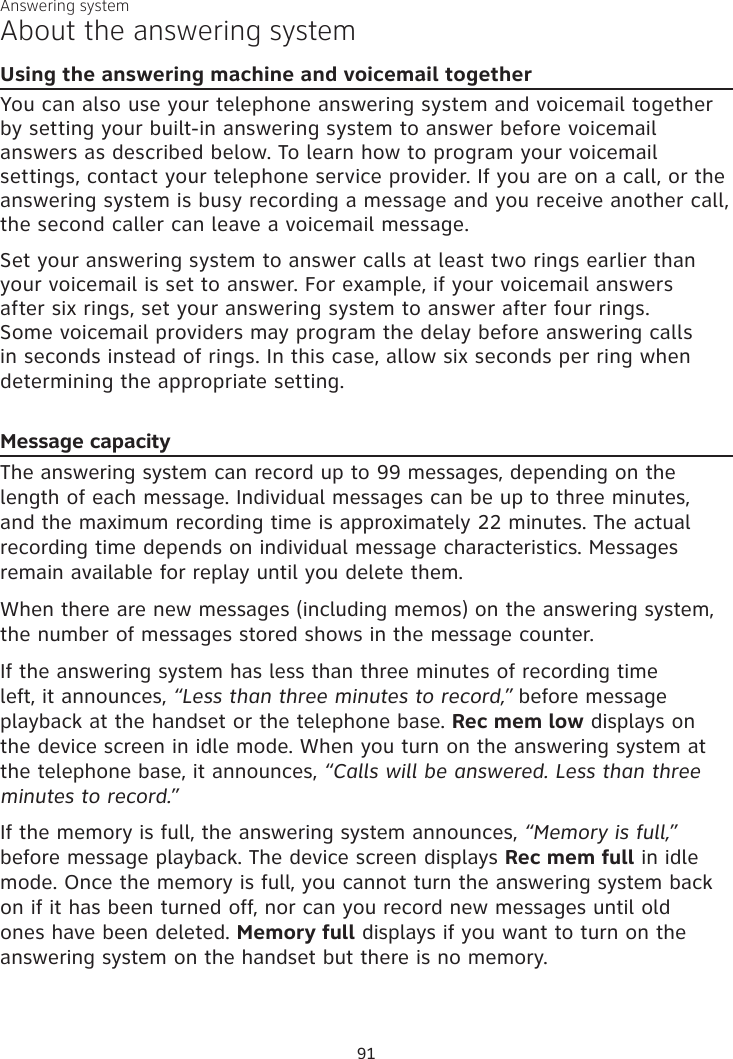
![Appendix Display screen messagesScreen messagesSetup Ans sys... The telephone base is playing voice guide.Speaker The handset or telephone base speakerphone is in use.TRANSFER TO: You have started transferring a call, and need to enter the desired device number or choose all devices.To register HS, see manual.Screen display before handset registration.To screen call, press [SELECT]Press MENU/SELECT to activate call screening.Unable to call. Line in useFailed phone call (the telephone line is in use). Unable to call. Try againYou try to join a call when there are already four handsets on that call.You try to make an outside call when another device is transferring a call with the intercom feature.XX Missed calls There are new calls in the caller ID log.XX New messages There are new messages in the answering system.111](https://usermanual.wiki/VTech-Telecommunications/80-9454-00.User-Manual-Part-II/User-Guide-2218749-Page-47.png)