VTech Telecommunications 80-5312-00 2.4 GHz Cordless Telephone System User Manual 91 001004 010 000 E2912B R0
VTech Telecommunications Ltd 2.4 GHz Cordless Telephone System 91 001004 010 000 E2912B R0
UserManual.wiki
>
VTech Telecommunications
>
80-5312-00 User Manual
>
User Manual 4
Contents
1.
Users Manual
2.
FCC Statement User Manual
3.
Warning statements
4.
User manual part I
5.
User manual part II
6.
User Manual 1
7.
User Manual 2
8.
User Manual 3
9.
User Manual 4
User Manual 4
Navigation menu
Upload a User Manual
Namespaces
Wiki Guide
HTML
PDF
Info
Views
User Manual
Discussion / Help
Navigation
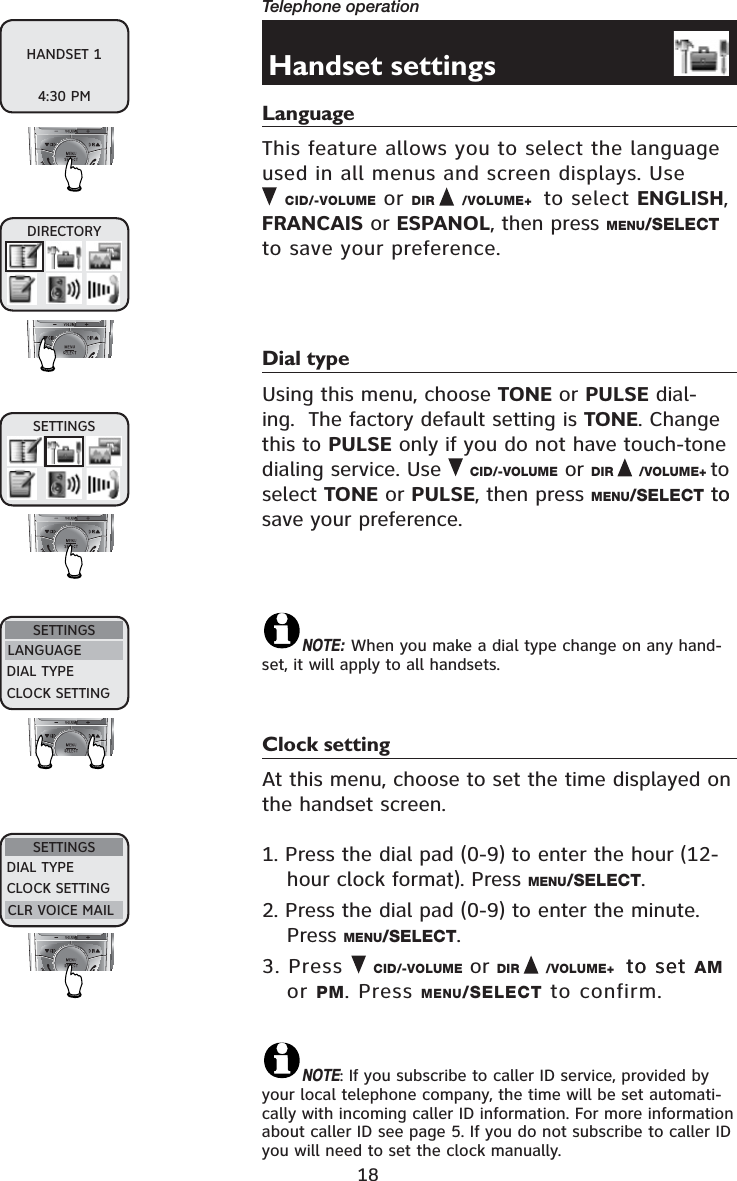
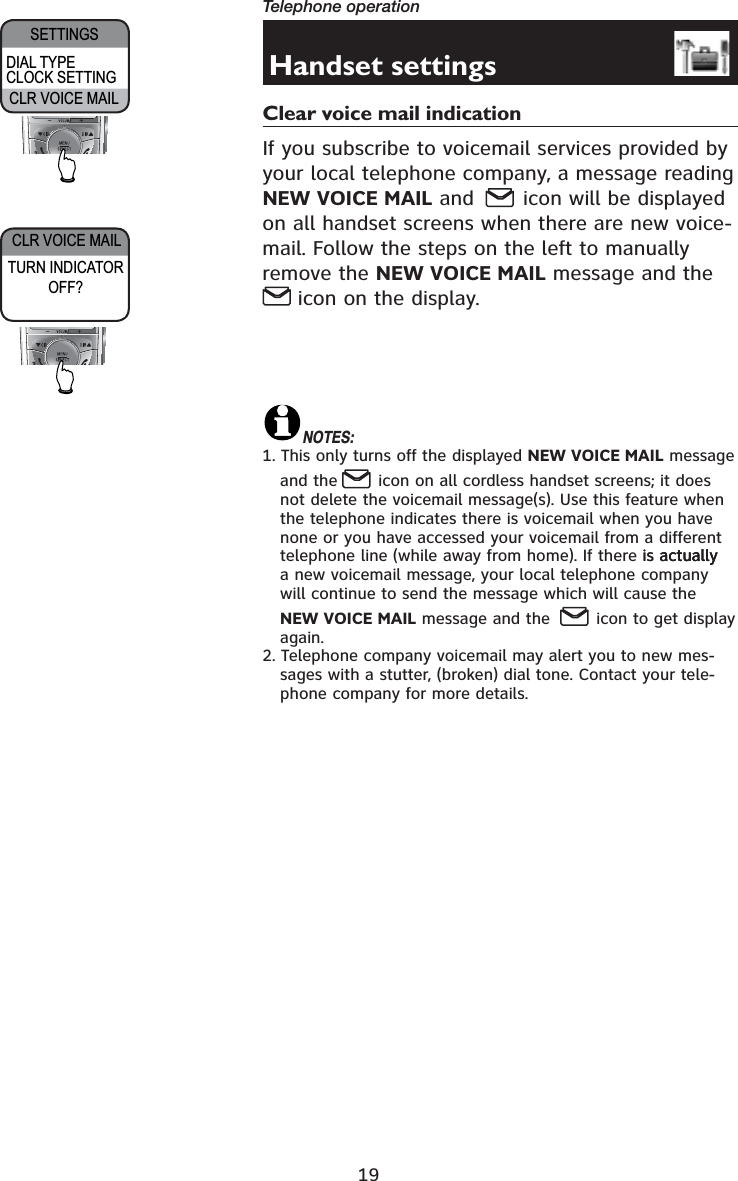
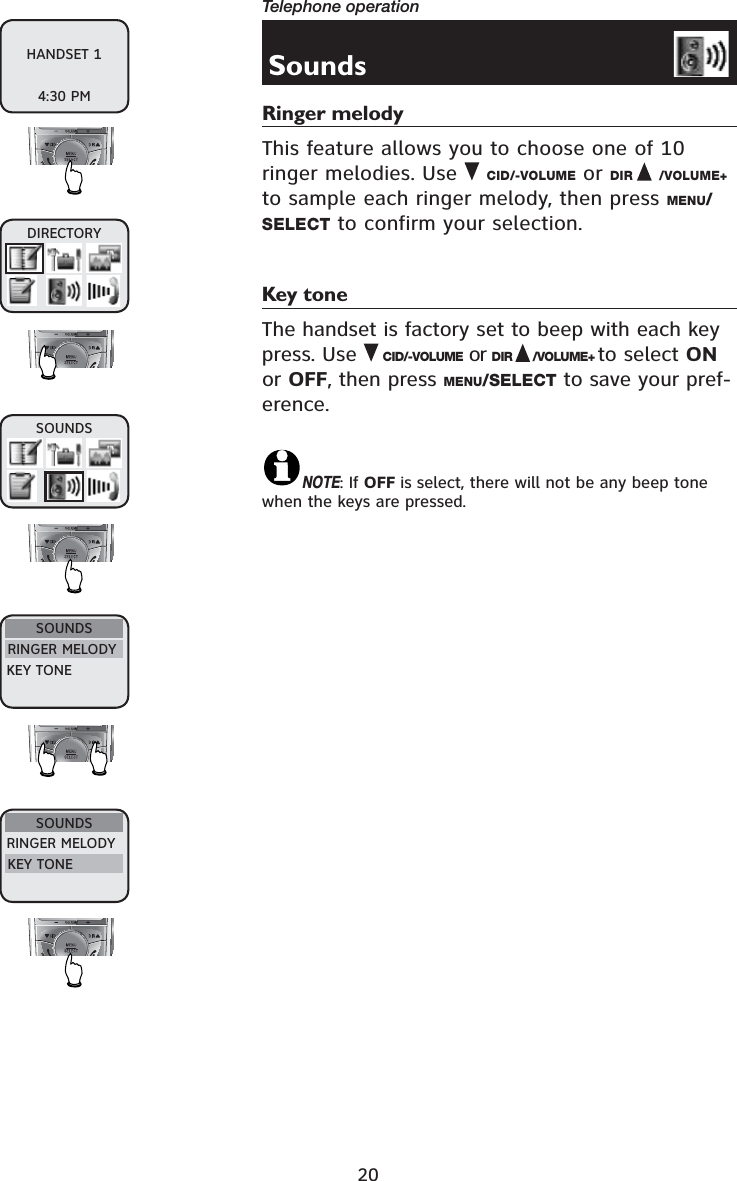
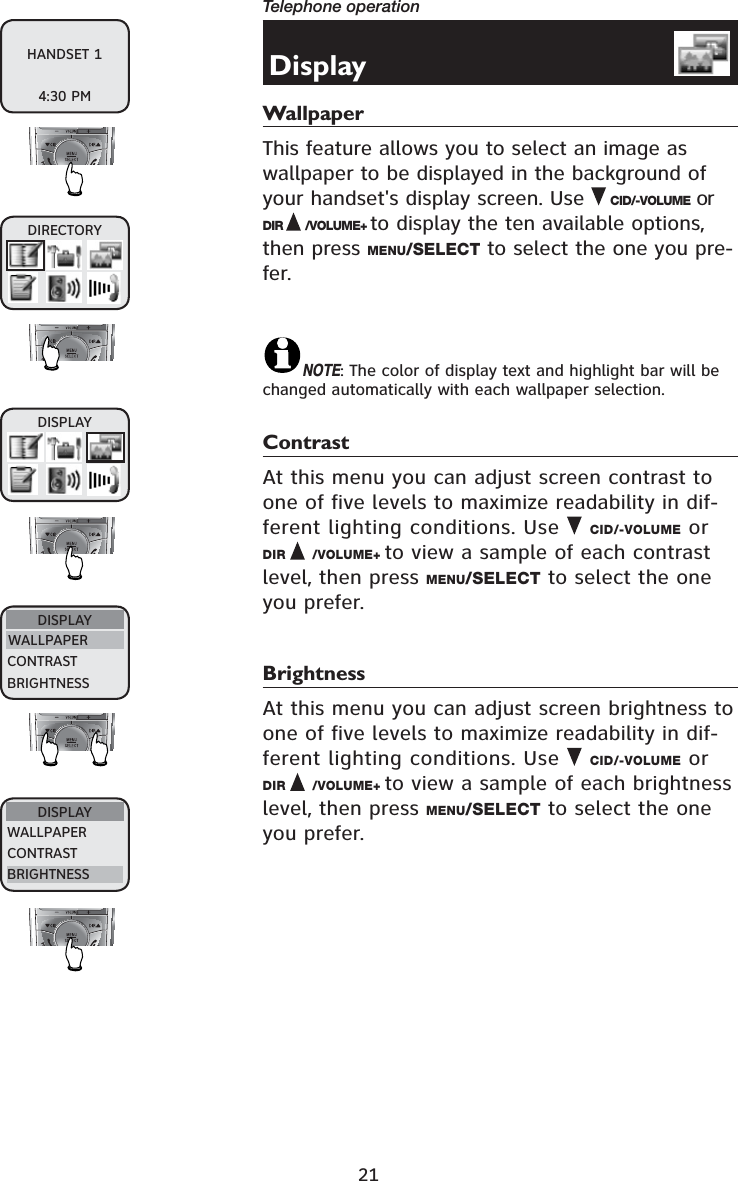


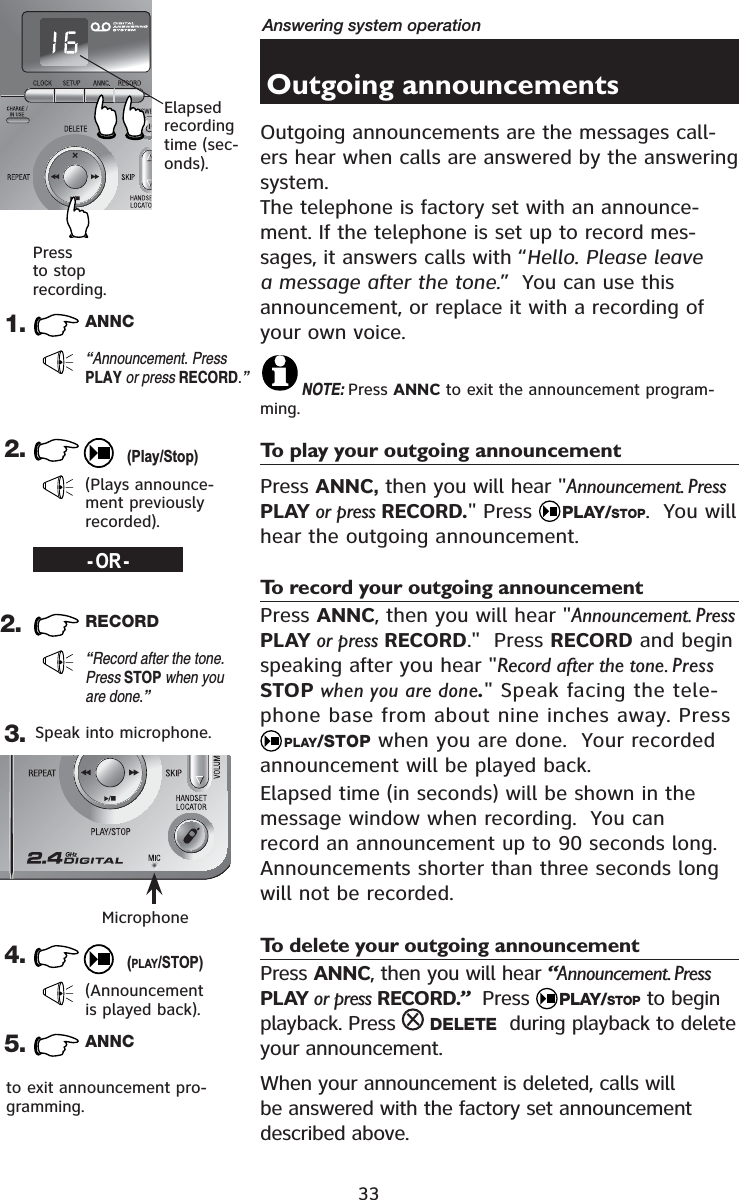
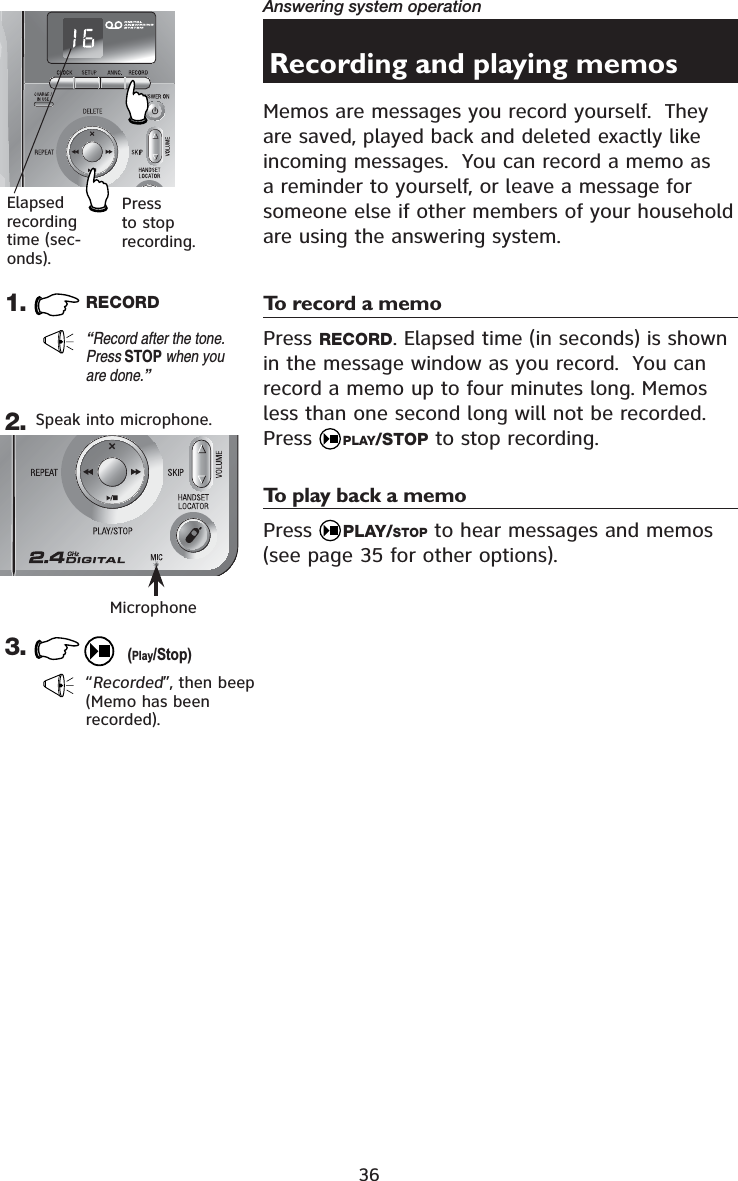
![35Answering system operationMessage playbackPress PLAY/STOP to hear messages. The system announces the number of messages, then begins playback.If you have new messages waiting, you will hear only the new messages (oldest first). If there are no new messages, the system will play back all mes-sages (oldest first). Announcements• When playback begins, you will hear the total number of messages.• Before each message, you will hear the day and time it was received.• After the last message, you will hear “End of mes-sages.” If the system has less than five minutes of recording time left, you will hear the time remaining.Options during playback• Press VOLUME button to adjust speaker vol-ume.• Press SKIP to skip to next message.• Press REPEAT to repeat message currently playing. Press twice to hear previous message. • Press DELETE to delete message being played back.• Press PLAY/STOP to stop playback.To delete all messagesTo delete all old messages, press and hold DELETE while the telephone is idle (not during a call or during message playback).1.“You have [xx] new messages and [xx] old messages”Number of messages (or during playback, message number currently playing).Message playback begins. See options at right.2.Message playback ends. NOTES:1. If & is flashing in the message window, memory is full. You will have to delete some messages before new ones can be received.2. The maximum record time is 15 minutes.3. If you receive calls when the memory is full, the telephone will ring 10 times, then answer and announce “Memoryis full, enter remote access code.”NOTE: New (unheard) messages cannot be delet-ed.Press PLAY/STOP to begin or end message playback.(Play/Stop)(Play/Stop)](https://usermanual.wiki/VTech-Telecommunications/80-5312-00.User-Manual-4/User-Guide-724577-Page-18.png)