Uniden America UT417 CB TRANSCEIVER User Manual CMX760
Uniden America Corporation CB TRANSCEIVER CMX760
UserManual.wiki
>
Uniden America
>
UT417 User Manual
>
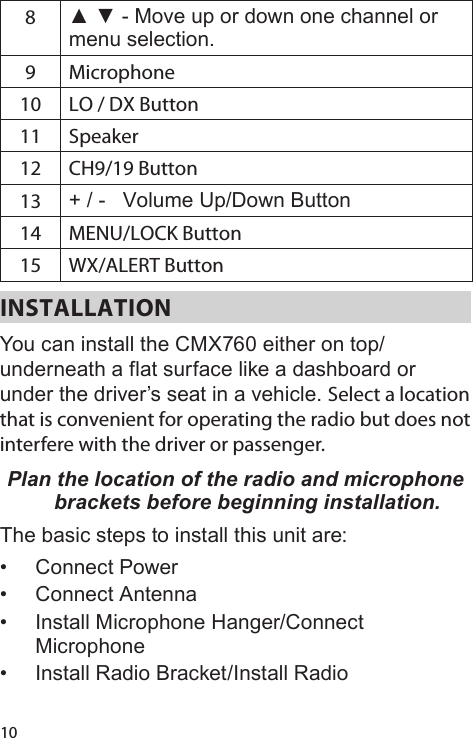
User Manual CMX760
Contents
1.
User Manual FCC Part 95
2.
User Manual CMX660
3.
User Manual CMX760
User Manual CMX760
Navigation menu
Upload a User Manual
Namespaces
Wiki Guide
HTML
PDF
Info
Views
User Manual
Discussion / Help
Navigation


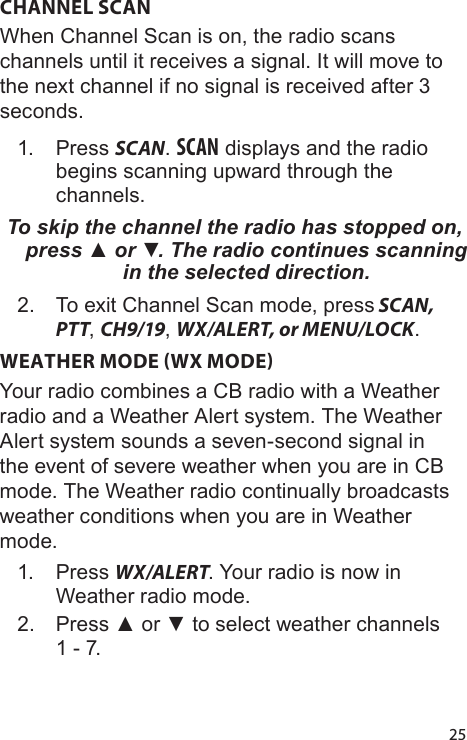
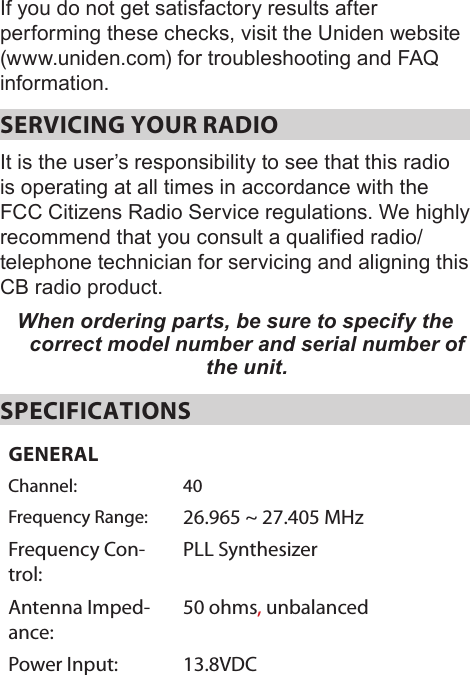
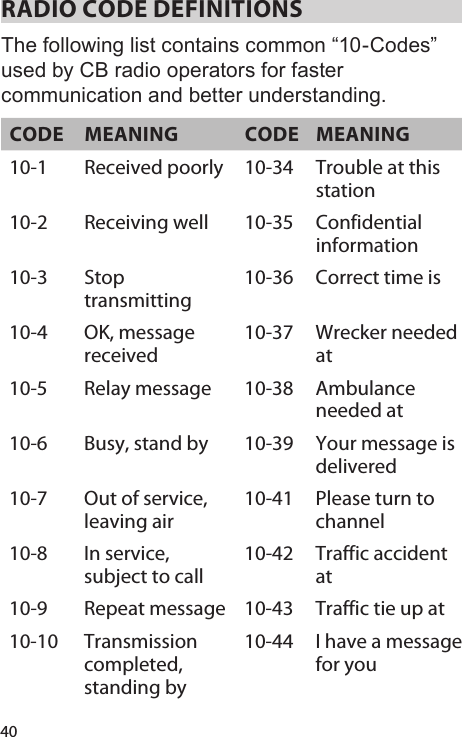
![281. Press MENU/LOCK until DIMMER displays on the screen and the dimmer level displays and blinks.2. Press ▲ or ▼ to scroll through the options [oF (OFF), 1, 2, or 3].3. When you have selected a dimmer level, press and hold MENU/LOCK to save the selection and exit the menus. A beep sounds.Set ContrastThe Contrast selections lets you make the screen text darker or lighter.1. Press MENU/LOCK until CONTRAST displays on the screen and the contrast level displays and blinks.2. Press ▲ or ▼ to scroll through the options (01 - 10).3. When you have selected a contrast level, press and hold MENU/LOCK to save the selection and exit the menus. A beep sounds.Set Key BeepKey Beep sounds a beep tone when you press a key. Select a Key Beep volume level to turn on Key Beep.](https://usermanual.wiki/Uniden-America/UT417.User-Manual-CMX760/User-Guide-3359645-Page-28.png)
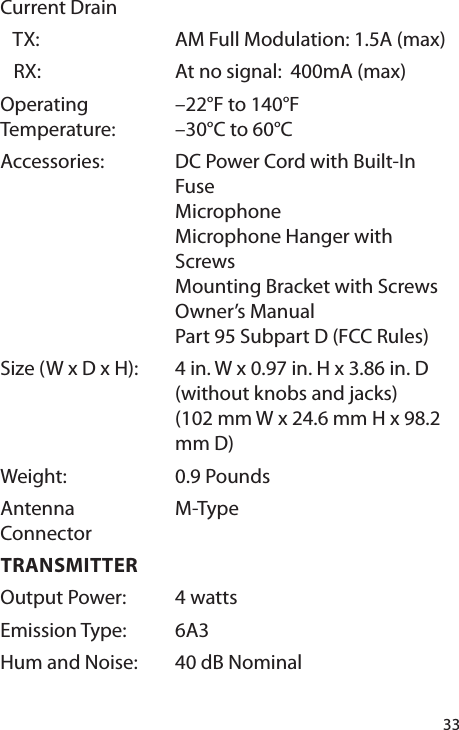
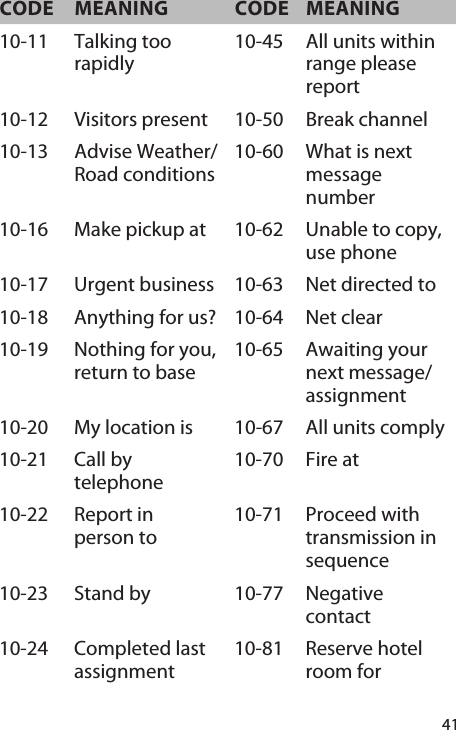
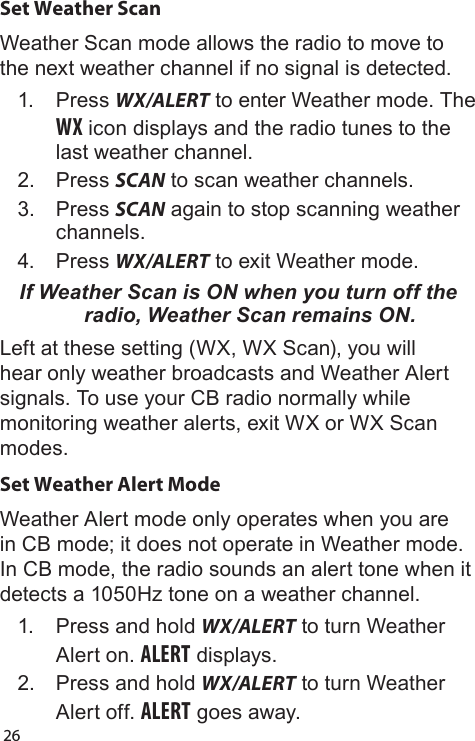
![291. Press MENU/LOCK until KEY BEEP displays on the screen and the volume level displays and blinks.2. Press ▲ or ▼ to scroll through the options [oF (OFF), 1 - 7].3. When you have selected a Key Beep volume level, press and hold MENU/LOCK to save the selection and exit the menus. A beep sounds.Set Roger BeepTurn Roger Beep on to transmit a Roger Beep tone when you finish transmitting.1. Press MENU/LOCK until ROGER BP displays on the screen and the current selection displays and blinks.2. Press ▲ or ▼ to turn Roger Beep on or off.3. Press and hold MENU/LOCK to save the selection and exit the menus. A beep sounds.Set Battery CheckTurning Battery Check on lets the radio display a notification if the battery power supply is in the upper (high) or lower (low) range. This notification displays for 2 seconds in 15 second intervals. A double beep also sounds.](https://usermanual.wiki/Uniden-America/UT417.User-Manual-CMX760/User-Guide-3359645-Page-29.png)