TopSeed Technology TSGH-2401 2.4G Remote Control User Manual manual
TopSeed Technology Corp. 2.4G Remote Control manual
UserManual.wiki
>
TopSeed Technology
>
TSGH 2401 User Manual
USERS MANUAL
Navigation menu
Upload a User Manual
Namespaces
Wiki Guide
HTML
PDF
Info
Views
User Manual
Discussion / Help
Navigation
![3USING THE REMOTE CONTROL You use the remote control to interact with most of the features in Media Center. No software or setup procedure is required. Just point the remote control at the receiver, and then enter your commands. Your remote control has five types of buttons: Navigation buttons, to move between items on the screen. (for example, up arrow or enter) Playback buttons, to control your media (for example, pause or stop). Audio-visual (AV) and power buttons, to change channels and adjust volume. (for example, channel up or mute) Shortcut buttons, to provide a quick way for users to access key media experiences in Windows Media Center. Numeric keypad buttons, to enter alphanumeric characters or TV channels. [if available] Teletext buttons to access Teletext functionality. For more information, see “Teletext Buttons” later in this User Manual.](https://usermanual.wiki/TopSeed-Technology/TSGH-2401/User-Guide-1686374-Page-4.png)
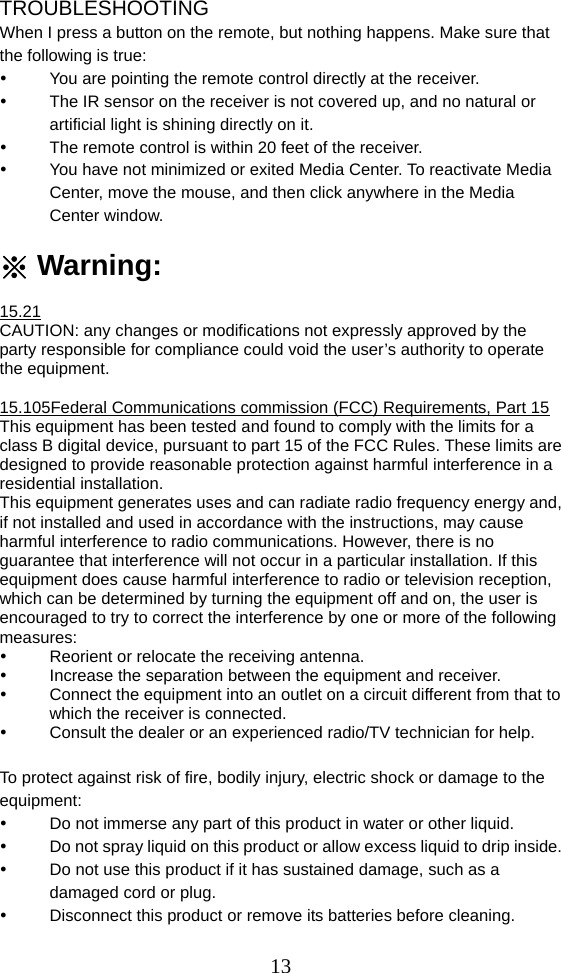
![7AV AND POWER BUTTONS Use the AV and power buttons to change channels, adjust volume, access a DVD menu, or to put Media Center in standby mode. Command Task Icon PC POWER Puts the Windows Media Center computer into (STANDBY) standby mode if the computer is running. If the computer is in standby mode, the computer wakes from standby mode. TV POWER [if available] By default, the TV button has no command assigned to it. This button can “learn” to turn on the TV. For more information, see “Using the Remote Control Learning Functionality” later in this User Manual. VOLUME Increases the current volume by one unit. If the audio UP is currently muted when this button is pressed, muting is disabled and the volume increases by one unit. VOLUME Decreases the current volume by one unit. If the audio DOWN is currently muted when this button is pressed, muting is disabled and the volume decreases by one unit. CHANNEL Increases the current channel number by one. If UP Windows Media Center is in a list view when this button is pressed, the focus point moves forward one page in the list. CHANNEL Decreases the current channel number by one. If DOWN Windows Media Center is in a list view when this button is pressed, the focus point moves backward one page in the list. MUTE Mutes the computer audio](https://usermanual.wiki/TopSeed-Technology/TSGH-2401/User-Guide-1686374-Page-8.png)
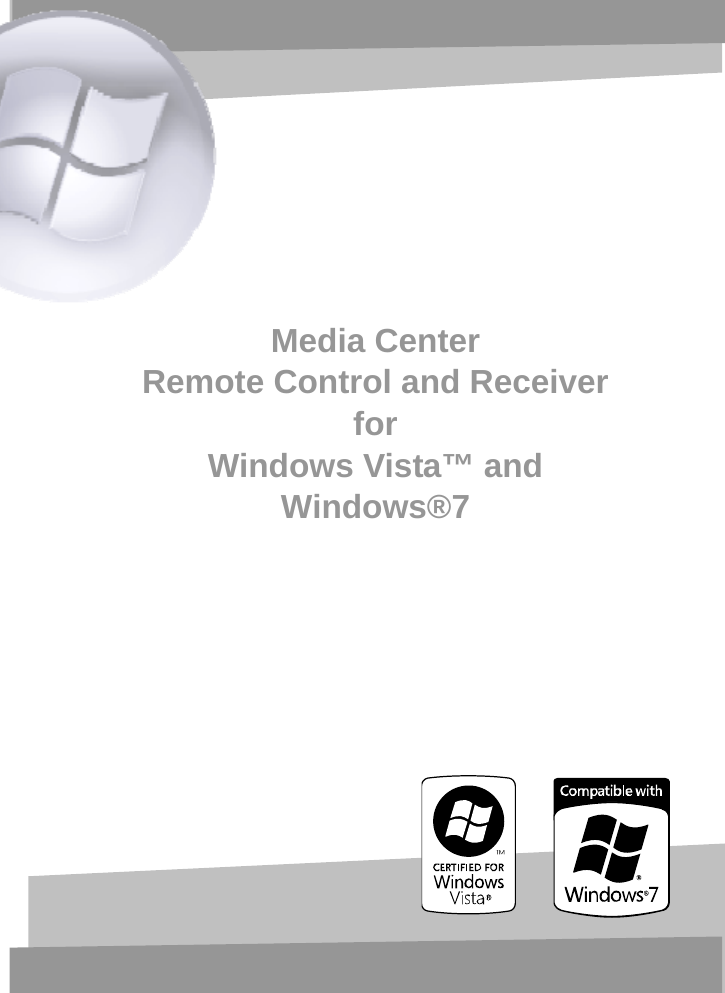
![8SHORTCUT BUTTONS These buttons provide a quick way for users to access key media experiences in Windows Media Center. Command Task Icon GUIDE Displays the Guide in Windows Media Center. LIVE TV Shows live TV on the currently selected channel. RECORD Displays the Recorded TV page in Windows TV Media Center. MUSIC Displays the Music Library in Windows Media Center. PICTURES Displays the Picture Library in Windows Media Center. VIDEOS Displays the Video Library in Windows Media Center. RADIO Displays the main Radio page in Windows Media Center. DVD Displays the DVD menu. MENU ZOOM [if available] Toggles between various aspect modes in TV.](https://usermanual.wiki/TopSeed-Technology/TSGH-2401/User-Guide-1686374-Page-9.png)
![10TELETEXT BUTTONS [if available] Media Center supports Teletext when it is available. The colored Fastext buttons on the remote control for Media Center PC work much like the Teletext buttons on a standard Teletext-enabled TV. Teletext buttons should appear below the numeric keypad on the remote control. To display Page 100 (Teletext home page) Press the TELETEXT button. Page 100 will appear in a few seconds and completely replace the TV picture, but it will not affect the TV sound. To access Teletext pages Type the three-digit number of the page you want to display by using the numeric keypad. For example, enter 300 to access the A-Z Teletext Index. To navigate between Teletext pages Press the UP and DOWN buttons on your remote control to navigate between Next and Previous pages. To use the Fastext buttons The red, green, yellow, and blue buttons on your remote control correspond to the same colored buttons on your TV. Press a colored button on your remote control to go to a preset page. For example, on page 100, press the green button on the remote control to go to the New Zealand News Index, or Page 102.](https://usermanual.wiki/TopSeed-Technology/TSGH-2401/User-Guide-1686374-Page-11.png)
![11USING THE REMOTE CONTROL LEARNING FUNCTIONALITY [if available] The TV Power, VOL+, VOL-, Numeric keypads (0 through 9), CH+, CH-, and Mute buttons on the remote control for Media Center PC and “learn” IR commands from other remote controls. This feature lets you use the Media Center Remote Control sends commands to your TV or another device, such as an audio receiver or home stereo set. ※Important: By default, the VOL+, VOL-, Numeric keypads (0 through 9), CH+, CH-, and Mute buttons on the remote control for Media Center PC control the system volume and channel on your computer, and the TV button has no command assigned to it until it “learns” one. Do not perform this procedure in bright natural or artificial light. To program buttons on the remote control by using the learning feature 1. Place the remote control for Media Center PC head to head (approximately 5cm apart) with the remote control from which it is learning. 2. On the remote control for Media Center PC, press and hold the DVD MENU button and then press OK button, and right after you release both buttons you will see the Green LED turns on for 5 seconds. The remote is now in learning setup mode. 3. On the remote control for Media Center PC, press and release the TV Power, VOL+, VOL-, Numeric keypads (0 through 9), CH+, CH-, or Mute button, depending on which command you want it to learn. The remote control for Media Center PC Green LED blinks once to confirm the selection. In the learning setup mode, Red LED blinks quickly four times when two conditions occurring: (Try again, repeat steps 1 to 3) If you press other buttons than TV Power, VOL+, VOL-, Numeric keypads (0 through 9), CH+, CH-, and Mute buttons If you do not press any button in 5 seconds. 4. On the remote control that is teaching the command, press and hold the button that you want the corresponding button on the remote control for Media Center PC to learn Before you release to hold this button, the remote control for Media Center PC Green LED blinks twice to confirm the selection. If the remote did not learn the command, the Red LED blinks quickly four times. To try again, repeat steps 1 through 4. 5. Repeat steps 1 through 4 for the other buttons that can learn commands.](https://usermanual.wiki/TopSeed-Technology/TSGH-2401/User-Guide-1686374-Page-12.png)