Telular CDMAFWT2004 CDMA800 and 1900 Fixed Wireless Terminal User Manual 56029901 SX5T CDMA2000 1X
Telular Corporation CDMA800 and 1900 Fixed Wireless Terminal 56029901 SX5T CDMA2000 1X
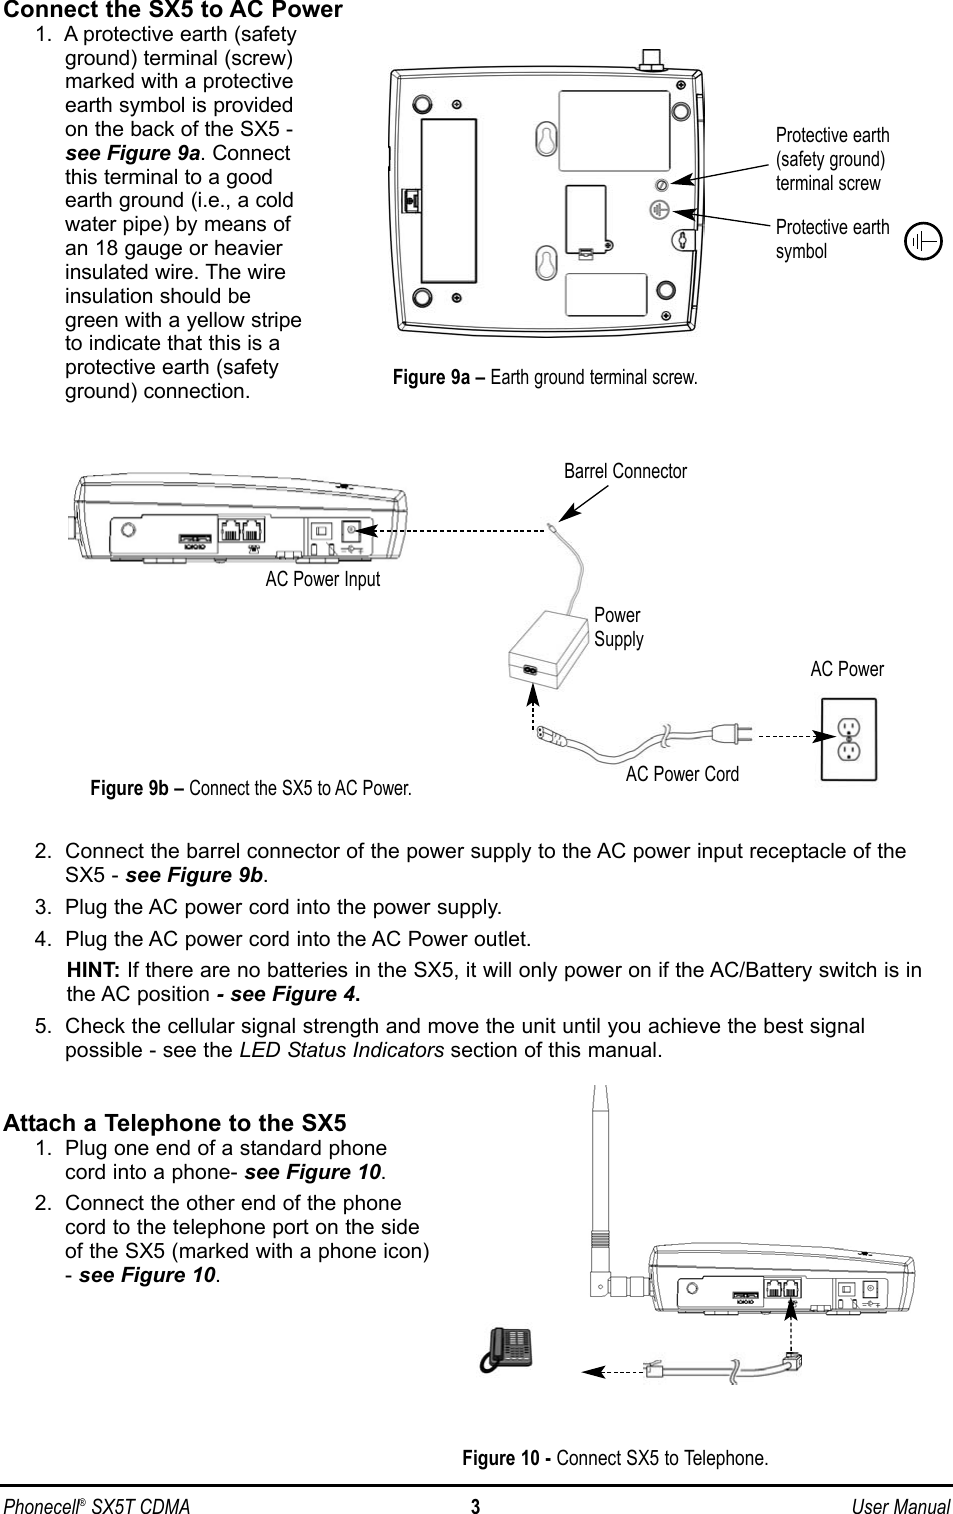
UserManual.wiki
>
Telular
>
CDMAFWT2004 User Manual
User Manual
Navigation menu
Upload a User Manual
Namespaces
Wiki Guide
HTML
PDF
Info
Views
User Manual
Discussion / Help
Navigation


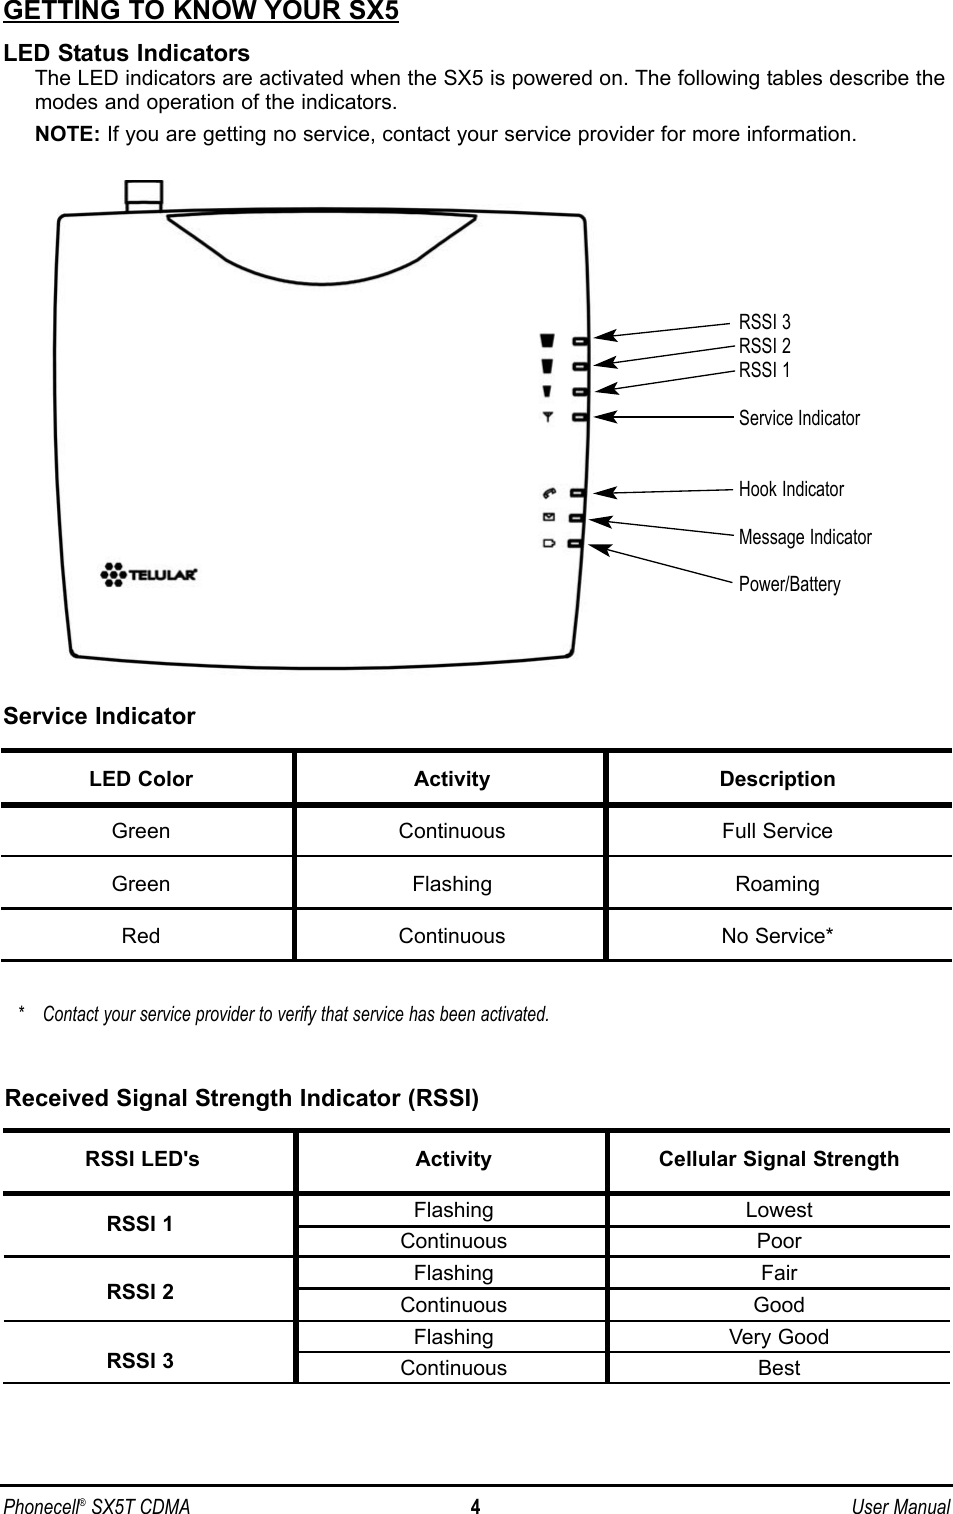
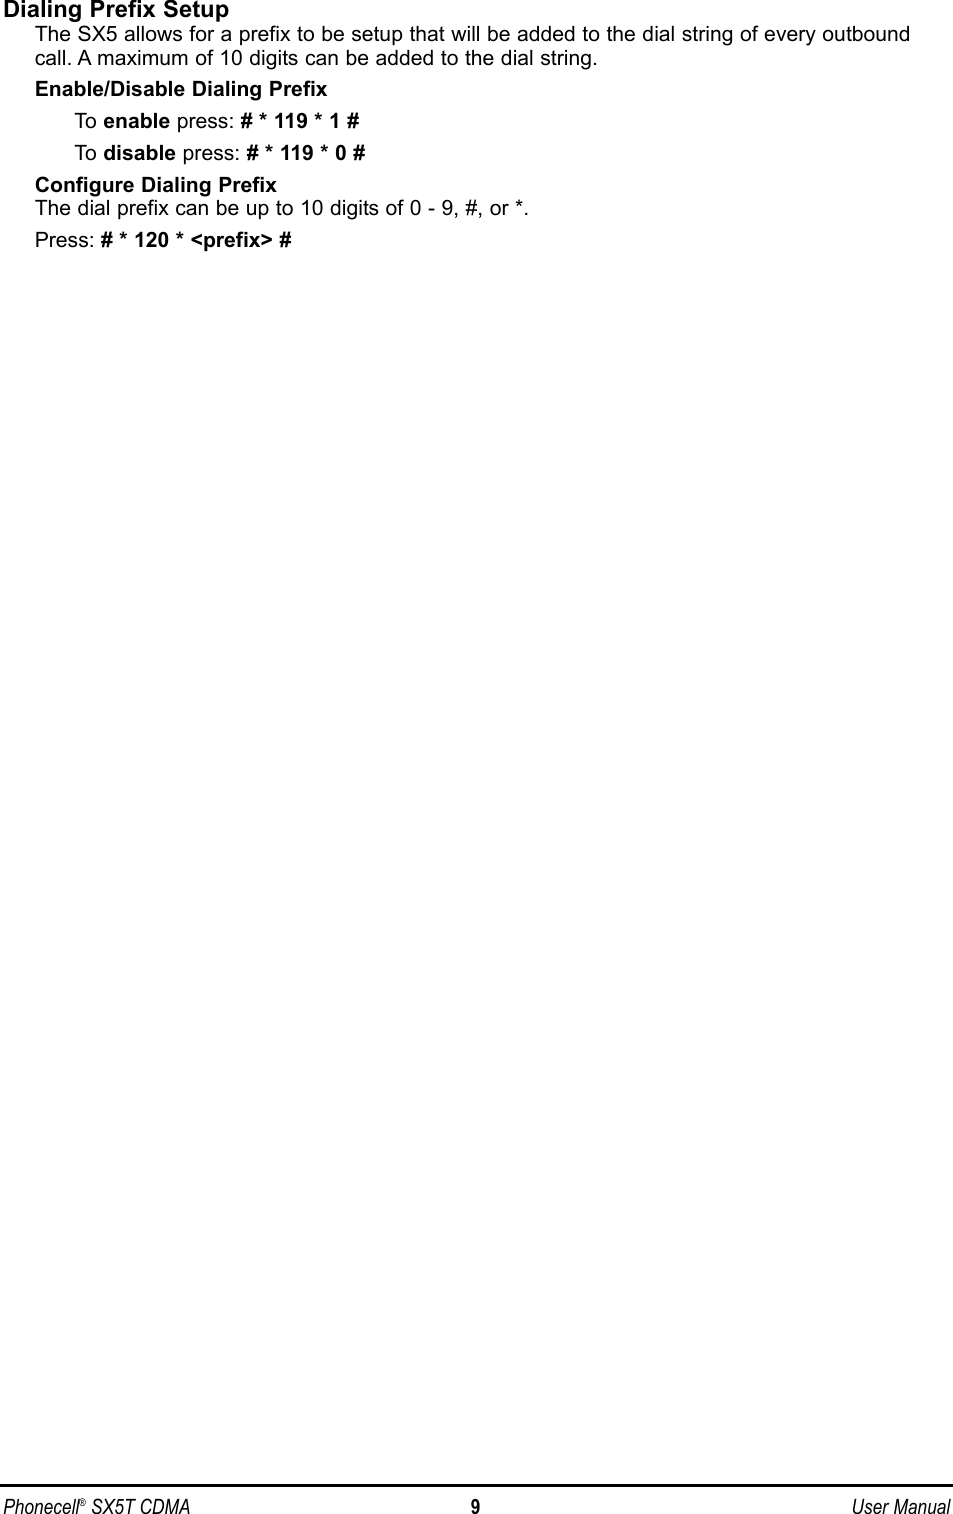
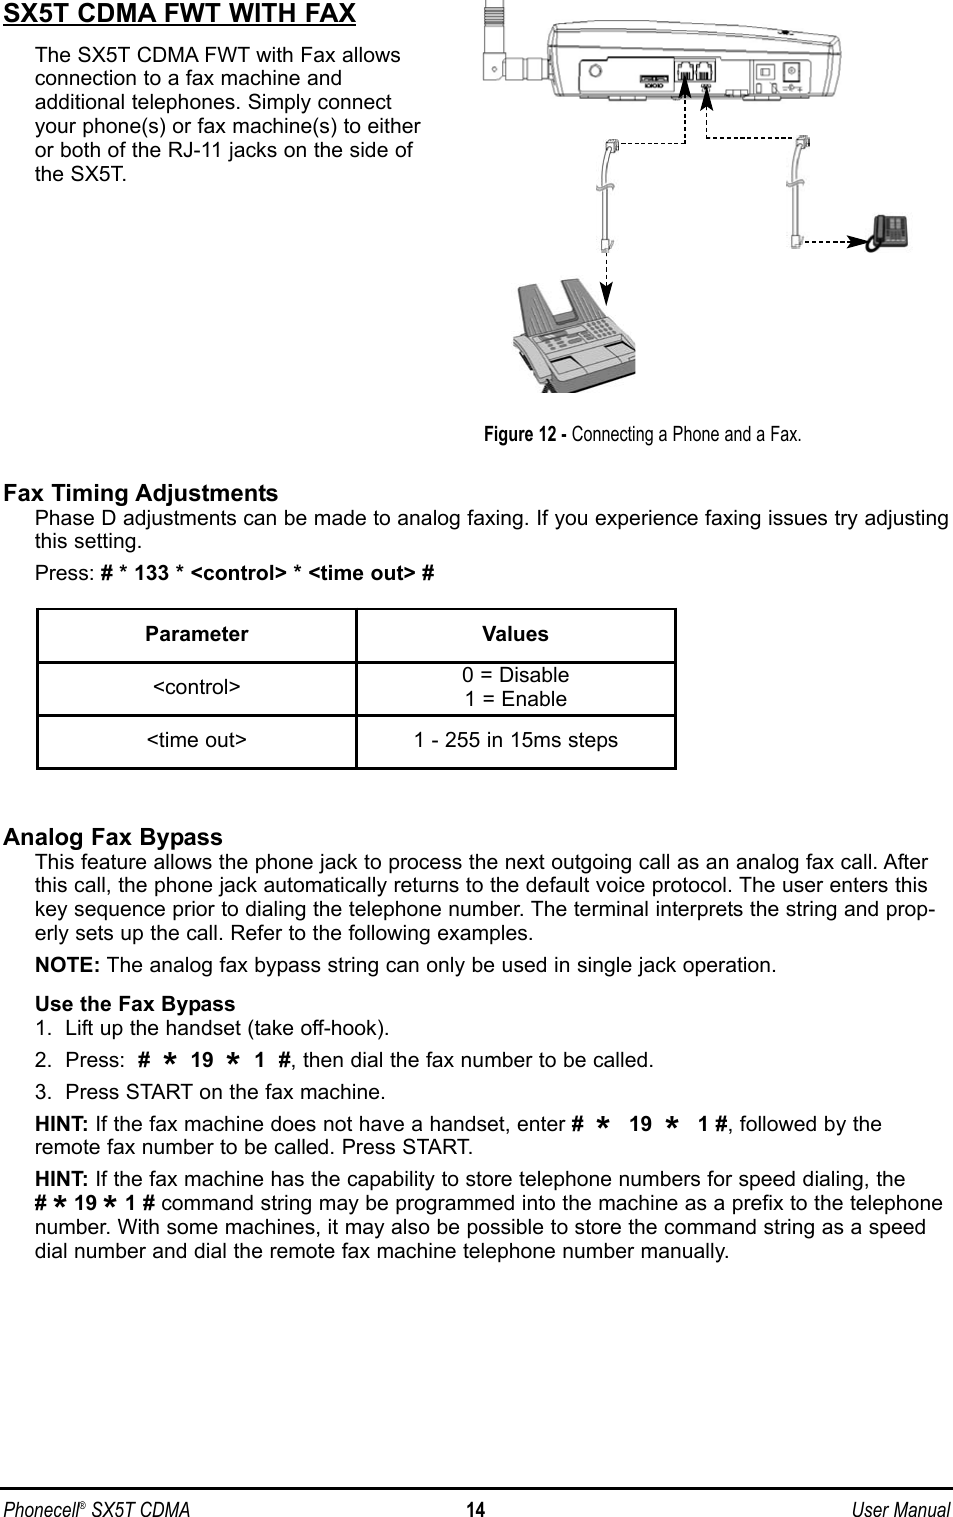
![Phonecell®SX5T CDMA 10 User ManualDATA FEATURESWhen connected to a personal computer (PC), the SX5 is capable of sending and receiving digi-tal fax and data, sending and receiving email communications, and accessing the Internet. Dataspeeds may vary depending upon your cellular network.Connect SX5 to a ComputerUse a data cable to connect the data port on the SX5 to the appropriate data port on your PC - seeFigure: 20Configure PC for Circuit Switched DataRequirements• Active CDMA account with your network serviceprovider including a Data/Fax facility• Windows (version 95/98 or later)• PC with a serial or USB Port.Modem Setup1. Power on your PC/laptop.2. Access the Control Panel, then select the Modems option.3. Install a new modem device for the SX5 with the following specifications:Modem Type: Standard 19200 bps ModemMaximum speed of serial port: 19,200Data bits: 8Parity: NoneStop bits: 1Use Flow Control: Enable this option and select Hardware [RTS/CTS]Extra settings: AT & D1Automatic Baud Rate Fallback ControlThe SX5 supports an automatic fallback to 19,200 bps when errors are detected in the datastream. This is useful for applications such as PC digital fax because most PC fax applicationsrequire a 19,200 bps baud rate on the serial port. Enabling FallbackEnable this feature when you have an application that uses a port speed of 19,200 bps. Whenthe SX5 has a port speed that does not match the port speed on the PC, errors will be detected.When these errors are detected, the SX5 will adjust the port speed to 19,200 bps, thus matchingthe PC application rate of 19,200 bps. It does not matter if the SX5's port speed is higher orlower than 19,200 bps, the SX5 will still be adjust the rate to 19,200 bps.NOTE: The SX5 does not support autobauding and will only adjust the port speed to 19,200 bpsunder the above conditions. No other rate will be automatically set.Press: # * 132 * 1 # ( <default setting> )When to Disable FallbackIf you mainly use the SX5 for GPRS data, then disable fallback of the port rate. This will allowsome errors in the data stream without effecting a change in port speed on the SX5.Press: # * 132 * 0 #Baud Rate AT CommandsThe SX5 will accept AT commands to setup the port speed. If you want to change the SX5 portspeed for a session or keep the change permanent, or if you just want to see the profile settings,use the following AT commands from a terminal application (like HyperTerminal).NOTE: Make sure DTE Fallback is OFF before making changes to the baud rate.Figure 20 - Data Port on the SX5Data Port](https://usermanual.wiki/Telular/CDMAFWT2004/User-Guide-420655-Page-14.png)