Technicolor Delivery Technologies Belgium TG784 Wireless Residential VoIP Gateway User Manual TG782 SetupUserGuide en
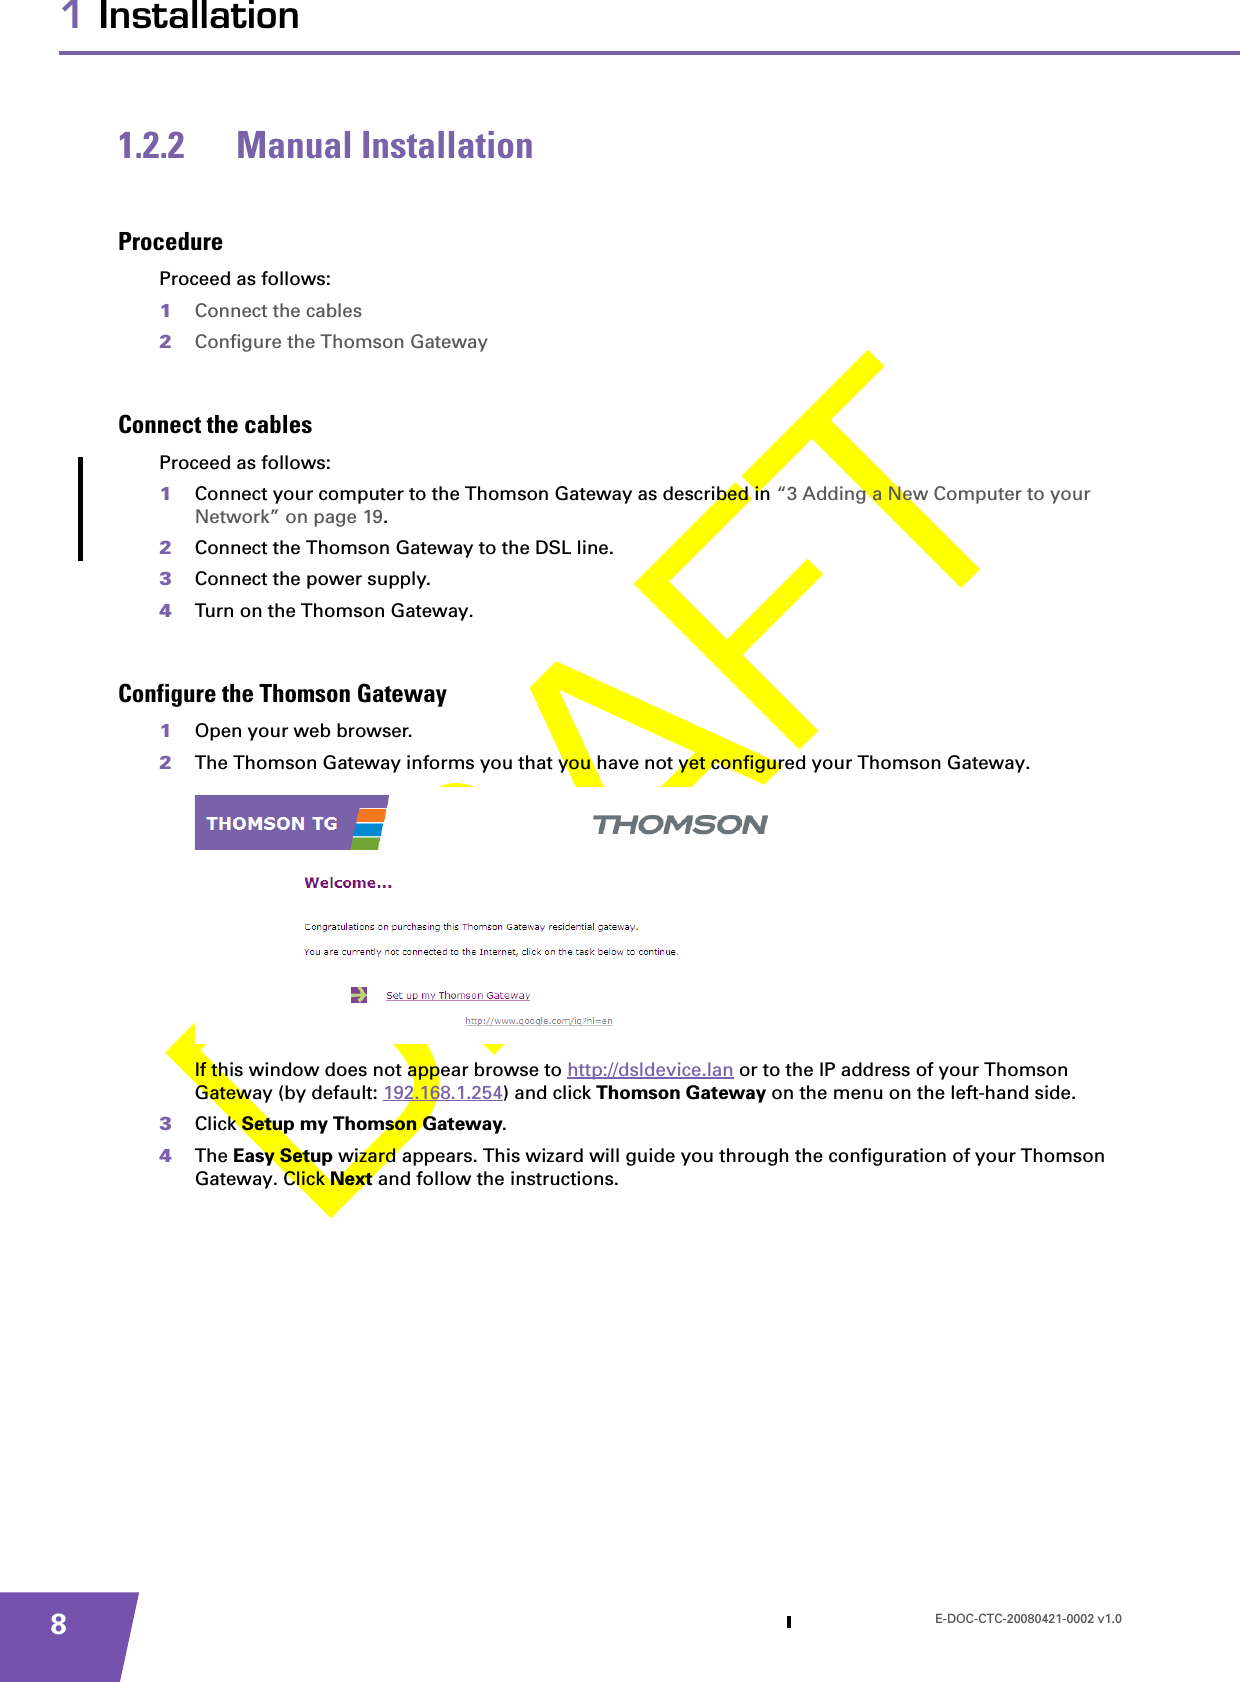
Technicolor Delivery Technologies Belgium Wireless Residential VoIP Gateway TG782 SetupUserGuide en
Contents
- 1. USewr Manual Safety
- 2. User Manual TG782
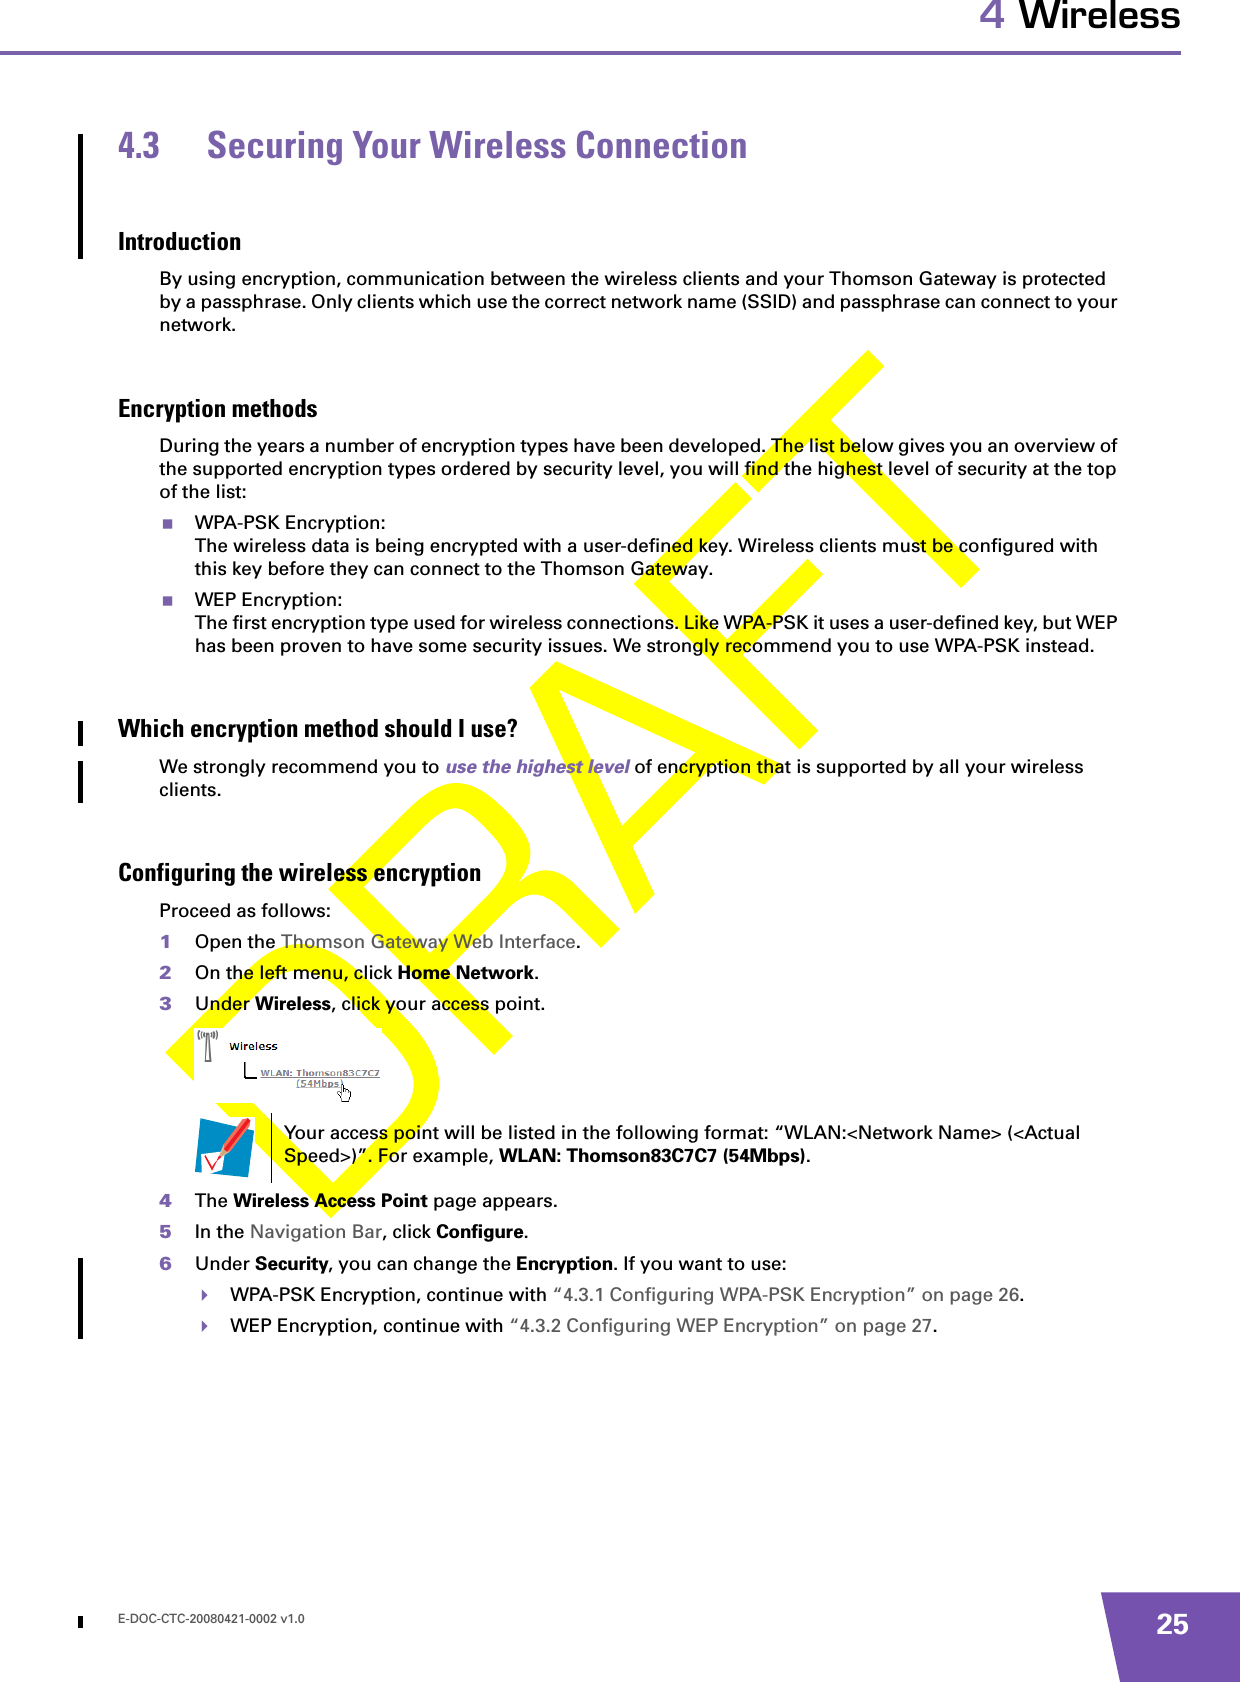
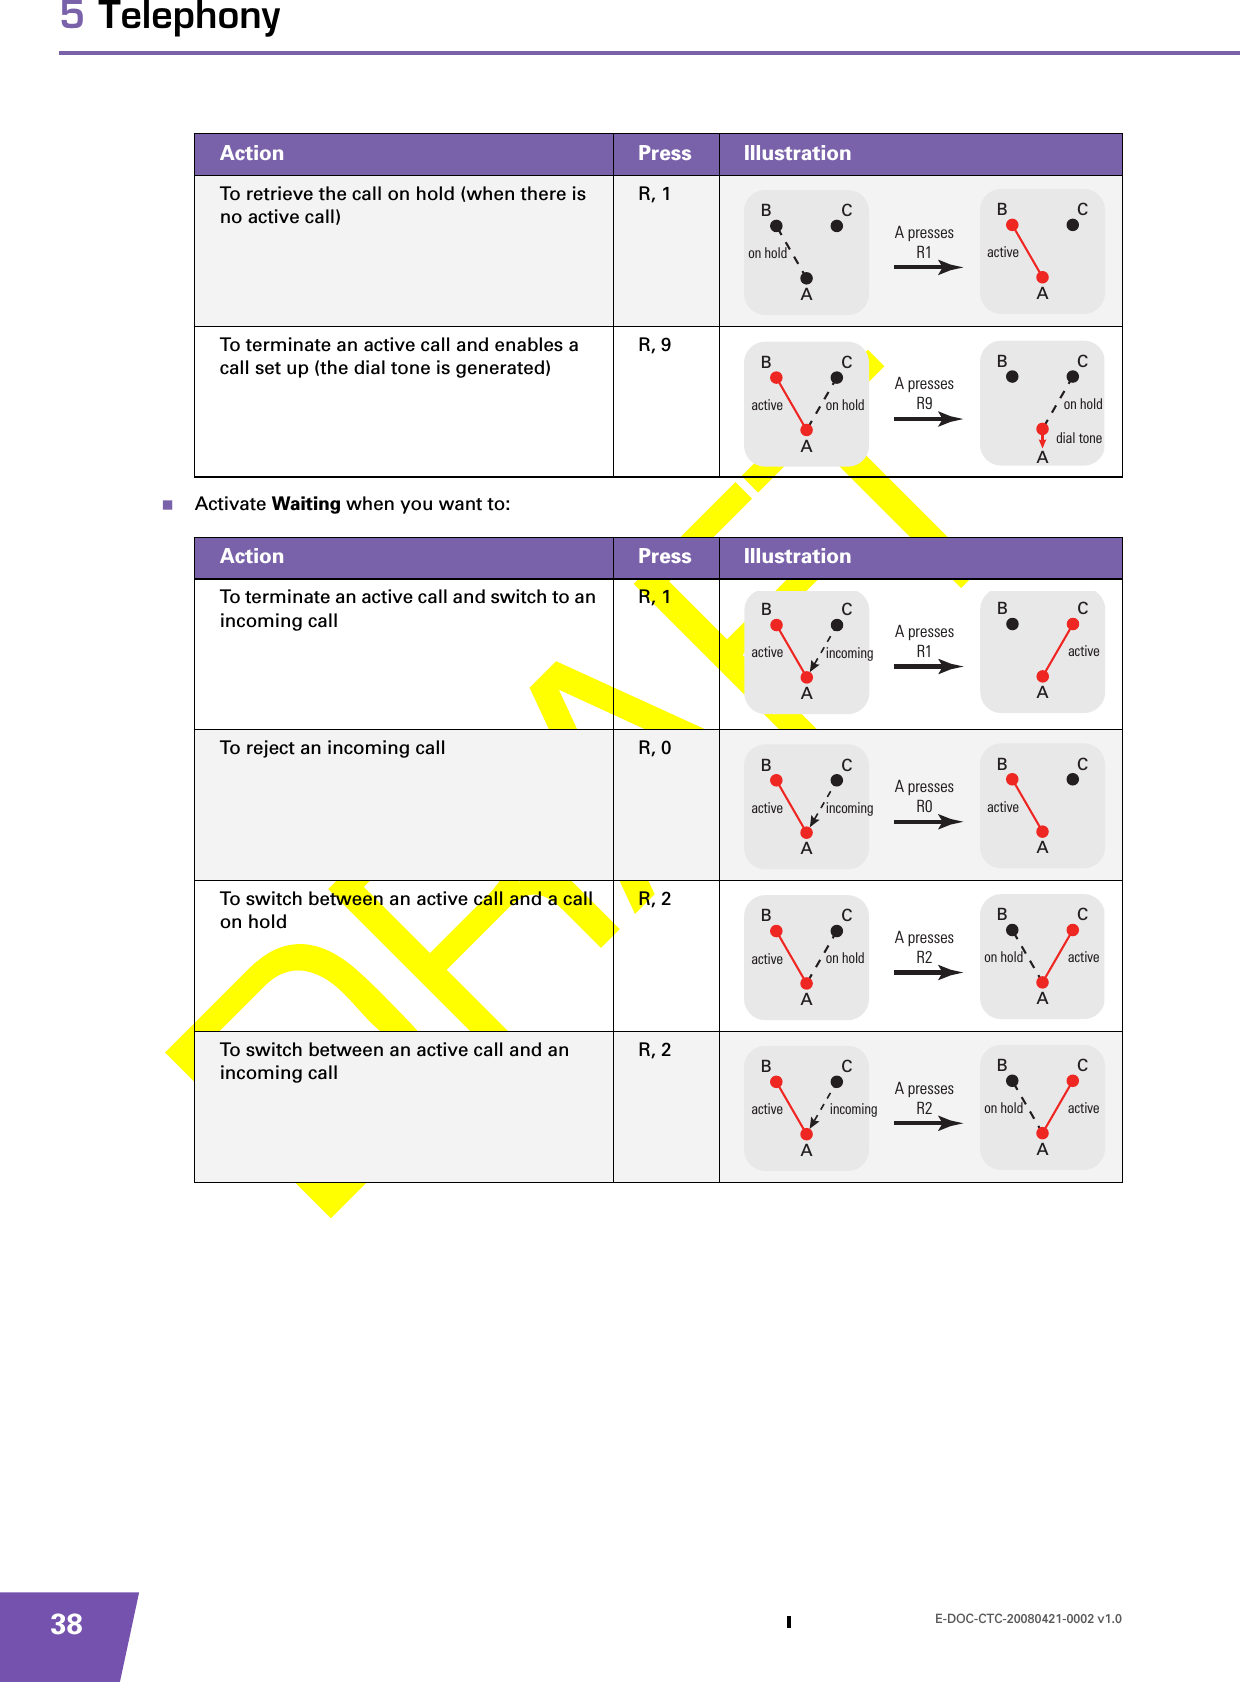
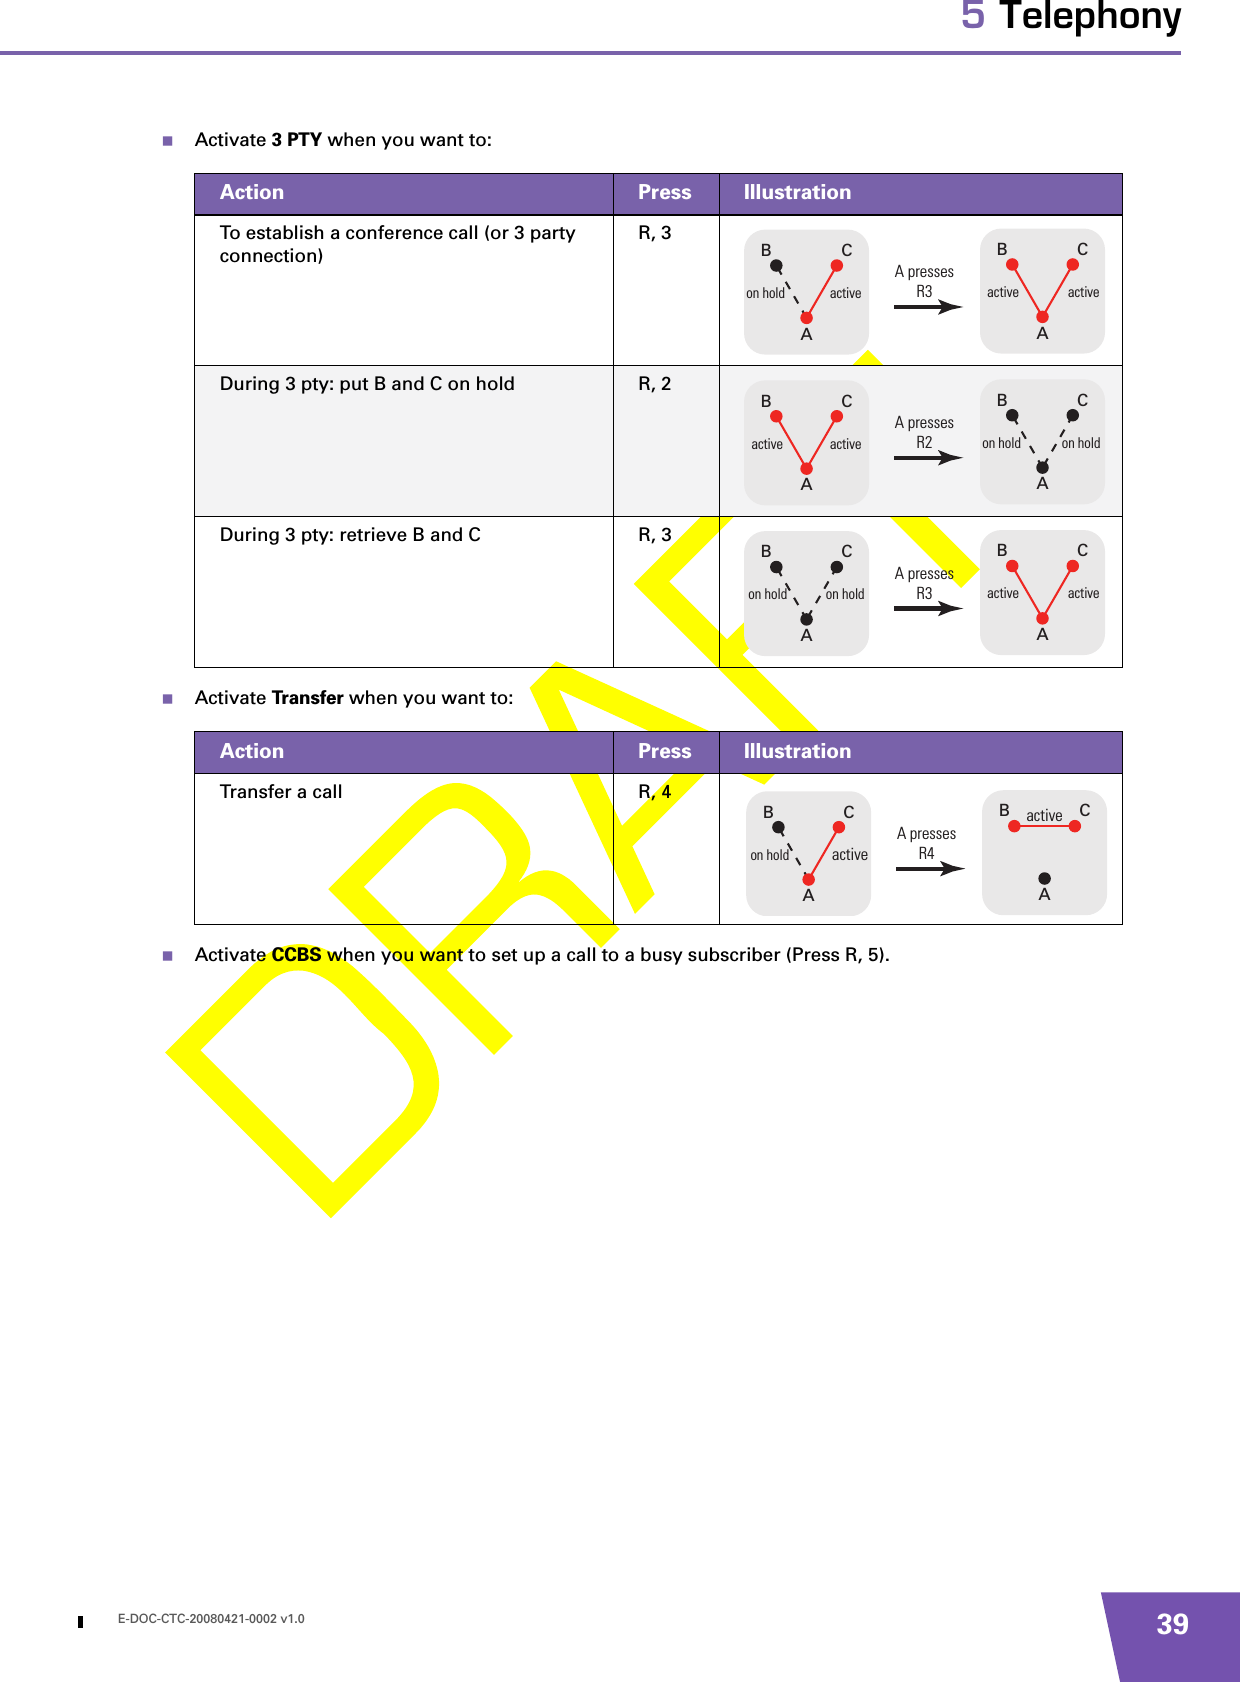
User Manual TG782