Sierra Wireless SB3000P PCS CDMA Voice/Data Modem for Handspring PDAs User Manual SB3000
Sierra Wireless, Inc PCS CDMA Voice/Data Modem for Handspring PDAs SB3000
UserManual.wiki
>
Sierra Wireless
>
SB3000P User Manual
>
Users Manual Part 3 of 6
Contents
1.
Users Manual Part 1 of 6
2.
Users Manual Part 2 of 6
3.
Users Manual Part 3 of 6
4.
Users Manual Part 4 of 6
5.
Users Manual Part 5 of 6
6.
Users Manual Part 6 of 6
Users Manual Part 3 of 6
Navigation menu
Upload a User Manual
Namespaces
Wiki Guide
HTML
PDF
Info
Views
User Manual
Discussion / Help
Navigation


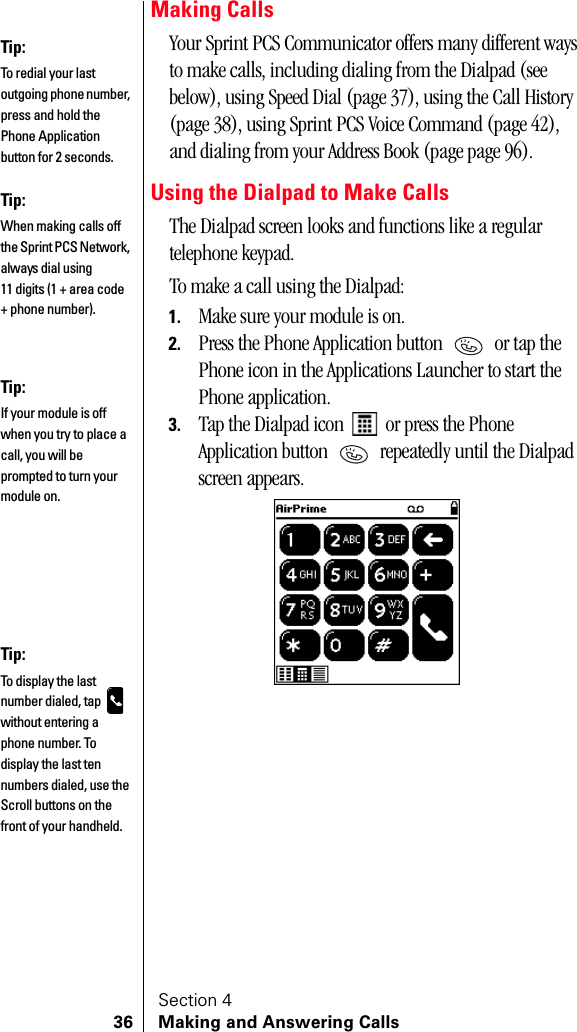
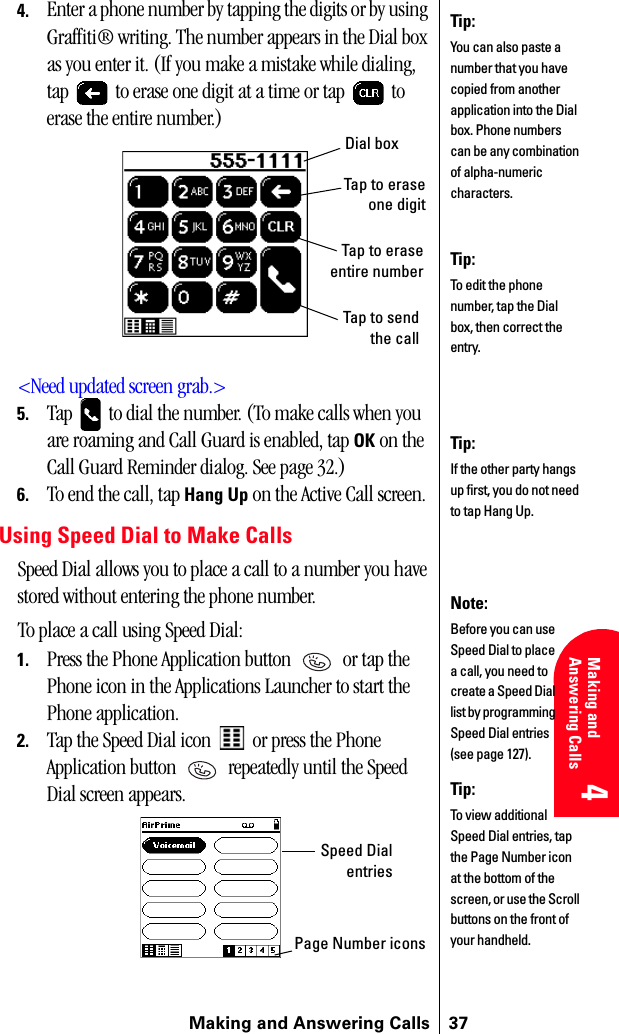
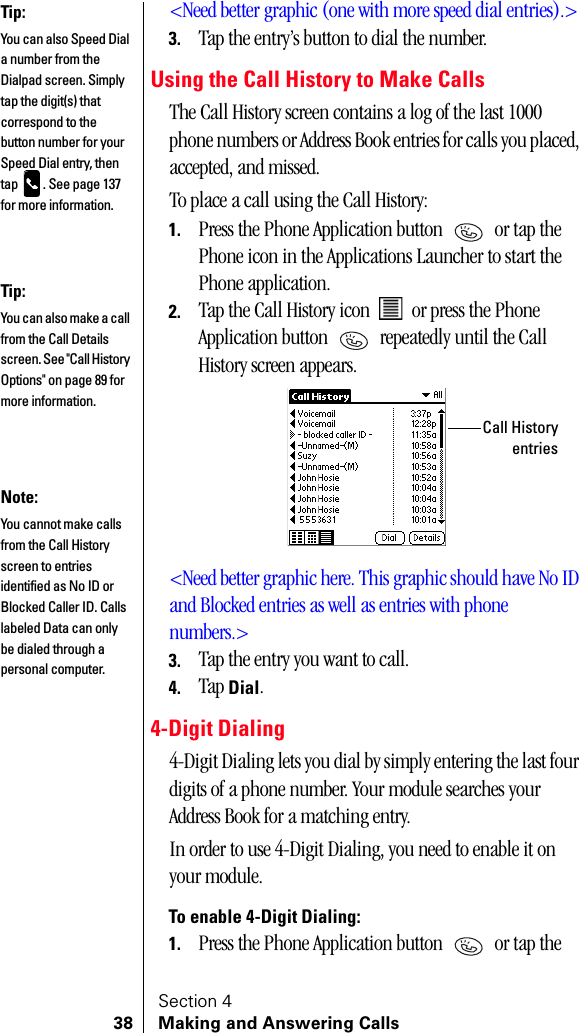
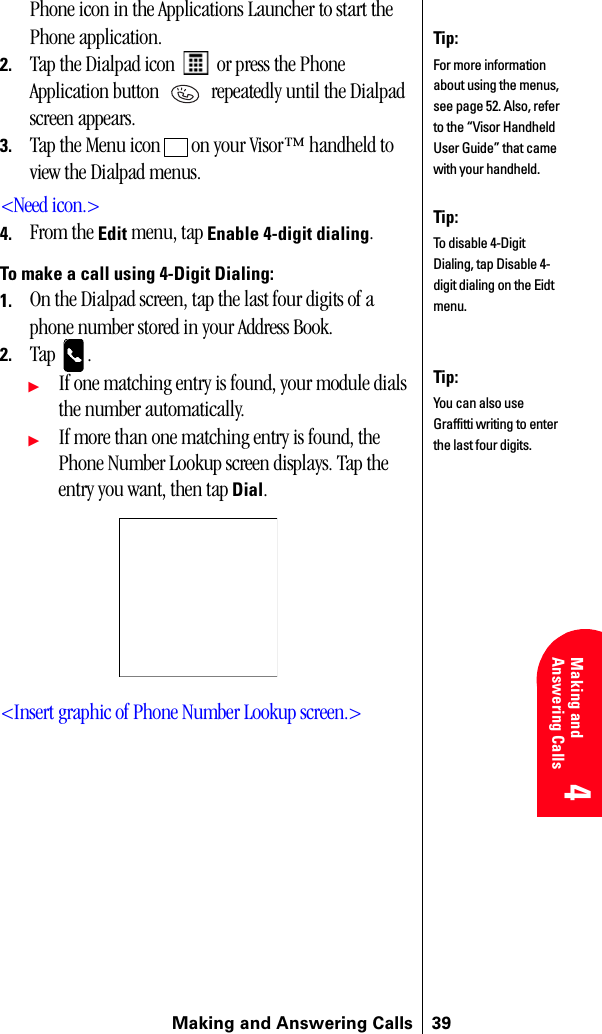
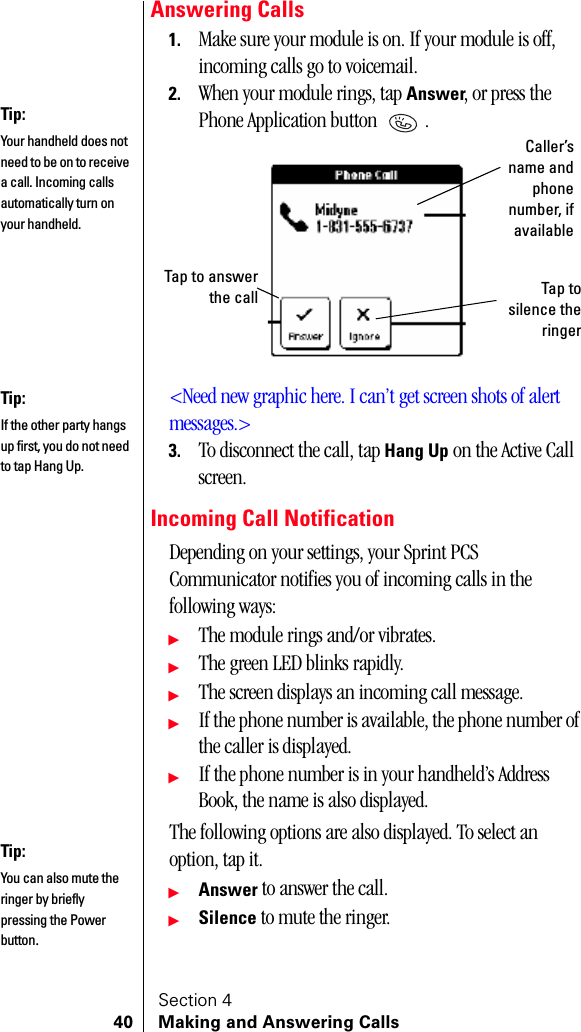
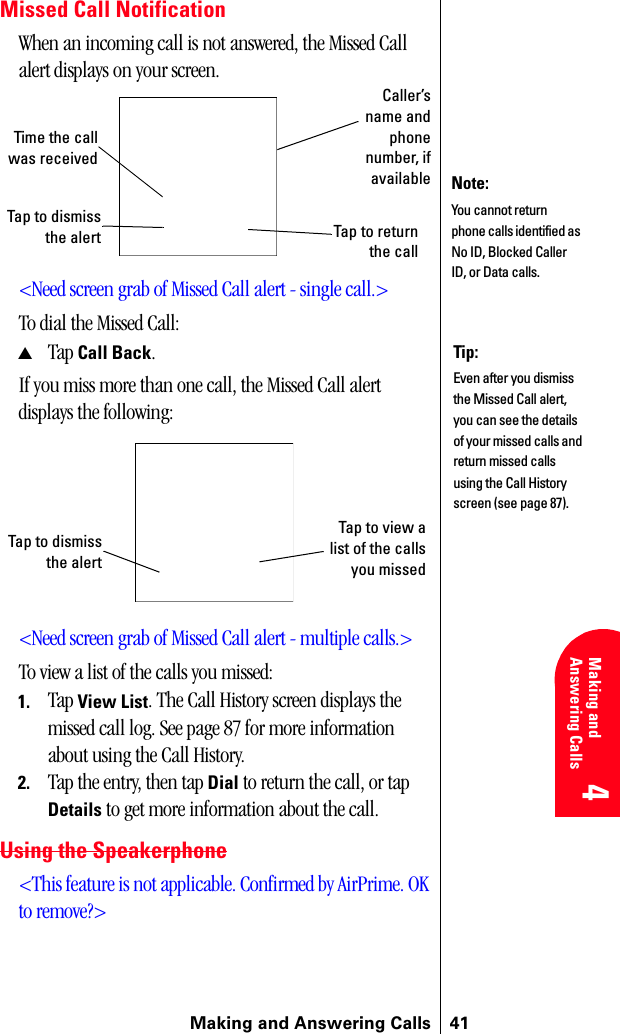
![Section 444 Making and Answering Calls3. The number will automatically be dialed. Keep in mind that Sprint PCS Voice Command recognizes not only your voice, but any voice, so others can experience the same convenience if they use your module.For more helpful hints on Sprint PCS Voice Command, visit www.talk.sprintpcs.com.Dialing Options<This section is not applicable. Confirmed by AirPrime. OK to remove?>Dialing options are displayed when you enter numbers in the main menu.To select an option, highlight it and press .䊳Call to dial the phone number. (If you are roaming and have the Call Guard feature activated, select Roam Call. See “Call Guard” on page xx.)䊳Save to save the phone number in your Internal PhoneBook. (See “Saving a Phone Number” onpage xx.)䊳Find to display Internal Phone Book entries that contain the entered numbers. (See “Finding a Phone Number” on page xx.)䊳Hard Pause to insert a hard pause. (See “Dialing and Saving Phone Numbers with Pauses” on page xx.)䊳2-Second Pause to insert a 2-second pause. (See “Dialing and Saving Phone Numbers with Pauses” on page xx.)Some options are displayed as you enter numbers. To select an option, highlight it and press .䊳[An Internal Phone Book Entry] to display the Internal Phone Book entry. Press again to dial the entry’s phone number.䊳4-Digit Dial to dial the phone number in your Internal Phone Book that ends with the four digits you enter. (See “4-Digit Dialing” on page xx.)Tip:To speed dial a phone number from the main menu, press and hold the Internal Phone Book entry number. If the entry number is two digits, enter the first digit, then press and hold the second digit. (This feature will not work when you are roaming and Call Guard is enabled.)](https://usermanual.wiki/Sierra-Wireless/SB3000P.Users-Manual-Part-3-of-6/User-Guide-153680-Page-26.png)