Quanta Computer OA8BCM94309MP Tablet Computer User Manual Using Your Gateway M275 Notebook
Quanta Computer Inc Tablet Computer Using Your Gateway M275 Notebook
UserManual.wiki
>
Quanta Computer
>
OA8BCM94309MP User Manual
>
Users Manual Part 2 Revised
Contents
1.
DoC
2.
Users Manual Part 1
3.
Users Manual Part 2
4.
Users Manual Part 3
5.
Users Manual Part 1 Revised
6.
Users Manual Part 2 Revised
7.
Users Manual Part 3 Revised
Users Manual Part 2 Revised
Navigation menu
Upload a User Manual
Namespaces
Wiki Guide
HTML
PDF
Info
Views
User Manual
Discussion / Help
Navigation
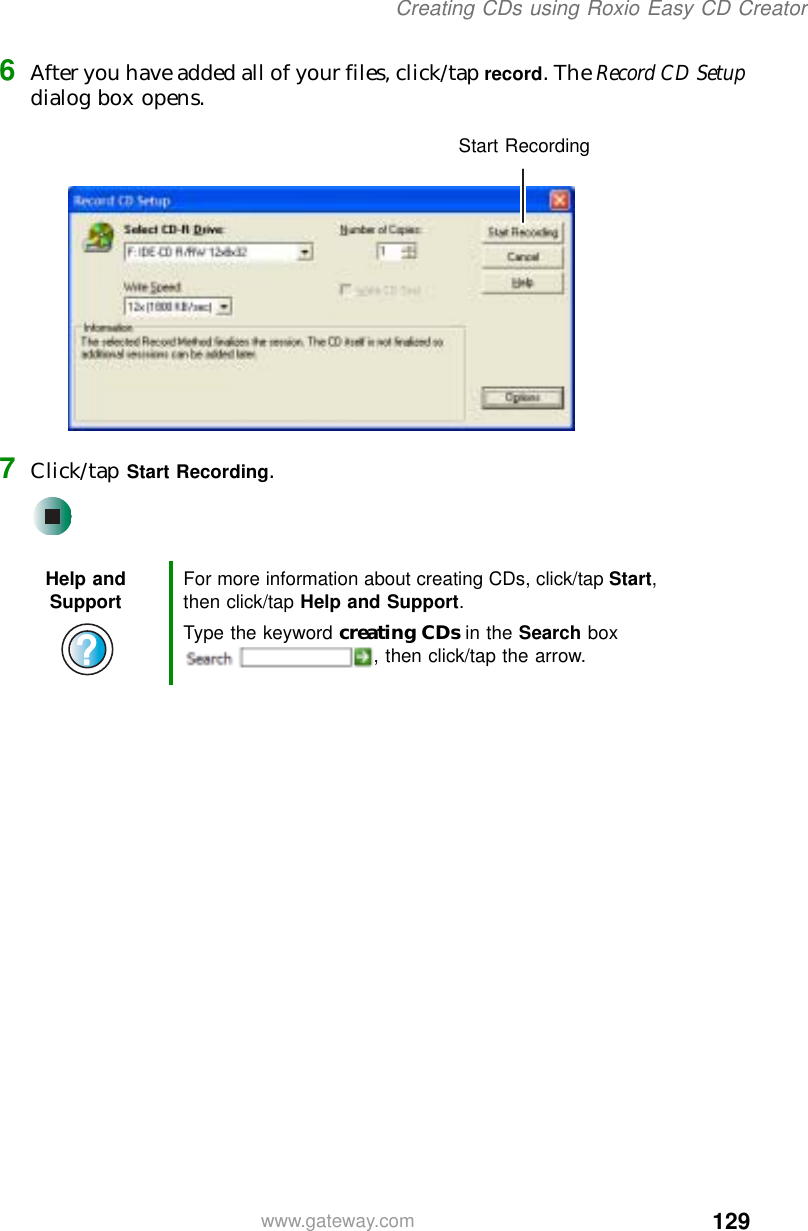


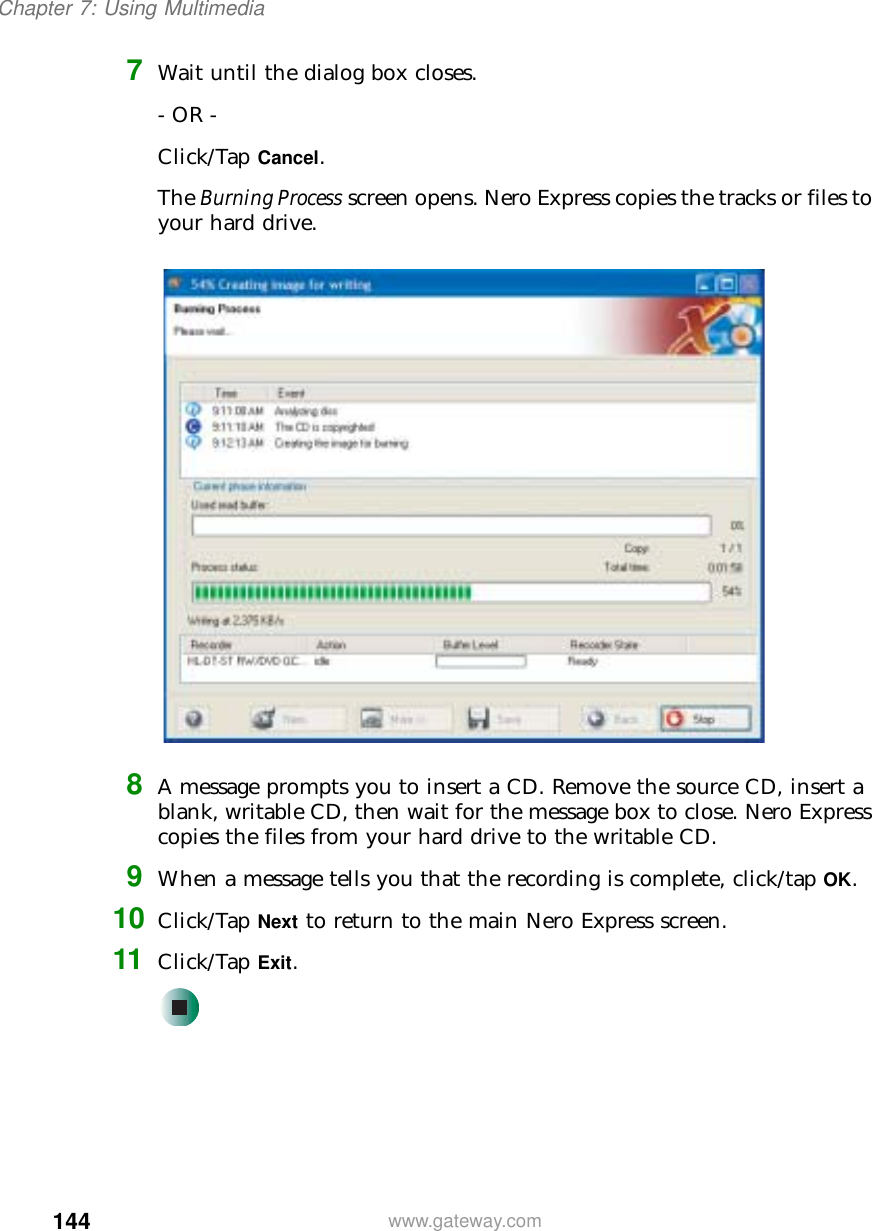
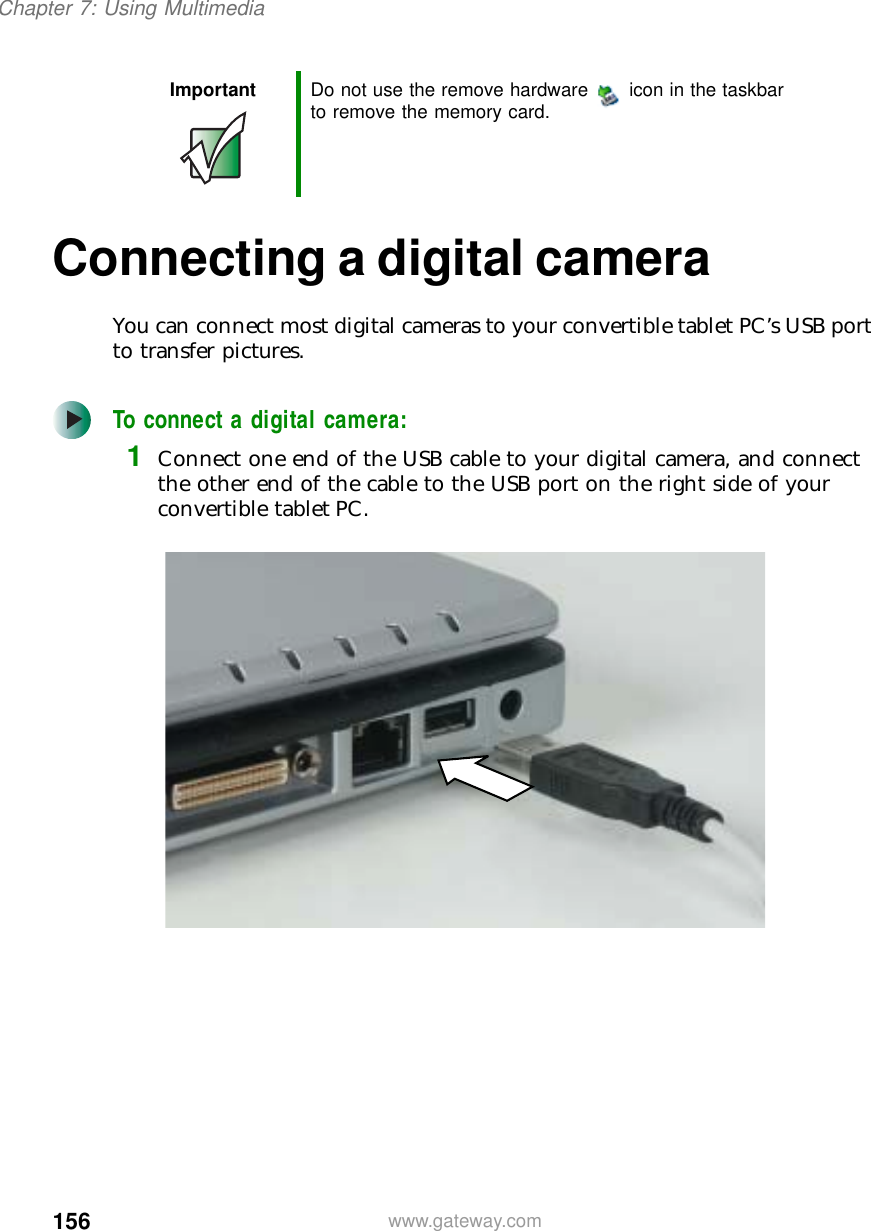
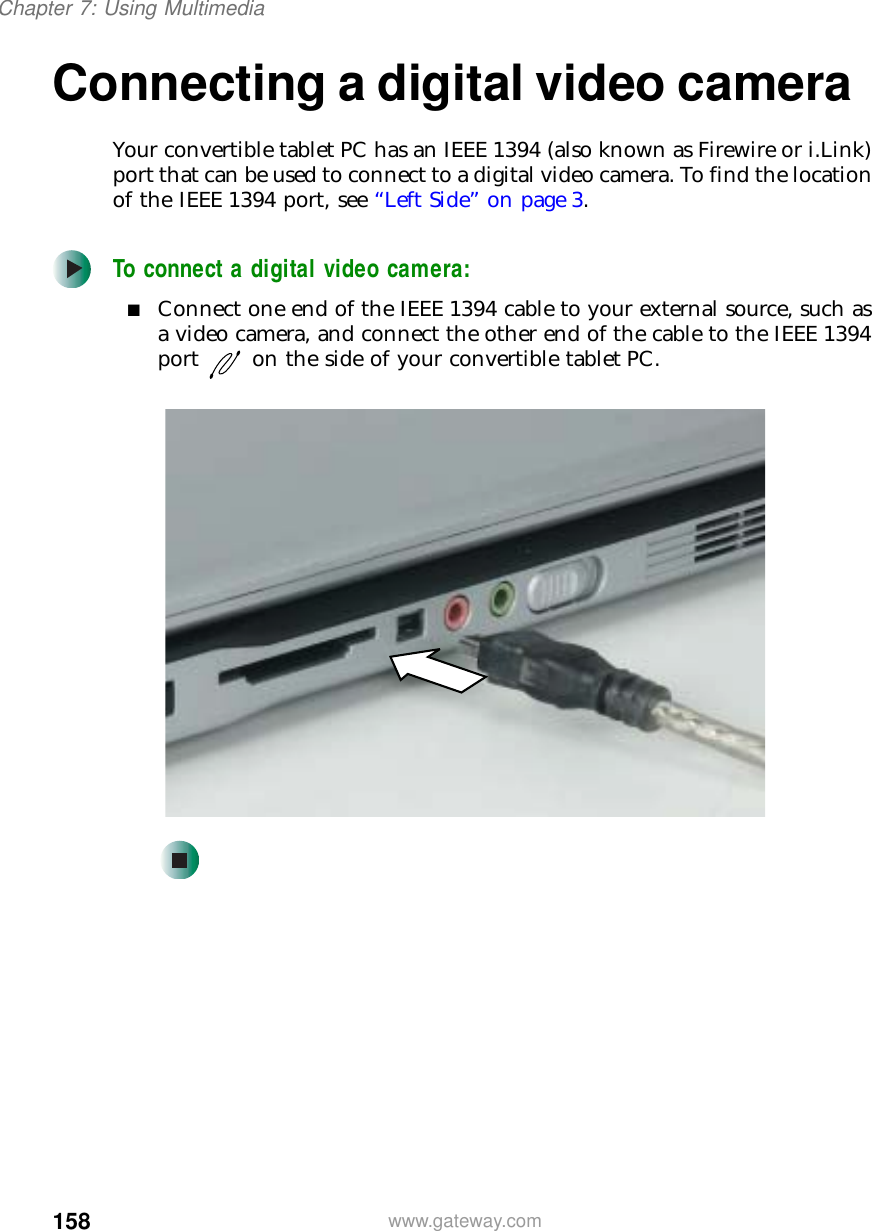

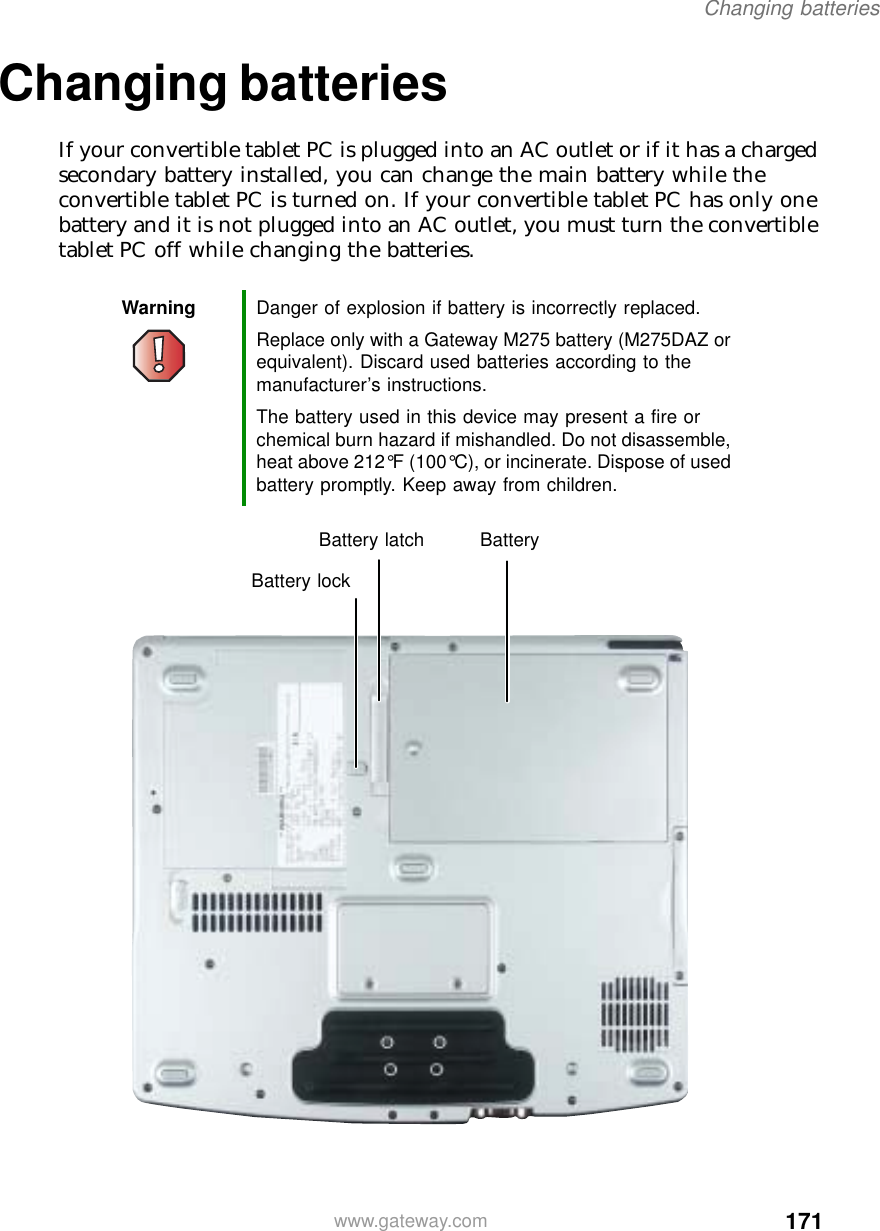
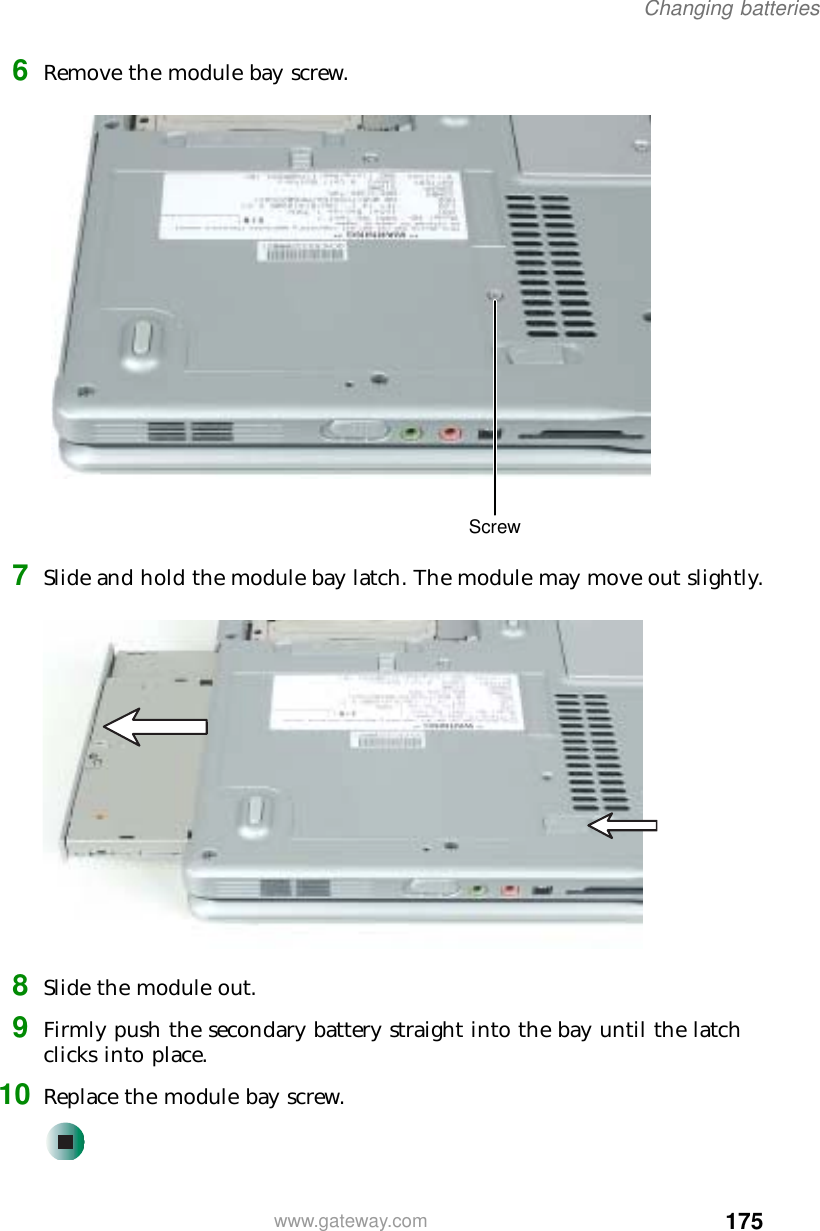
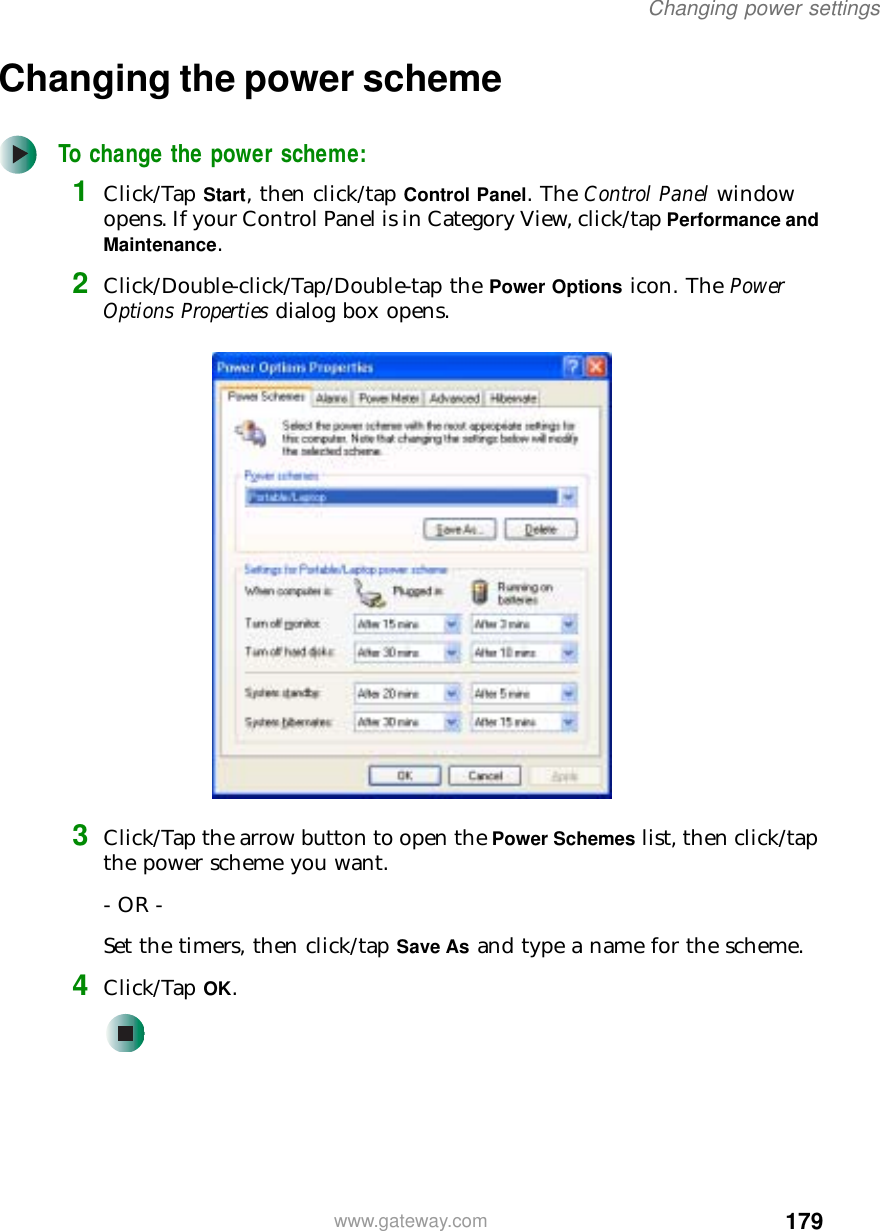
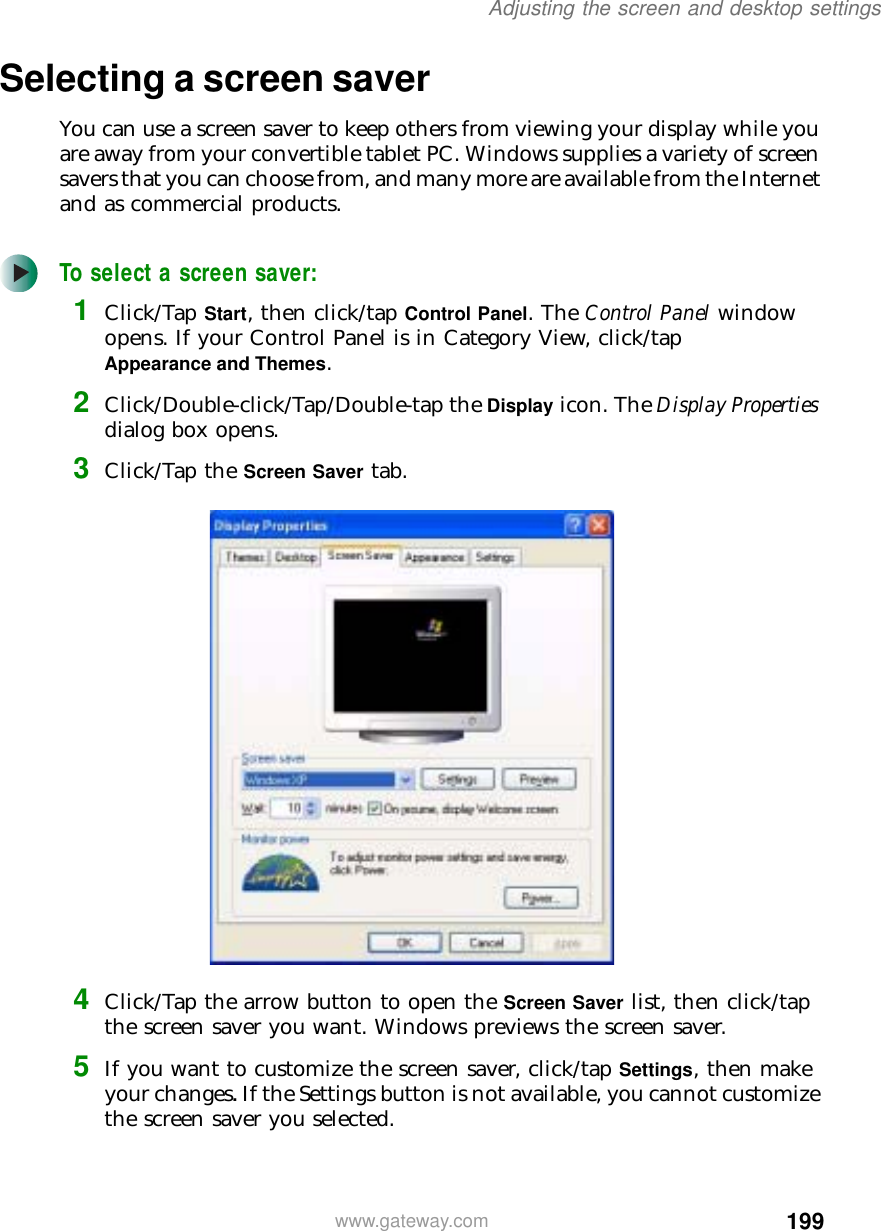
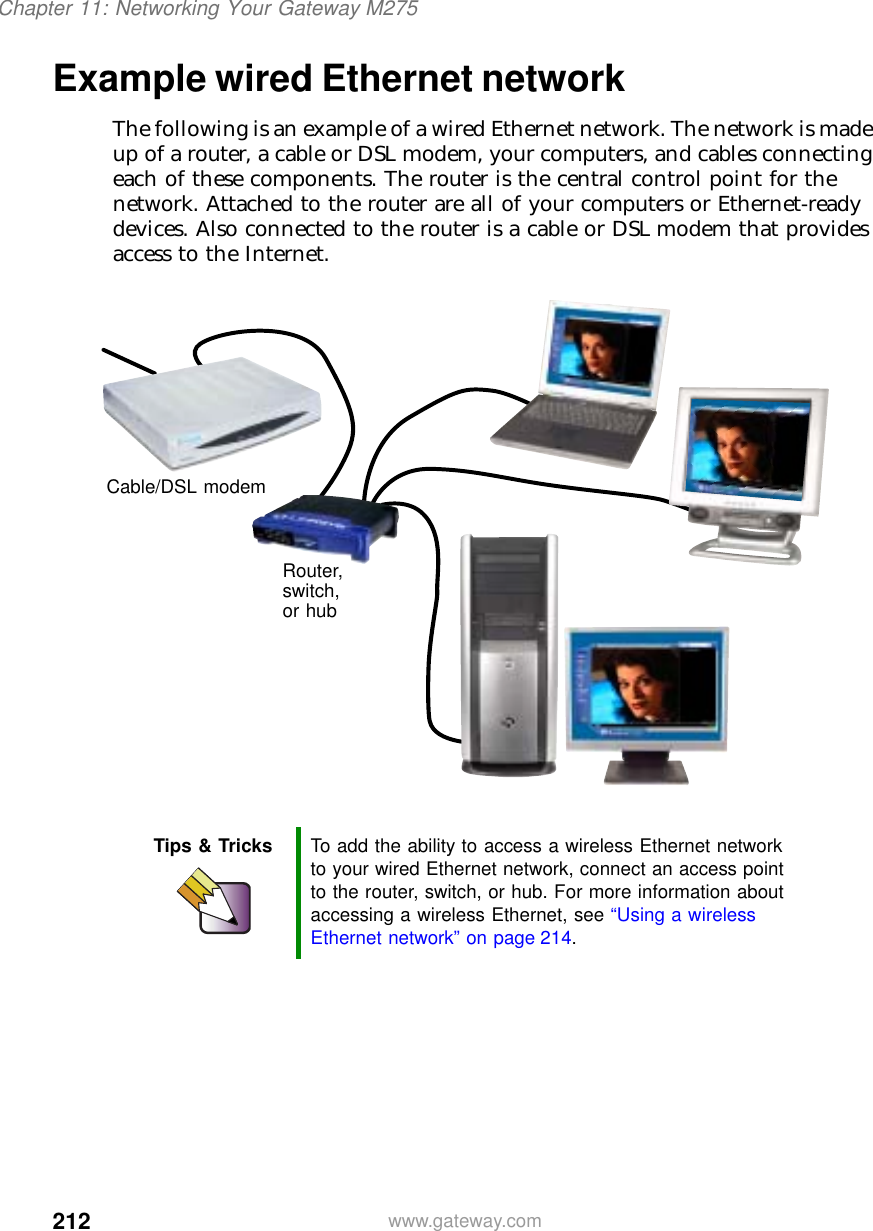
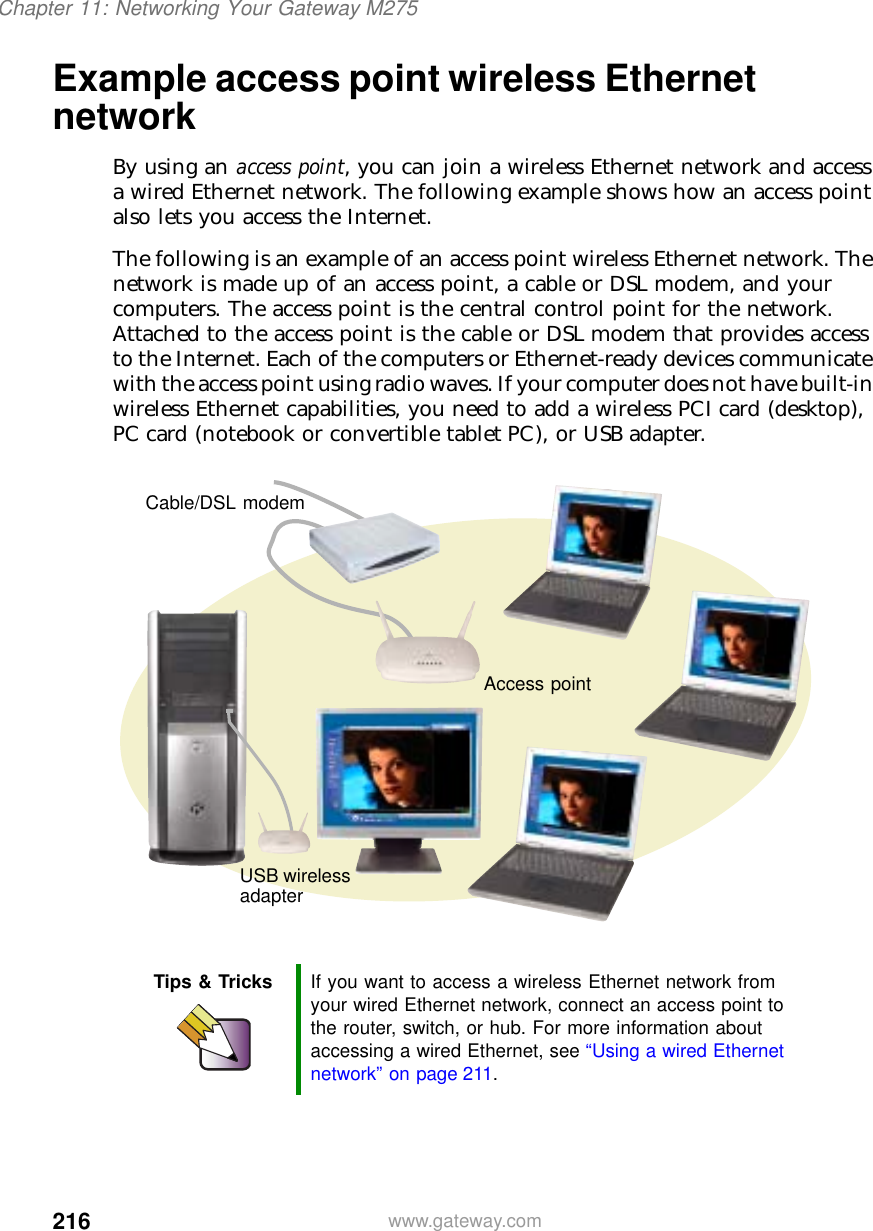
![170Chapter 8: Managing Powerwww.gateway.comRecalibrating the batteryIf your convertible tablet PC unexpectedly goes into Standby mode while you are using it but the battery charge is not low, you may need to recalibrate your battery. You should also recalibrate the battery periodically to maintain the accuracy of the battery gauge.To recalibrate the battery:1Connect the AC adapter, then turn on your convertible tablet PC.2As soon as it starts and you see a startup screen, press F2. The BIOS Setup utility opens.3Open the Advanced menu.4Highlight Battery Auto Learning, then select Enabled by pressing the spacebar.5Open the Exit menu, then highlight Exit Saving Changes and press ENTER.6Select Yes, then press ENTER.The battery recalibration process begins and a screen opens showing you the progress. The entire process will take several hours.When the recalibration has finished, the message “Press [Esc] key to exit” appears.7Press ESC. The battery charge indicator now displays an accurate battery charge. If the battery charge indicator does not show an accurate charge, contact Gateway Technical Support.Important Do not interrupt the battery recalibration process. If recalibration is interrupted, you must start the process over again.](https://usermanual.wiki/Quanta-Computer/OA8BCM94309MP.Users-Manual-Part-2-Revised/User-Guide-388885-Page-51.png)