Quanta Computer 1200015318 Notebook Computer with Built-In Wireless LAN User Manual Solo1200
Quanta Computer Inc Notebook Computer with Built-In Wireless LAN Solo1200
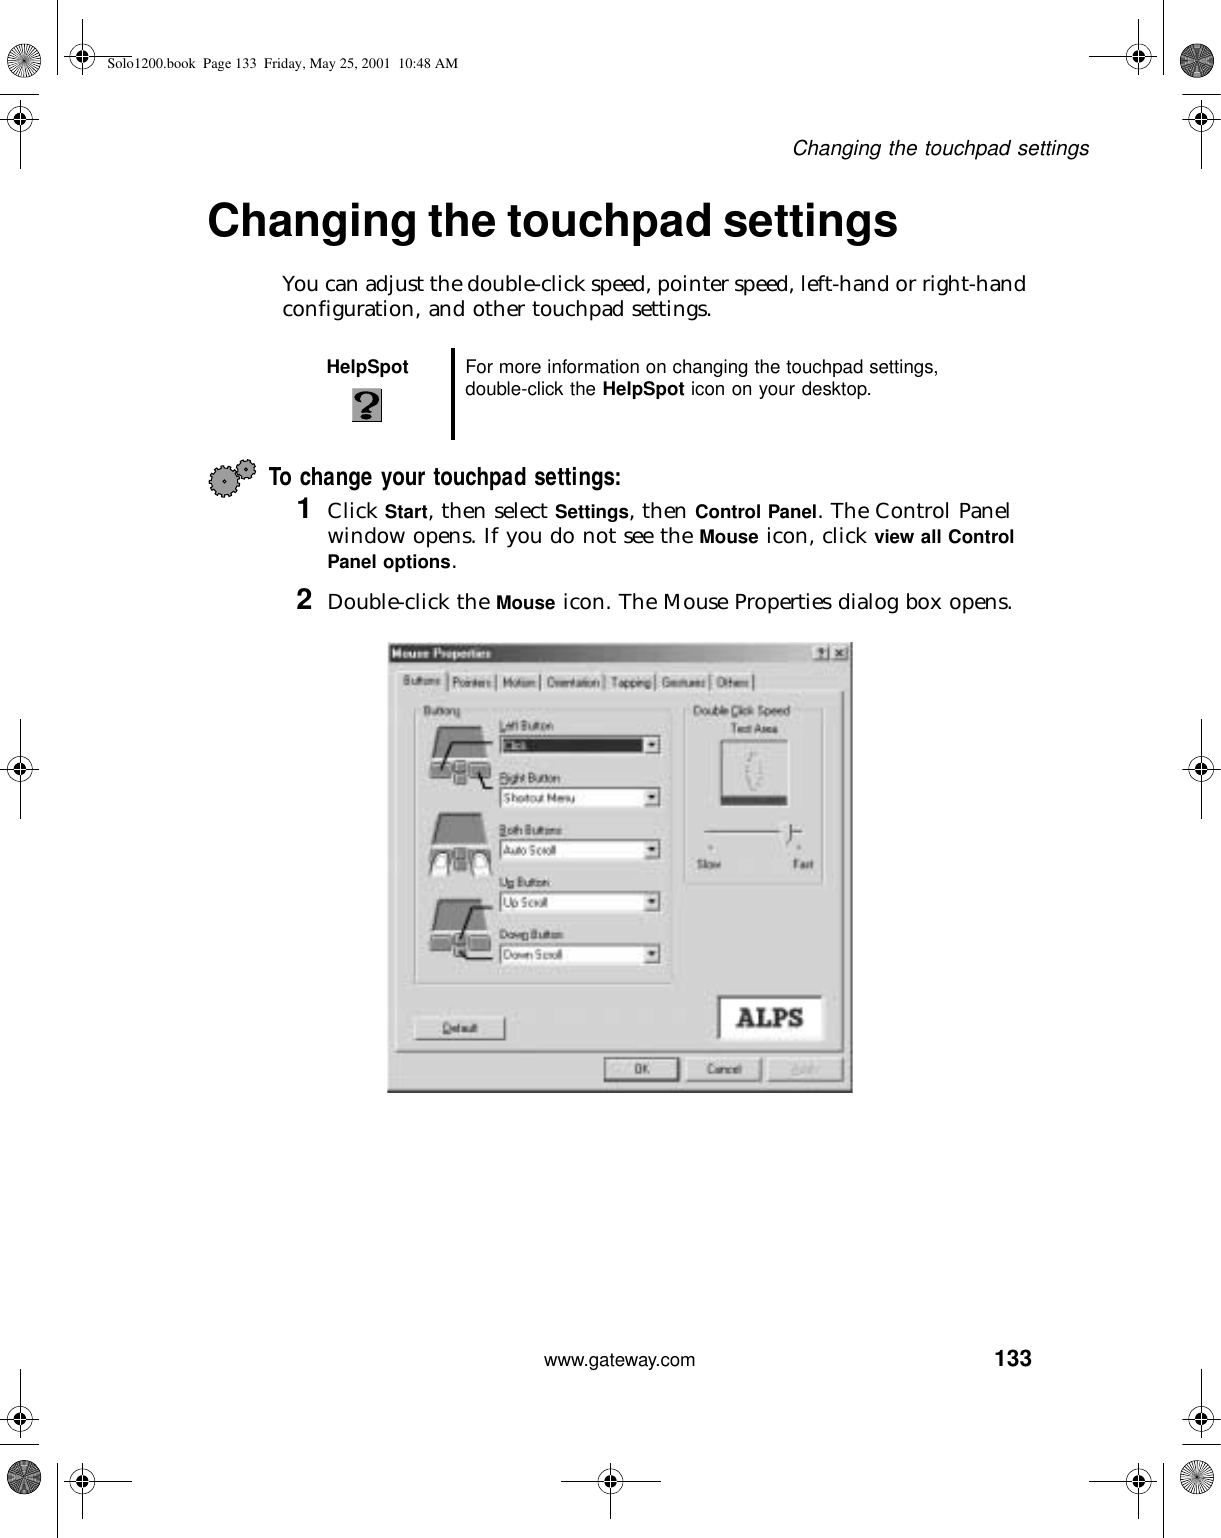
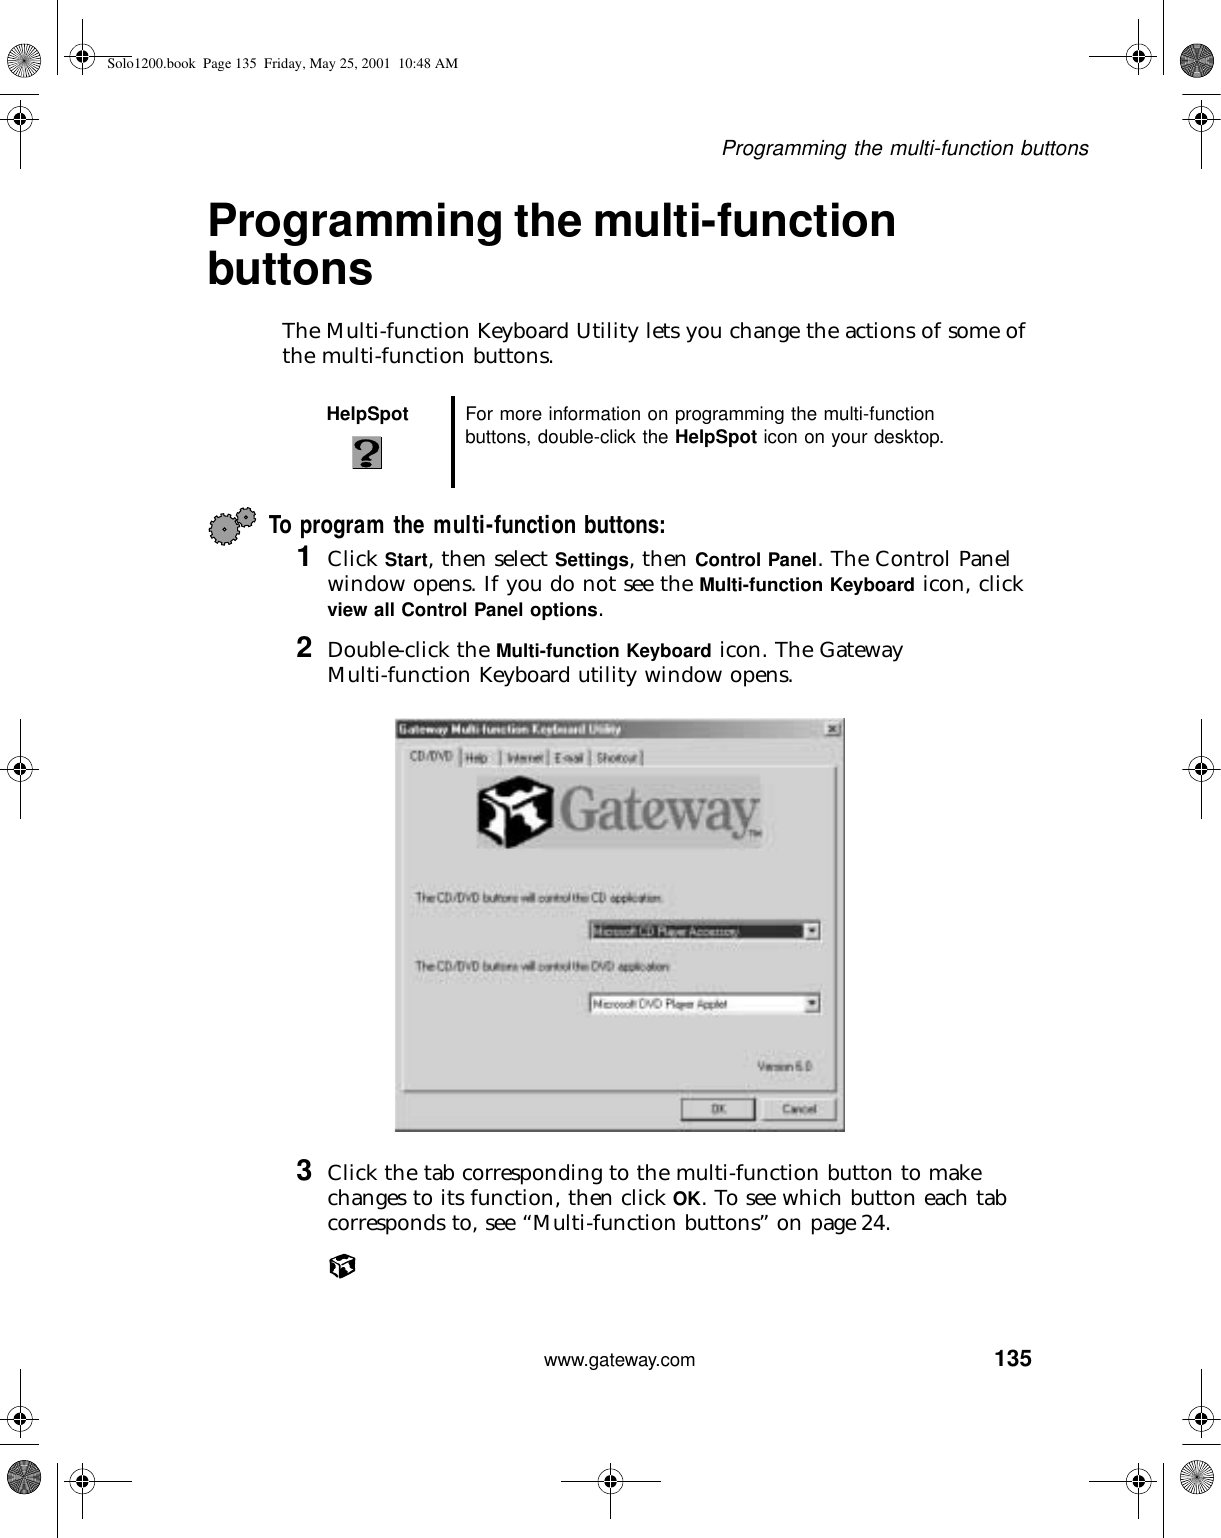
Contents
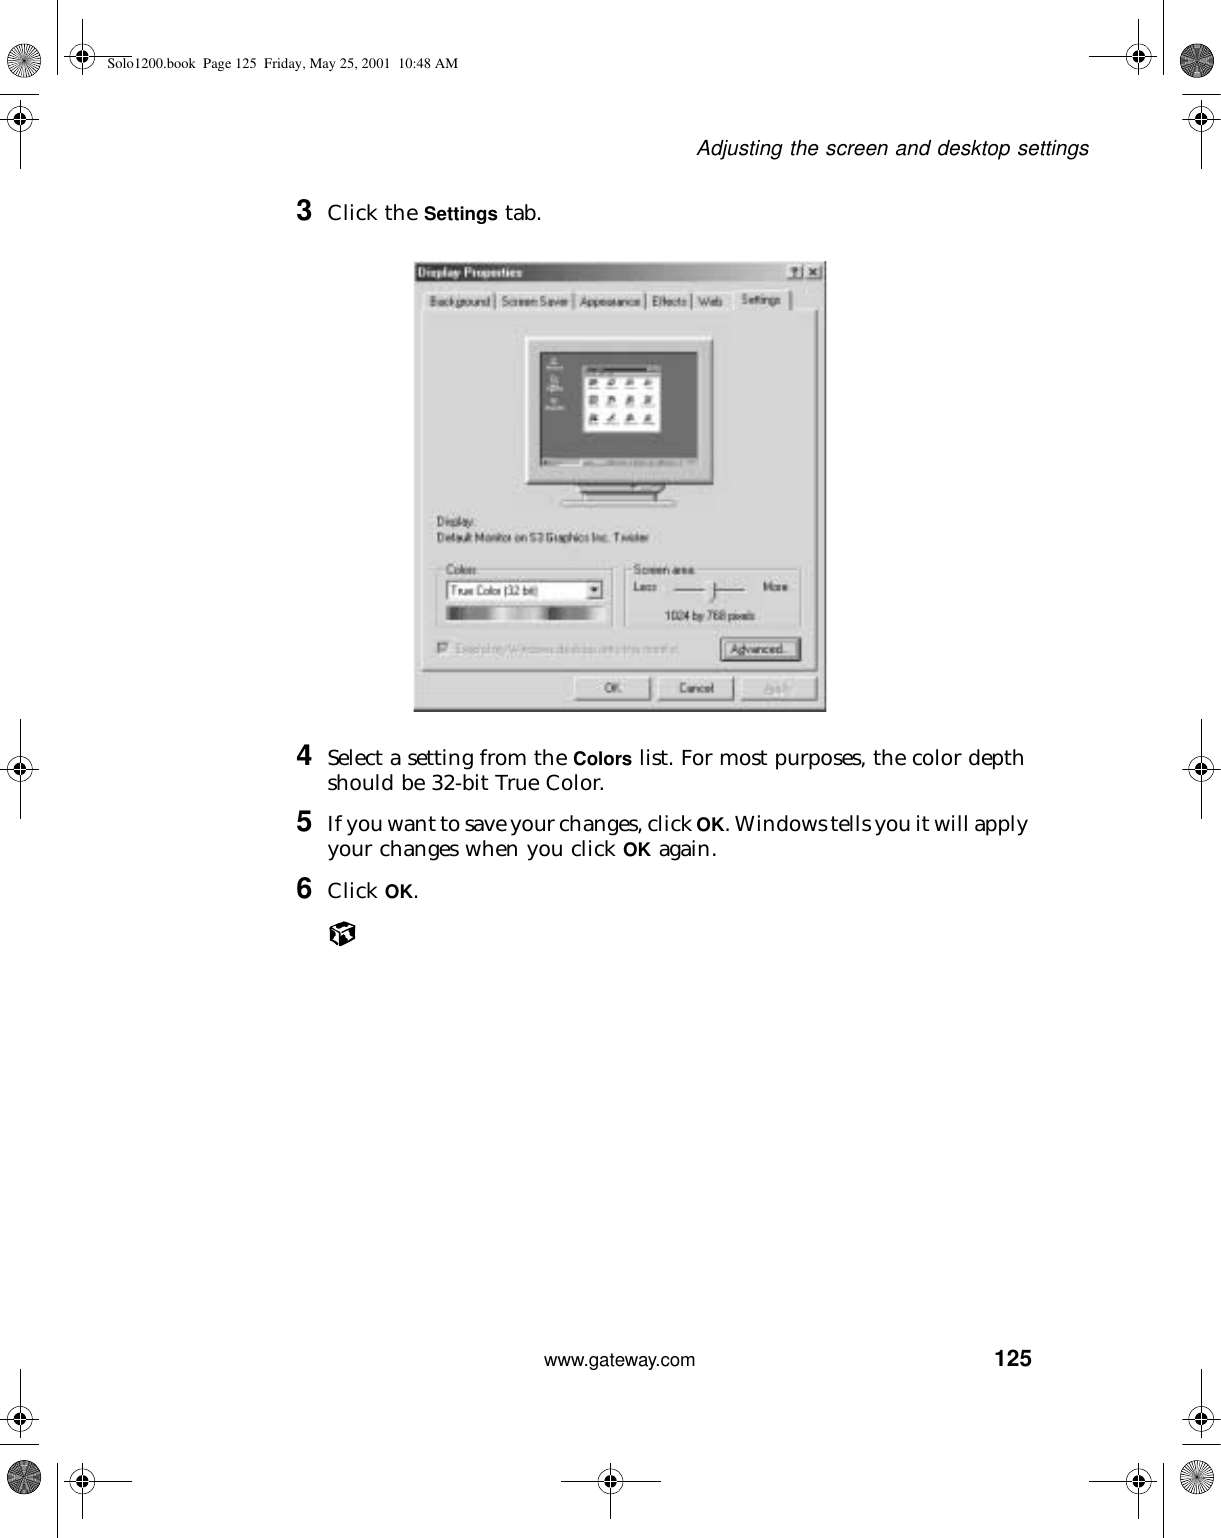
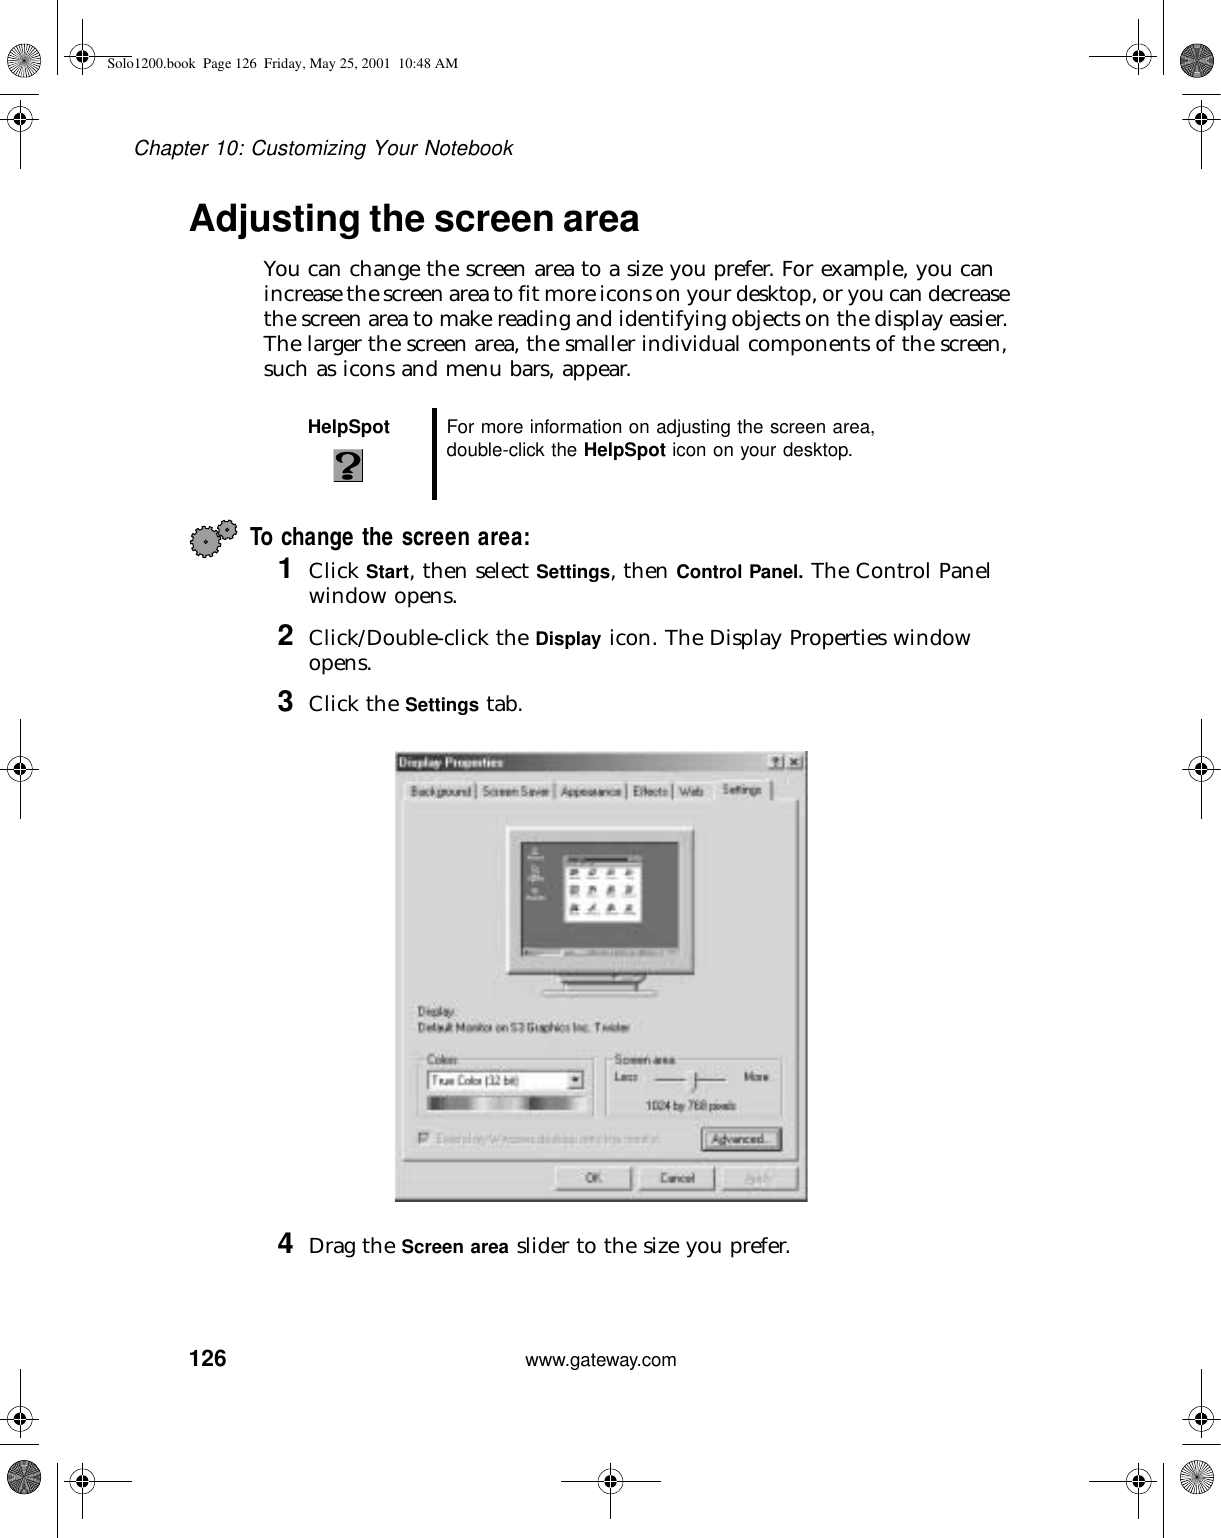
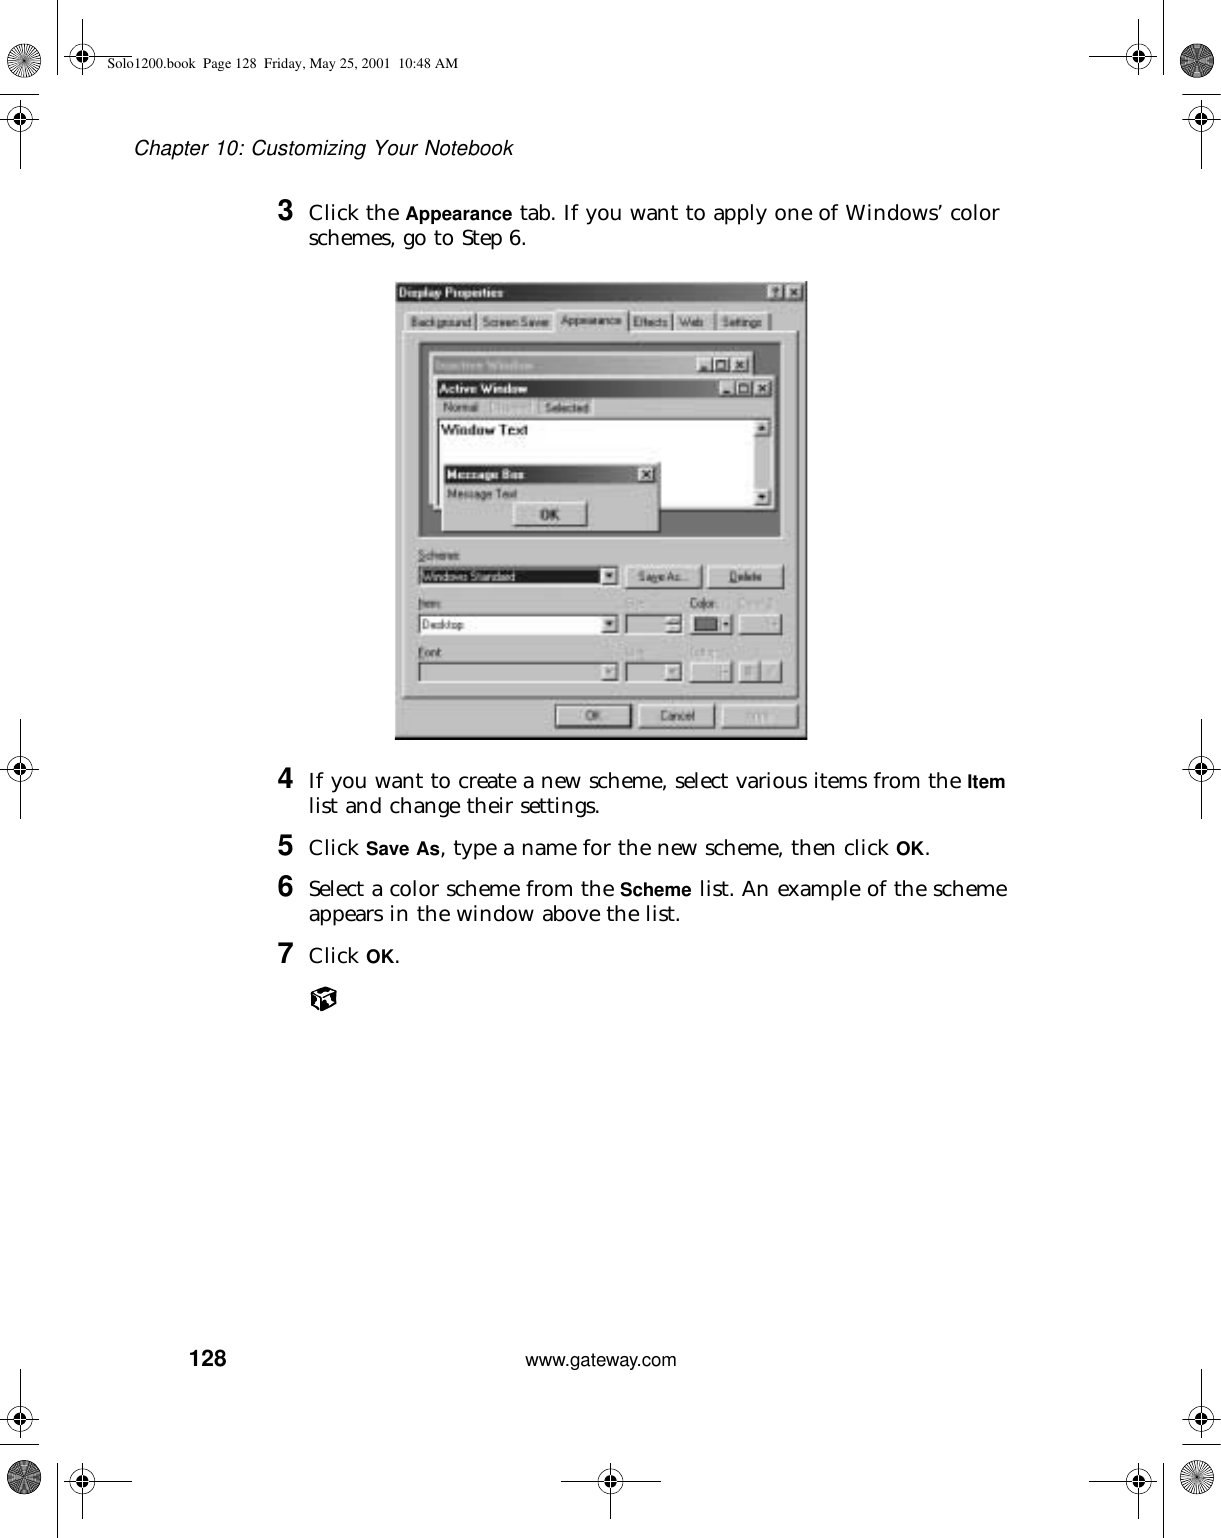
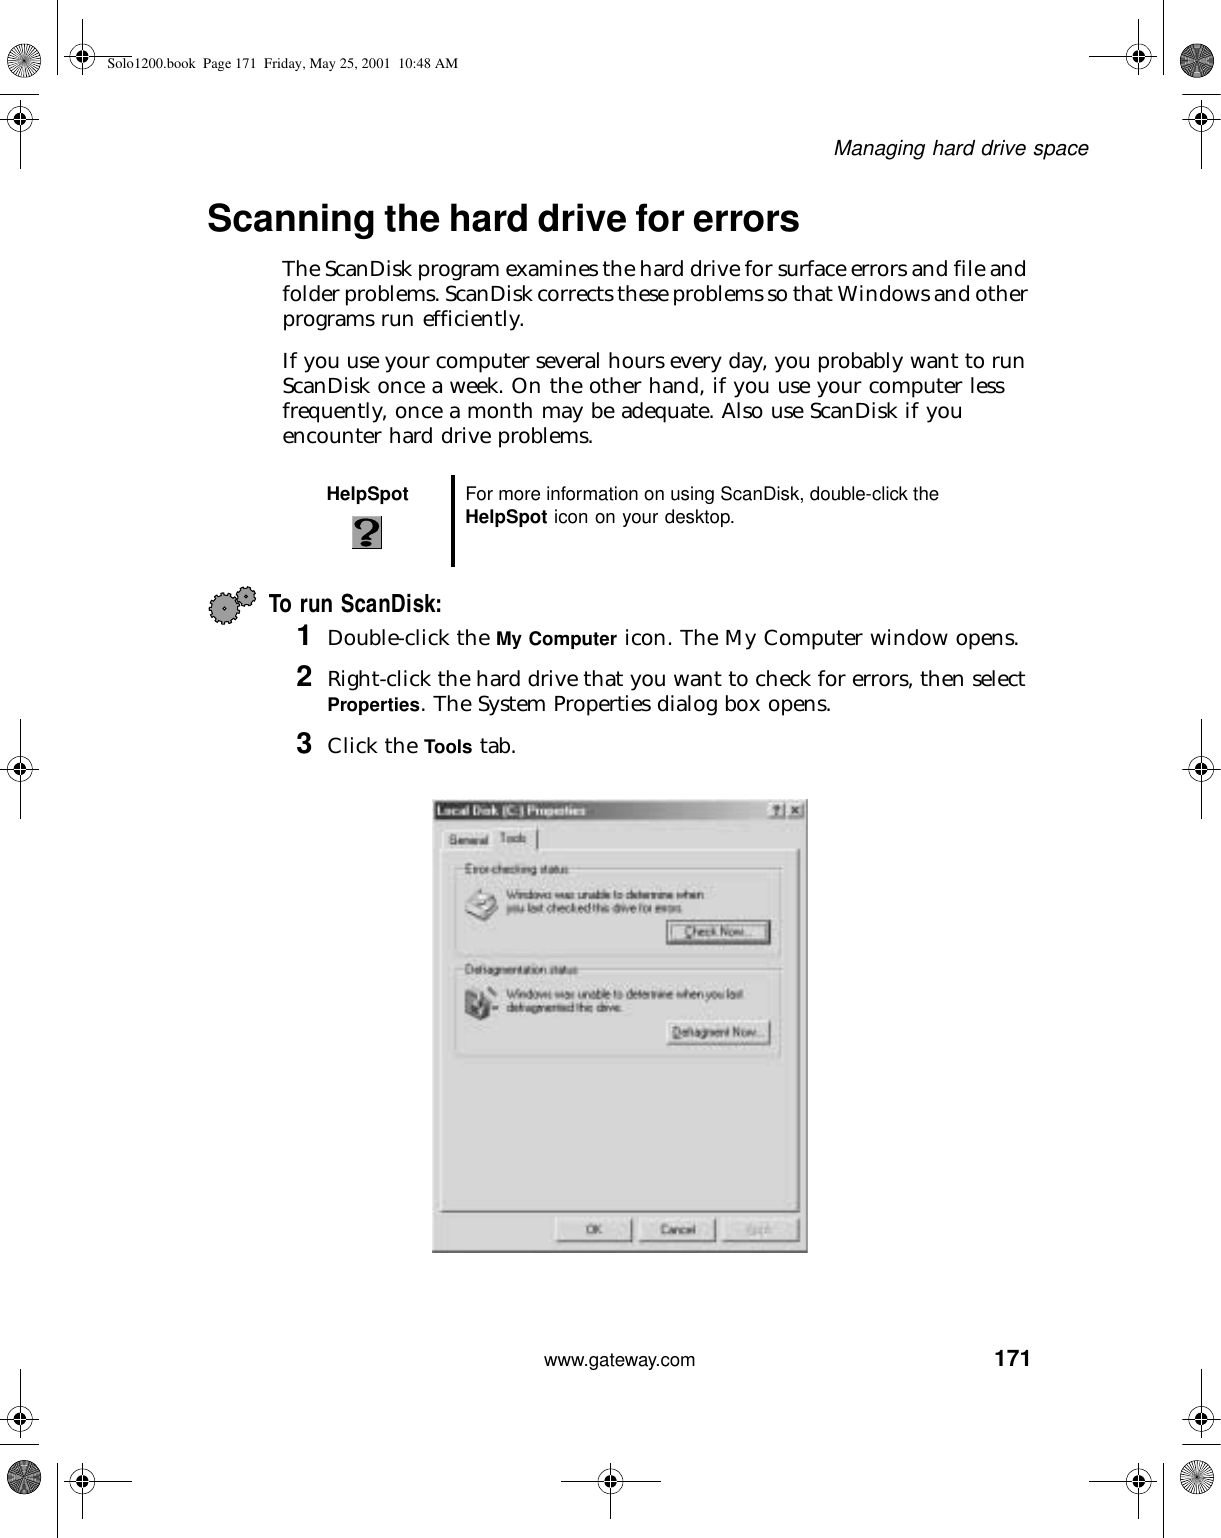
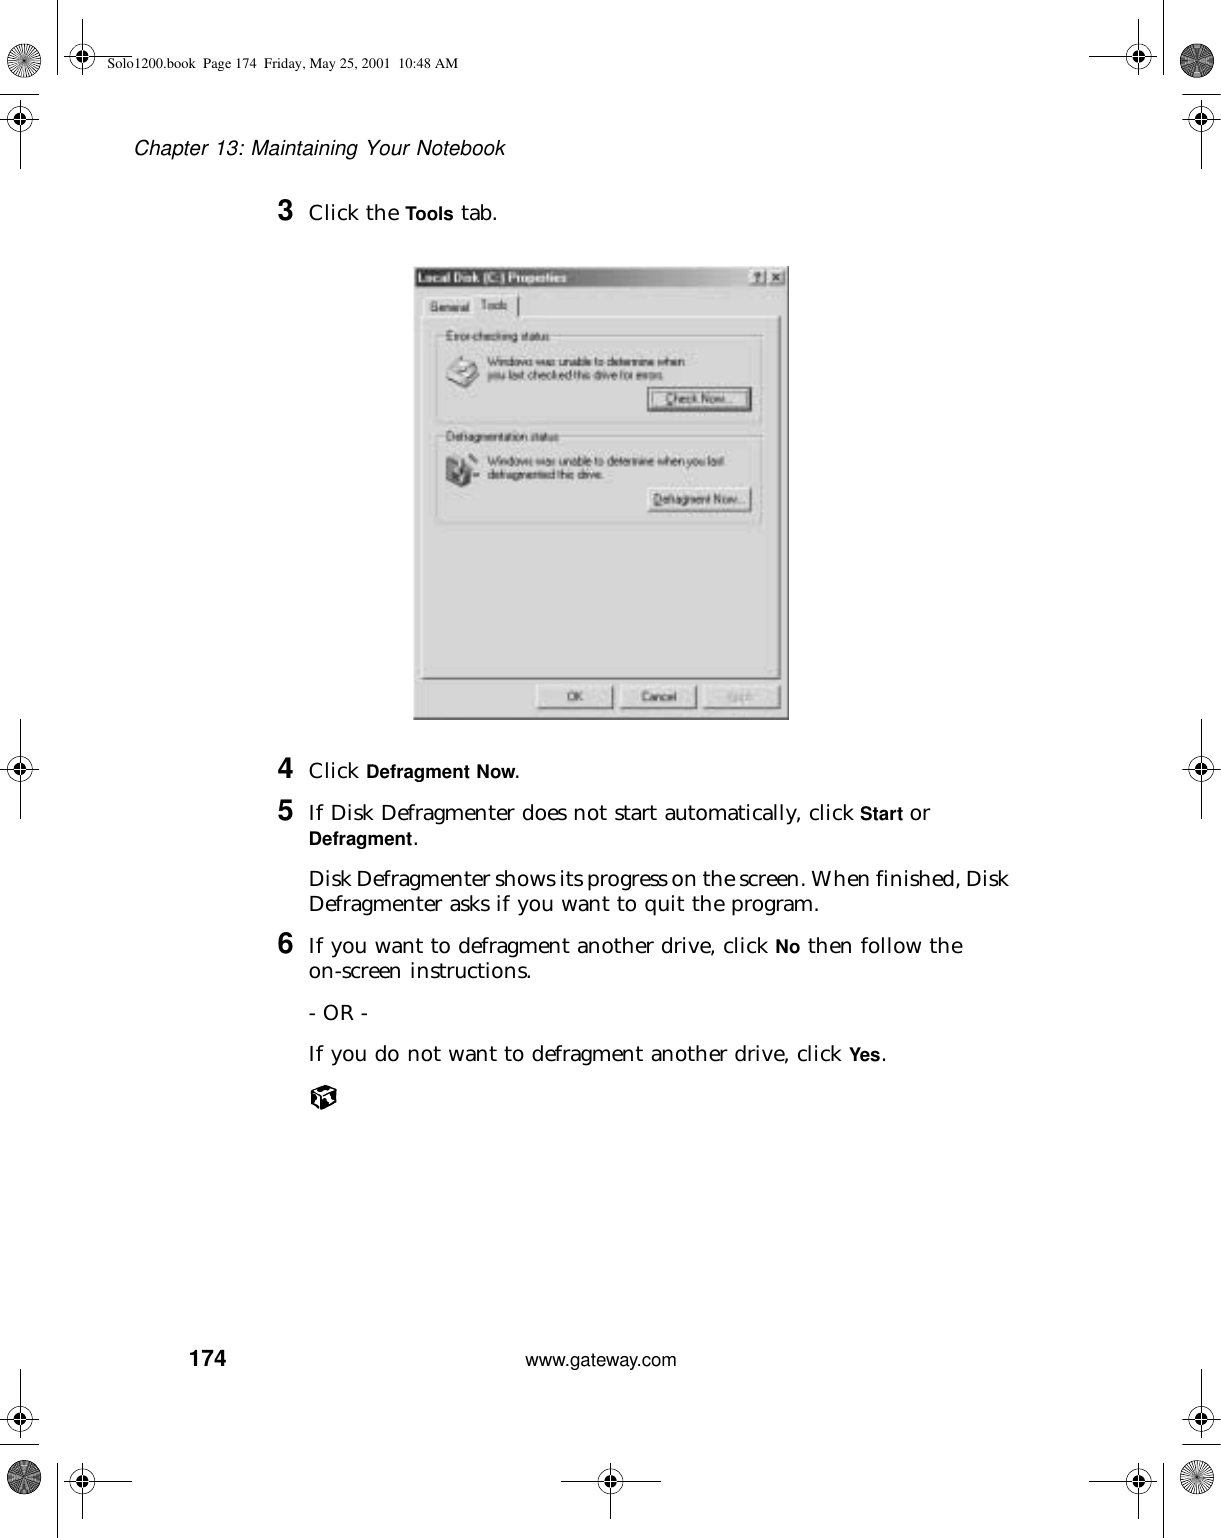
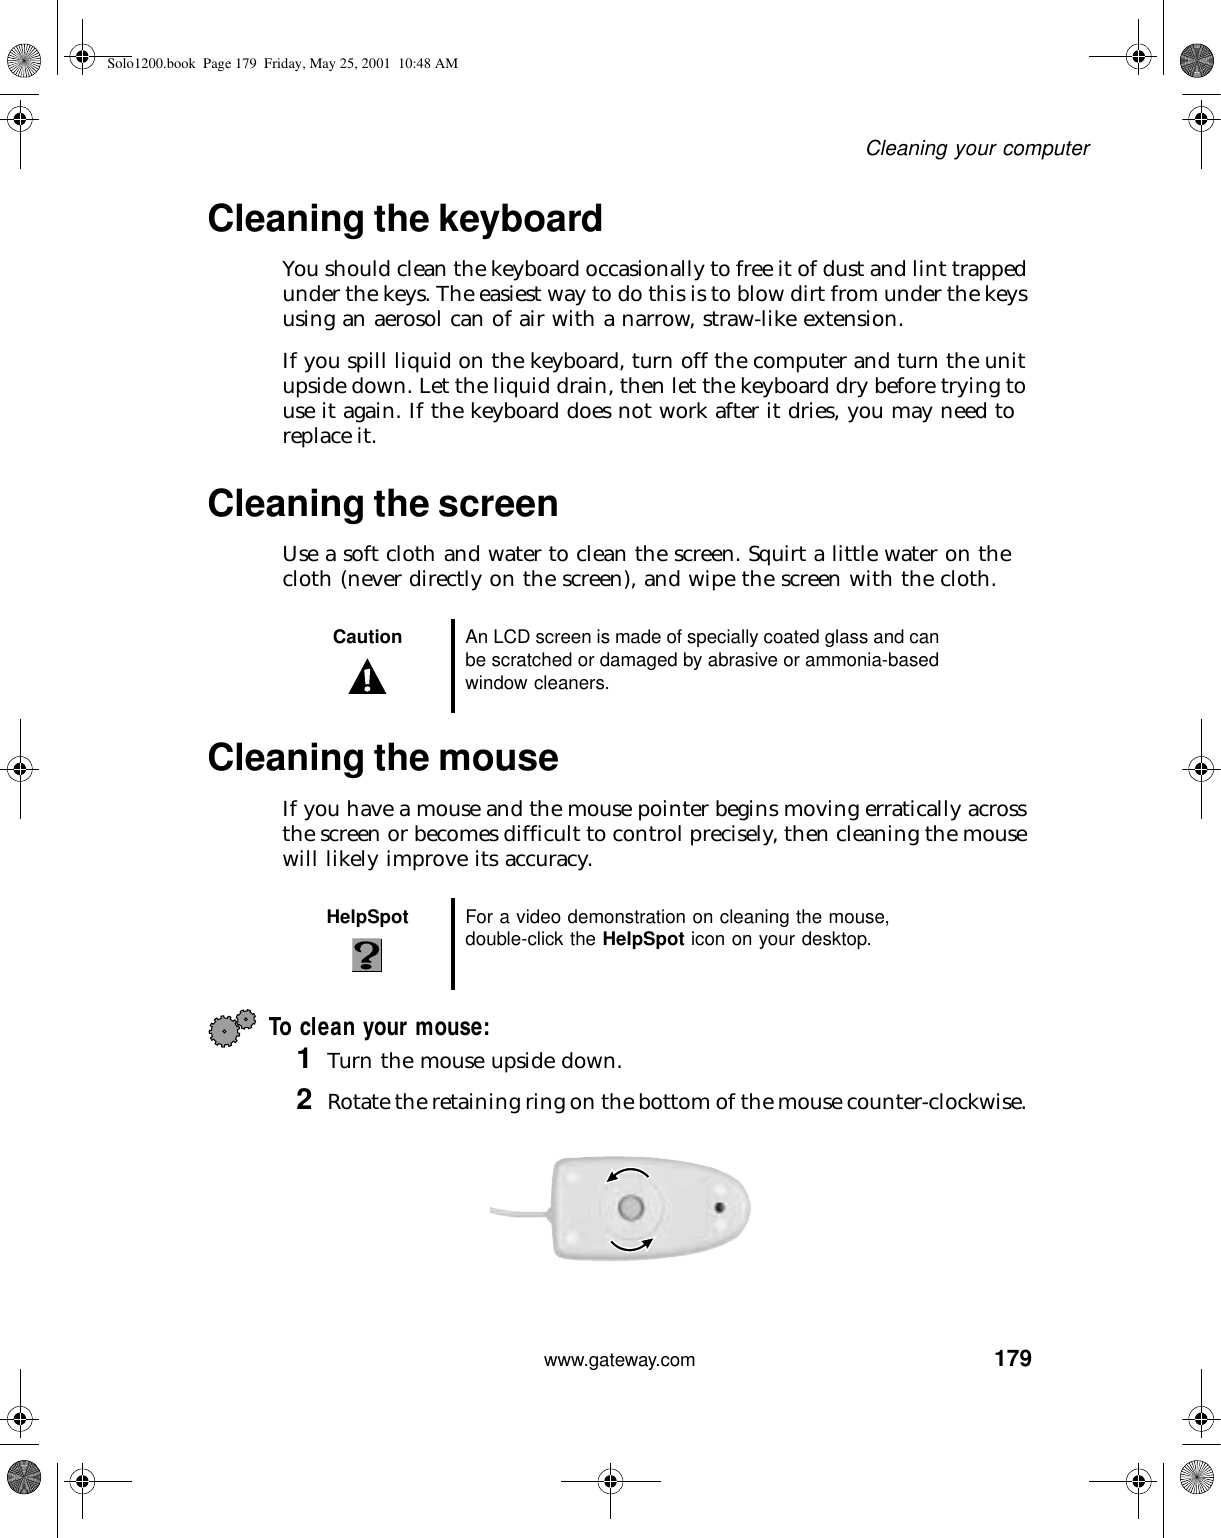
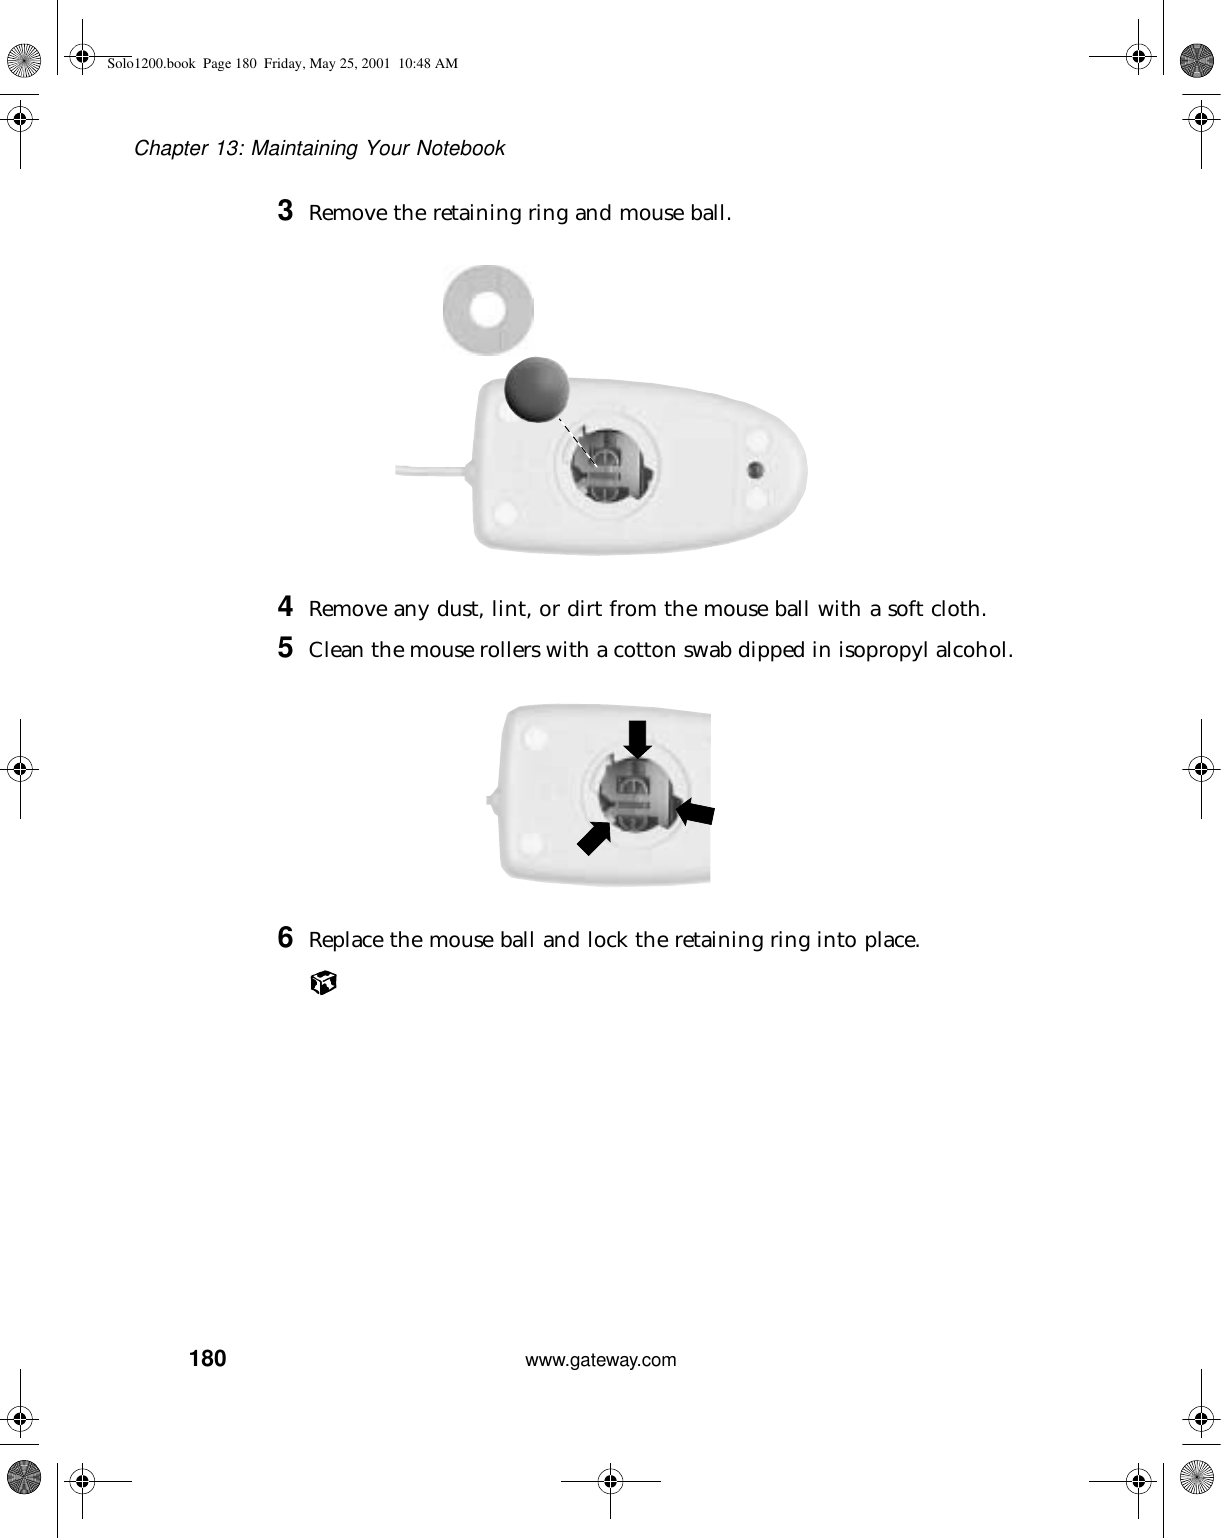
- 1. User Manual Section 1
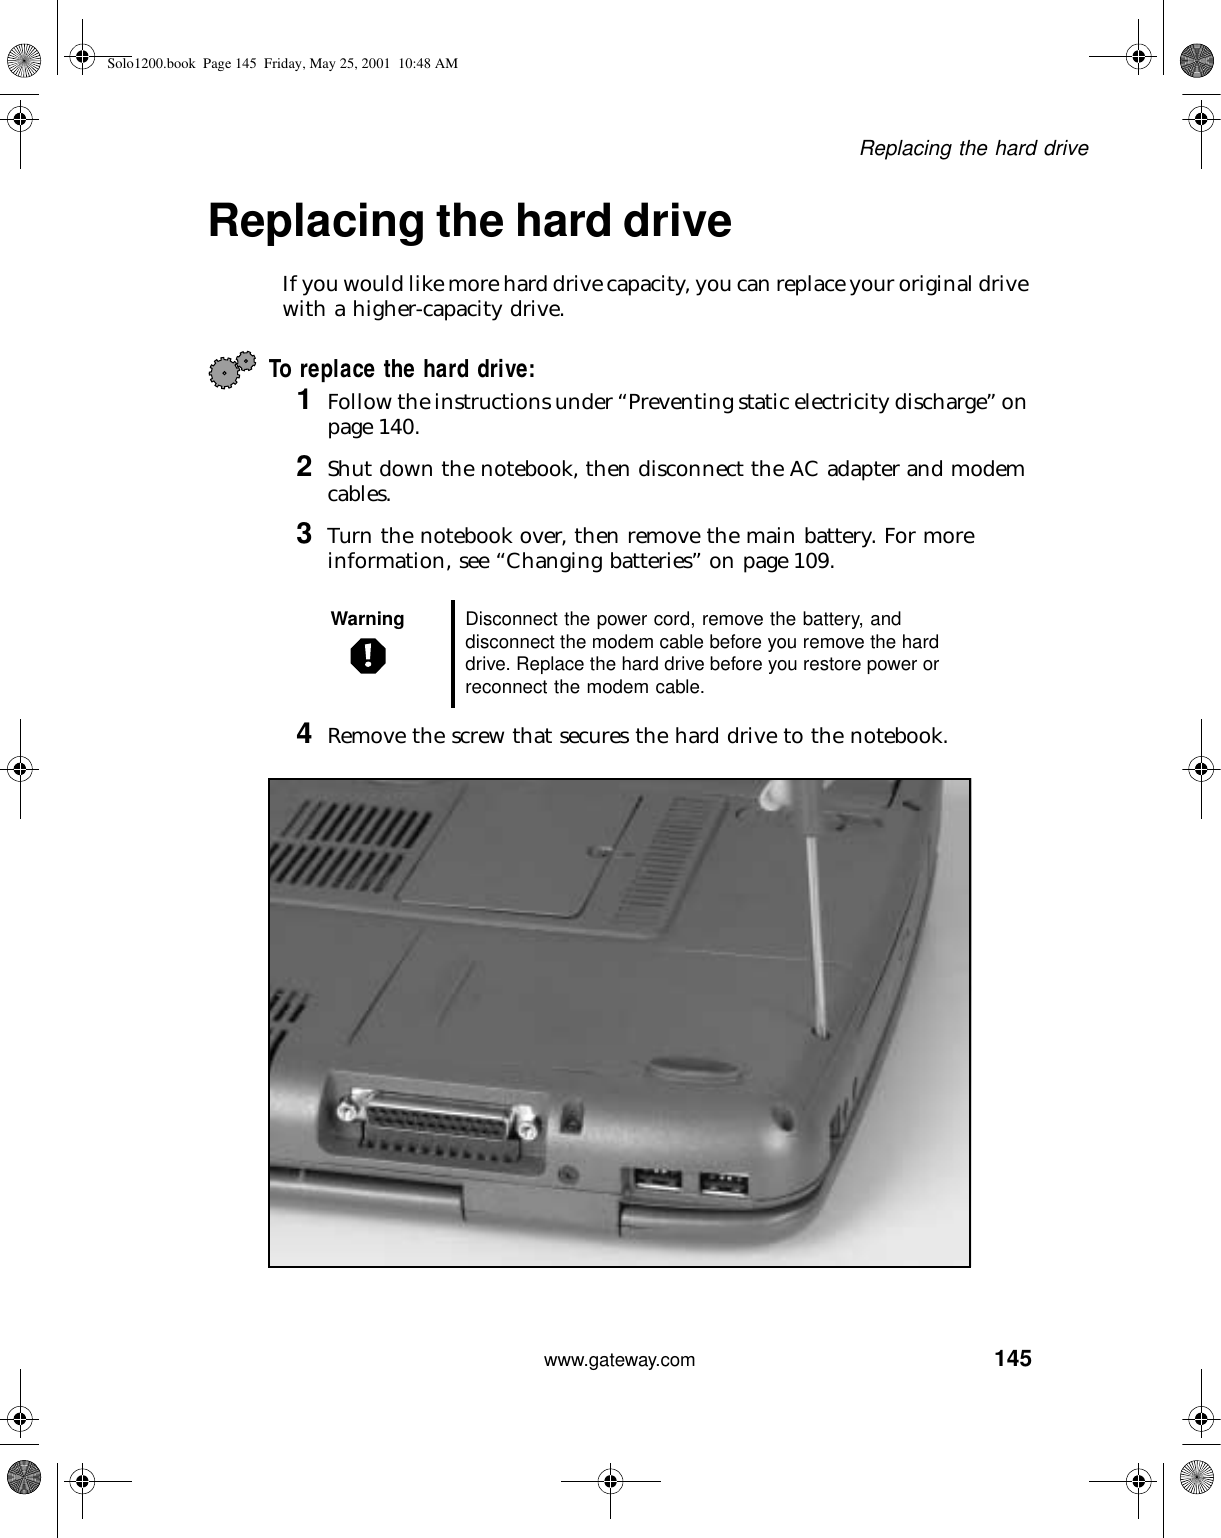
- 2. User Masnual section 2
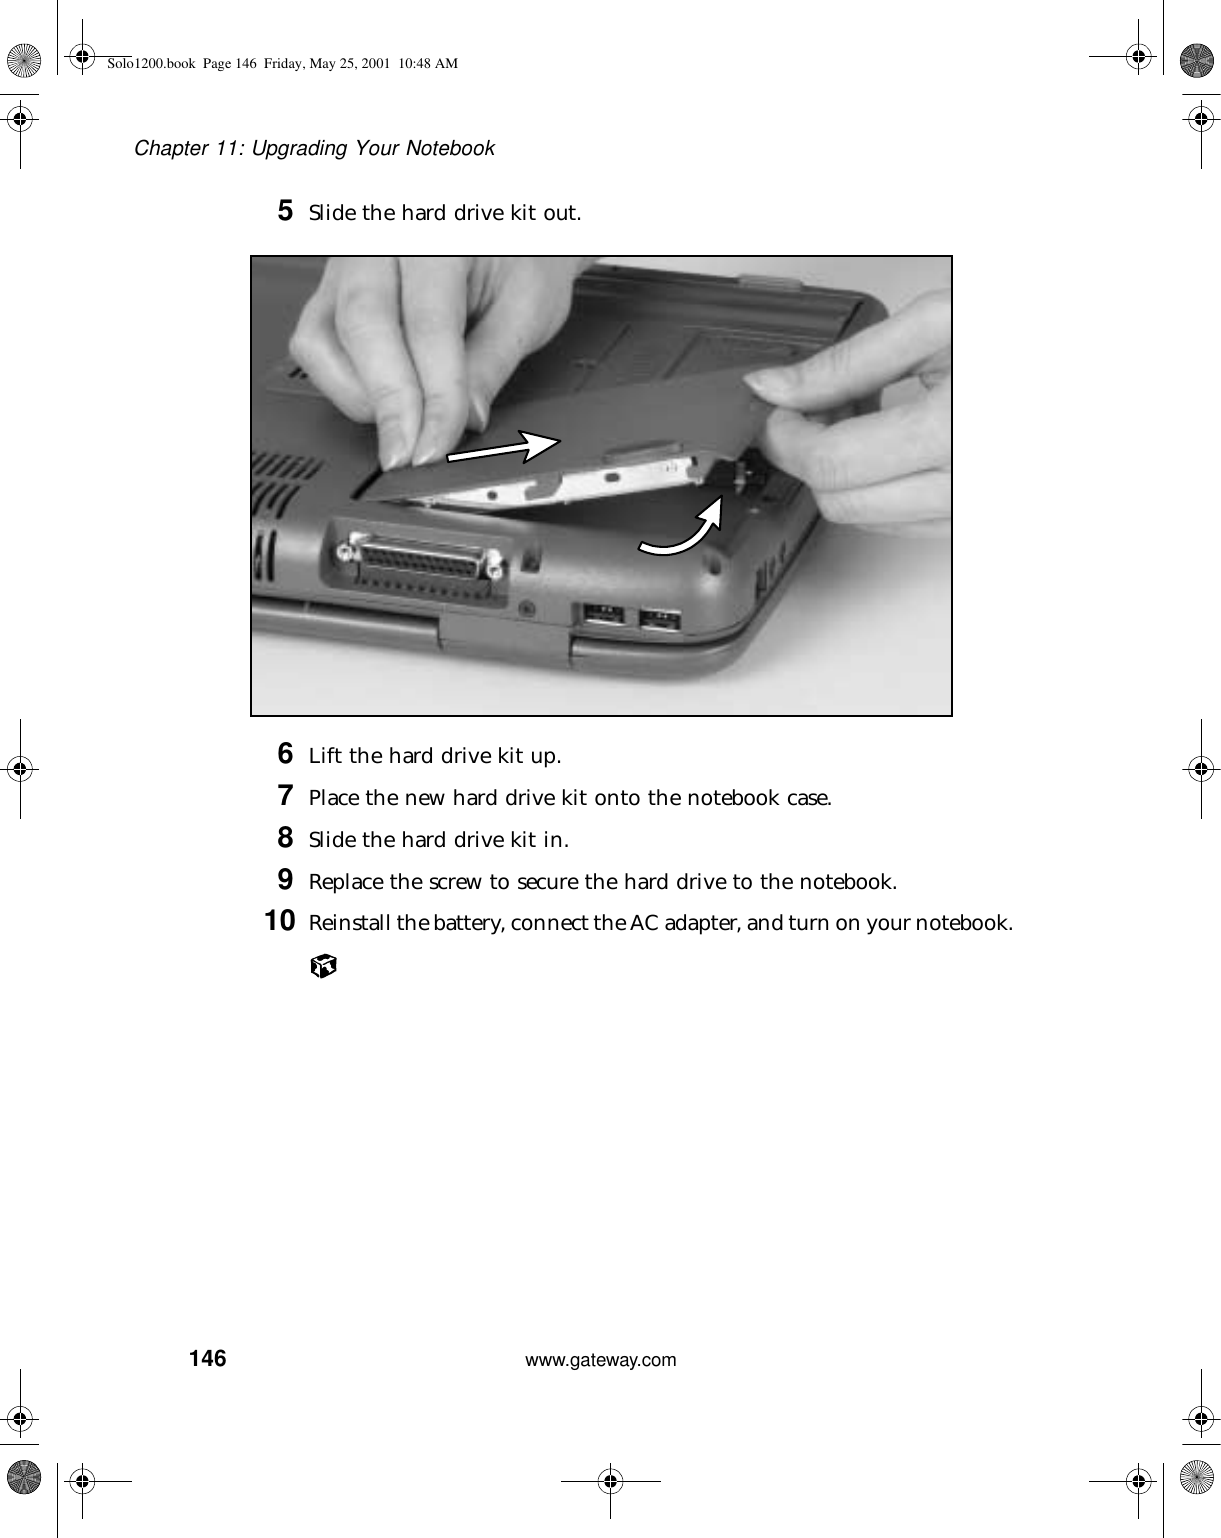
- 3. Mini PCI Card
User Masnual section 2