Primatronix EMG900T Emergency Pendant Telephone-Remote Control User Manual
Primatronix Ltd Emergency Pendant Telephone-Remote Control
UserManual.wiki
>
Primatronix
>
EMG900T User Manual
User Manual
Navigation menu
Upload a User Manual
Namespaces
Wiki Guide
HTML
PDF
Info
Views
User Manual
Discussion / Help
Navigation
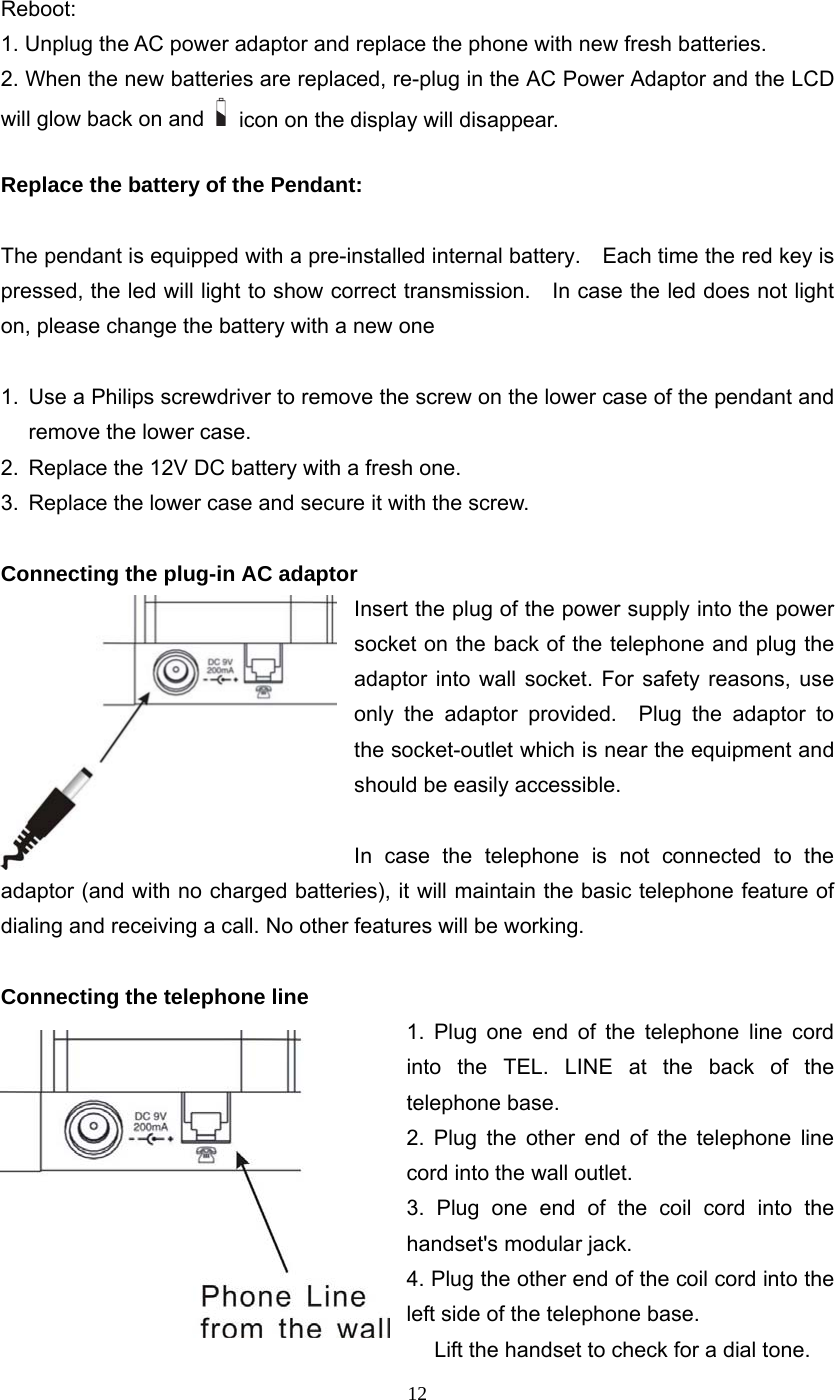
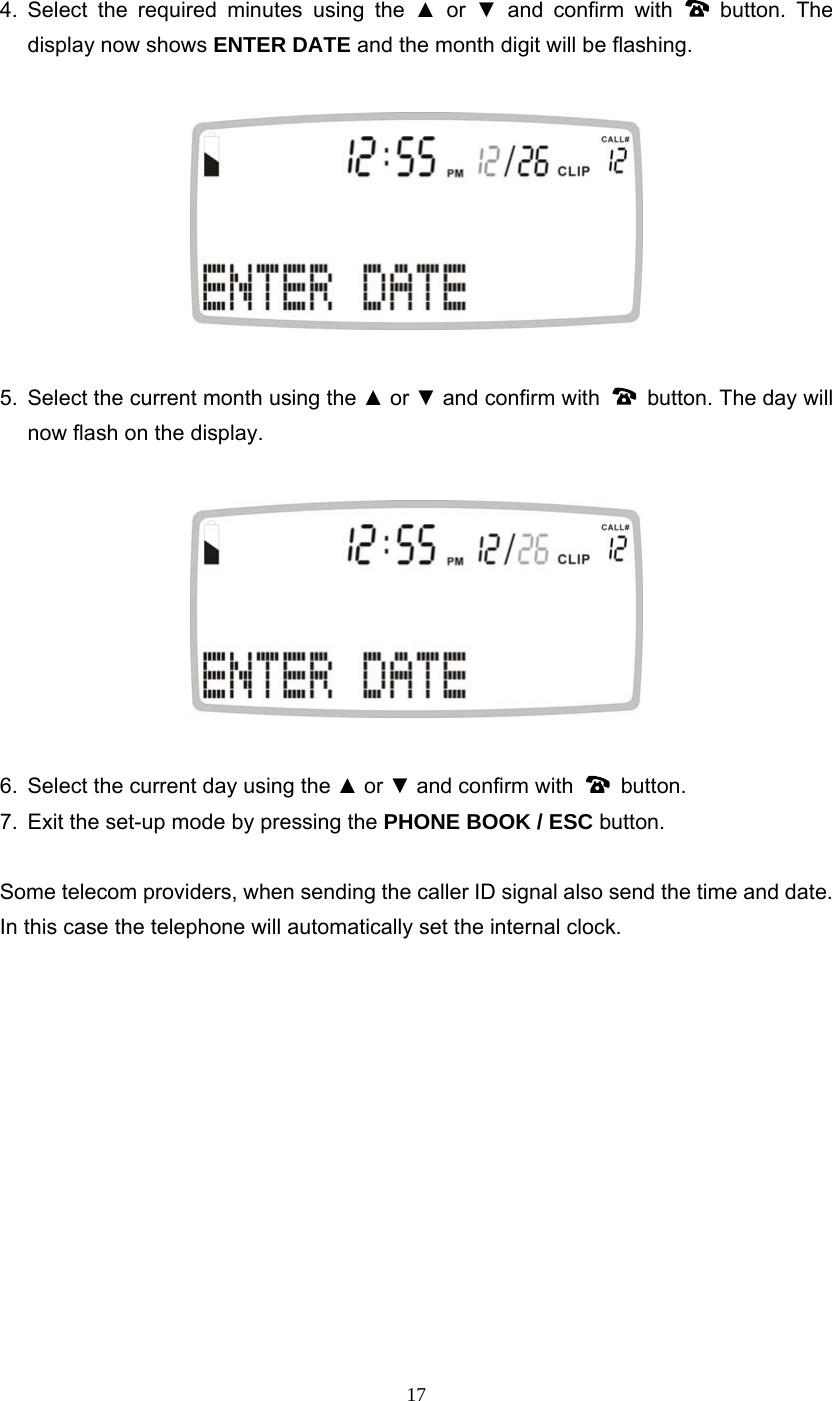
![11 INSTALLATION Where to install the emergency phone When installing the emergency phone, consider that the unit should be within the range of the emergency pendant, and therefore placed in an area of common use during day and nighttime. The range of the pendant is reduced by any structural obstacles, and has a range of up to around 130 feet in open field. Installing batteries [Optional] Your telephone requires four AA batteries (not included) for all functions. This will guarantee full functionality of the telephone, including the emergency function up to a maximum of 12 hours. The telephone numbers in memory and the voice recordings are stored in non volatile flash memory which does not require battery backup. Before opening the battery compartment, make sure the telephone is disconnected from the telephone line and the AC power supply. 1. Use a flat screwdriver or pen to lift the battery compartment door. 2. Insert four AA batteries into the compartment as indicated by the polarity symbols. 3. Snap the battery compartment door back into place. When appears on the LCD display, replace the batteries with 4 AA fresh ones. Use only appropriate new AA 1.5V Alkaline batteries. *PLEASE NOTE, for safety reasons; if the batteries voltage is lower then 2.5V, the phone will automatically be lock. Is this case, the display will fade out, all function will be shut off for the basic functions, such as call , dialing, receiving, etc. will still be working.](https://usermanual.wiki/Primatronix/EMG900T/User-Guide-686819-Page-12.png)

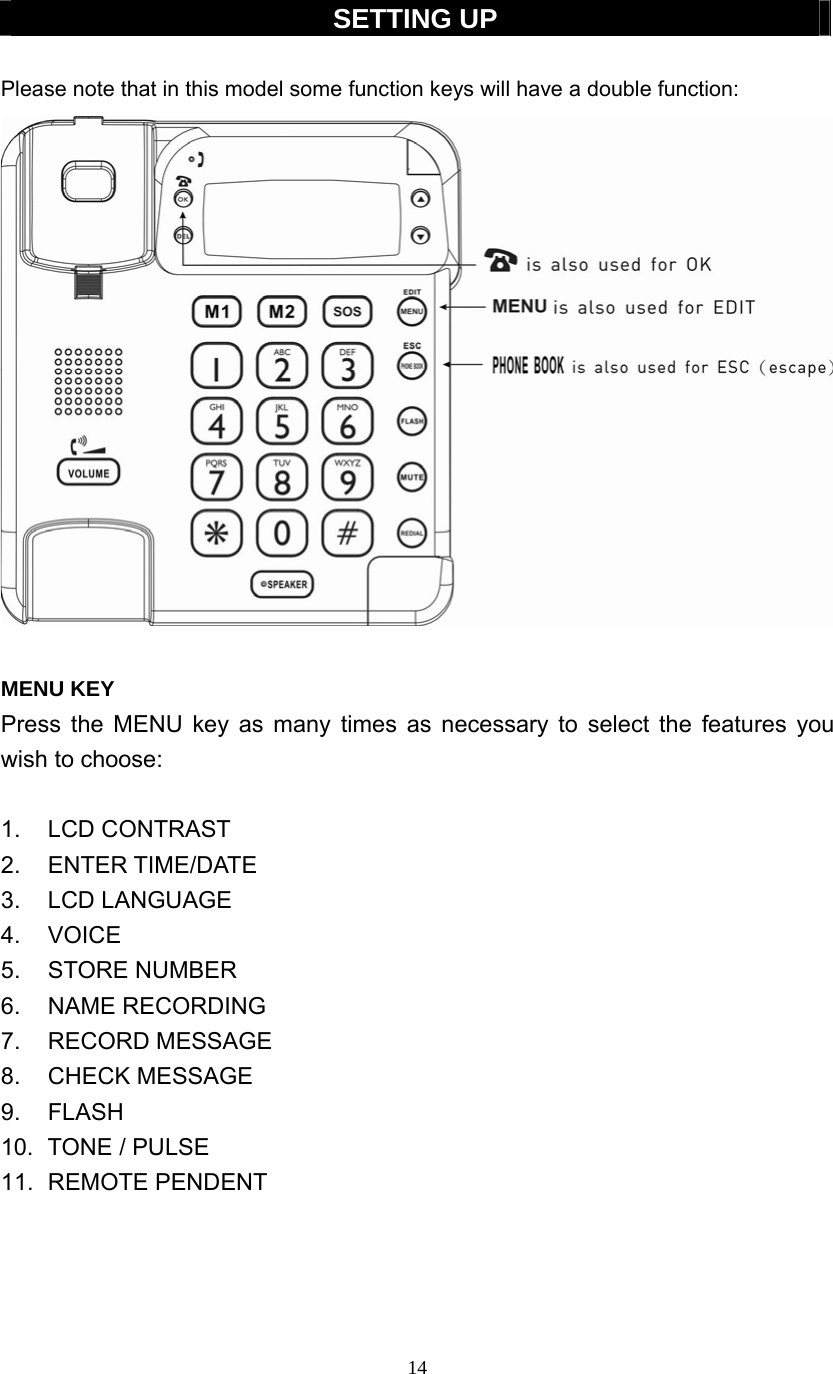
![18 Setting the LCD LANGUAGE This telephone has 11 different languages on the LCD. The telephone factory preset default display language is ENGLISH*. Setting the language Display on the LCD 1. Press and release the MENU button until LCD LANGUAGE is displayed. 2. Press the button, the display shows ENGLISH*. 3. Select the desired language; FRANCAIS (F), ITALIANO (I), DEUTSCH (DE), NEDERLANDS (NL), TUERKCE (TR), ESPANOL (ES), SLOVENSKI (SI), PORTUGUES (PT), DANSK (DK), SVENSKA (SE), etc) by using the ▲ or ▼ and confirm with button. 4. Press PHONE BOOK / ESC button to exit the set-up mode. Note: The [*] after the language means this language is the currently used language. Note: The language on the LCD does not have a corresponding voice language. If user select the LCD Display in English and the voice setting was in French, it will not change to English.](https://usermanual.wiki/Primatronix/EMG900T/User-Guide-686819-Page-19.png)
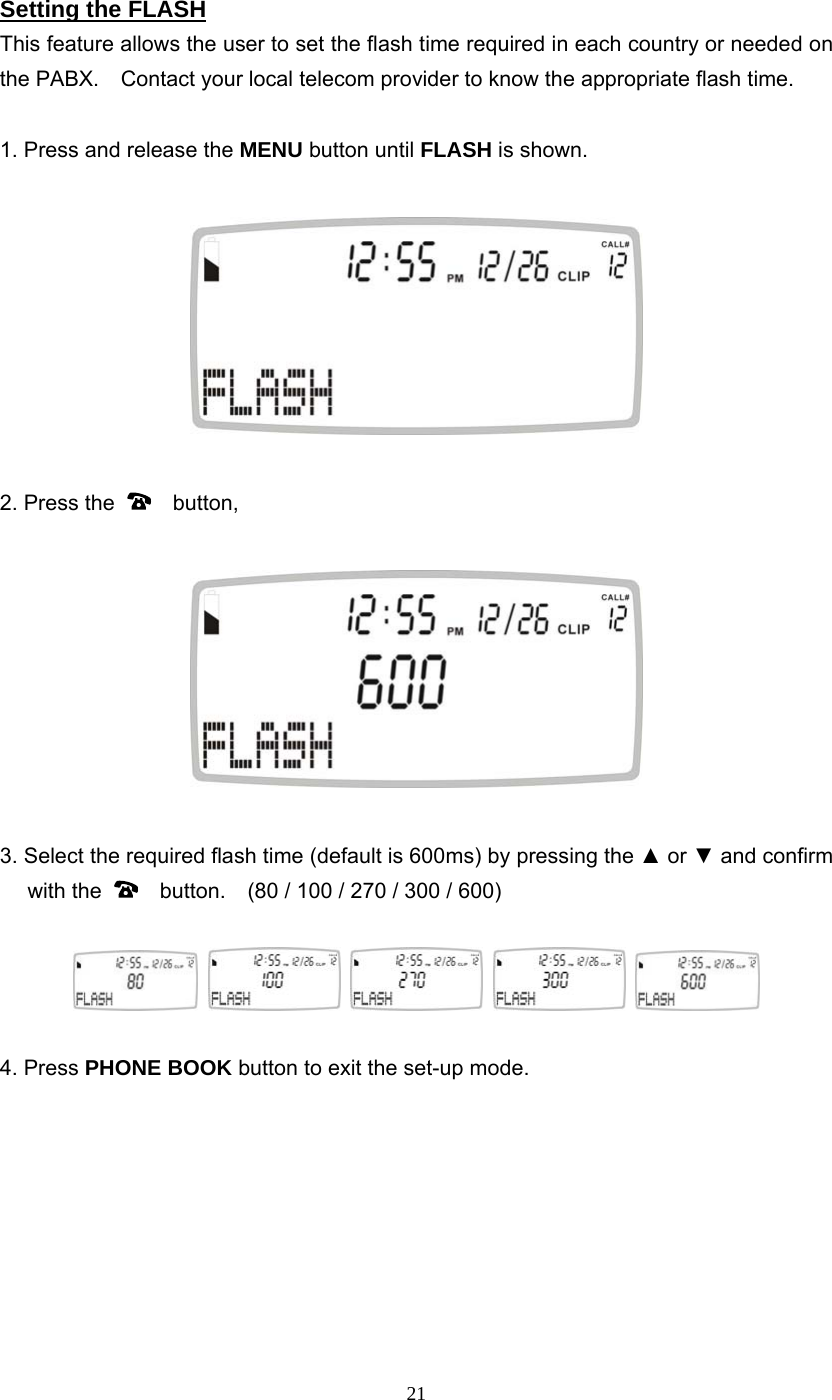
![19 Setting the VOICE This telephone is equipped with one primary and three secondary spoken languages: Primary spoken language: the telephone will voice digits from 0 to 9 (used in pre dialing, talking caller ID, talking phonebook), the pre-recorded emergency message, and a fully voice guided menu. On the LCD the primary language is the first language that will show on the display. Secondary spoken language: the telephone will voice from 0 to 9 (used in pre dialing, talking caller ID, talking phonebook) and the pre-recorded emergency message. The telephone default voice language is ENGLISH*. Setting the VOICE language spoken by the telephone 1. Press and release the MENU button until VOICE is shown. 2. Press the button, the display shows VOICE ENGLISH *, VOICE FRANCAIS, VOICE ITALIANO, VOICE ESPANOL or VOICE OFF. 3. Select the desired option using the ▲ or ▼and confirm with button. 4. Press PHONE BOOK button to exit the set-up mode. Note: The [*] after the language means this language is the currently used language.](https://usermanual.wiki/Primatronix/EMG900T/User-Guide-686819-Page-20.png)
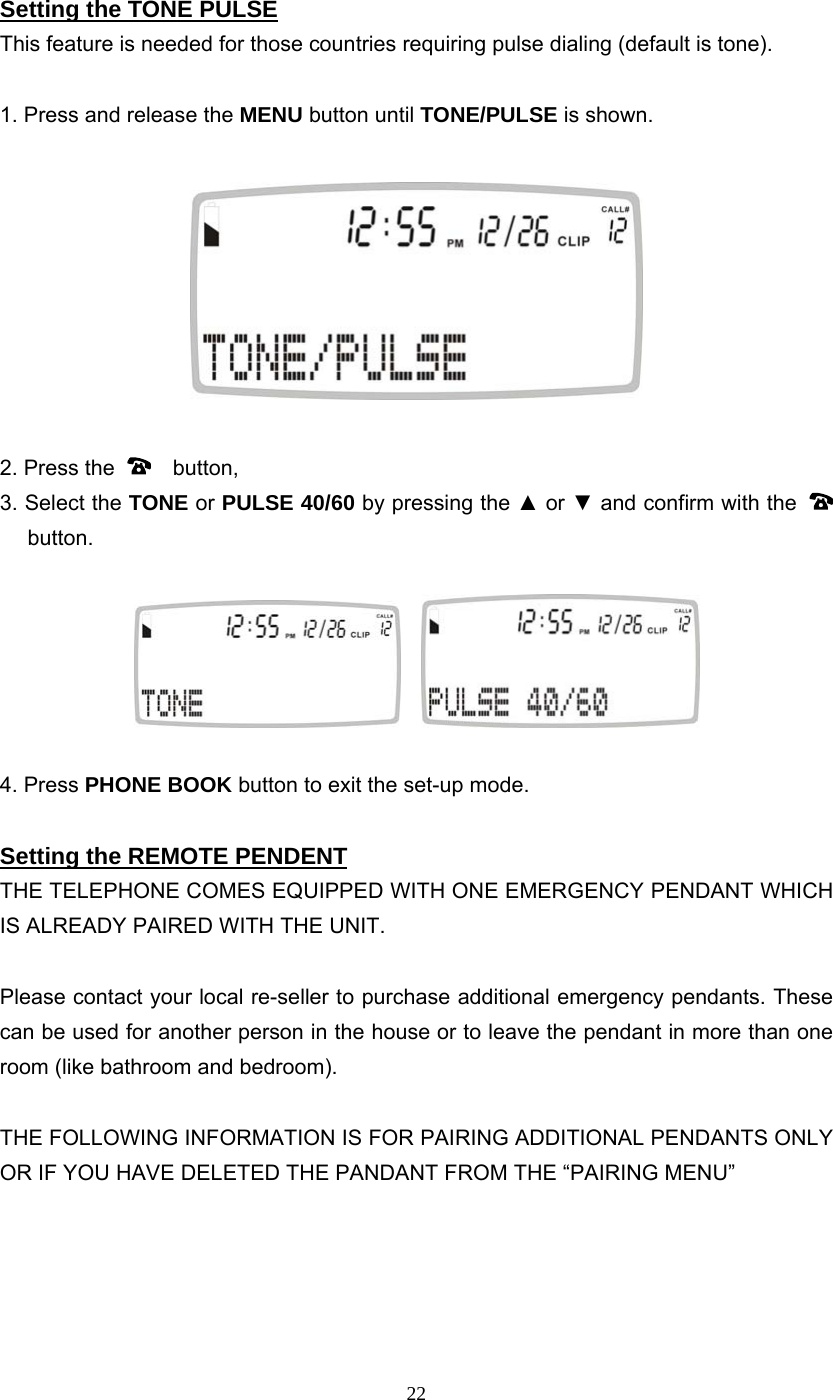
![32 That means the phone number is stored only for a general phone dial out, but not for emergency's call dial out. To record the person’s name (example ‘this is John’), hold down button, speak clearly into microphone after a beep and "VOICE" icon is flashing. Release the button when you finish or the unit will stop recording after 3 seconds. The voice prompt will then be played automatically. [Recording the Voice is necessary for the personalized talking caller id and talking phone book feature]. If you selected EMERGENCY ON, and press , now "LOCATION" is shown. Select the required location by pressing ▲ or ▼ and confirm with button, "SAVED!" is shown. [IMPORTANT NOTE: SELECTING THE CORRECT LOCATION IS VERY IMPORTANT BECAUSE THIS WILL BE DIALED IN THE EMERGENCY FEATURE. LOCATION 1 WILL BE DIALED FIRST, THEN 2, THEN 3 ETC.] [IMPORTANT NOTE: IF YOU CHOOSE TO OVERWRITE A LOCATION, THE PREVIOUSLY STORED NUMBER WILL BE MOVED TO ONE LOCATION “AFTER” THE LOCATION YOU JUST SET]](https://usermanual.wiki/Primatronix/EMG900T/User-Guide-686819-Page-33.png)
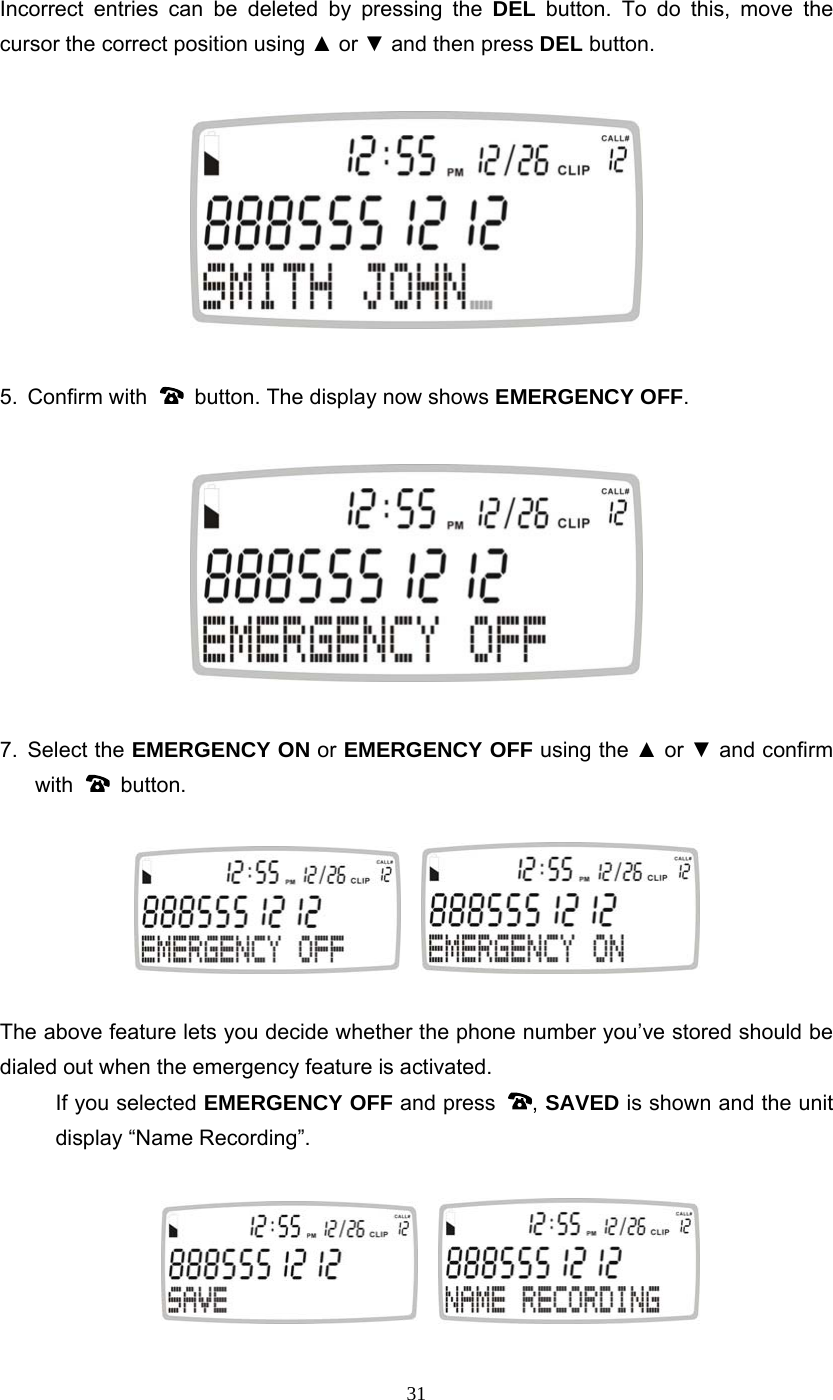
![33 The unit announces “Name Recording”, “SOS” icon is shown. That means the phone number is stored for a general phone and emergency's call dial out. To record voice (example ‘this is John’), hold down button; speak clearly into microphone after a beep and "VOICE" icon is flashing. Release the button when you finish or the unit will stop recording after 3 seconds. The voice prompt will then be played automatically. [Recording the Voice is necessary for the personalized talking caller id and talking phone book feature] 7. You can repeat step 2 to 6 to enter more numbers or press PHONE BOOK button to exit. Incorrect entries can be deleted by pressing the DEL button. To do this, move the cursor the correct position using ▲ or ▼ and then press DEL button. Review Numbers (Phone Book Memory) 1. Press and release PHONE BOOK button, icon is shown. 2. Review the stored phone numbers by pressing ▲ or ▼, or enter the first letter of the name of the person you wish to call using the number pad. After a short time, the display will show the first stored telephone number with this initial letter, and announce the name if it was recorded, or announce the telephone number. You can now search for further numbers under this letter by pressing ▼. *If no voice was recorded for the contact, the phone will only announce the telephone number only. Notes: • If no telephone number is stored, the display will show EMPTY. • After you view all the Caller ID in memory, the display will show END OF LIST. • If SOS icon is displayed on the contact, this means that the number is an emergency primary dial out contact. If no key is pressed for 30 seconds, the telephone will return to standby Caller ID mode.](https://usermanual.wiki/Primatronix/EMG900T/User-Guide-686819-Page-34.png)
![35 5. You can move the cursor to the required position by pressing ▲ or ▼. To delete the digit, press DEL button, or press any numeric key to replace the digit and confirm with button. Then the display shows the flashing first letter of the name. 6. Move the cursor to the required position by pressing ▲ or ▼. To delete the letter, press DEL button, or press any numeric key to replace the name, and confirm with button, "EMERGENCY ON or OFF" is shown. 7. If the display shows "EMERGENCY OFF", and you want to change it as an emergency's call dial out, select "EMERGENCY ON " by pressing ▲ or ▼, and confirm with button, now "LOCATION" is shown. Select the required location by pressing ▲ or ▼ and confirm with button, "SAVED!" is shown. If you select "EMERGENCY OFF" and confirm with , "SAVED!" is shown. [Important note: selecting the correct location is very important because this feature determines in case of emergency sequence of the telephone numbers that will be dialed in the emergency feature. Location 1 will be dialed first, then 2, then 3 etc.] [Important note: if you choose to overwrite a location, the previously stored number will be set to one location “after” the location you just set] 8. You can repeat step 2 to 7 to edit more numbers or press PHONE BOOK to exit. To Delete the Phone Book Memory 1. Press and release PHONE BOOK button, icon is shown. 2. Select the required location from the phone book by pressing ▲ or ▼. 3. To delete single memory, press DEL button once. The display will show the DELETE?. Press and hold down “DEL” for approx 2 seconds. The telephone number and name will be deleted and the display will now show another number from the phone book. To delete all phone book memories, press and hold DEL button until the display shows DELETE ALL?. Press DEL button for 2 seconds until EMPTY appears on the display.](https://usermanual.wiki/Primatronix/EMG900T/User-Guide-686819-Page-36.png)
![40 repeat a second cycle of emergency calls and at the end stop the emergency procedure (SOS icon will then turn off). Note: 1. If NO emergency numbers have been set, the telephone will not dial anything and just beep loudly continuously when the emergency SOS key on the telephone, or the key of the pendant is pressed for more than one second. 2. It is important that the pendant must be within the range of the telephone to activate the emergency feature. The user should check that between the pendant and the telephone there are no structural obstacles, heavy concrete walls, etc. 3. When the red key on the pendant is pressed, the led on the pendant will light up for as long as the key is pressed. If the led does not light up it is necessary to replace the battery. 4. To stop the ongoing emergency feature, press and hold for more than three seconds the emergency button on the telephone, or press and hold the button of the pendant for more than three seconds Engaging the line through the handset or the speakerphone SPEAKER button will also stop the ongoing emergency feature. When the emergency feature is off the SOS icon will also turn off. 5. The emergency feature will automatically stop when all the emergency numbers have been dialed or if the receiver presses 1 and 2 after the 0 key. [The reason for interrupting automatically the call after 3 minutes is for safety in case a receiving party presses 0 but for any reason is unable to receive the message, in case of mobile phone line failure for example] 6. The receiving party is expected to press 0, 1, 2 with a touch-tone phone, a standard feature in most telephones. The following is a brief explanation on the above *Please note: If 1 and 2 buttons are pressed by the receiving party after they have pressed 0 to accept the emergency call, the speakerphone will keep active until the speaker button on the phone or the pendant button is pressed to disconnect the call.](https://usermanual.wiki/Primatronix/EMG900T/User-Guide-686819-Page-41.png)