Primatronix CV100R Speakphone with Remote Control User Manual CV100 NEW
Primatronix Ltd Speakphone with Remote Control CV100 NEW
UserManual.wiki
>
Primatronix
>
CV100R User Manual
User Manual
Navigation menu
Upload a User Manual
Namespaces
Wiki Guide
HTML
PDF
Info
Views
User Manual
Discussion / Help
Navigation
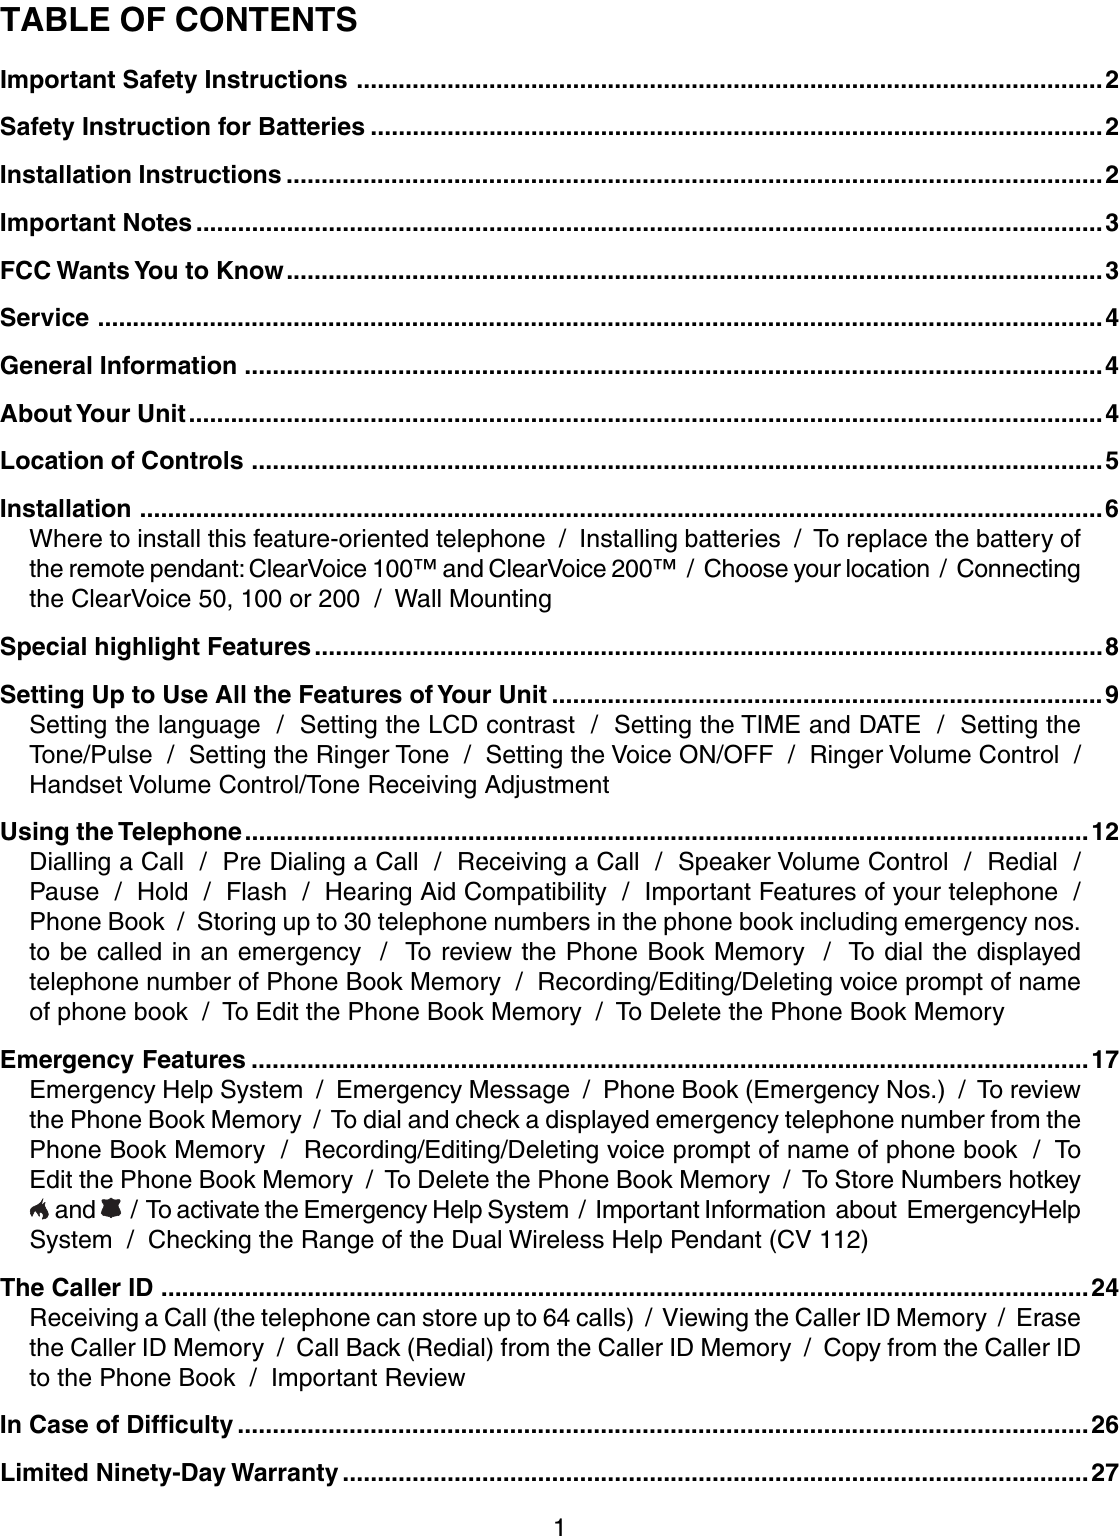
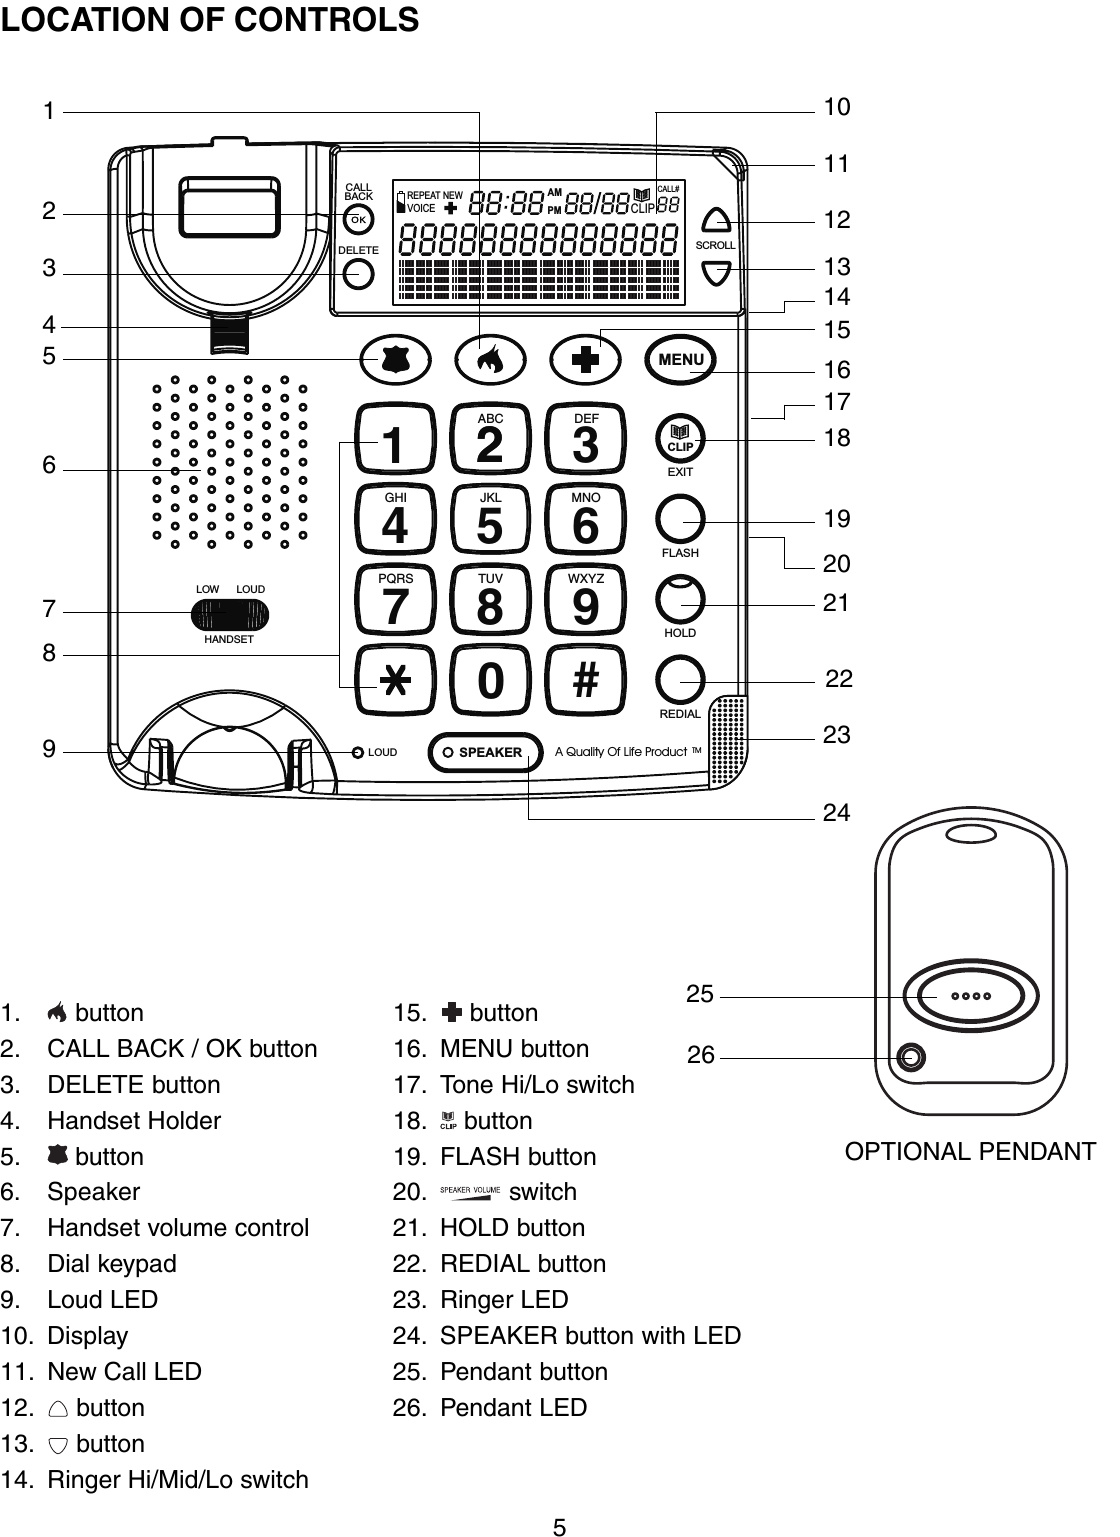
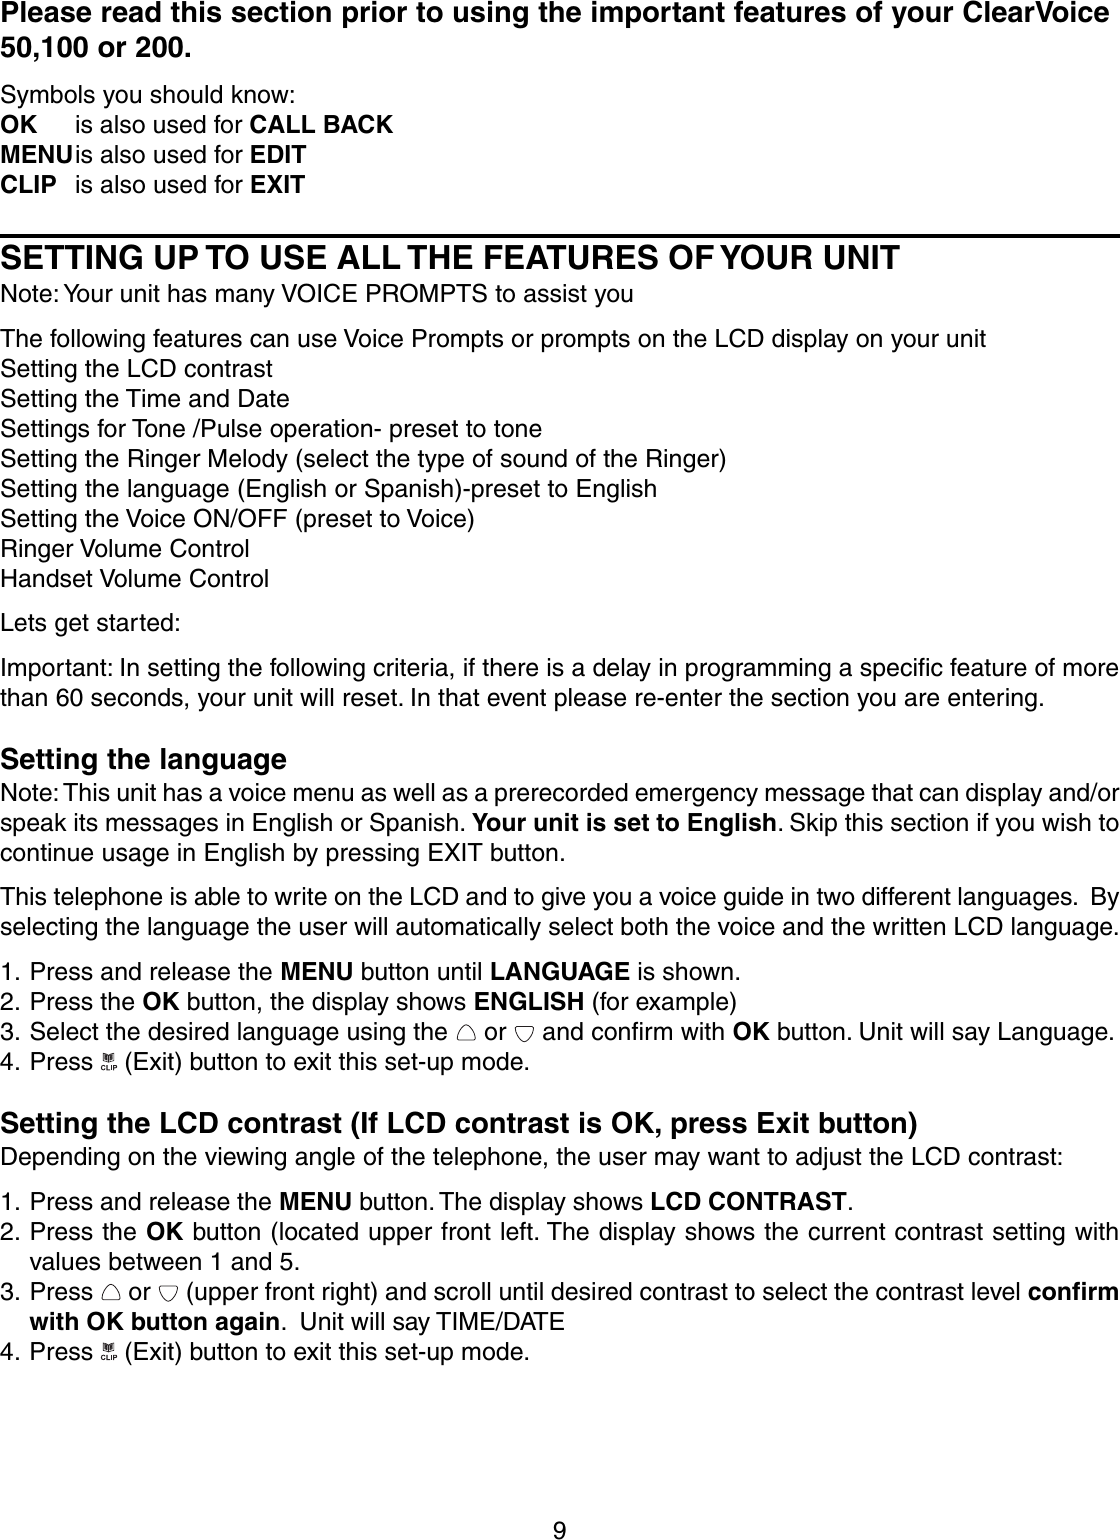
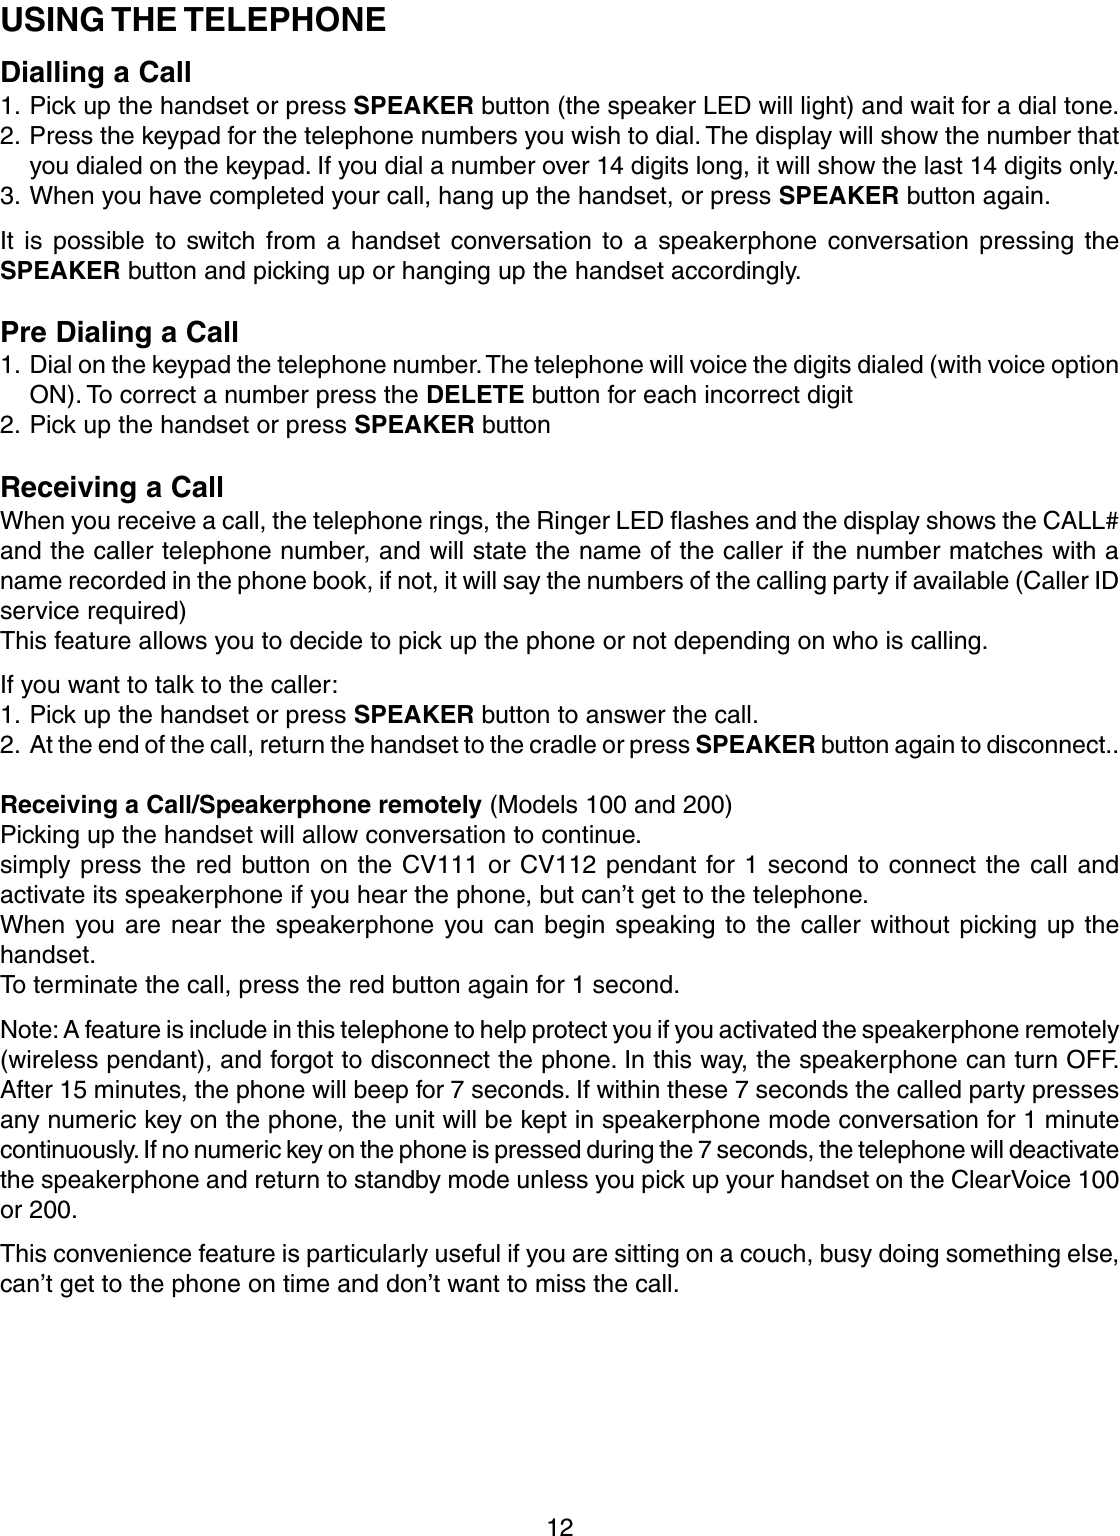
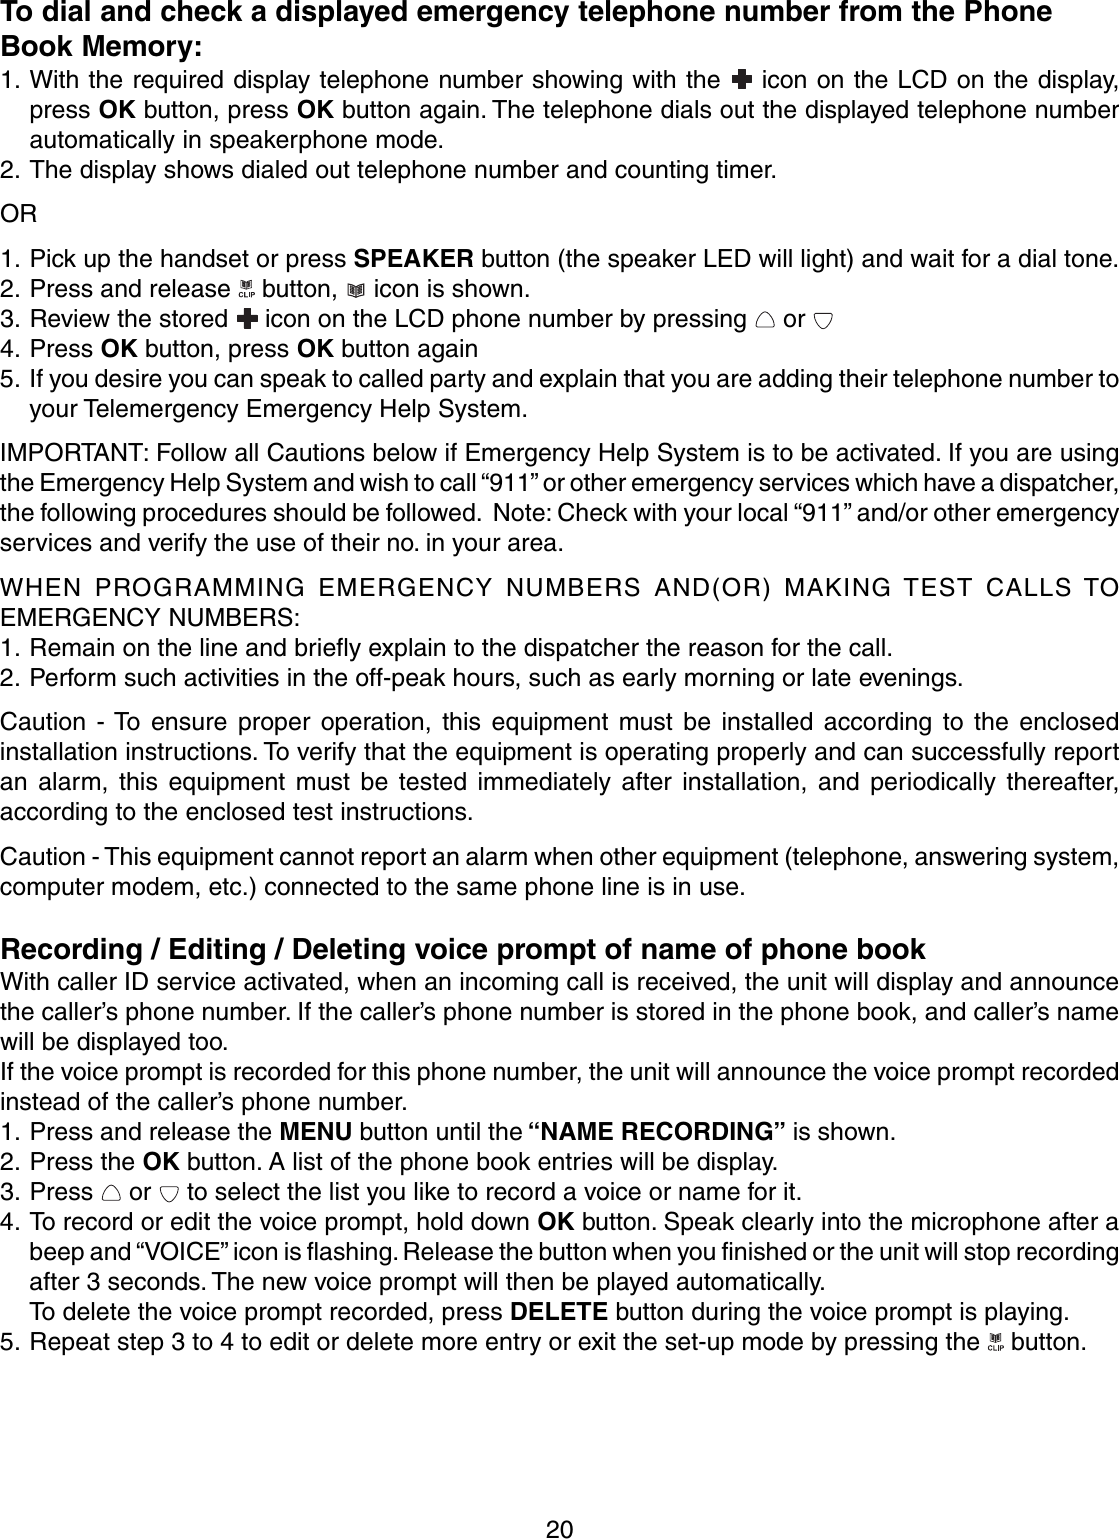
![14PHONE BOOKNote: The phone book allows you to enter, display, record the persons name and specify if this atelephone no. that is to be called in the units Telemergency Emergency Help system.To use the phone book, press button until the icon is displayedStoring up to 30 telephone numbers in the phone book including emergency nos. to be called inan emergency.Note: It is important that up to 5 telephone nos. be reserved for the emergency function. See EmergencyFeatures in this User Manual. Therefore we suggest you enter up to 25 telephone numbers and namesin the General /Important Telephone Numbers.Entering up to 25 telephone numbers and names:Note: If you have a telephone system where it is beneficial to put a pause (P) before dialing a particulardigit press the REDIAL button and a 3.6 second pause will be created. This is also important if you areusing on a PABX or PBX where you insert a pause before and after entering 1,8 or 9,or other systemswhere outside line dial tone can be delayed.1. Press and release the MENU button until STORE NUMBER is shown.2. Press the OK button. The cursor will flash in the first position.3. Enter the required telephone number with a maximum of 22 digits using the number pad and confirmwith OK button, (both the erase feature and pause feature can be used when storing the telephonenumber), For nos. to be called in an emergency insert a pause(P) before entering the emergency no.4. Enter the required name with a maximum of 16 letters. Cursor shown as (I) is all the way on left side.See Table 1 for details5. Confirm with OK button. The display now shows EMERGENCY OFF.6. Press OK button.SAVED is shown and the unit announces “Name Recording for phone book”. That means the phonenumber is stored only for a general phone dial out, but not for emergency’s call dial out.To record voice (example ‘this is John’), hold down OK button, immediately speak clearly into microphoneafter a beep and “VOICE” icon is flashing on LCD display.. Release the button when you finished or theunit will stop recording after 3 seconds. The voice prompt will then be played automatically. [Recordingthe Voice is necessary for the personalized talking Caller ID and talking phone book feature].You can repeat step 2 to 6 to enter more numbers or press (Exit) button to exit.How to enter names in the phone bookThe number buttons are also inscribed with letters for entering the name. By repeatedly pressing theappropriate button, upper case letters as well as numbers and special characters can be entered.Overview: Note: In entering a nameNote: The numeric keys 1 thru # can be used as shown in Table I1 space + & - / 12 A B C 23 D E F 34 G H I 45 J K L 56 M N O 67 P Q R S 78T U V 89 W X Y Z 90 , . : ; ? 0* ‘ @ ( ) *# $ _ % ! #](https://usermanual.wiki/Primatronix/CV100R/User-Guide-608364-Page-15.png)
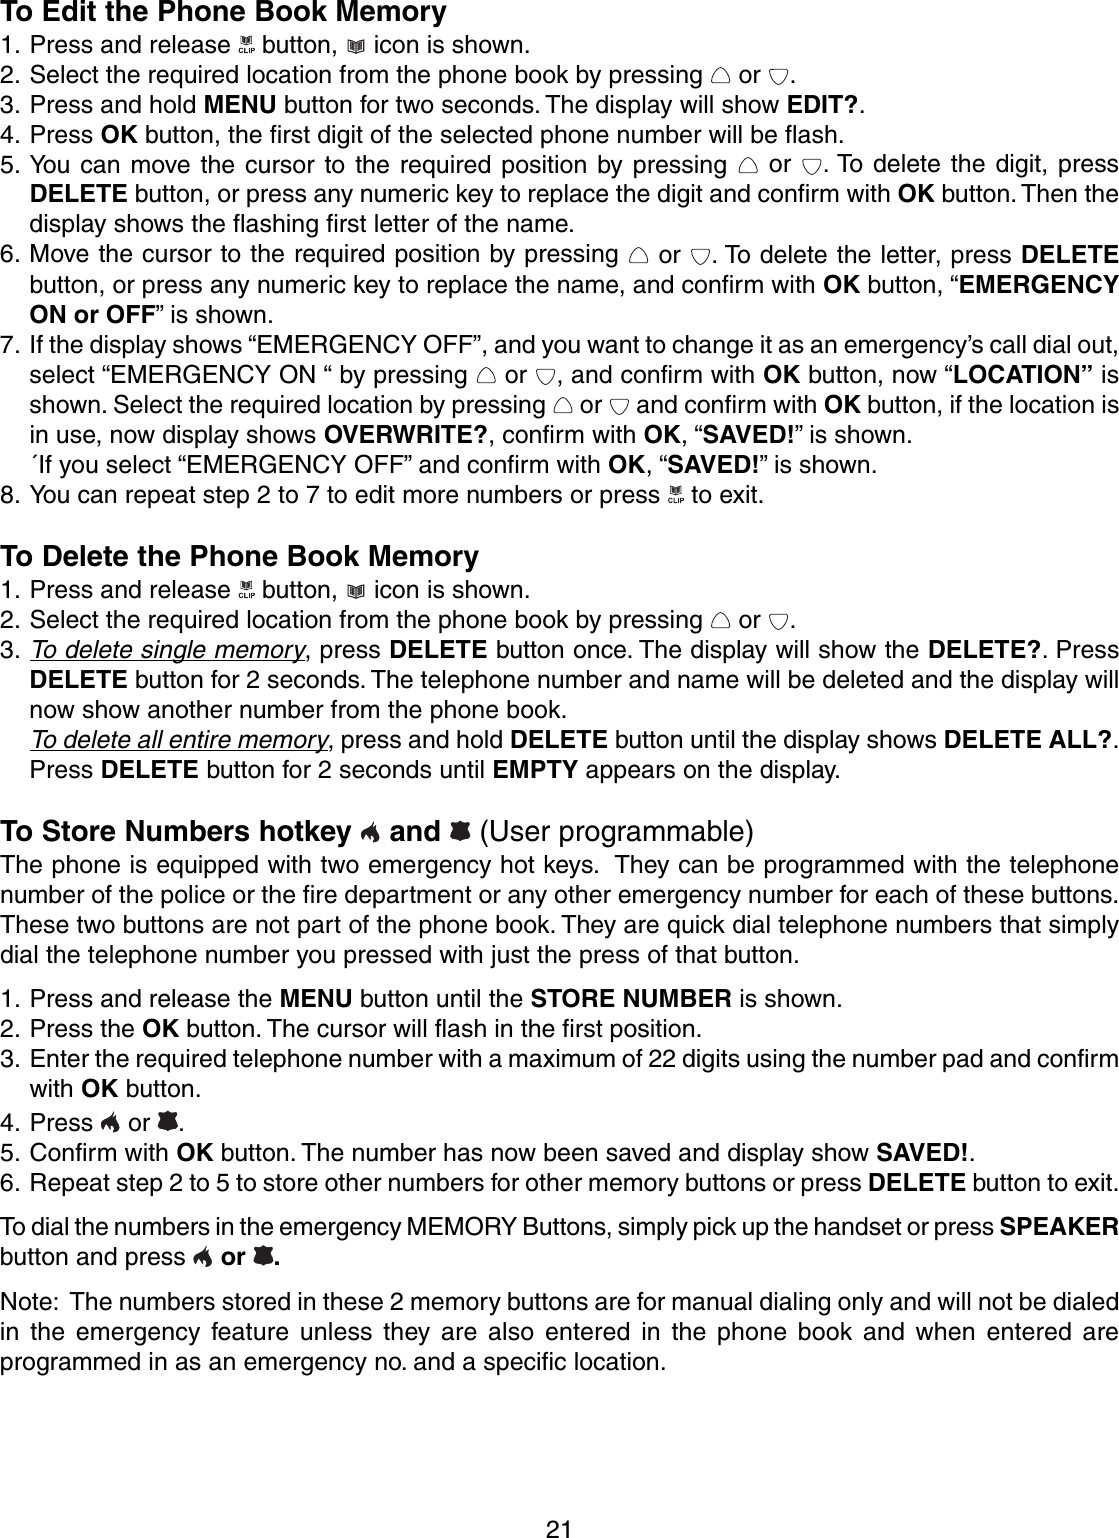
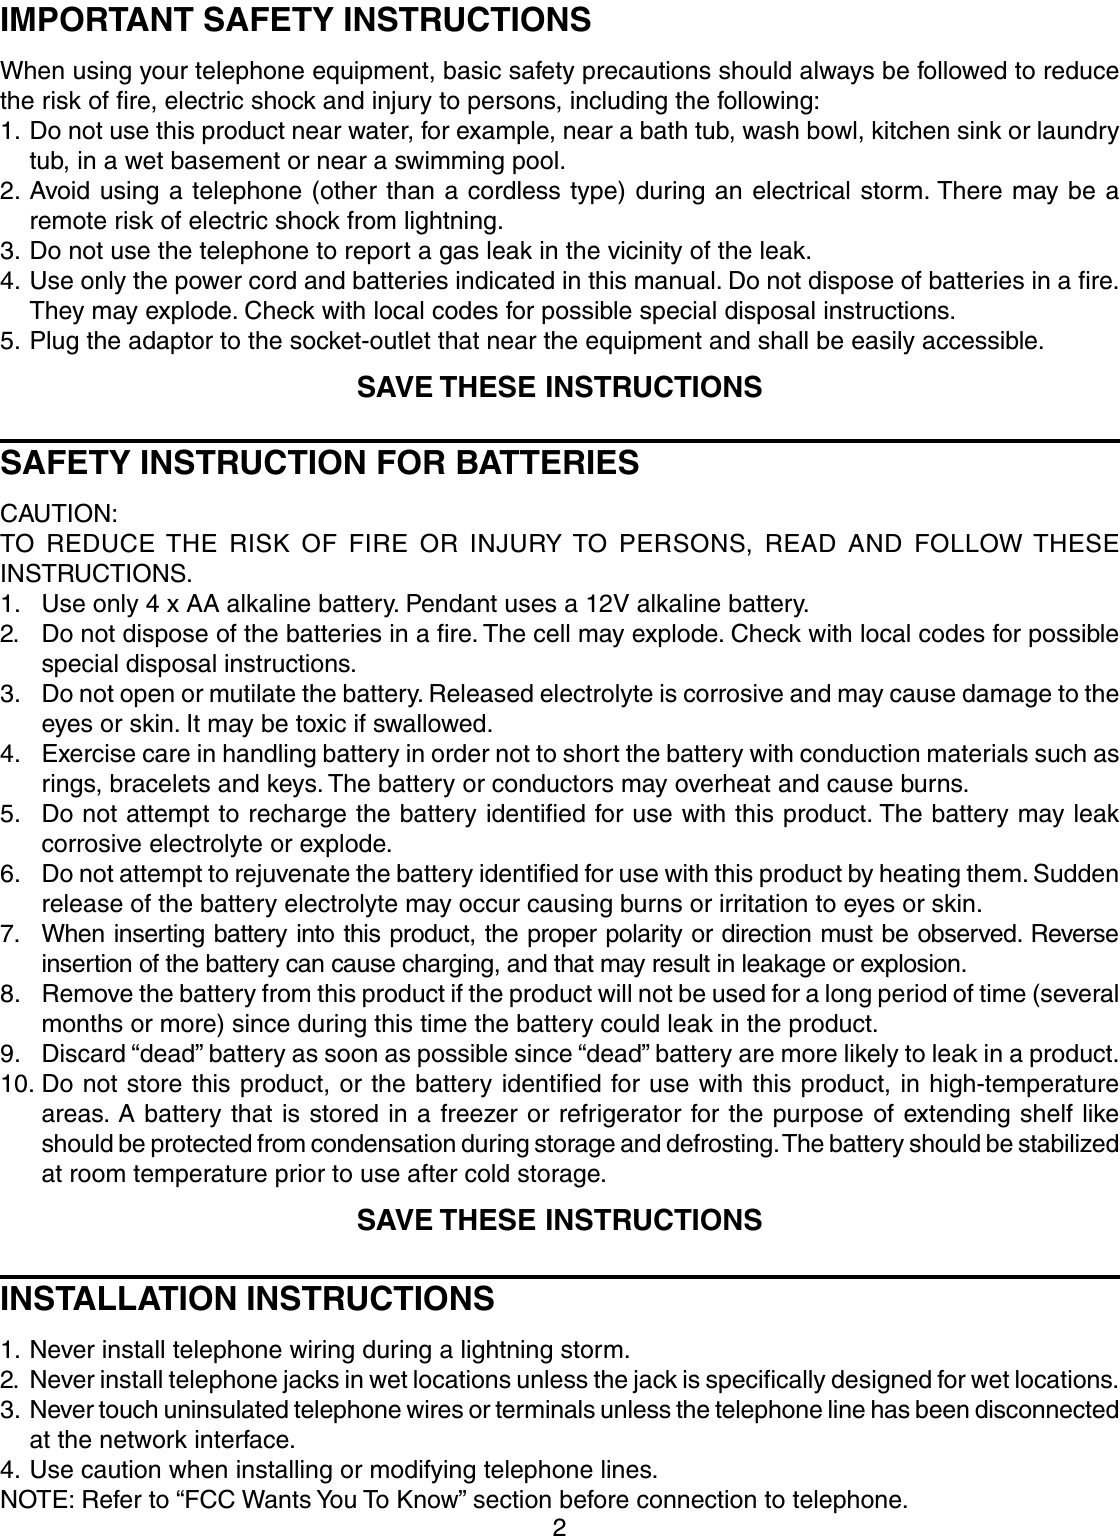
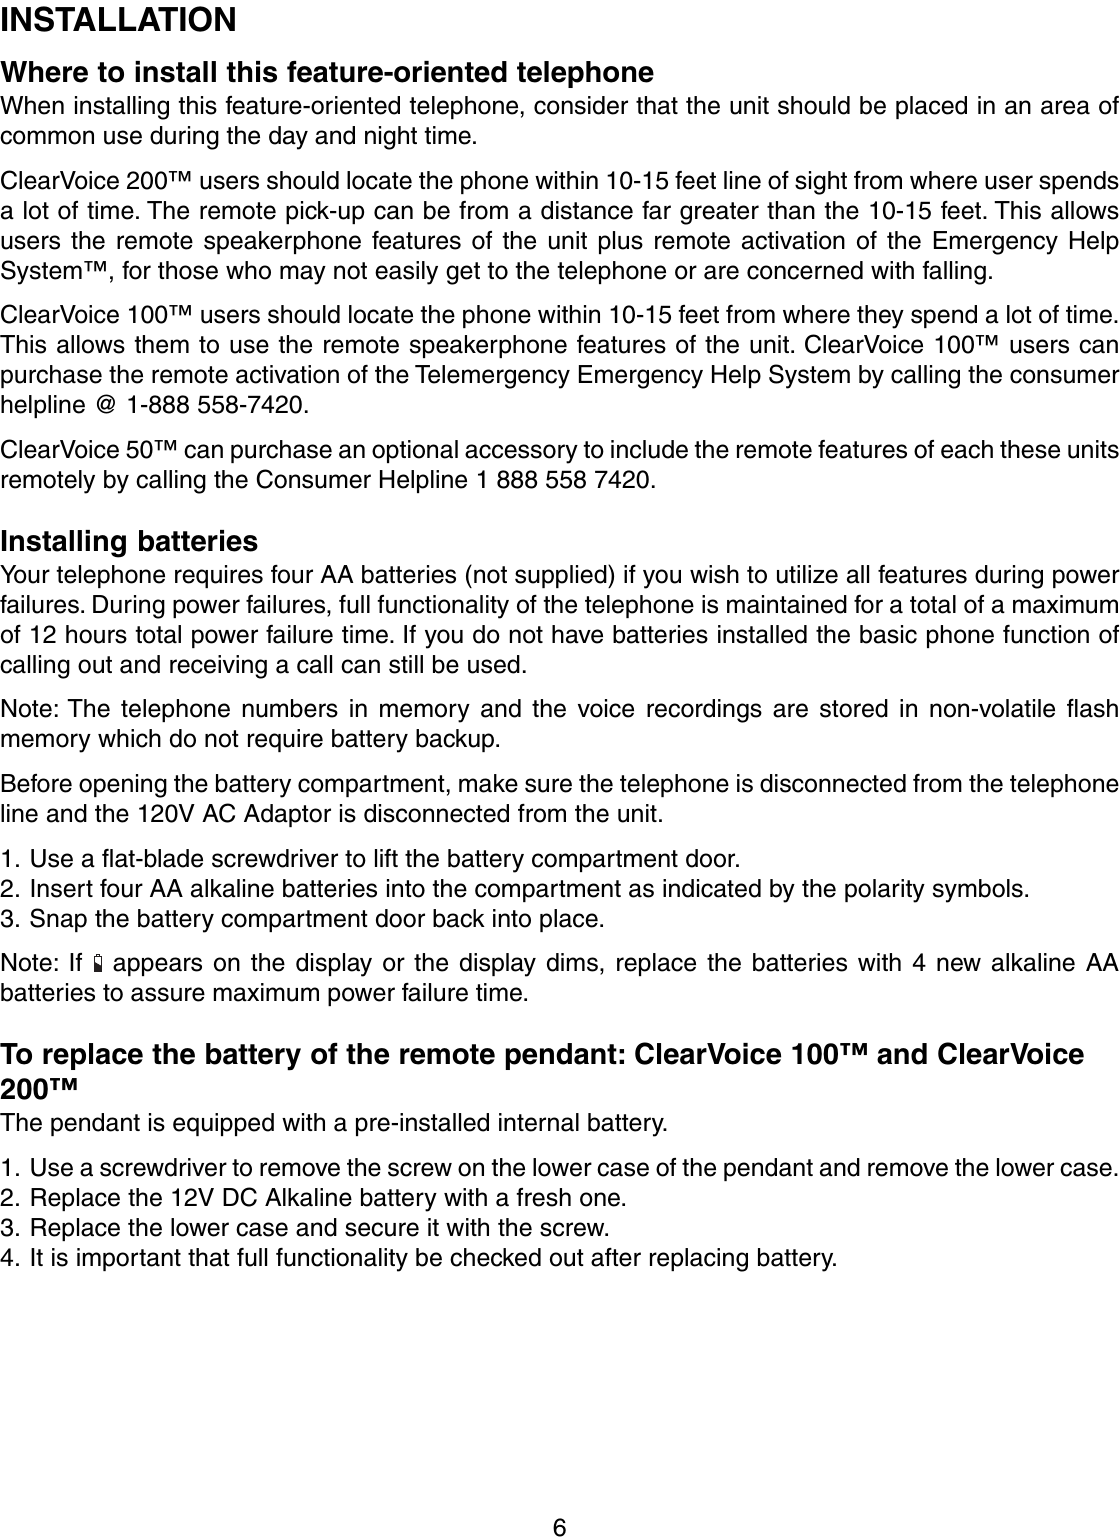
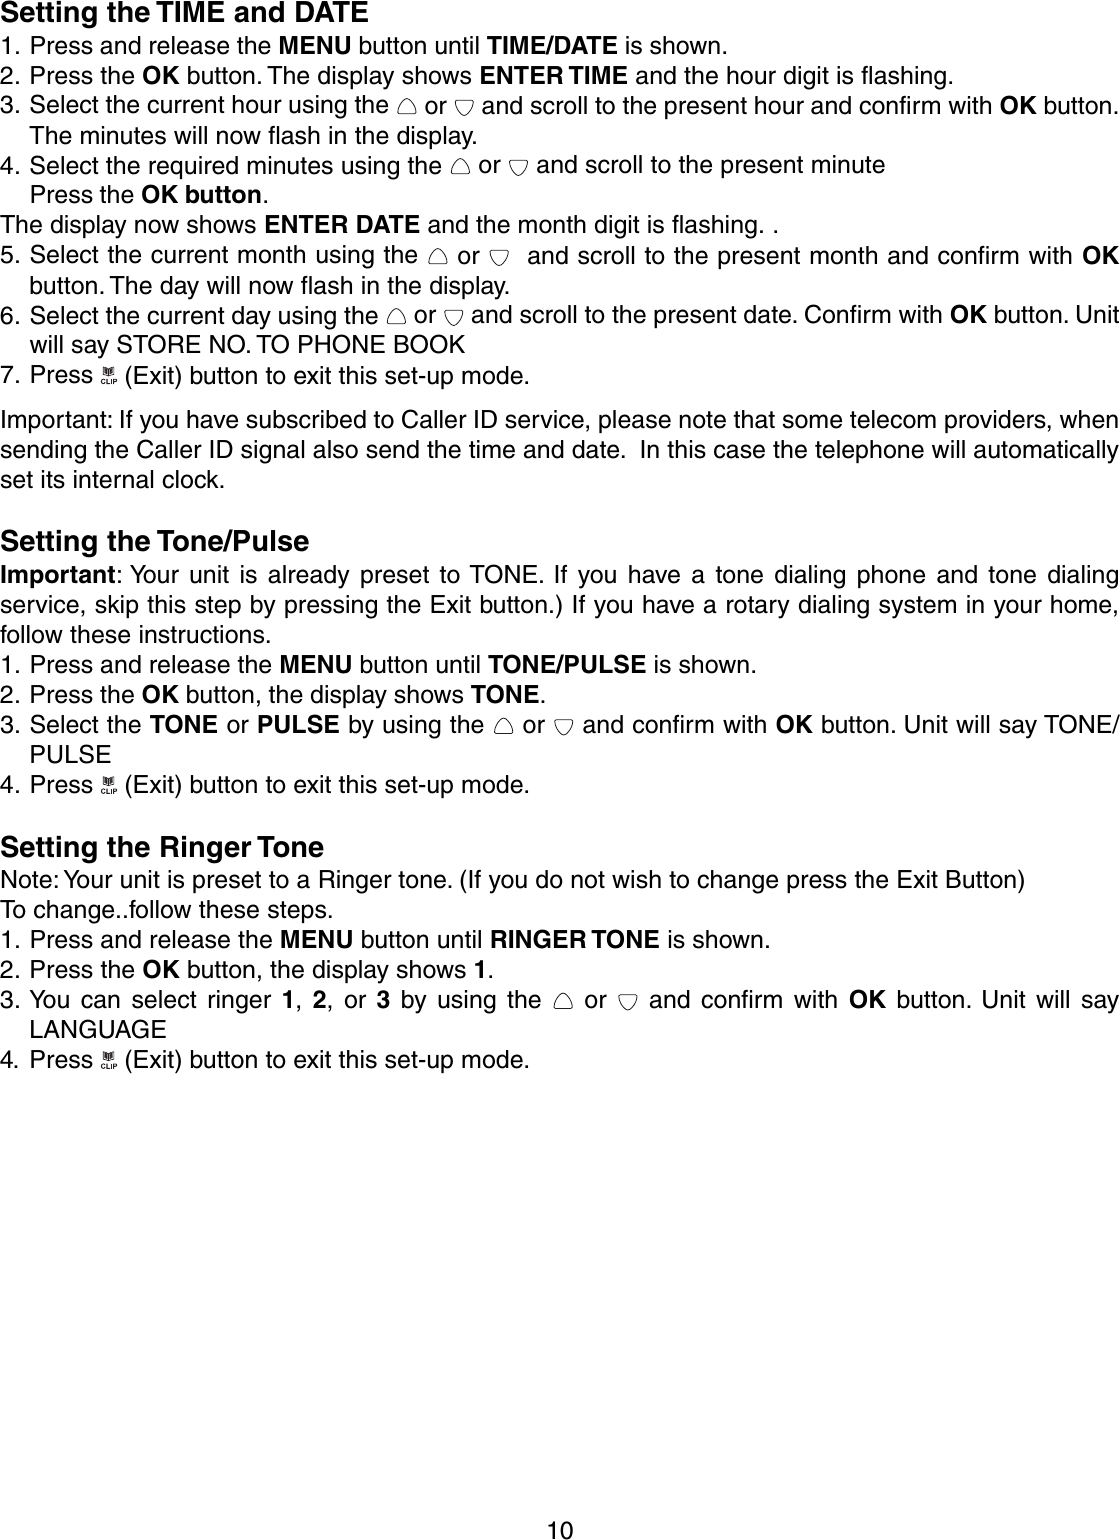
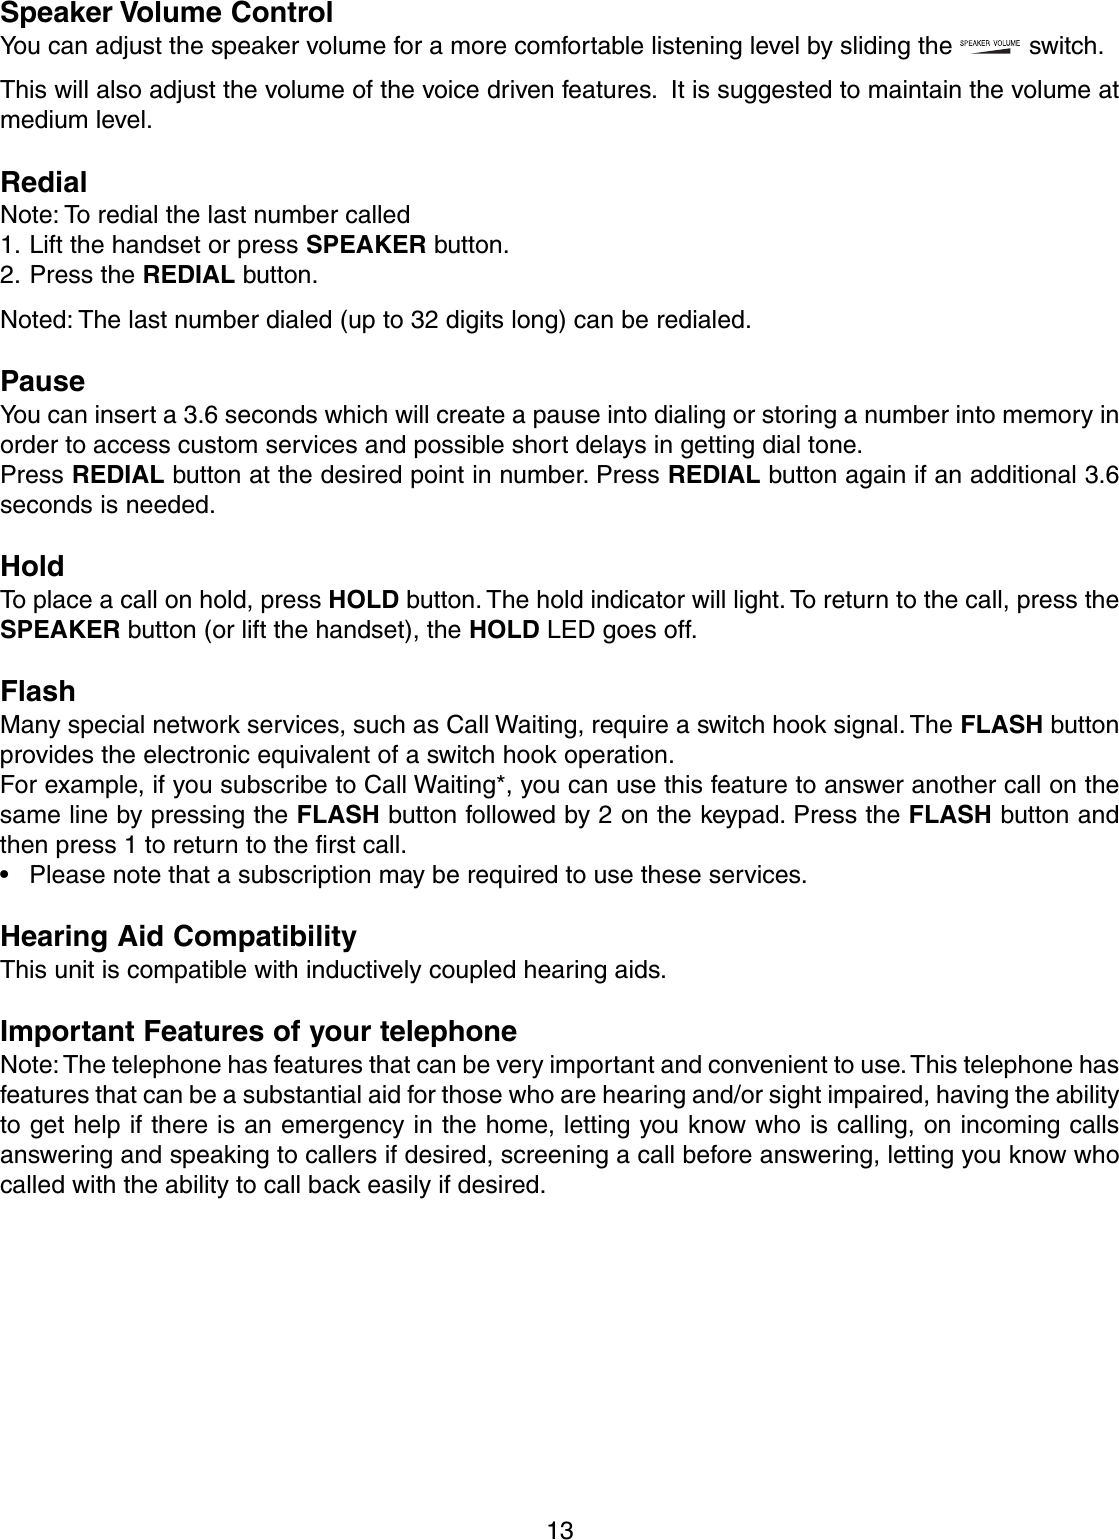
![18PHONE BOOK (Emergency Nos.)IMPORTANT: We suggest you enter up to 5 telephone nos. you would like to have called in an emergencywith just one (1) press of a button.Note: The phone book allows you to enter, display, record the persons name and specify if this atelephone no. that is to be called in the units Emergency Help System as well as the sequence in whichthe telephone numbers will be calledTo use the phone book and enter the telephone numbers to be called and the sequence of calling,press button until the icon is displayedStoring up to 5 telephone numbers in the phone book including emergency nos. to be called inan emergency. (You may enter more or less. The total phone book allows you up to 30 telephonenumbers for convenient/Important and Emergency calling numbers)Note: It is important that up to 5 or more telephone nos. be reserved for the emergency function. Youmay want to duplicate the calling of 1 or more of the entered emergency nos. in the event a called no. isbusy or cannot be reached.Entering up to 5 telephone numbers names and location (entering location 1 means that is the 1stno. to be called,2 the 2nd etc.). Important: Enter telephone #'s, exactly as you would from where installed.Note: You may have a telephone system where it is beneficial to put a pause (P) before dialing aparticular digit. Pressing the REDIAL button will create a 3.6 second pause (P).This is important if youare using on a PABX or PBX system where you should put a pause(P) before and after entering 1,8 or9, or using the Emergency Help System of this unit.For PBX or PABX users, enter a pause(P) before and after entering a 1, 8 or 9 to get outside dial tone.1. Press and release the MENU button until STORE NUMBER is shown.2. Press the OK button. The cursor will flash in the first position.3. Enter the required telephone number starting with a pause(P). Press REDIAL button to create apause(P) followed with a maximum of 21 digits using the number pad and confirm with OK button,(both the erase feature and pause feature can be used when storing the telephone number)4. Enter the required name with a maximum of 16 letters. Cursor shown as (I) is all the way on left sideof the LCD display.See Table 1 for details5. Confirm with OK button. The display now shows EMERGENCY OFF.6. Scroll the or button to EMERGENCY ON7. Press OK button to confirm.Now “LOCATION” is shown. Select the required location by pressing or and confirm with OKbutton, if the location you chose is in use, LCD display will show OVERWRITE?, confirm with OK orselect another location with or . Press the OK button and “SAVED!” is shown.Note: Any telephone # entered that is to be used for emergency calling should be entered in the orderthose phone numbers are to be called.Selecting the correct location is very important because this feature determines in case of emergencythe sequence of the telephone numbers that will be dialed in the emergency feature. Location 1 willbe dialed first, then 2, then 3 etc.]Important:: if you choose to overwrite a location, the previously stored number will be erased]The unit announces “Name Recording for Phone book”, icon on LCD display is shown. Thatmeans the phone number is stored for a general phone as well as a number that can be called in theEmergency Help System.](https://usermanual.wiki/Primatronix/CV100R/User-Guide-608364-Page-19.png)
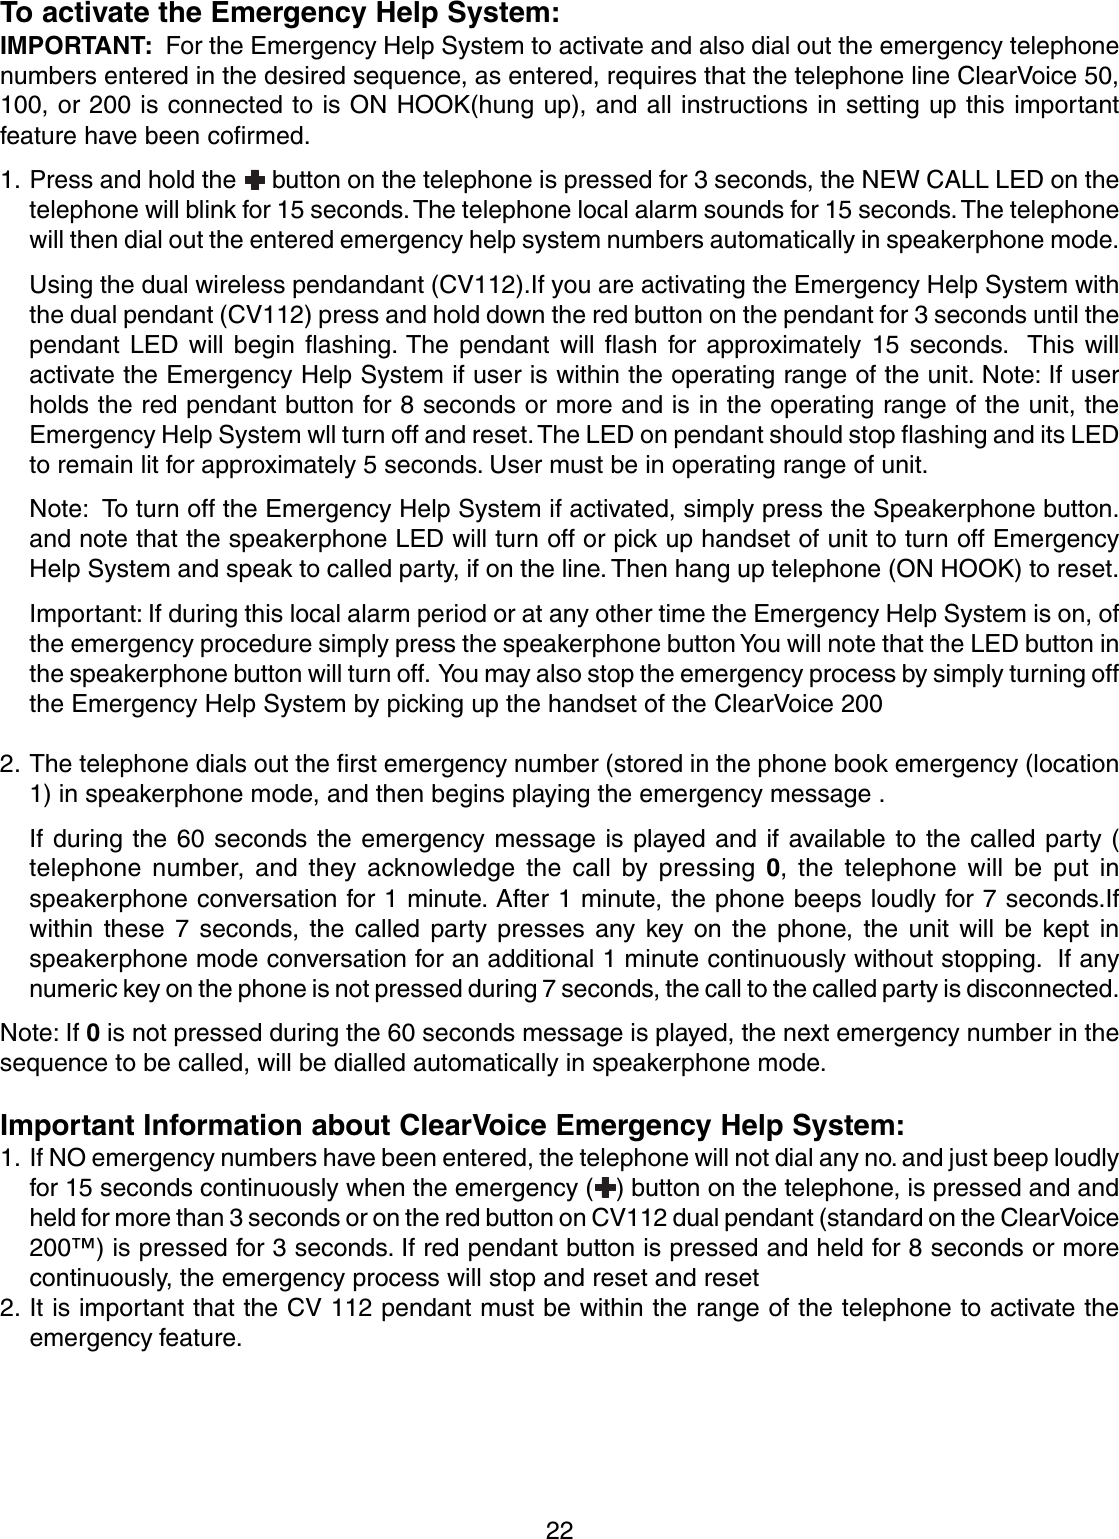
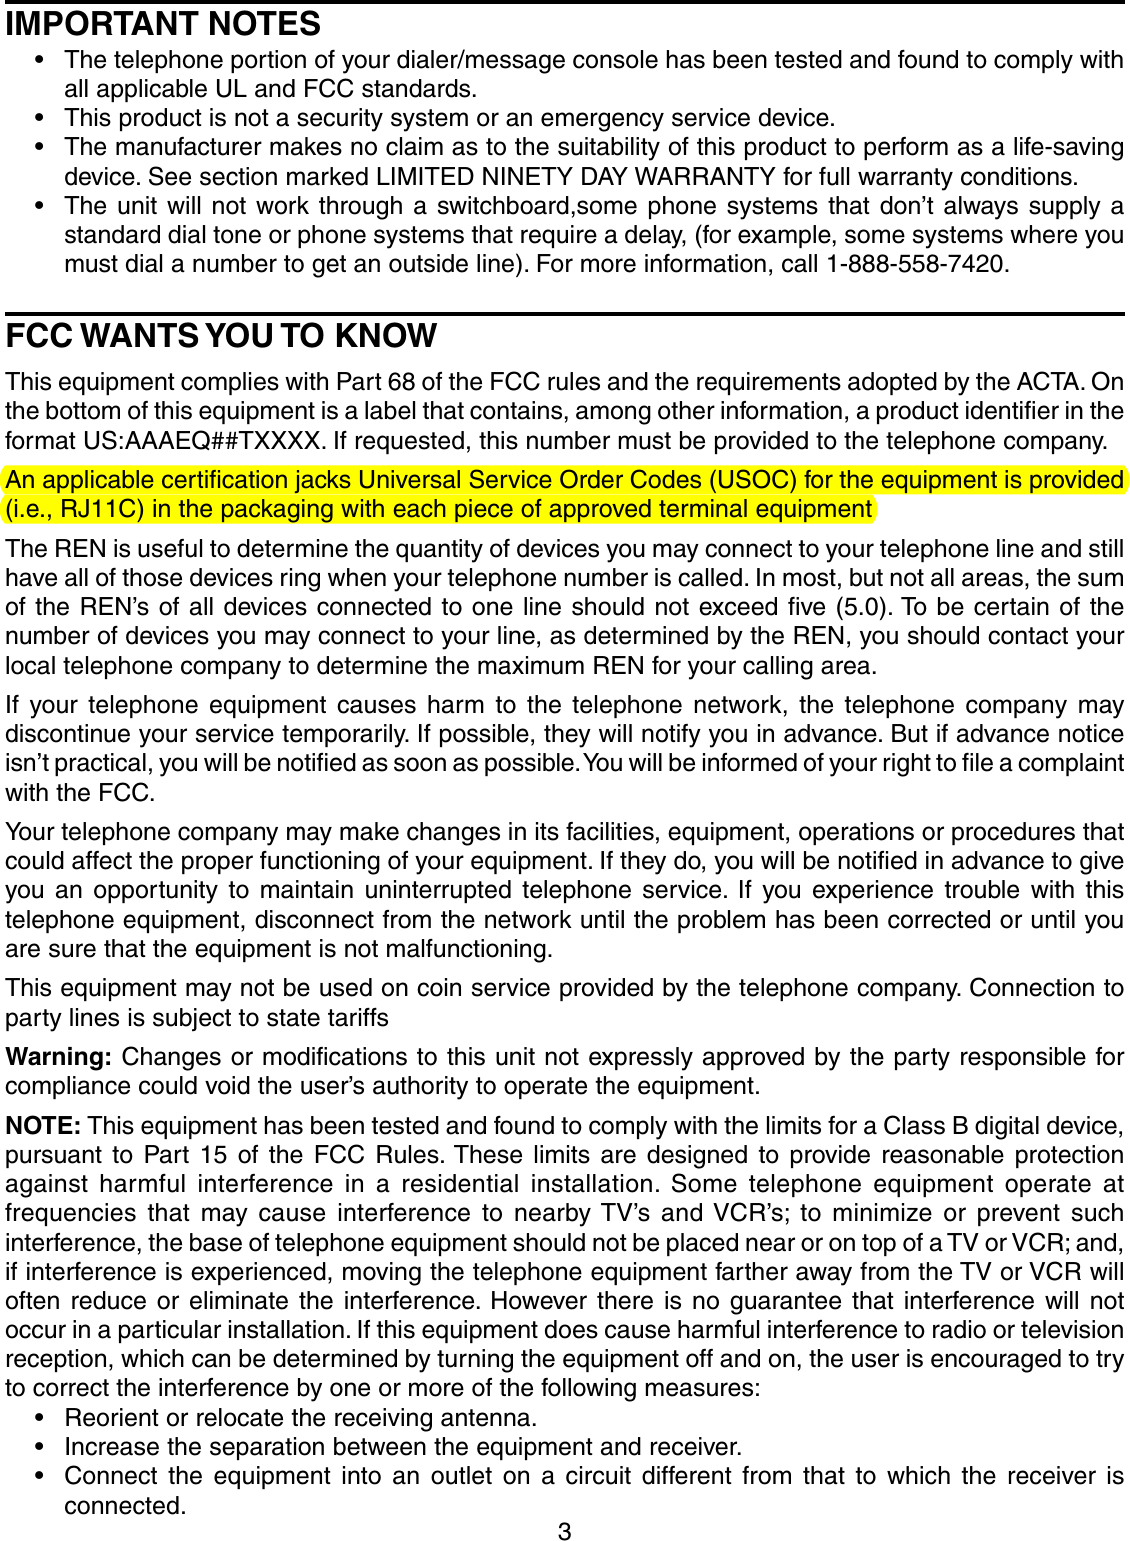
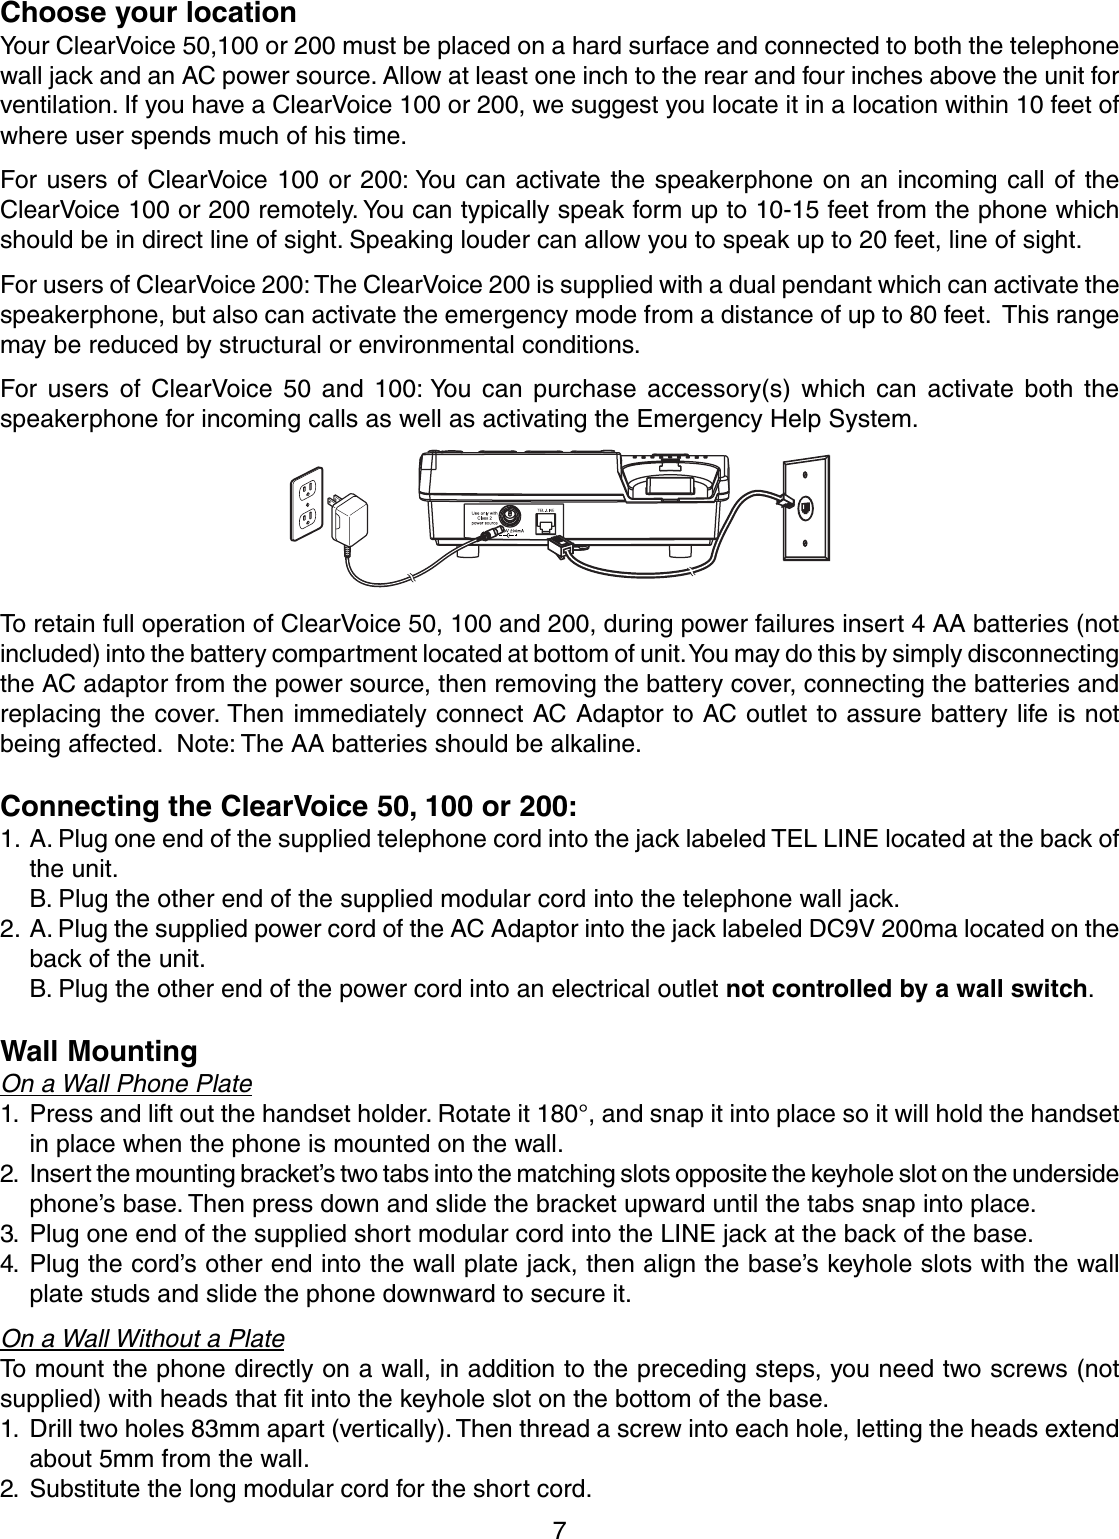
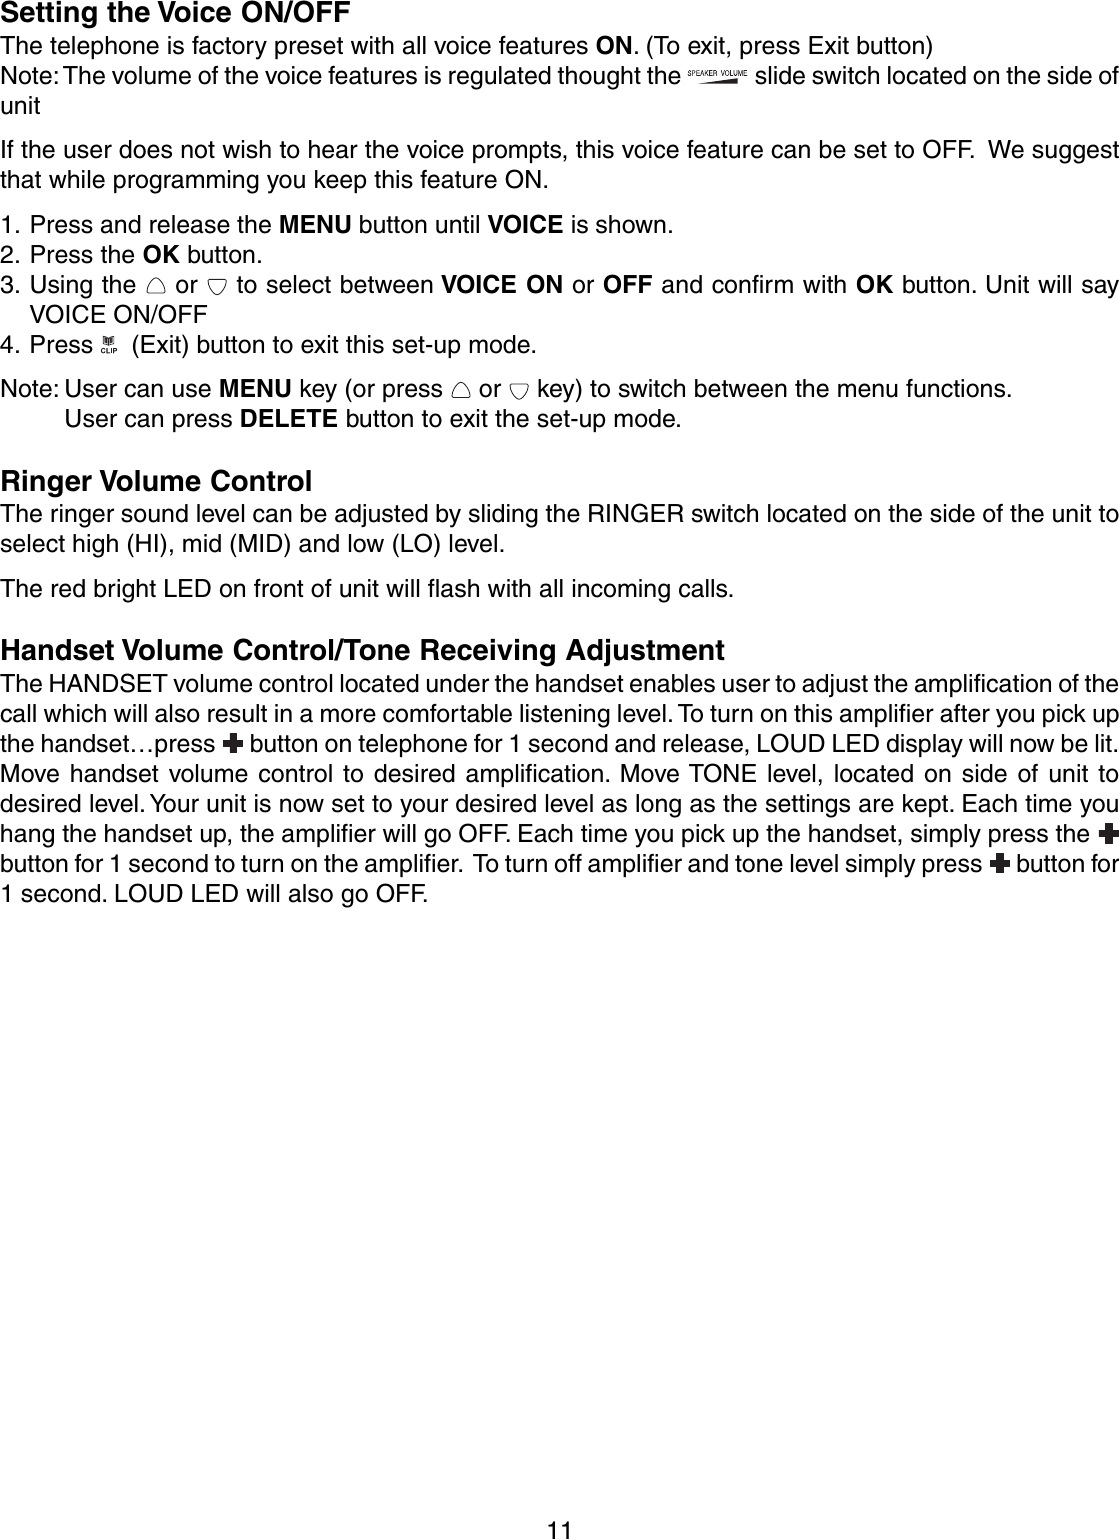
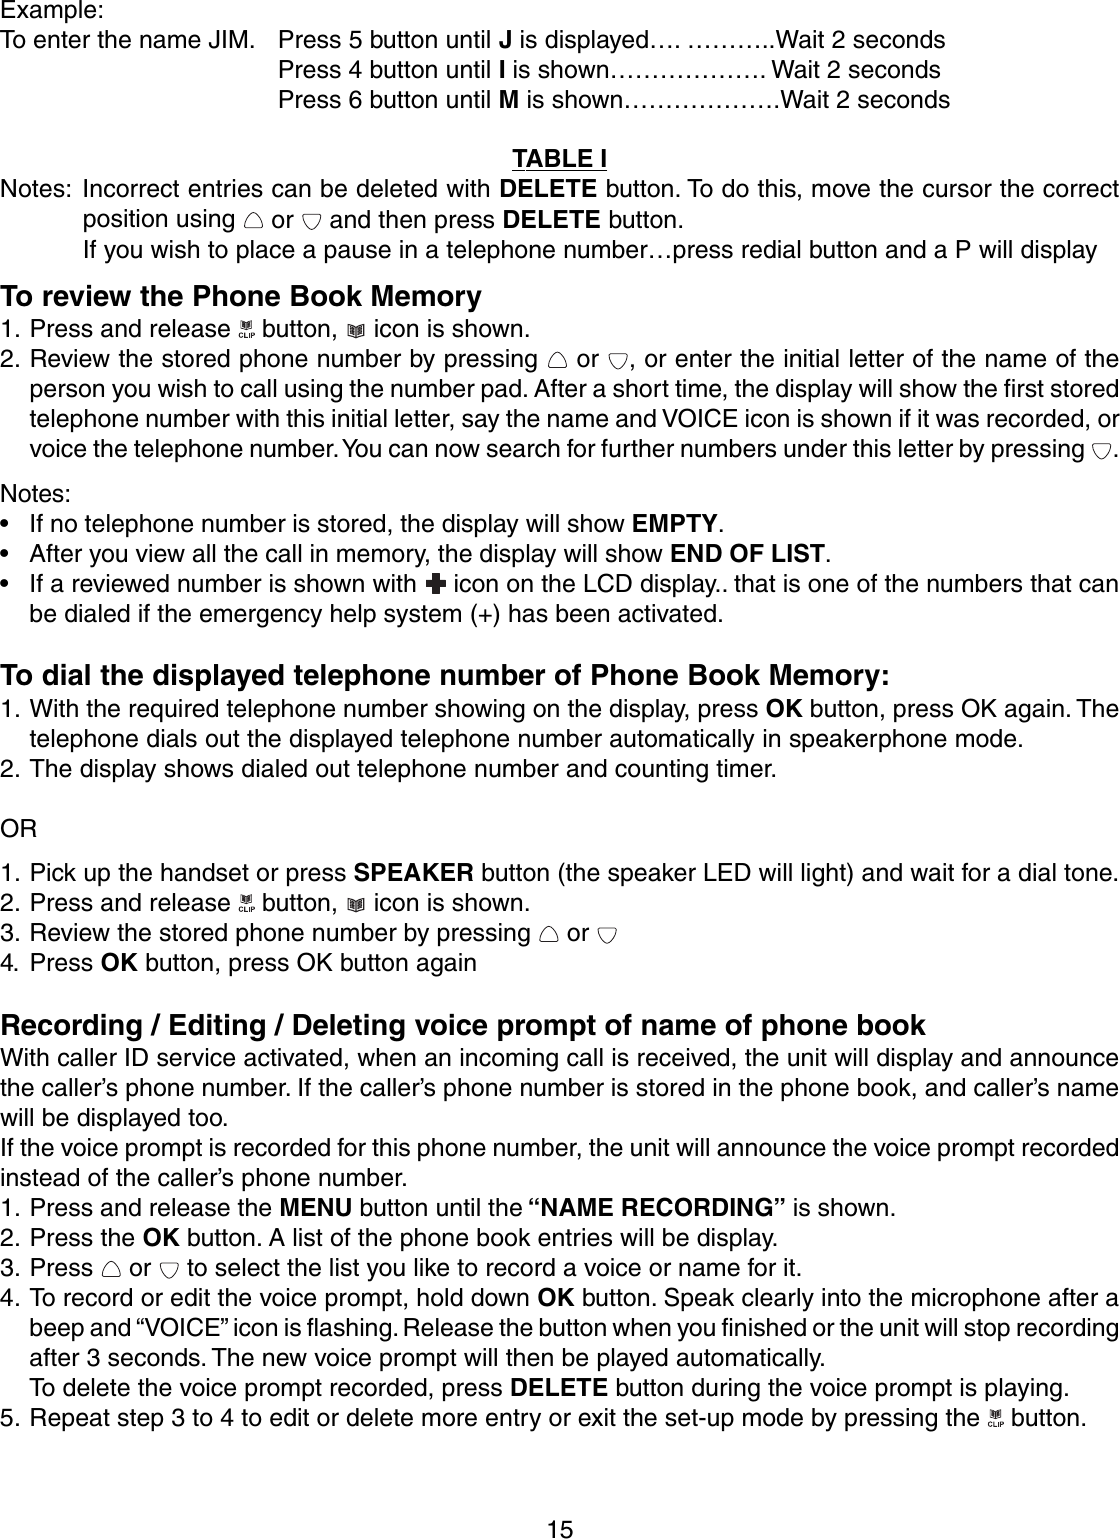
![19To record the voice (example: John), hold down OK button, speak clearly into microphone after abeep and “VOICE” icon is flashing. Release the button when you are finished, the unit will stoprecording after 3 seconds. The recorded name will then be played automatically. [Recording theVoice is necessary for the personalized talking Caller ID and talking phone book feature]8. Repeat step 2 to 6 to enter more emergency no, or press (Exit) button to exit.How to enter names in the phone bookThe number buttons are also inscribed with letters for entering the name. By repeatedly pressing theappropriate button, upper case letters as well as numbers and special characters can be entered.Overview: Note: In entering a nameNote: The numeric keys 1 thru # can be used as shown in Table I1 space + & - / 12 A B C 23 D E F 34 G H I 45 J K L 56 M N O 67 P Q R S 78T U V 89 W X Y Z 90 , . : ; ? 0* ‘ @ ( ) *# $ _ % ! #Example:To enter the name JIM. Press 5 button until J is displayed…. ………..Wait 2 secondsPress 4 button until I is shown………………. Wait 2 secondsPress 6 button until M is shown……………….Wait 2 secondsTABLE INotes: Incorrect entries can be deleted with DELETE button. To do this, move the cursor by scrolling or and then press DELETE button.When you place a pause in a telephone number…press redial button and a P will display.To review the Phone Book Memory (All telephone nos. including Emergency Nos.and their location)1. Press and release button, icon is shown.2. Review the stored phone number by pressing or , or enter the initial letter of the name of theperson you wish to call using the number pad. After a short time, the display will show the first storedtelephone number with this initial letter, say the name and VOICE icon is shown if it was recorded, orvoice the telephone number. You can now search for further numbers under this letter by pressing .Notes:• If no telephone number is stored, the display will show EMPTY.• After you view all the call in memory, the display will show END OF LIST.• If you review a number shown with icon on the LCD display, that means the number can be anemergency’s call dial out.If no key is pressed for 60 seconds, the telephone will return to standby Caller ID mode.](https://usermanual.wiki/Primatronix/CV100R/User-Guide-608364-Page-20.png)