Panasonic of North America 9TGWW11A TD-CDMA PCI Express Mini Module User Manual Host
Panasonic Corporation of North America TD-CDMA PCI Express Mini Module Host
Contents
- 1. User manual - host
- 2. Module Integration guide
- 3. Host User Manual
- 4. Users Manual
Host User Manual


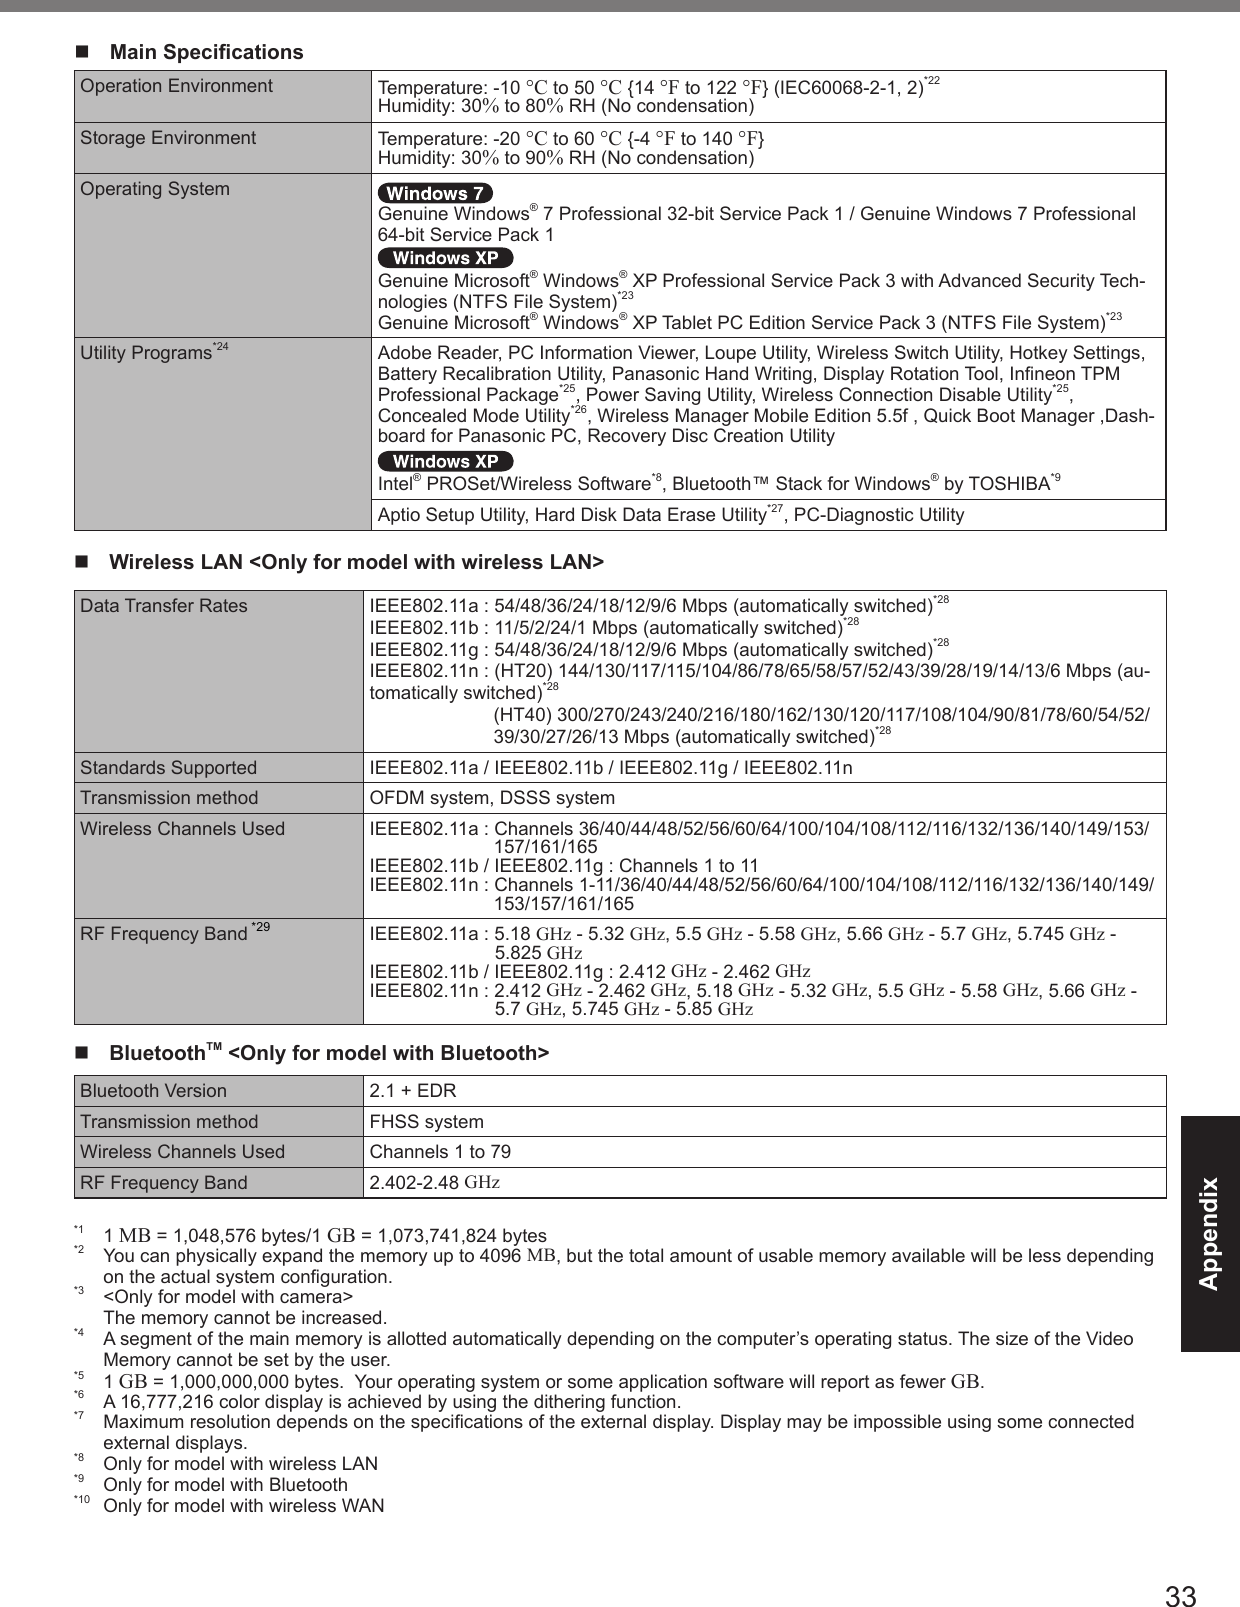
![Useful InformationReinstalling Softwaren Hard Disk Recovery CAUTION Area usable by WindowsHard disk HDD Recovery partition 10GBRecover partition 300MBPreparationl l 1 Turn on the computer, and press F2 or Del while [Panasonic] boot screen is displayed.l 2 Write down all of the contents of the Setup Utility and press F9.Enter3 Press F10.Enter4 Press F2 or Del while [Panasonic] boot screen is displayed.l 5 Select the [Exit] menu, then select [Repair Your Computer] and press Enter.6 Click [Reinstall Windows] and click [Next].7 Click [Yes, I agree to the provisions above and wish to continue!] and click [Next].8 Select the settings and click [Next].l èl è9 At the conrmation message, click [OK].10 Select OS (32bit or 64bit) and click [OK].11 At the conrmation message, click [OK].l 12 When ending screen is displayed, click [OK] to turn off the computer.13 Turn on the computer.l 14 Perform the “First-time Operation” (è page 15).15 Start the Setup Utility and change the settings as necessary.16 Perform Windows Update.](https://usermanual.wiki/Panasonic-of-North-America/9TGWW11A.Host-User-Manual/User-Guide-1657278-Page-23.png)
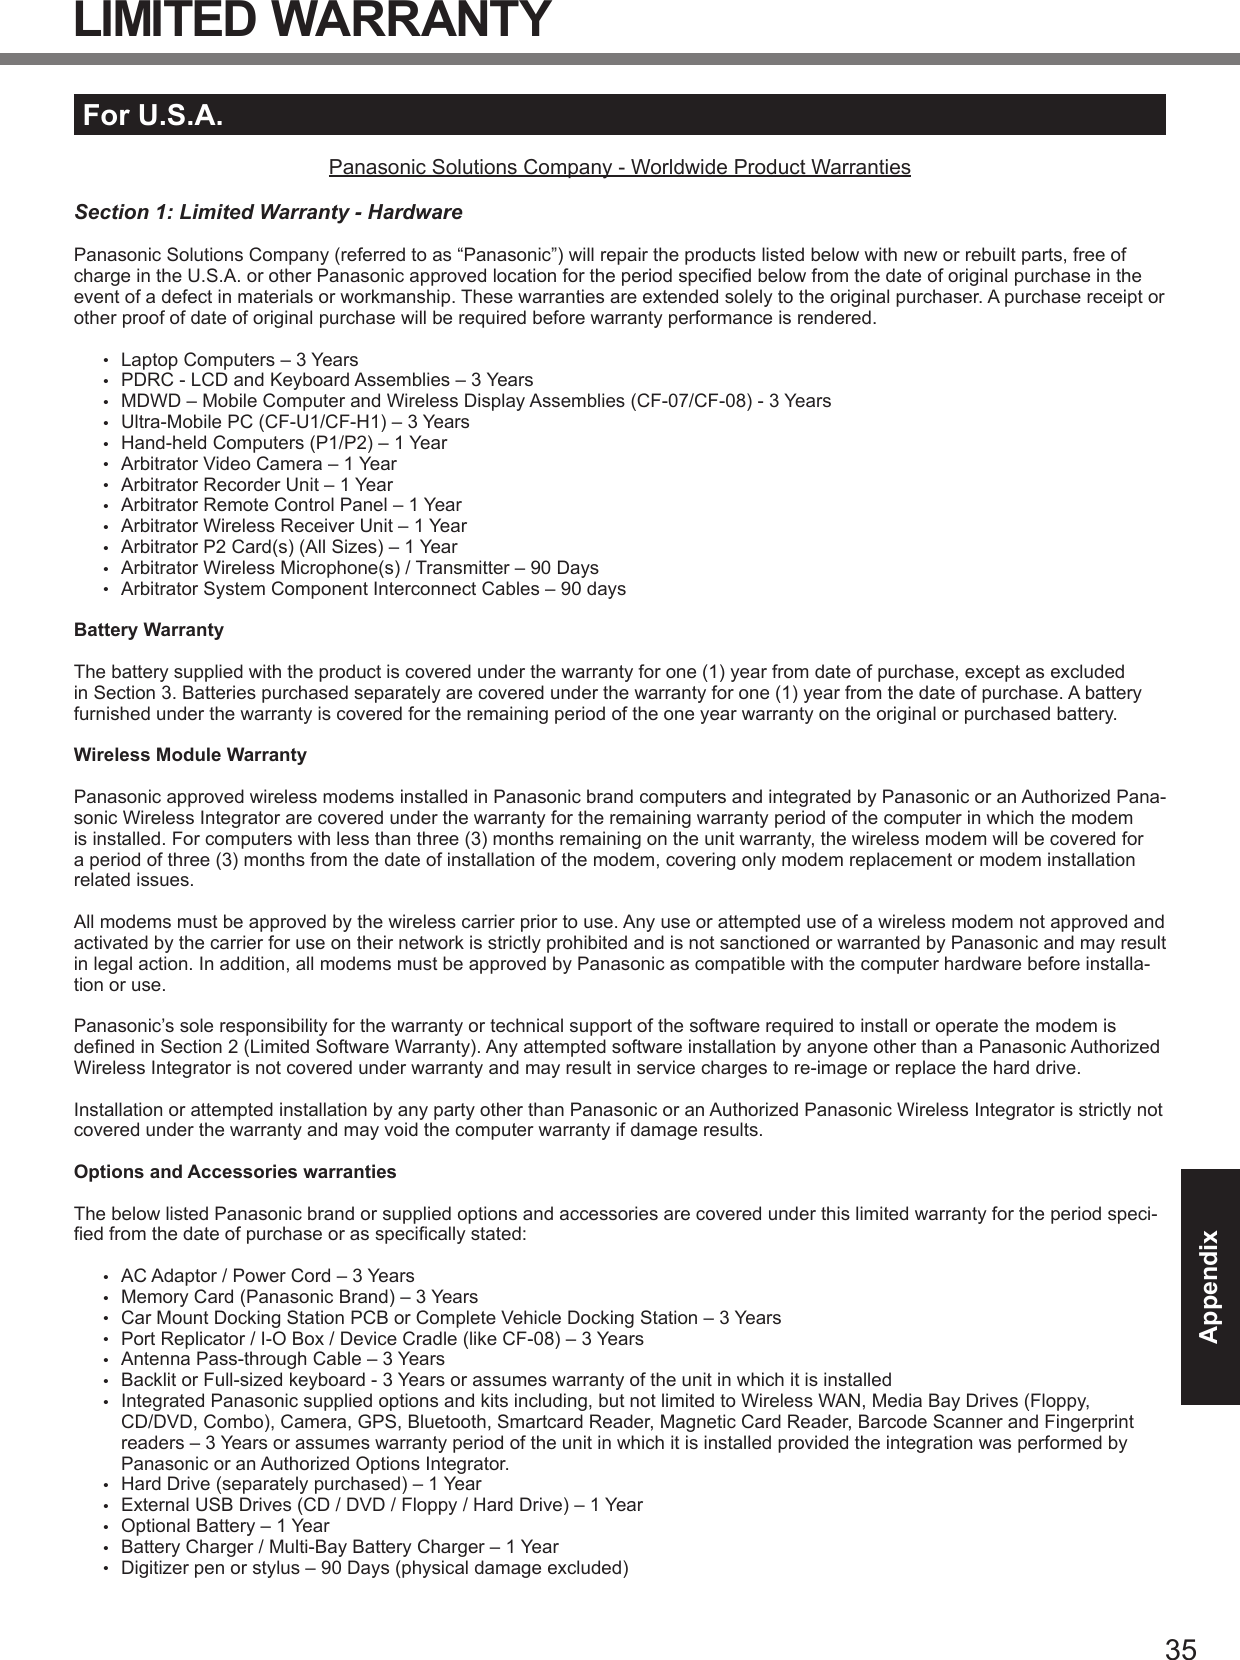
![Useful Informationn Using Recovery Disc NOTE Preparationl èReference Manuall l 1 Turn off the computer and connect the CD/DVD drive to the USB port (è page 12).2 Turn on the computer, and press F2 orDel while [Panasonic] boot screen is displayed.l 3 Write down all of the contents of the Setup Utility and press F9.Enter4 Press F10.Enter5 Press F2 orDelwhile [Panasonic] boot screen is displayed.l 6 Set the Recovery Disc into the CD/DVD drive.7 Select the [Exit] menu, then select your CD/DVD drive.8 PressEnter9 Click [Reinstall Windows] and click [Next].10 Click [Yes, I agree to the provisions above and wish to continue!] and click [Next].11 Select the settings and click [Next].l è l è 12 At the conrmation message, click [YES].l 13 When “Ending process.” is displayed, remove the Recovery Disc, and then click [OK] to turn off the computer.14 Turn on the computer.l 15 Perform the “First-time Operation” (è page 15).16 Start the Setup Utility and change the settings as necessary.17 Perform Windows Update.Reinstalling Software](https://usermanual.wiki/Panasonic-of-North-America/9TGWW11A.Host-User-Manual/User-Guide-1657278-Page-24.png)