PARROT EBOX4R2 Bluetooth Car Kit with 433 MHz Receiver User Manual MKi9200
PARROT Bluetooth Car Kit with 433 MHz Receiver Users Manual MKi9200
PARROT >
Contents
- 1. Users Manual MKi9000
- 2. Users Manual MKi9100
- 3. Users Manual MKi9200
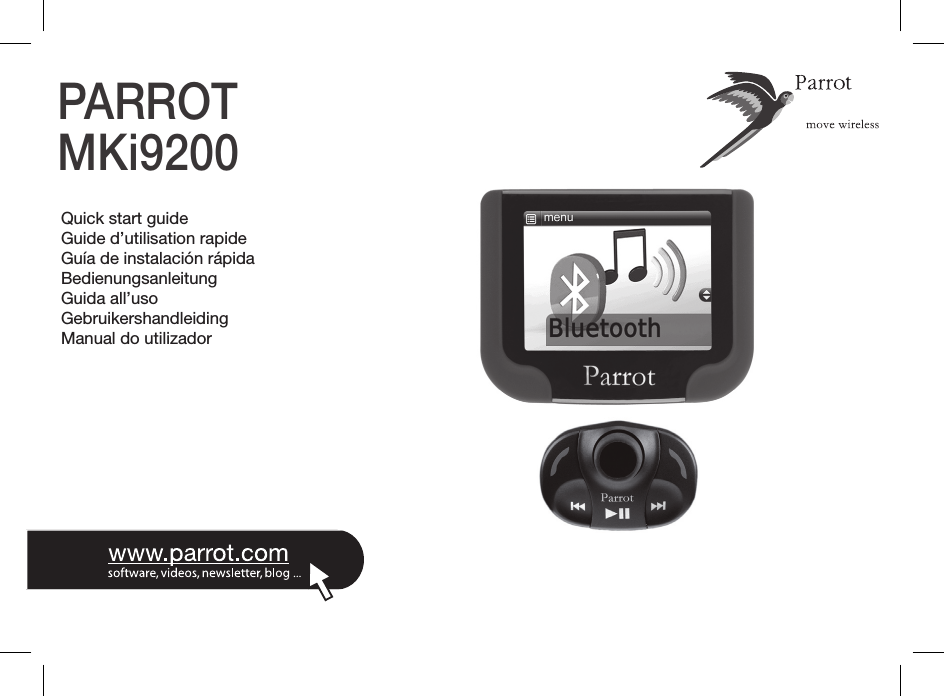
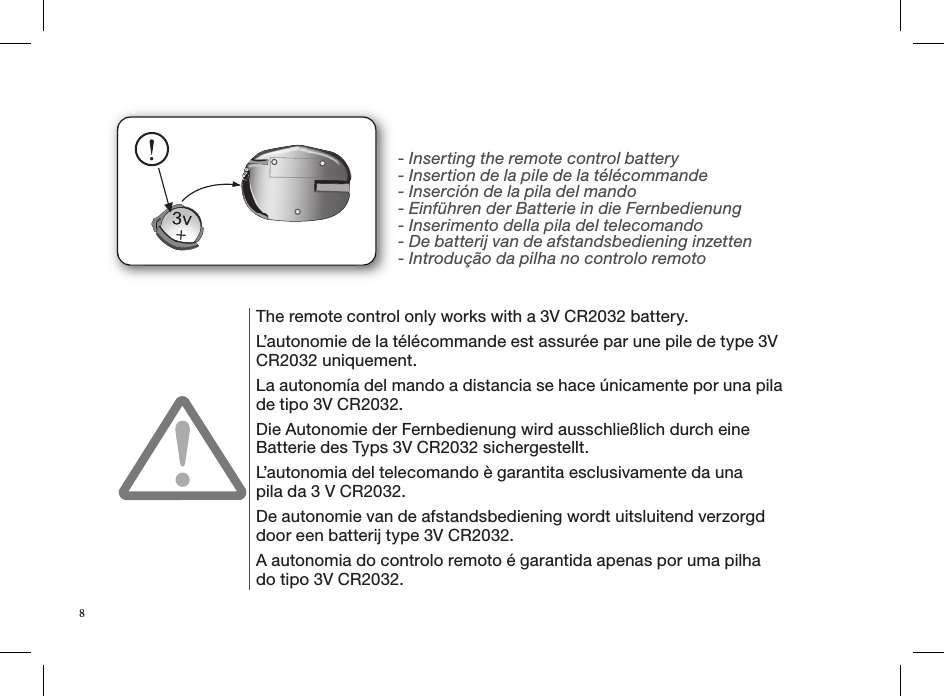
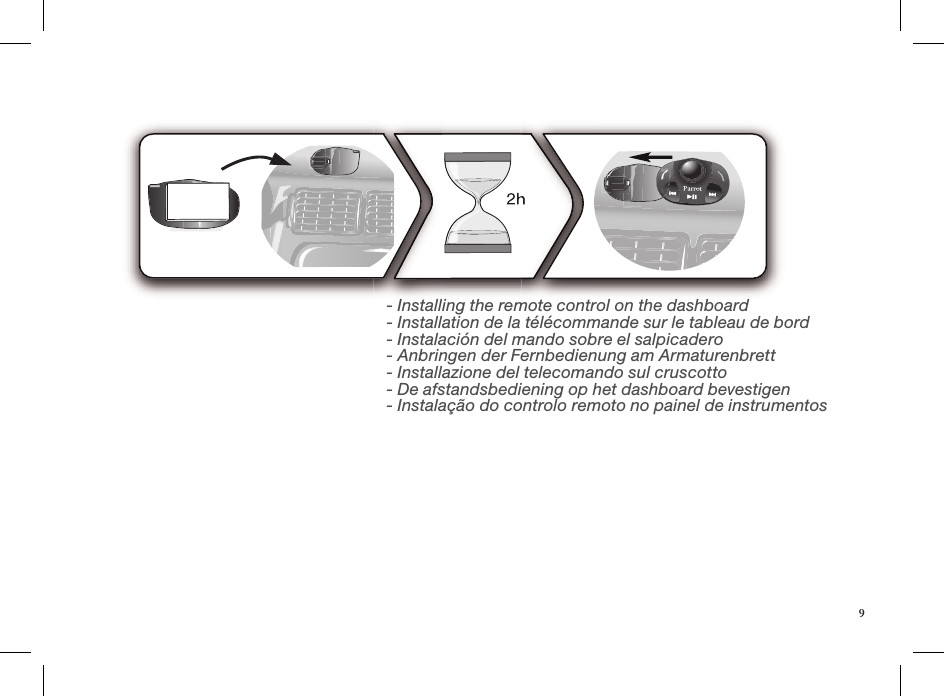
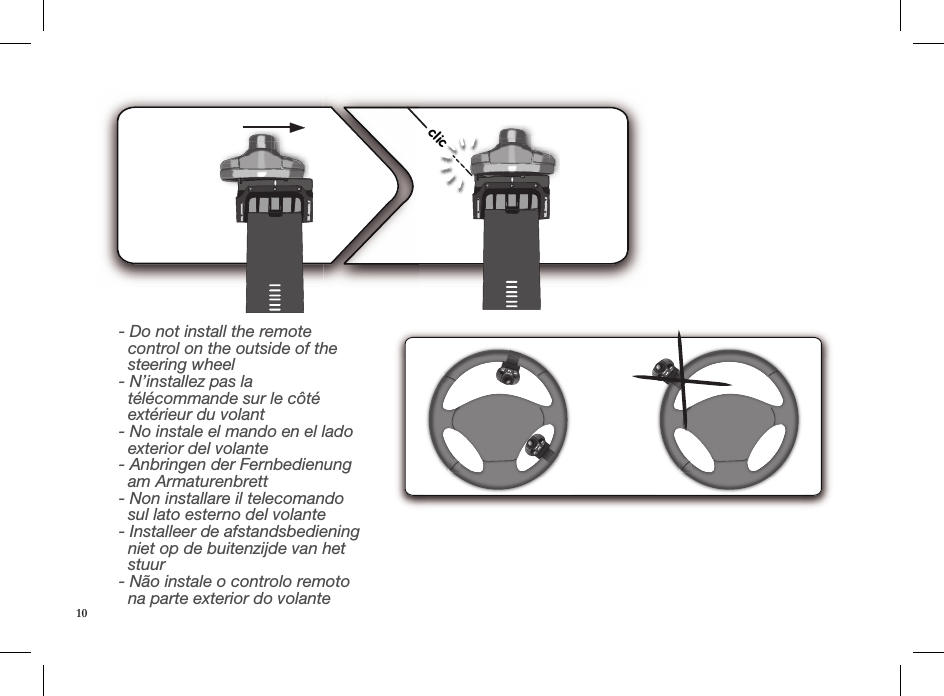
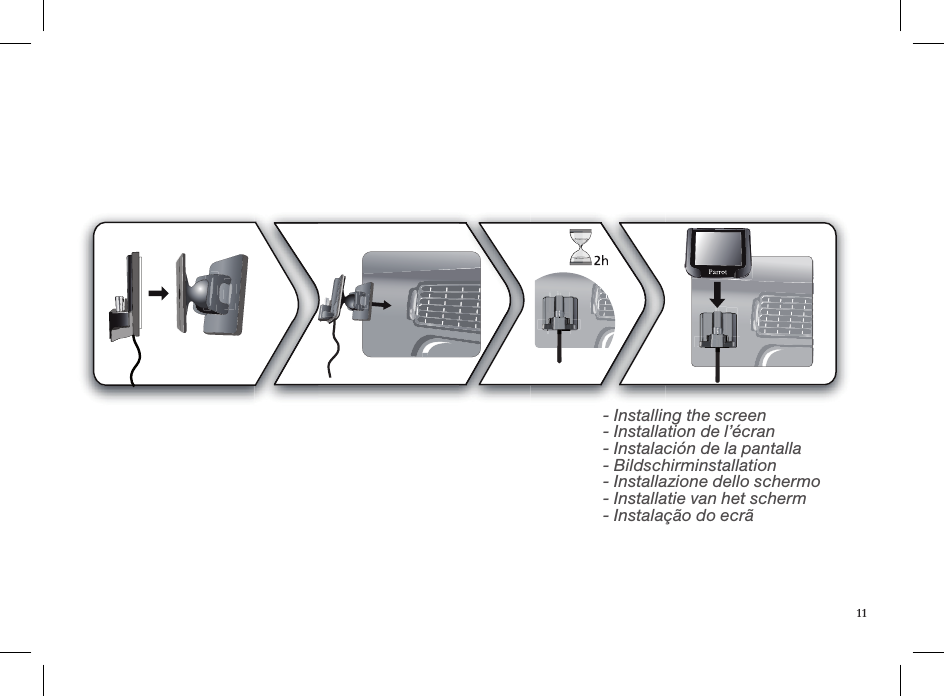
Users Manual MKi9200


![FCC ID: RKXEBOX4R2 RKXSAMOS4Hotline?...Our hotline is at your disposal from Monday to Friday between 9 am and 6 pm (GMT + 1) - Hot-line@parrot.comItaly : [+39] 02 59 90 15 97Spain : [+34] 902 404 202UK : [+44] (0)844 472 2360Germany : 0900 1727768USA : [+1] (877) 9 Parrot (toll free)China : [+86] 755 8203 3307Hong Kong : [+852] 2736 1169France : 01 48 03 60 69Europe : [+33] 1 48 03 60 69 (Spoken languages : French, English and Spanish) 82](https://usermanual.wiki/PARROT/EBOX4R2.Users-Manual-MKi9200/User-Guide-1210398-Page-82.png)
![FCC ID: RKXEBOX4R2 RKXSAMOS4Hotline?...Our hotline is at your disposal from Monday to Friday between 9 am and 6 pm (GMT + 1) - Hot-line@parrot.comItaly : [+39] 02 59 90 15 97Spain : [+34] 902 404 202UK : [+44] (0)844 472 2360Germany : 0900 1727768USA : [+1] (877) 9 Parrot (toll free)China : [+86] 755 8203 3307Hong Kong : [+852] 2736 1169France : 01 48 03 60 69Europe : [+33] 1 48 03 60 69 (Spoken languages : French, English and Spanish)](https://usermanual.wiki/PARROT/EBOX4R2.Users-Manual-MKi9200/User-Guide-1210398-Page-83.png)