Motorola Solutions 89FT5828 i830 User Manual i830Mot
Motorola Solutions, Inc. i830 i830Mot
UserManual.wiki
>
Motorola Solutions
>
89FT5828 User Manual
>
users manual 2
Contents
1.
users manual 1
2.
users manual 2
3.
HAC USER MANUAL INSERT 1
4.
HAC USER MANUAL INSERT 2
users manual 2
Navigation menu
Upload a User Manual
Namespaces
Wiki Guide
HTML
PDF
Info
Views
User Manual
Discussion / Help
Navigation
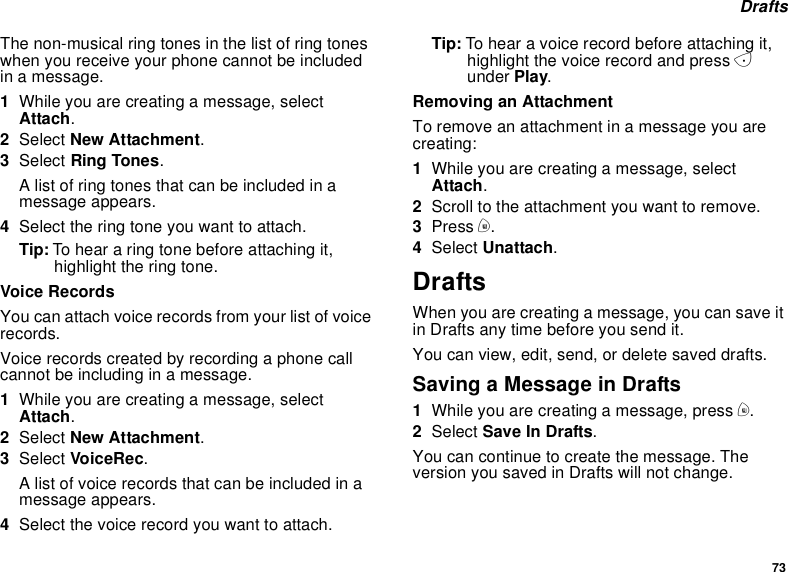
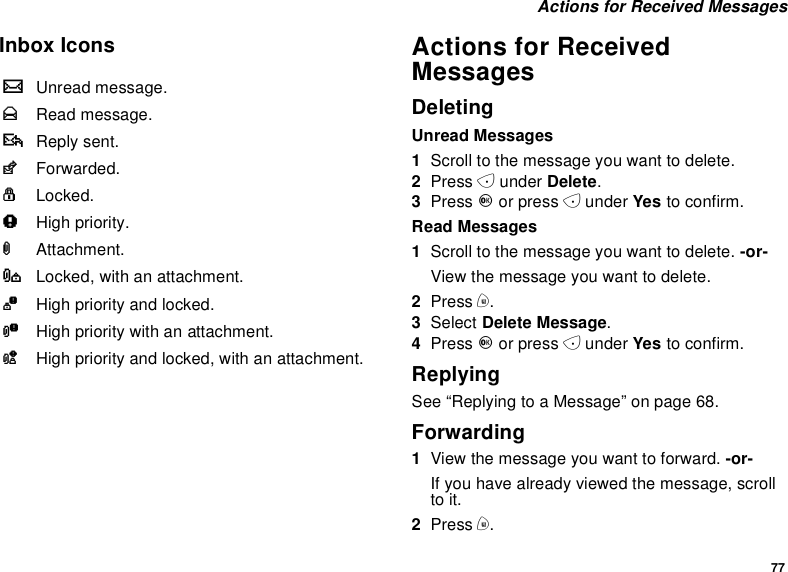
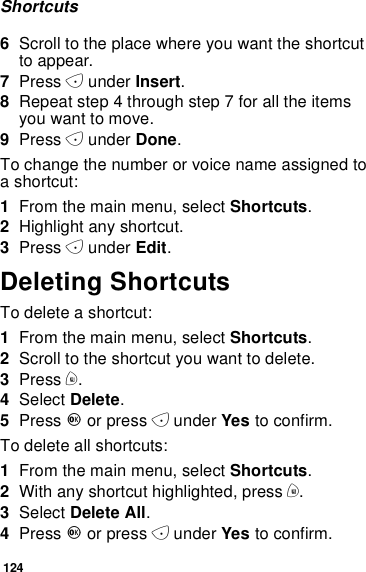
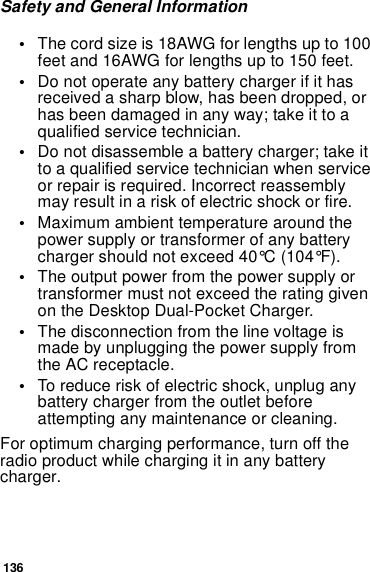
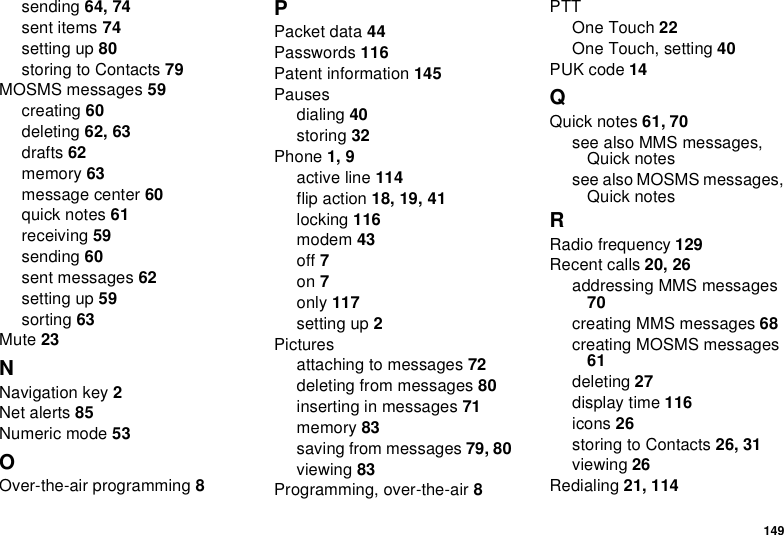
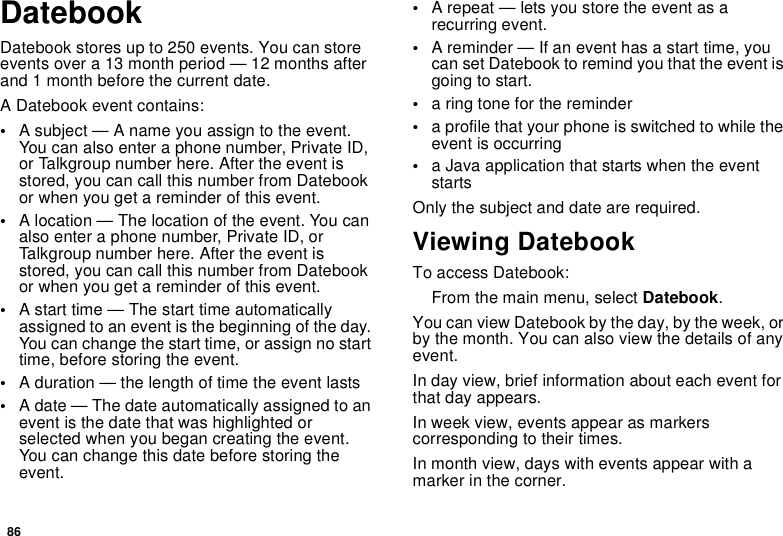
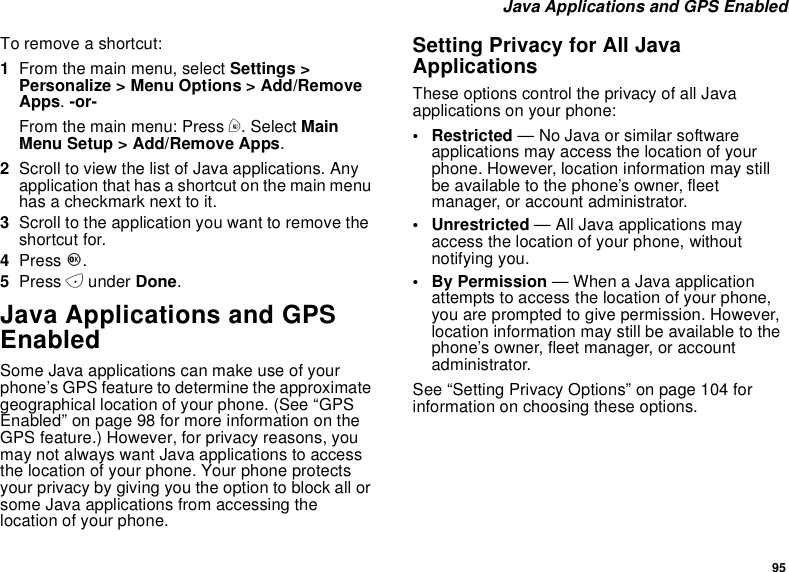
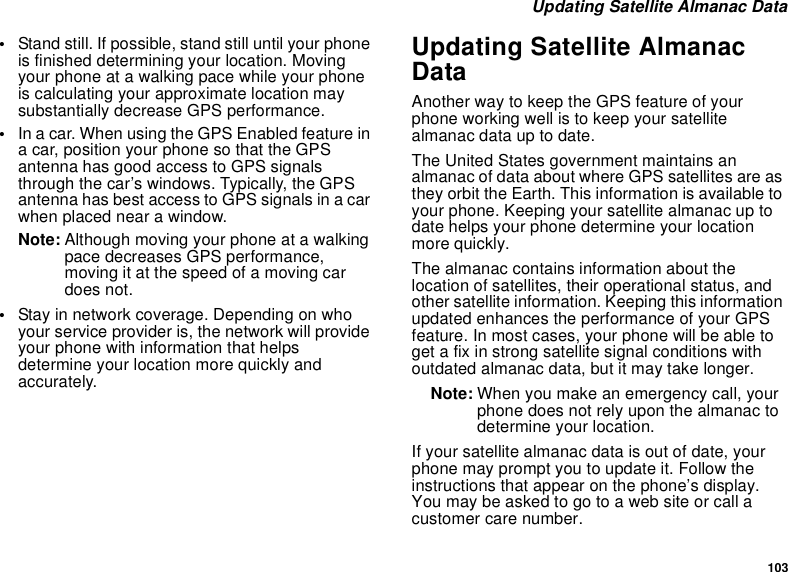
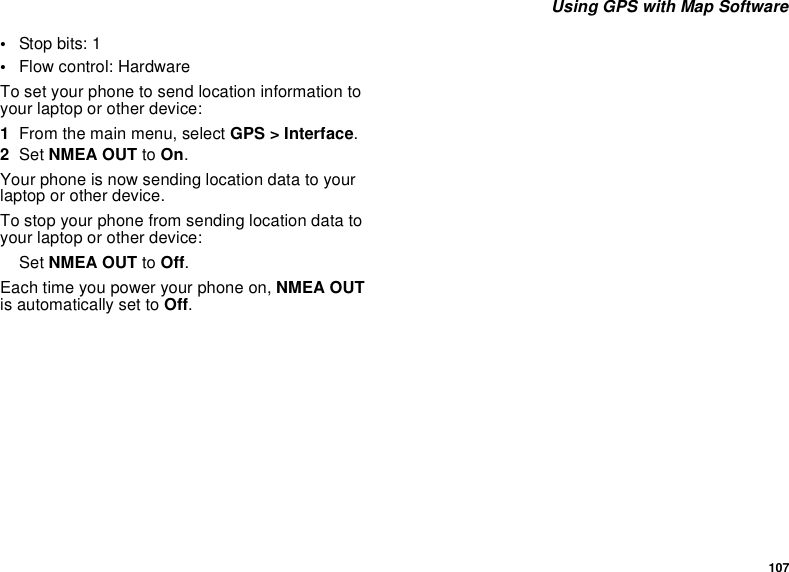
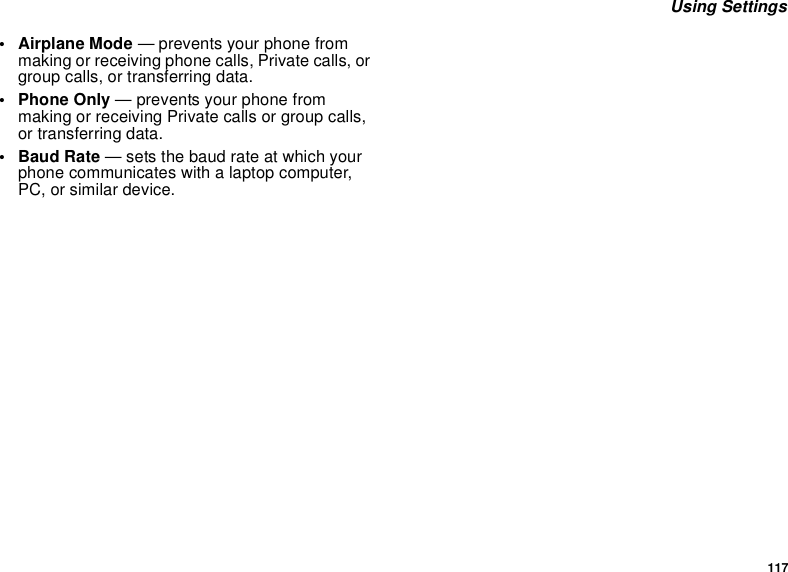
![79Actions for Received MessagesStoring Message Information ToContactsIf a message you receive contains a phonenumber, Private ID, Talkgroup ID, or an emailaddress, you can store this information toContacts.These numbers may appear in the From field, theTo field, the Cc field, the subject line, or the bodyof the message.1View the message.2Highlight the number or email address you wantto save.3Press m.4Select Save Number or Save E-mail.5To store the number or email address as a newentry, select [New Contact].-or-To store the number or email address to anexisting entry, select the entry.6With the Contacts type field highlighted, scrollleft or right to display the Contacts type you wantto assign the number or email address.7If you want to add more information to the entry,follow the applicable instructions in “CreatingEntries” on page 30.8Press Aunder Done.GoingtoaWebsiteIf a message contains one or more website URLs,you can go to the website.1View the message.2Highlight the website URL you want to go to.3Press m.4Select Go to Website.Saving an Embedded Picture or VoiceRecordTo save a picture or voice record that is part of thebody of a message you receive:1View the message.2Highlight the picture or voice record you want tosave.3Press m.4Select Save Picture or Save Audio.Pictures are saved to My Pictures. Voice recordsare saved to your voice records.](https://usermanual.wiki/Motorola-Solutions/89FT5828.users-manual-2/User-Guide-400442-Page-7.png)
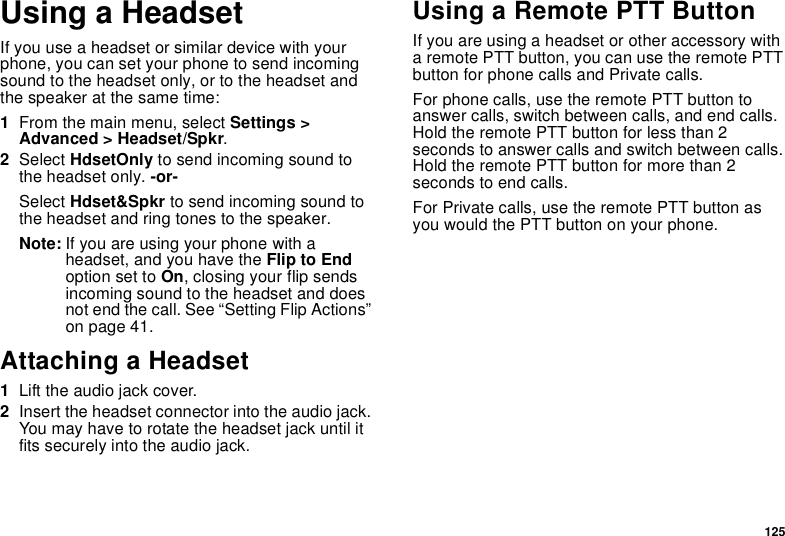
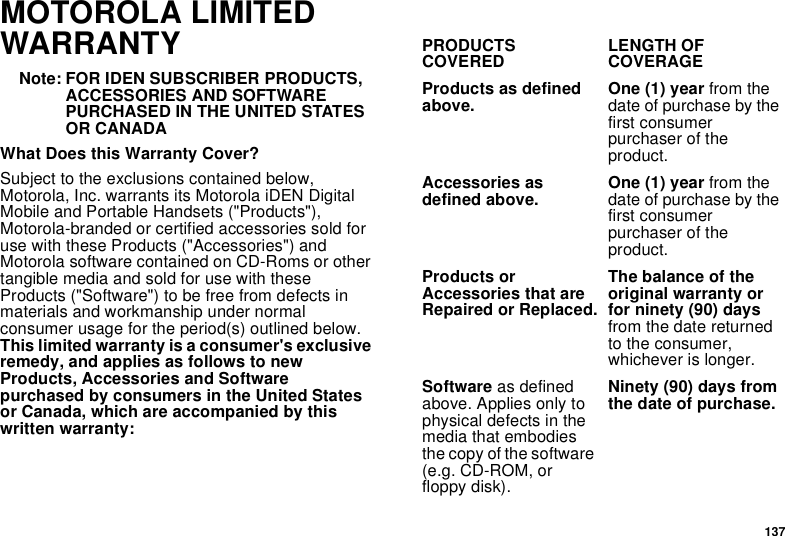
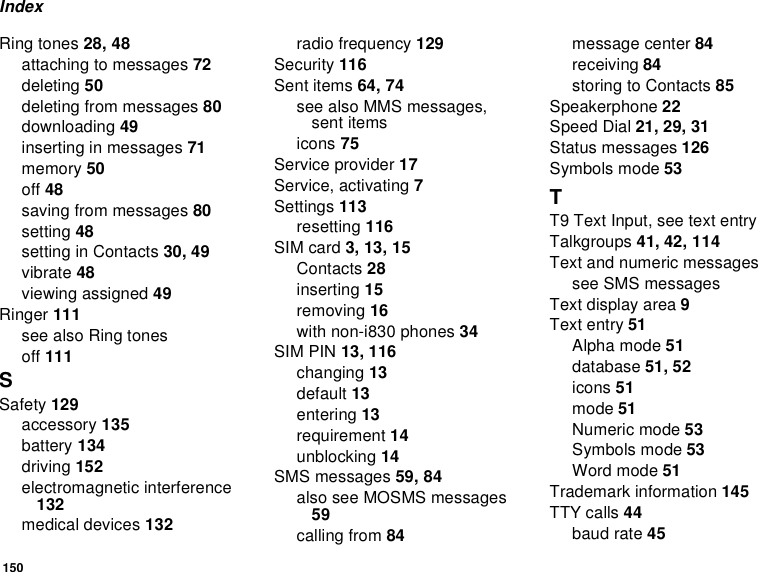
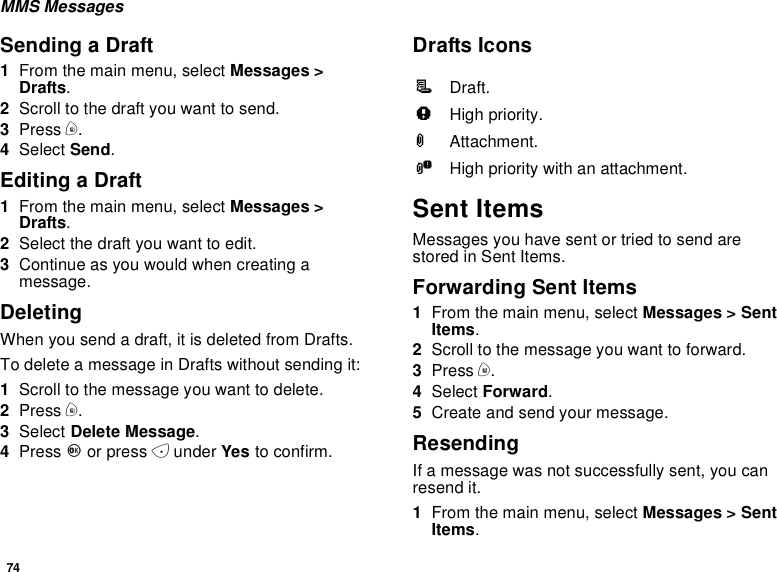
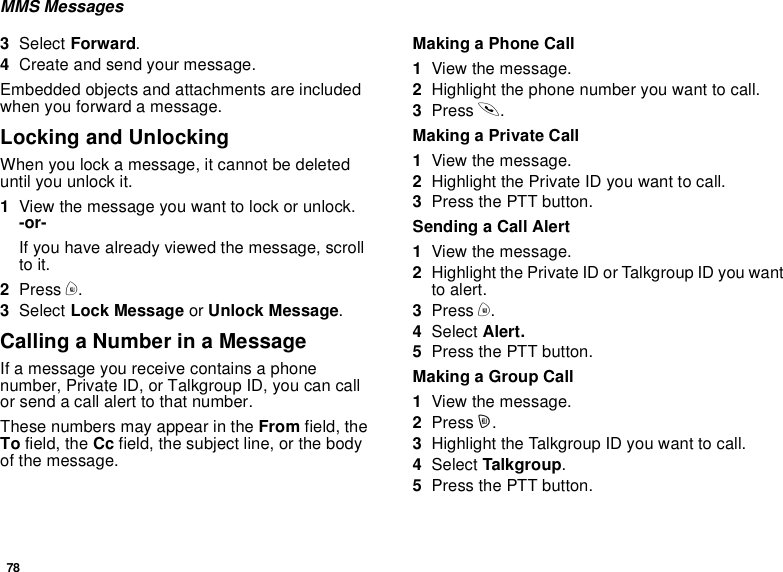
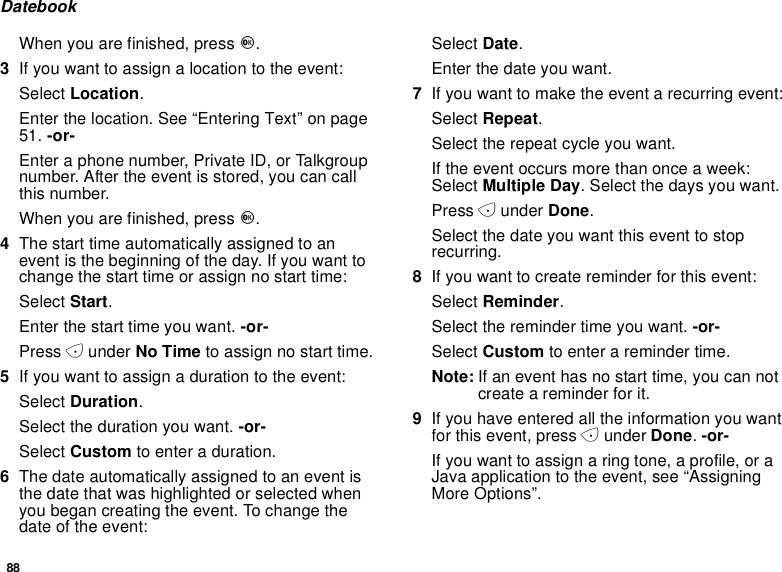
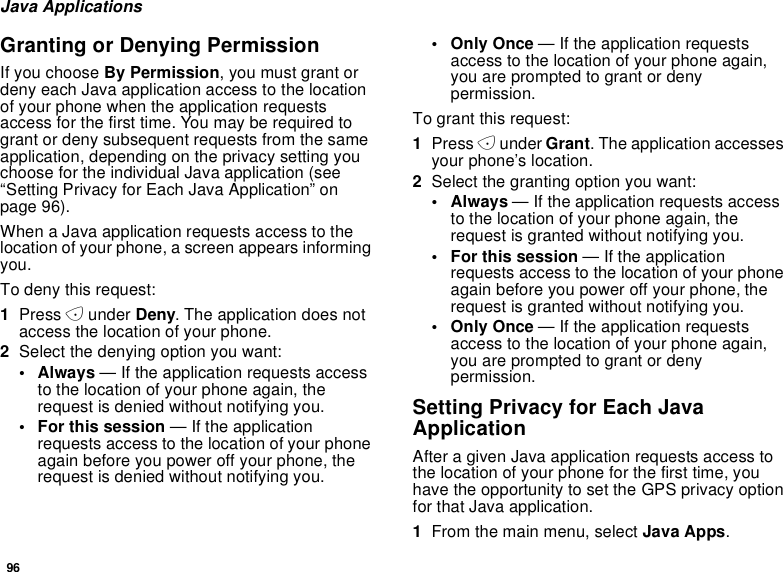
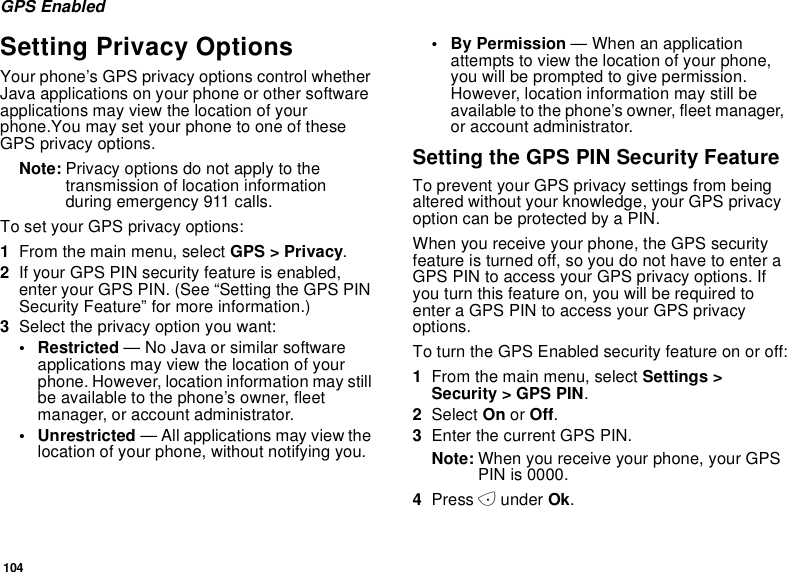
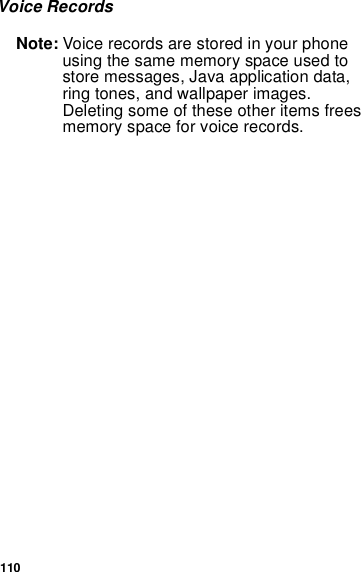
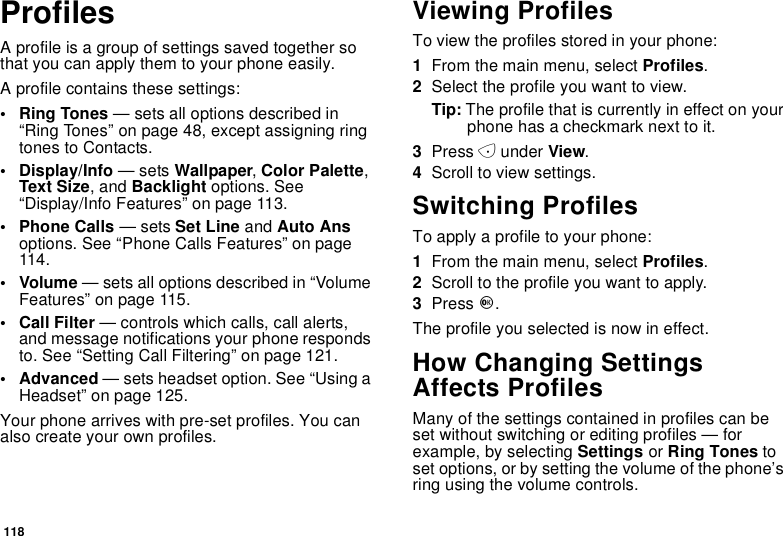
![80MMS MessagesDeleting an Embedded Picture, RingTone, or Voice RecordTo delete a picture, ring tone, or voice record thatis part of the body of a message you receive:1View the message.2Highlight the picture or play the ring tone orvoice record you want to delete.3Press m.4Select Delete Picture or Delete Audio.Saving Attachments1View the message.2Highlight the attachment you want to save.3Press m.4Select Save Attachment.Pictures are saved to My Pictures. Ring tones aresave to your list of ring tones. Voice records aresave to your voice records.Audio files in the WAV format cannot be saved.Deleting Attachments1View the message.2Highlight the attachment you want to delete.3Press m.4Select Delete Attachment.5Press Oor press Aunder Yes to confirm.Customizing MMSThe Setup menu lets you customize MMS for yourphone:•FriendlyName— Enter text here to create afriendly name. Your friendly name is the namedisplayedintheFromfieldonotheriDENphones when they receive messages from you.•Signature— Enter text here to create asignature. Your signature is text that isautomatically inserted at the end of allmessages you create. You can edit the textbefore sending the message.•QuickNotes— lets you create new QuickNotes and edit or delete Quick Notes you havecreated.• Replies — lets you create new reply phrasesand edit or delete reply phrases you havecreated.•Cleanup— controls how long messages remainin the Inbox and Sent Items before they aredeleted. See “Setting the Clean-up Option”To access the Setup menu:1From the main menu, select Messages.2With [Create Mesg] hightlight, press m.](https://usermanual.wiki/Motorola-Solutions/89FT5828.users-manual-2/User-Guide-400442-Page-8.png)
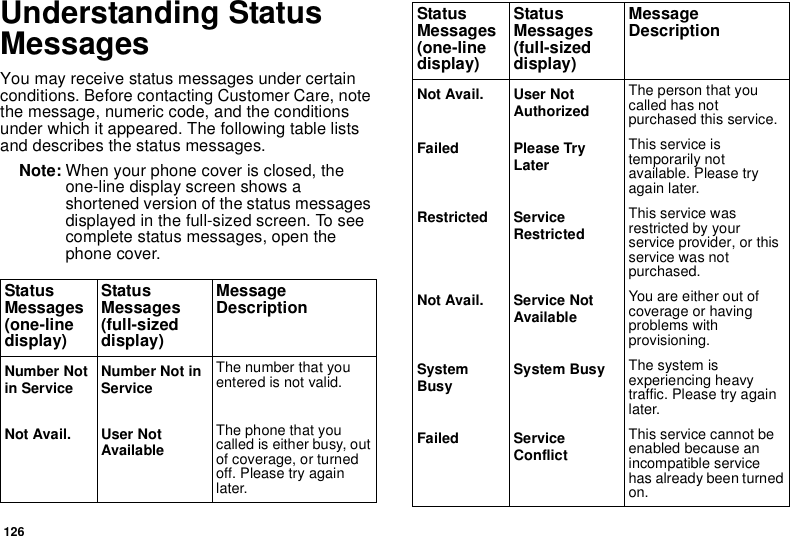
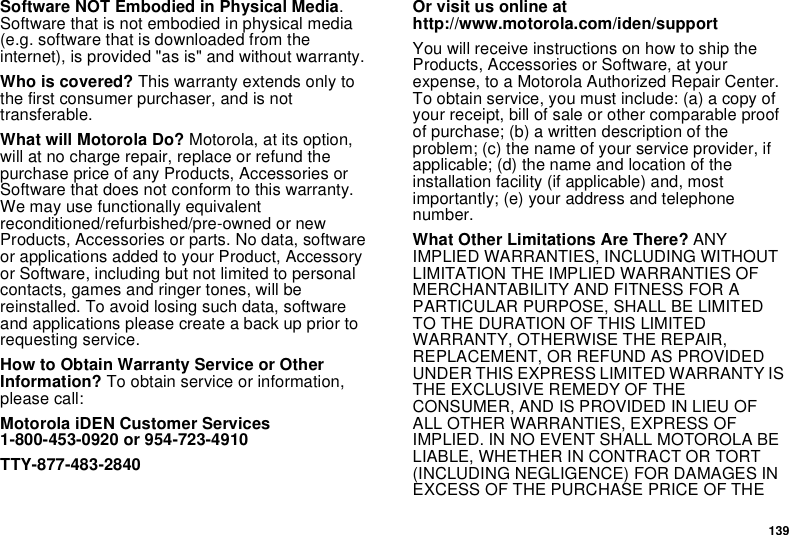
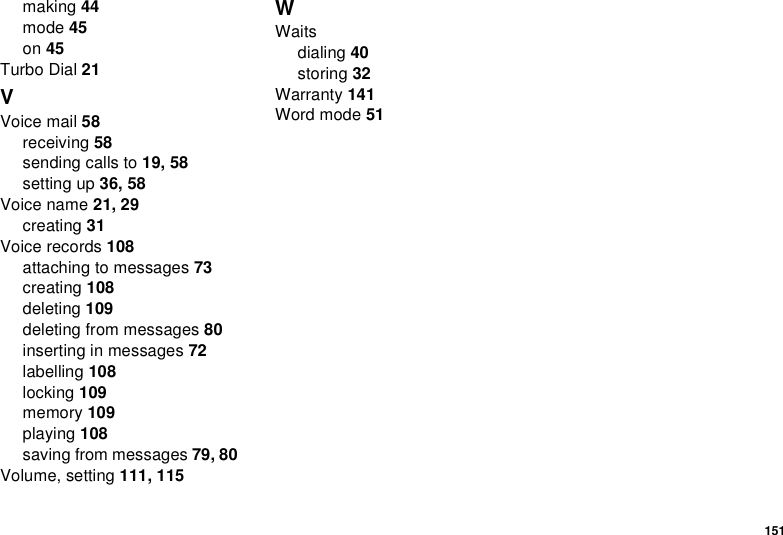
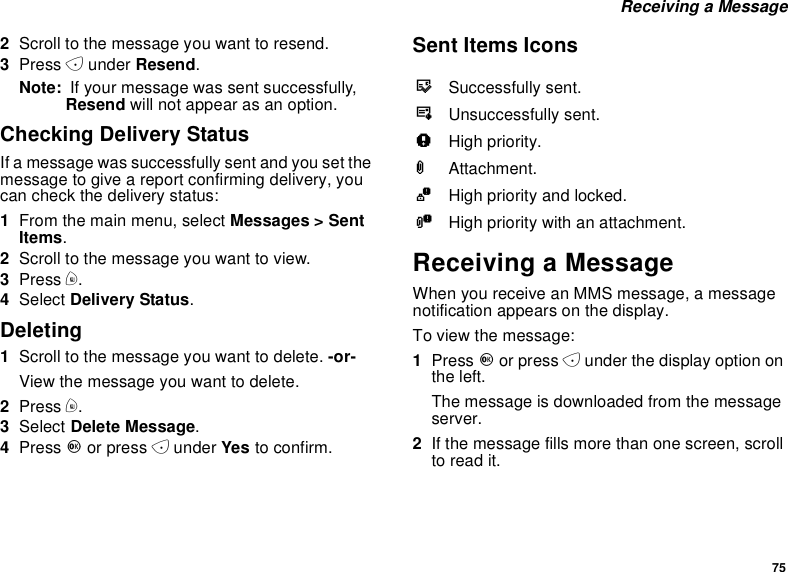
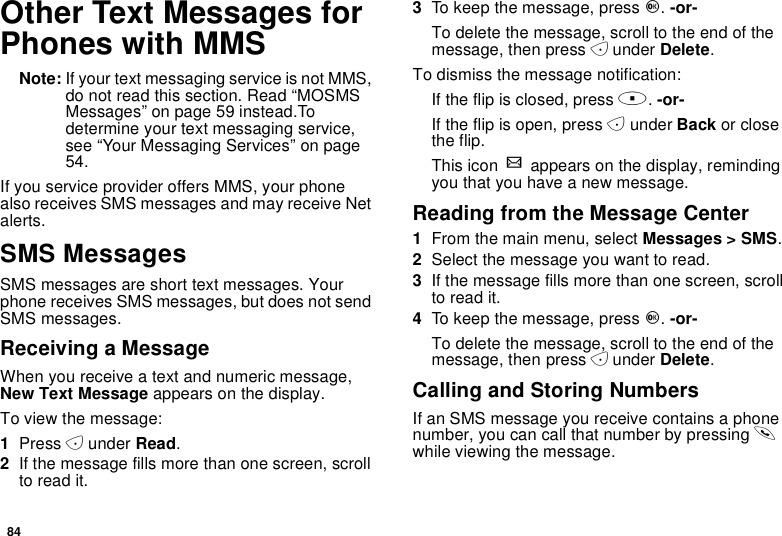
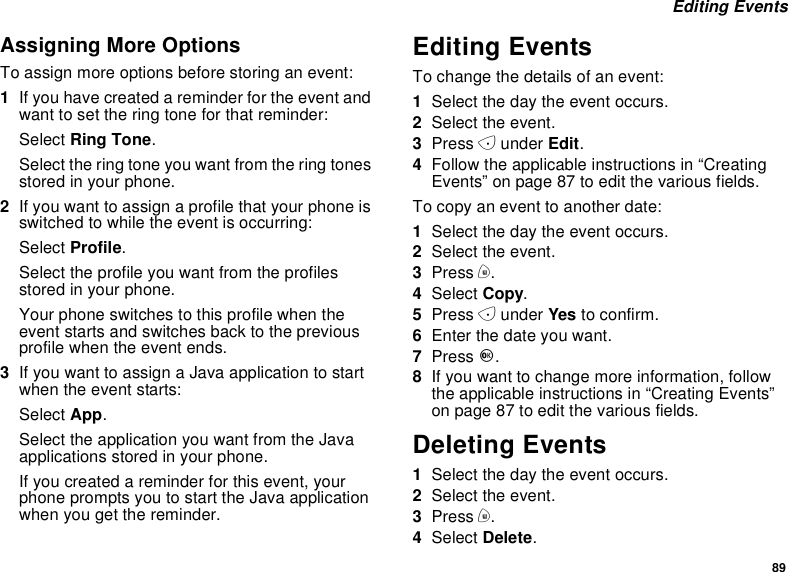
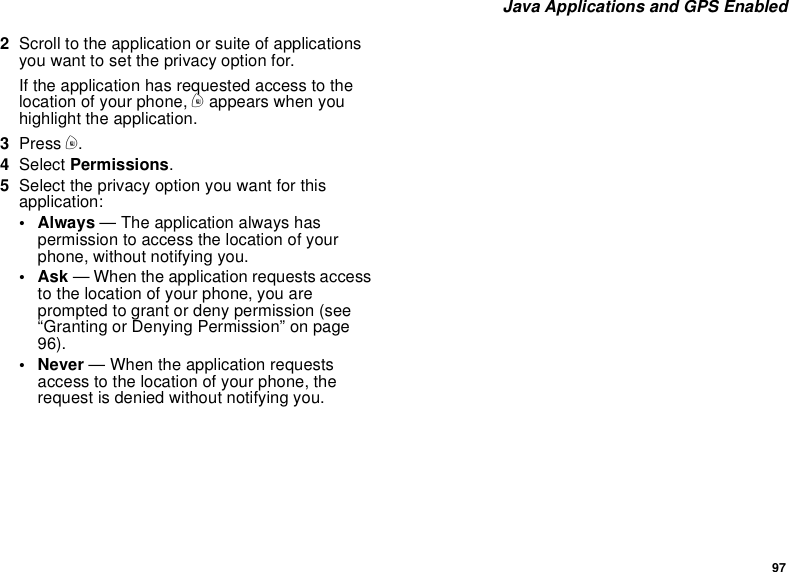
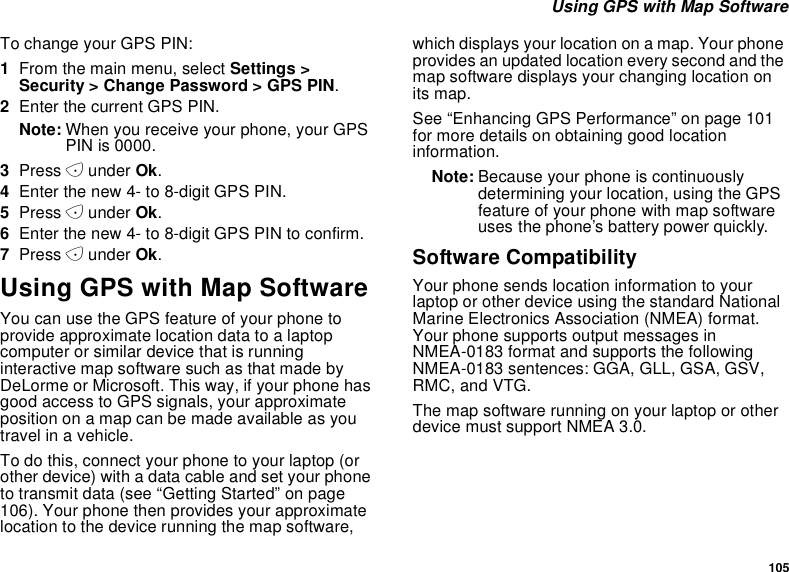
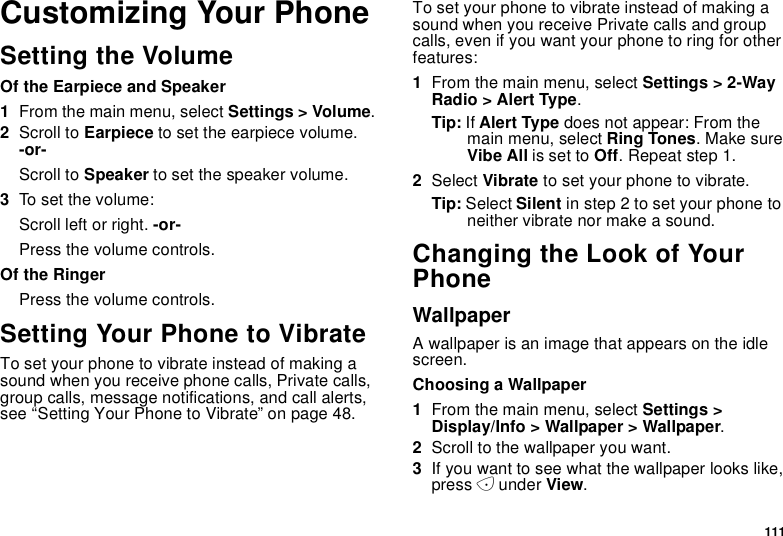
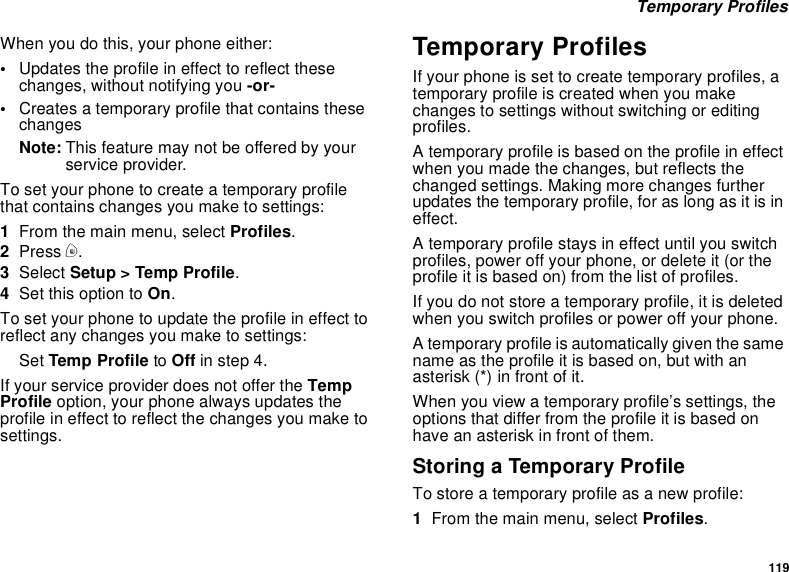
![81Customizing MMS3Select Setup.Tip: This option is available from manycontext-sensitive menus when you areusing MMS.New Quick Notes and Reply PhrasesCreating1From the Setup menu, select Quick Notes orReplies.2Select [New Note] or [New Reply].-or-Press Aunder New.3Entry text from the keypad.4When you are finished, press O.EditingYou can edit only Quick Notes and reply phrasesyouhavecreated.1From the Setup menu, select Quick Notes orReplies.2Scroll to the Quick Note or reply phrase youwant to edit.3Edit the text.4When you are finished, press O.DeletingYou can delete only Quick Notes and reply phrasesyouhavecreated.To delete a Quick Note or reply phrase:1From the Setup menu, select Quick Notes orReplies.2Scroll to the Quick Note or reply phrase youwant to delete.3Press press Aunder Delete.4Press Oor press Aunder Yes to confirm.To delete all Quick Note or all reply phrase:1From the Setup menu, select Quick Notes orReplies.2Press m.3Select Delete All.4Press Oor press Aunder Yes to confirm.Setting the Clean-up OptionThe clean-up option controls how long messagesremain in the Inbox and Sent Items before they aredeleted. You set the clean-up option for the Inboxand Sent Items separately.The clean-up option deletes only read, unlockedmessages.](https://usermanual.wiki/Motorola-Solutions/89FT5828.users-manual-2/User-Guide-400442-Page-9.png)

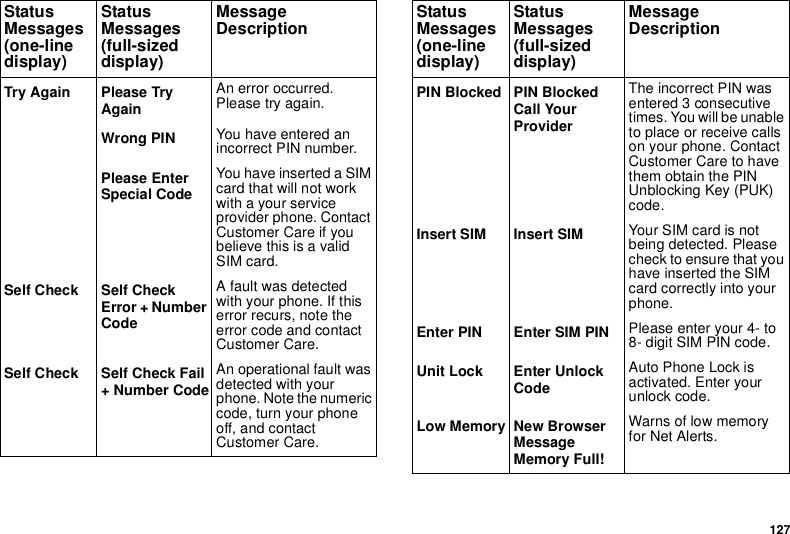
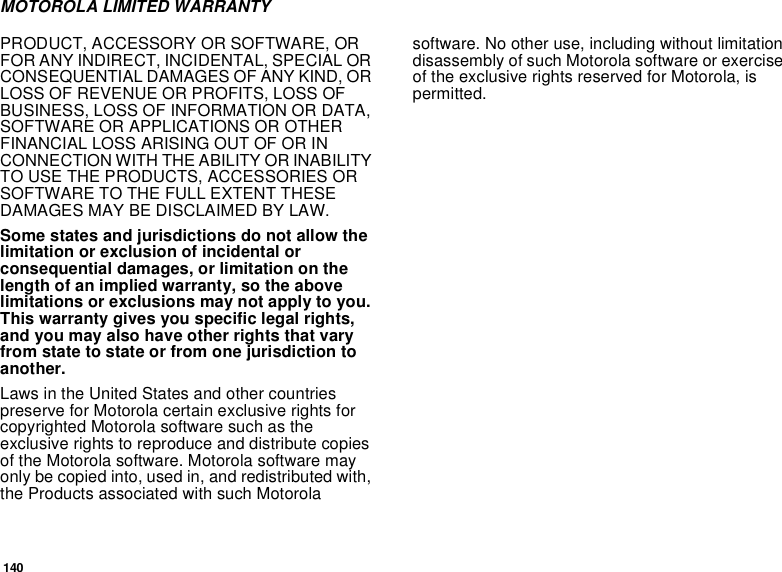
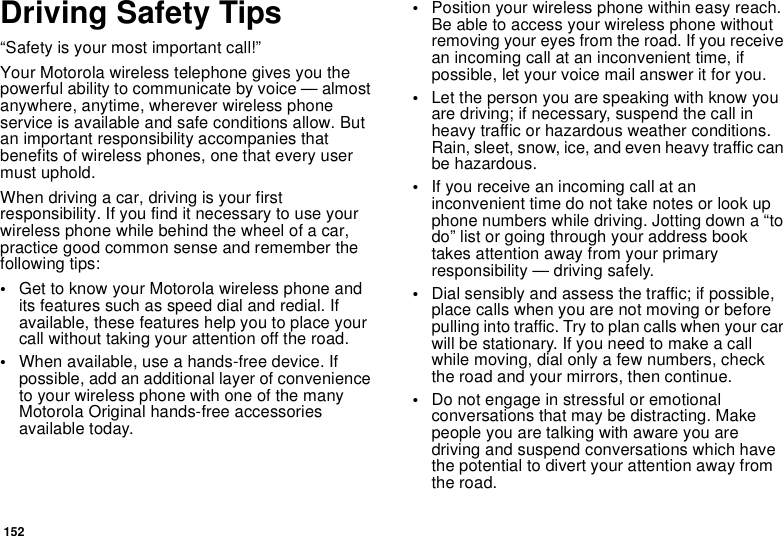
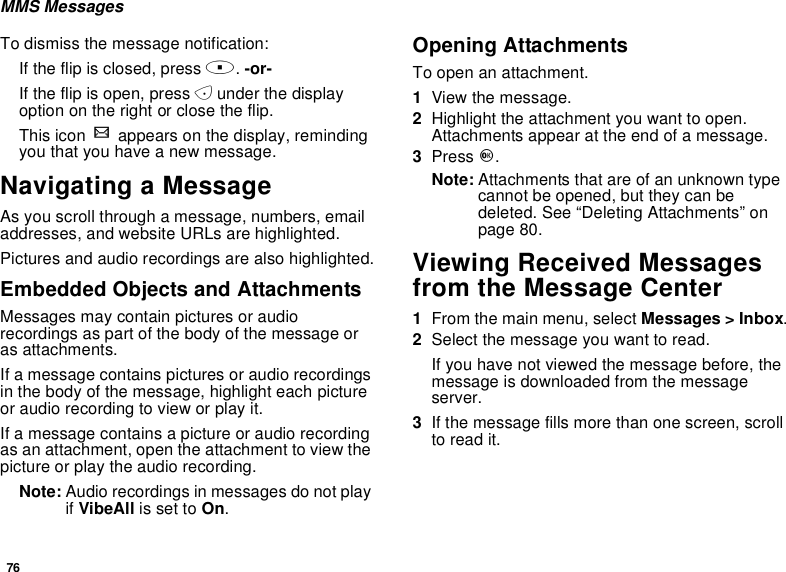
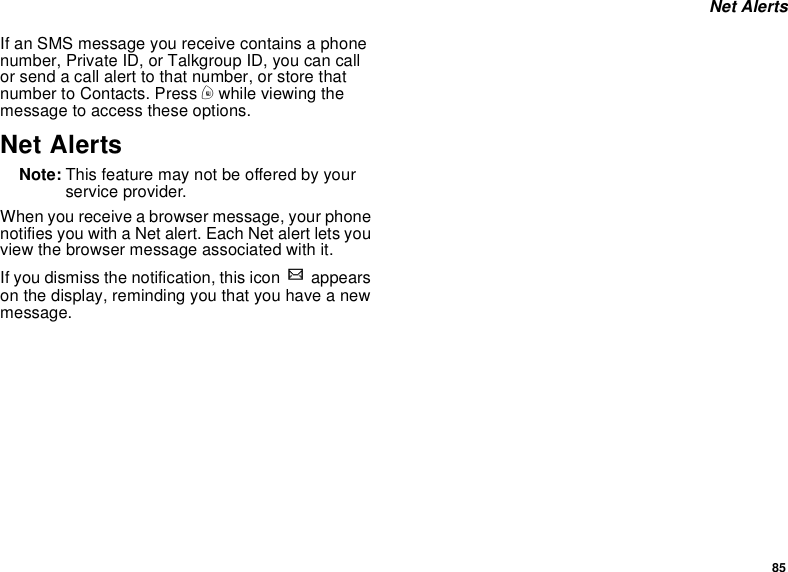
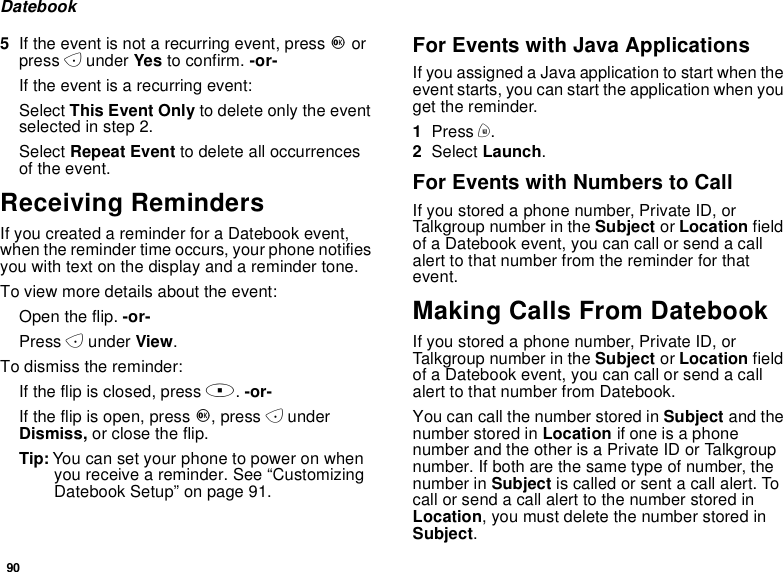
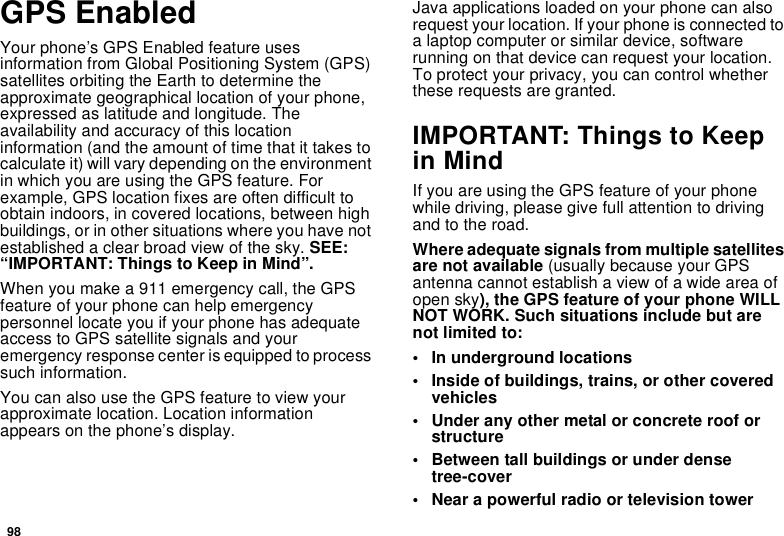
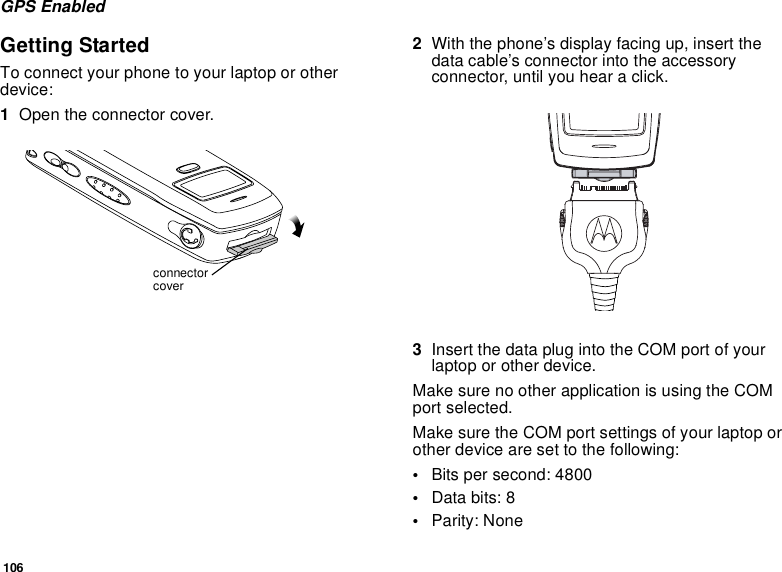
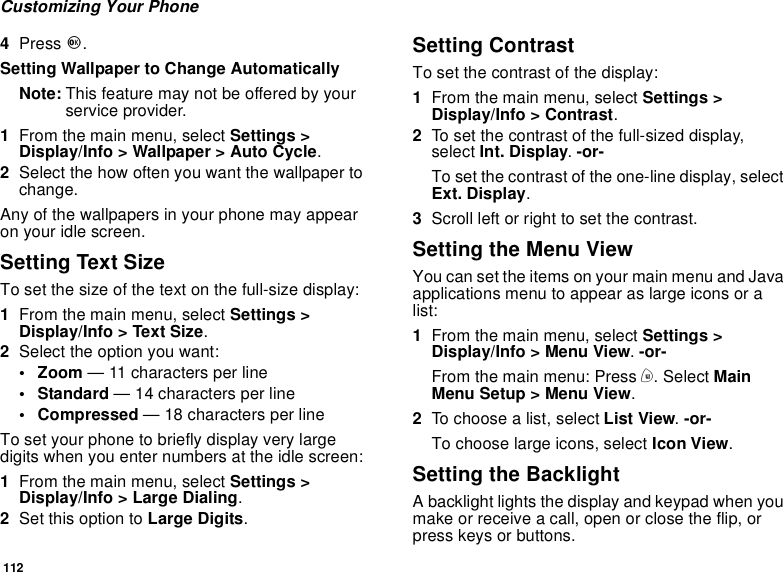
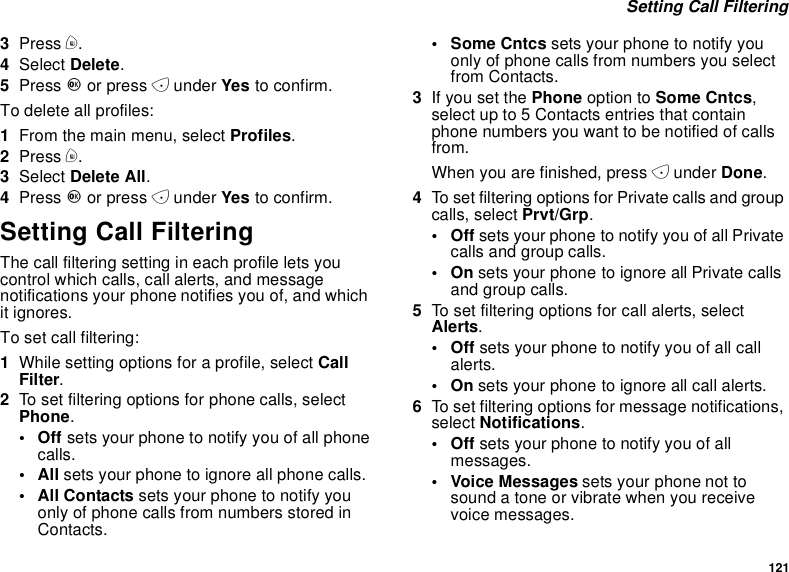
![83Managing MemoryTo view your used memory, free memory, andmemory capacity:1From the main menu, select Messages.2With [Create Mesg] hightlight, press m.3Select Setup > Memory Size.Tip: This option is available from manycontext-sensitive menus when you areusing MMS.To free memory, delete messages.To delete many messages at once, see “DeletingAll Messages”.To set messages to be deleted automatically, see“Setting the Clean-up Option”.Note: Messages are stored in your phone usingthe same memory space used to storeJava applications data, voice records, ringtones, pictures, and wallpaper images.Deleting some of these other items freesmemory for messages.Deleting All MessagesTo delete all read, unlocked messages from theInbox, all messages in Drafts, or all successfullysent messages in Sent Items:1Scroll to Inbox,Draft,orSent Items.2Press m.3Select Delete All.4Press Oor press Aunder Yes to confirm.](https://usermanual.wiki/Motorola-Solutions/89FT5828.users-manual-2/User-Guide-400442-Page-11.png)
![83My PicturesIf your service provider offers MMS as your textmessaging service, My Pictures lets you viewpictures you received in MMS messages.Note: To determine your text messaging service,see “Your Messaging Services” on page54.Viewing PicturesTo view pictures stored in My Pictures:1From the main menu, select My Pictures.The pictures stored are listed by name.2Select the picture you want to view.Note: If this icon ]appears next to a picture,youcannotsenditinamessage.Getting File InformationToviewthefiletypeandfilesizeofapicture:1Scroll to or select the picture.2Press m.3Select Details.Deleting Pictures1Scroll to or select the picture you want to delete.2Press m.3Select Delete.Managing MemoryTo view your used memory, free memory, andmemory capacity:1Scroll to or select any picture.2Press m.3Select Memory Size.Note: Pictures are stored in your phone usingthe same memory space used to storeJava applications data, voice records, ringtones, messages, and wallpaper images.Deleting some of these other items freesmemory space for pictures.](https://usermanual.wiki/Motorola-Solutions/89FT5828.users-manual-2/User-Guide-400442-Page-12.png)
![87Creating EventsTo view an event:1Select the day the event occurs.2Select the event.To change the current view:1While viewing Datebook, press m.2Select the view you want.Navigating DatebookTo scroll through Datebook:Scroll left and right using the navigation key. -or-In week view and month view, press *or #.Toseemoreindayview:Scroll up and down using the navigation key.To highlight a day in month view:Enter the date using the keypad.To go to today’s date:1While viewing Datebook, press m.2Select Go To Today.To go to any date in Datebook:1While viewing Datebook, press m.2Select Go To Date.3Selectthedateyouwant.Creating EventsEvery Datebook event must have a subject and bestored to a date. Other information is optional.You may enter the information in any order byscrolling through the event details.After you have entered the information you want,you can press Aunder Done to store the event toDatebook.If you decide you don’t want to store the event:Press Aunder Cancel.To create a Datebook event:1While viewing datebook, press Aunder New.-or-In day view, select [New Event].2To assign a subject to the event:Select Subject.Enter the name. See “Entering Text” on page51. -or-Press Aunder Browse to choose fromcommon event names. -or-Enter a phone number, Private ID, or Talkgroupnumber. After the event is stored, you can callthis number.](https://usermanual.wiki/Motorola-Solutions/89FT5828.users-manual-2/User-Guide-400442-Page-16.png)
![108Voice RecordsNote: This is an optional feature. Contact yourservice provider about its availability forpurchase.A voice record is a recording you make with yourphone and can play back. You can record notes toyourself or phone calls.Your phone can store up to 20 voice records.Creating Voice RecordsTorecordanotetoyourself:1From the main menu, select VoiceRecord >[New VoiceRec].2Say the message you want to record into themicrophone.Tip: To stop recording before you are finished,press Aunder Pause. To start recordingagain, press Aunder Resume.3When you are finished recording, press O.Toaddtotheendofvoicerecord:1From the main menu, select VoiceRecord.2Scroll to the voice record you want to add to.3Press m.4Select Add To.5When you are finished recording, press O.To record a phone call:1Whileonanactivecall,pressm.2Select Record.3When you are finished recording, press O.Note: Recording of phone calls is subject toapplicable laws regarding privacy andrecording of phone conversations.Playing Voice Records1From the main menu, select VoiceRecord.2Selectthevoicerecordyouwanttoplay.3To stop the voice record while it is playing, pressO.Tip: To fast forward, scroll right. To rewind, scrollleft. To pause or resume, press any numberkey.Labeling Voice RecordsWhen you create a voice record, it is labeled withthe time and date it was recorded. You can thenrename it with a custom label.1From the main menu, select VoiceRecord.2Scroll to the voice record you want to label.3Press Aunder Label.](https://usermanual.wiki/Motorola-Solutions/89FT5828.users-manual-2/User-Guide-400442-Page-37.png)
![109Deleting Voice Records4Enter the label you want to assign. See“Entering Text” on page 51.5Press O.Deleting Voice RecordsTo delete a voice record:1From the main menu, select VoiceRecord.2Scroll to the unlocked voice record you want todelete.3Press m.4Select Delete.5Press Oor Aunder Yes to confirm.To delete all voice records:1From the main menu, select VoiceRecord.2Scroll to any voice record.3Press m.4Select Delete All.5Press Oor Aunder Yes to confirm.Locking Voice RecordsWhen you lock a voice record, it cannot be deleteduntil you unlock it.1From the main menu, select VoiceRecord.2Scroll to the voice record you want to lock orunlock.3Press m.4Select Lock to lock the message. -or-Select Unlock to unlock the message.When a voice record is locked, this icon Rappearsnext to it.Managing MemoryTo view the amount of memory available for voicerecords:1From the main menu, select VoiceRecord.2With [New VoiceRec] highlighted, press Aunder Memory.-or-With any voice record highlighted, press m.Select Memory.To free more memory by deleting all unlockedvoice records:1From the voice records memory screen, pressAunder Delete.2Press Oor Aunder Yes to confirm.](https://usermanual.wiki/Motorola-Solutions/89FT5828.users-manual-2/User-Guide-400442-Page-38.png)
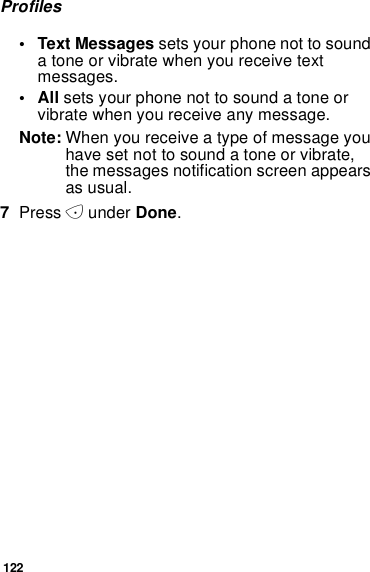
![120Profiles2Scroll to the temporary profile.3Press m.4Select StoreAsNew.5Enter the name you want to give the profile. See“Entering Text” on page 51.When you are finished, press O.To overwrite the profile that temporary profile isbased on:1From the main menu, select Profiles.2Scroll to the temporary profile.3Press m.4Select Store Changes.The temporary profile is stored with the name ofthe profile it is based on. The profile it is based on,as it existed before you made changes to settings,is gone.Creating Profiles1From the main menu, select Profiles.2Select [New Profile].-or-Scroll to any profile. Press m. Select New.3Enter the name you want to give the profile. See“Entering Text” on page 51.When you are finished, press O.4If you want to base this profile on an existingprofile: Select Copy from. Select the profile youwant to base this profile on. If you do not choosea profile to copy from, the new profile is basedon a default profile.5Press Aunder Create.6Scroll through the list of options and set theirvalues.7Press Aunder Done.Editing Profiles1From the main menu, select Profiles.2Scrolltotheprofileyouwanttoedit.3Press m.4Select Edit.5Follow the applicable instructions in “CreatingProfiles” to edit the various fields.Deleting ProfilesTo delete a profile:1From the main menu, select Profiles.2Select the profile you want to delete.Note: A temporary profile is automaticallydeleted when the profile it is based on isdeleted.](https://usermanual.wiki/Motorola-Solutions/89FT5828.users-manual-2/User-Guide-400442-Page-49.png)
![123ShortcutsShortcuts lets you access most menu options bypressing a number on your keypad or saying thevoice name of the shortcut. You create the shortcutand then use it to take you to that screen any time.Creating a Shortcut1Go to the menu item you want to create ashortcut for.Forexample,ifyouwanttocreateashortcuttothe screen for creating a new Contacts entry:From the main menu, select Contacts,thenhighlight [New Contact].2Press and hold muntil a confirmation screenappears.3Press Oor press Aunder Yes.4Select Key.5Press the number key you want to assign to theshortcut.6Press O.7Ifyouwanttorecordavoicenamefortheshortcut: Select Voice.Asdirectedbythescreen prompts, say and repeat the name youwant to assign to the number. Speak clearly intothe microphone.8Press Aunder Done.Using a ShortcutIf you know the shortcut number:1From the idle screen, press m.2On your keypad, press the number assigned tothe shortcut.If you do not know the shortcut number:1From the main menu, select Shortcuts.2Scroll to the shortcut you want to use. -or-Ifyouassignedavoicenametotheshortcut:Press and hold t. Say the voice name intoyour phone. The shortcut with that voice name isthen highlighted.3Press O.Editing a ShortcutTo change the number assigned to a shortcut:1From the main menu, select Shortcuts.2With any shortcut highlighted, press m.3Select Reorder.4Scroll to the shortcut you want to move.5Press Aunder Grab.](https://usermanual.wiki/Motorola-Solutions/89FT5828.users-manual-2/User-Guide-400442-Page-52.png)