Motorola Mobility T6JC1 Portable PCS GSM Transceiver with Bluetooth User Manual Exhibit 8 Users Manual Part3
Motorola Mobility LLC Portable PCS GSM Transceiver with Bluetooth Exhibit 8 Users Manual Part3
Contents
- 1. Exhibit 8 Users Manual Part1
- 2. Exhibit 8 Users Manual Part2
- 3. Exhibit 8 Users Manual Part3
- 4. Exhibit 8 Users Manual Part4
Exhibit 8 Users Manual Part3

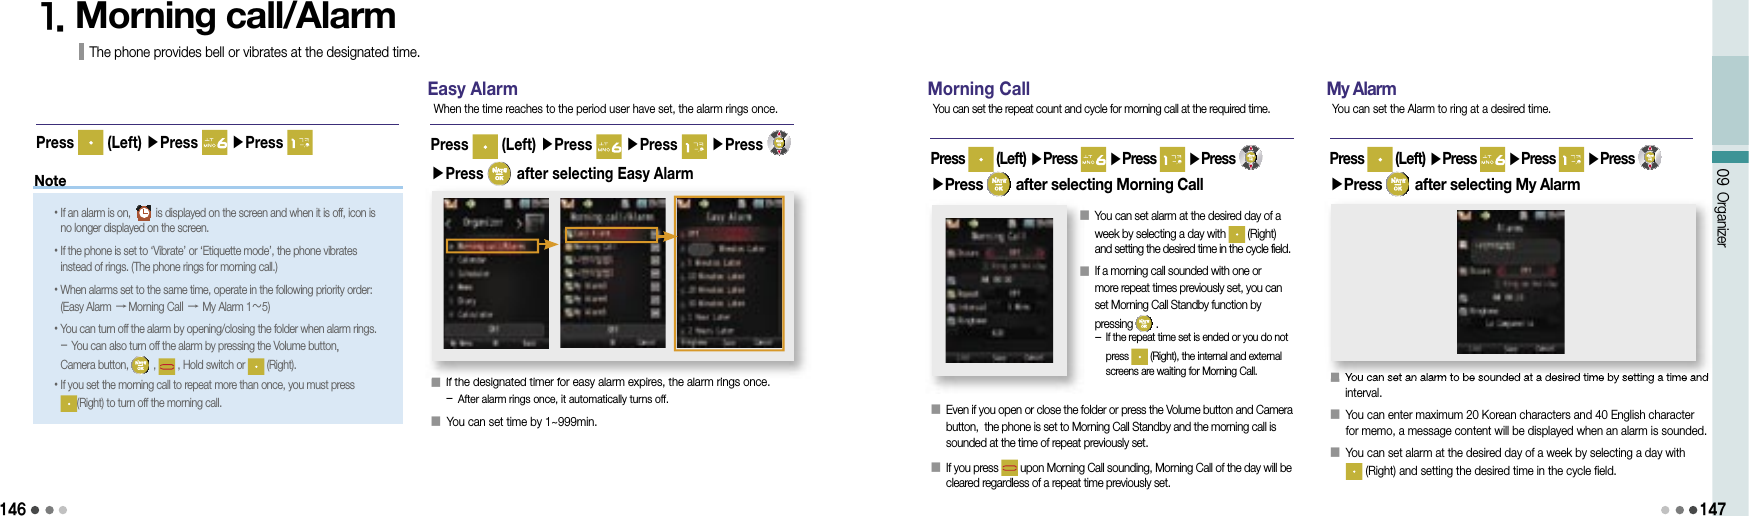
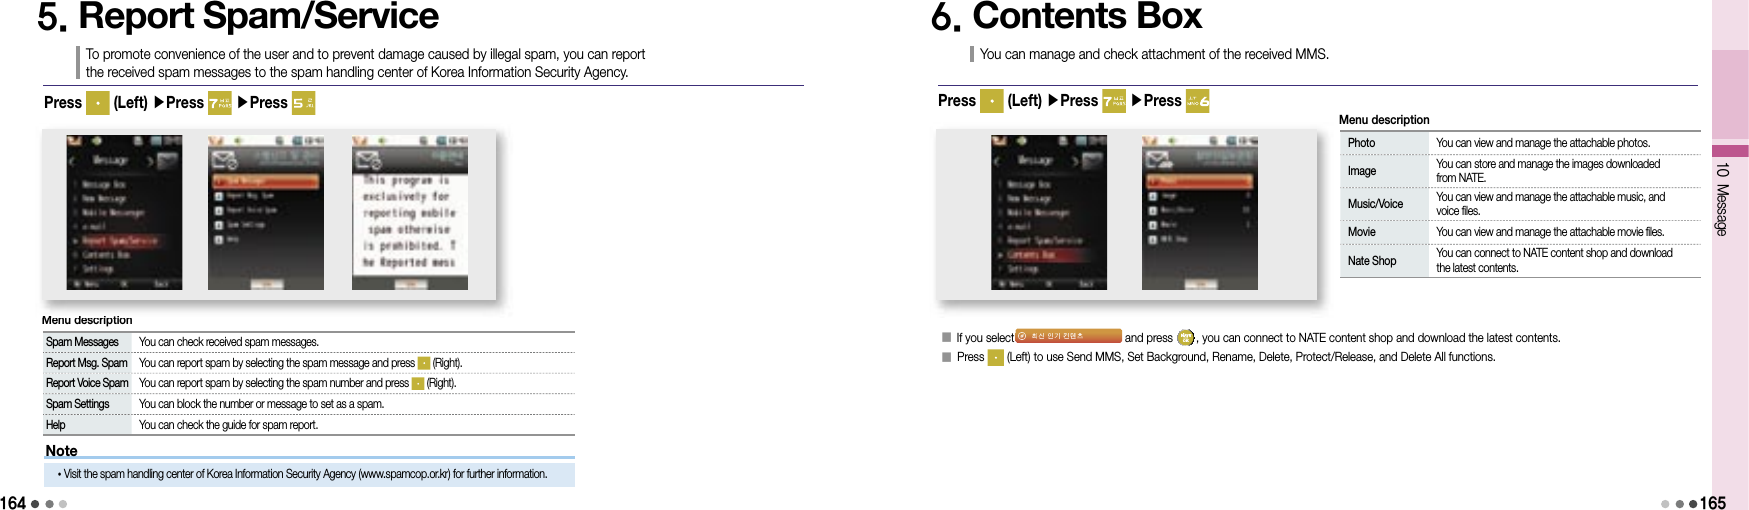
![152Note09 Organizer1535. Diary (Cont’d)You can write the photo diary or diet diary on the phone.Diet DiaryPress (Left) ▶Press ▶Press ▶Press Set goals for weightloss, this can help from this function or diet.➊ My Diet DiaryHow to Record My Body Info Press (Left) to select a desired date on the calendar and press to record. Press (Right) to Input the body info. -You can check standard weight, B.M.I, and B.M.R.➋ My Food Log• The records are displayed.• Press to check the monthly record.• Press (Right) to add a record.• Press (Left) to view/delete/delete all of diet records lists and graphs.• When searching dates on the calendar, you can search daily/monthly/yearly/records by pressing (Left).• Dates indicating that body and meal records are kept on the calendar are displayed in color, and you can check their contents on the bottom of the screen.➌ My Body History• The records are displayed.• Press to check the monthly record.• Press (Right) to add a record.• Press (Left) to view/delete/delete all of diet records lists and graphs.6. CalculatorYou can make simple calculation with the phone. Press (Right) to make the calculation again. When entering numbers or symbols, press to delete a character, press and hold to delete all. You can use the operators several times in a calculation.Press (Left) ▶Press ▶Press : + : x : - : ÷: ( : ) (Left): . : =OperatorsHow to Record Food Log Press to select the food, press (Right) to find out the total calories. Press (Left) to select [User Input] or [Add Food].](https://usermanual.wiki/Motorola-Mobility/T6JC1.Exhibit-8-Users-Manual-Part3/User-Guide-1060868-Page-5.png)


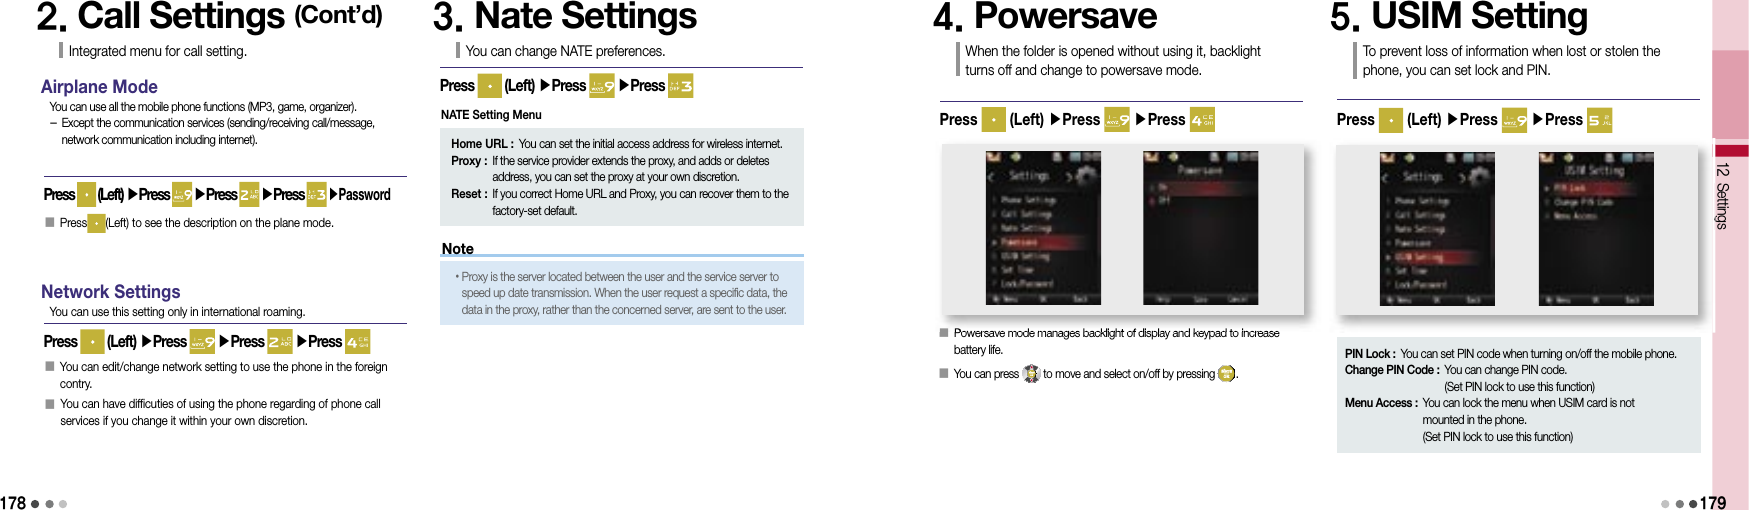
![1761. Phone SettingsIntegrated menu for phone setting.SoundsPress (Left) ▶Press ▶Press ▶Press You can set the sound functions in the sound menu.DisplayPress (Left) ▶Press ▶Press ▶Press You can set the display functions in the display menu. (Display, see p.92) (Sound, see p.84)MessagePress (Left) ▶Press ▶Press ▶Press You can set the message functions in the message menu. (Settings, see p.166)CameraPress (Left) ▶Press ▶Press ▶Press 카메라환경설정 메뉴로 이동하여 카메라 기능 관련 환경을설정할 수 있습니다 . (Camera, see p.125)june SettingPress (Left) ▶Press ▶Press ▶Press You can set the june contents box functions in the june contents box menu.Play Setting : You can set the preference for content play.Display : You can change settings for skin, preview, or recommended content.Live screen sound : You can select the background sound when a live screen is set in the standby screen.Memory : You can check the total space, used space, and free space of internal/external memory.BluetoothPress (Left) ▶Press ▶Press ▶Press You can set the bluetooth functions in the bluetooth menu. (Preference, see p.132)T LivePress (Left) ▶Press ▶Press ▶Press You can set the T Live functions in the T Live menu. (T LIVE Settings, see p.41)2. Call SettingsIntegrated menu for call setting.Answer OptionsPress (Left) ▶Press ▶Press ▶Press You can set the call answer mode.12 Settings177Open Phone : Receive a call when opening the folder.Any Key : Receive a call when pressing any buttons except .[Send] Key Only : Press to receive calls.After 3 Seconds : The call is connected automatically in 3 seconds after the ringtone.Auto Area CodePress (Left) ▶Press ▶Press ▶Press You can set an area code that you use frequently. If you enter a number starting with ‘0’ on the standby screen after setting an auto area code, the area code is not displayed and only the number you entered is displayed. (Ex : Mobile phone number, international call number, and other area codes) If you select ‘Off’ in area code list, the area code display will be cleared. You can enter upto 5 numbers for auto area code.](https://usermanual.wiki/Motorola-Mobility/T6JC1.Exhibit-8-Users-Manual-Part3/User-Guide-1060868-Page-17.png)
![192193Summary TableBluetooth•Bluetooth mode : (Left)[Menu] ▶ ▶ ▶ •Connect bluetooth : (Left)[Menu] ▶ ▶ ▶ •Settings : (Left)[Menu] ▶ ▶ ▶ •My Device Info : (Left)[Menu] ▶ ▶ ▶ Dictionary• English-Korean : (Left)[Menu] ▶ ▶ ▶ • Korean-English : (Left)[Menu] ▶ ▶ ▶ • My Vocabulary : (Left)[Menu] ▶ ▶ ▶ • Previous Key Word : (Left)[Menu] ▶ ▶ ▶ • Settings : (Left)[Menu] ▶ ▶ ▶ Photo Capture• In standby screen, press and hold Camera button.Movie Capture• In standby screen, press and hold Camera button ▶ ▶192MEMO](https://usermanual.wiki/Motorola-Mobility/T6JC1.Exhibit-8-Users-Manual-Part3/User-Guide-1060868-Page-25.png)
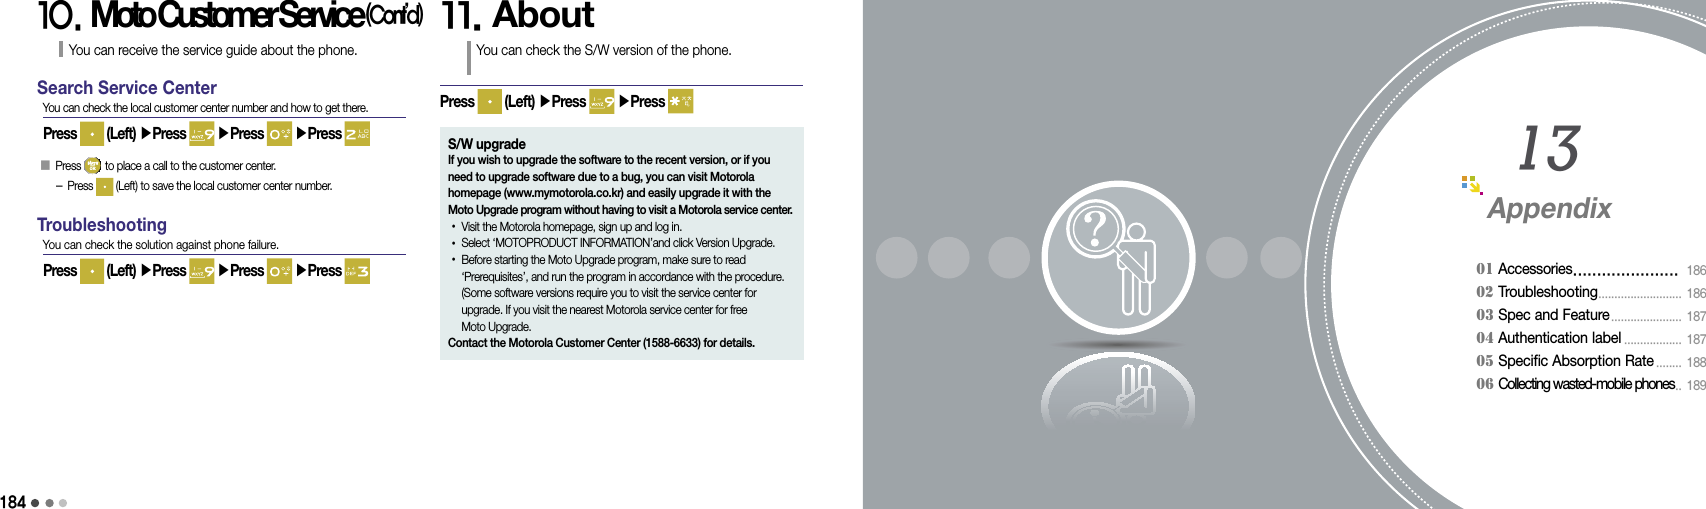
![194195Saving Phone Number•Save number from menu : (Right)[Phonebook] ▶ (Right)[Add New]•Save number in standby screen: Enter number ▶ (Right)[Save]Searching Phone Number• In the standby screen, press and hold (Right)[Phonebook] and select Speed/All/Group/Number ▶ Messages• Checking message : ▶ • Writing meesage : ▶ T LIVE• Recent video list : ▶ • Video message box : ▶ • VTC contents box : ▶ • Movie/Photo album : ▶ • T LIVE settings : ▶ Main Menu Setting• Sounds : (Left)[Menu] ▶ ▶ ▶ • Display : (Left)[Menu] ▶ ▶ ▶ • Message : (Left)[Menu] ▶ ▶ ▶ • Camera : (Left)[Menu] ▶ ▶ ▶ • june setting : (Left)[Menu] ▶ ▶ ▶ • Bluetooth : (Left)[Menu] ▶ ▶ ▶ • T LIVE settings : (Left)[Menu] ▶ ▶ ▶ One-Touch Dial• Set/Release Etiquette : In standby screen, press and hold • Lock/Unlock : In standby screen, press and hold • W : In standby screen, press • Moneta : In standby screen, press • My Menu : In standby screen, press • T MAP : In standby screen, press and hold • NATE : In standby screen, press and hold • Operation Effects : In standby screen, press the Volume button• T interactive : In standby screen, press and hold Warranty PolicyThank you for purchasing a Motorola product.This product has passed a strict quality control and inspection of the Motorola Tehchnology Team. If a defect is found in your product during the warranty period, it will be repaired free of charge at a Motorola Service Center.■ Terminal Equipment : 1 year ■ Other Accessories : 1year ■ Lithium ion battery : 6 monthsFree warranty service will be provided for one year (warranty period) after purchasing.※ When you purchase the product, please fill the blanks on the Warranty Policy and keep it together with the receipt in order to obtain more beneficial service.■ Reasons other than defects Service requests for symptoms other than defects will be charged after expiry of the warranty period. Carefully read the User’s Manual before you visit a service center. ■ Defects resulting from user’s errors - Defects caused by careless handling (soaking, impact) or improper repairing and remodeling. - Defects caused by using improper power supply. - Defects caused by repairs done at a place other than the Motorola Service Centers. - Defects caused by using accessories not provided by Motorola. (hands free, quick charger, charger, battery, stereo headset, battery cover, etc.) - Defects or damages resulting from dropping while moving the product. ■ Others - Defects resulting from natural disasters such as fire, earthquake, flodd, etc. - Expiry of life time of consumables (battery, stereo headset, external memory, antenna, and various accessories)Warranty Period Free Warranty Service Paid Service Model Serial No. Purchase Date Year Month Day CustomerDistributor Price Type of defects or troubleCompensationUnder warranty After expiry of warrantyCritical repair service request resulting from performance and function failures occurred in normal operation within 10 days after purchasingExchange or refundN/ACritical repair service request resulting from performance and function failures occurred in normal operation within 1 month after purchasingExchange or repairCritical repair service request within 1 month of exchangeRefundExchange the product is impossibleRepairablePerformance and function failures occurred Free service Paid serviceThree times of repair and four times of detects resulting from the same reasonExchange or refundPaid serviceFour times of repair and five times of detects resulting from the different reasonsNon-repairableA/S parts are available but repair is impossibleExchange or refundRefund the price deducted by the depreciation amountRepair is impossible because A/S parts are not in stock.Refund the price deducted by the depreciation amount and added by its 10%lost of repair request product by the userExchange or refundRefund the price deducted by the depreciation amount and added by its 10%](https://usermanual.wiki/Motorola-Mobility/T6JC1.Exhibit-8-Users-Manual-Part3/User-Guide-1060868-Page-26.png)
