Motorola Mobility T6FF2 Portable PCS GSM/ EDGE Transceiver with Bluetooth User Manual
Motorola Mobility LLC Portable PCS GSM/ EDGE Transceiver with Bluetooth
Contents
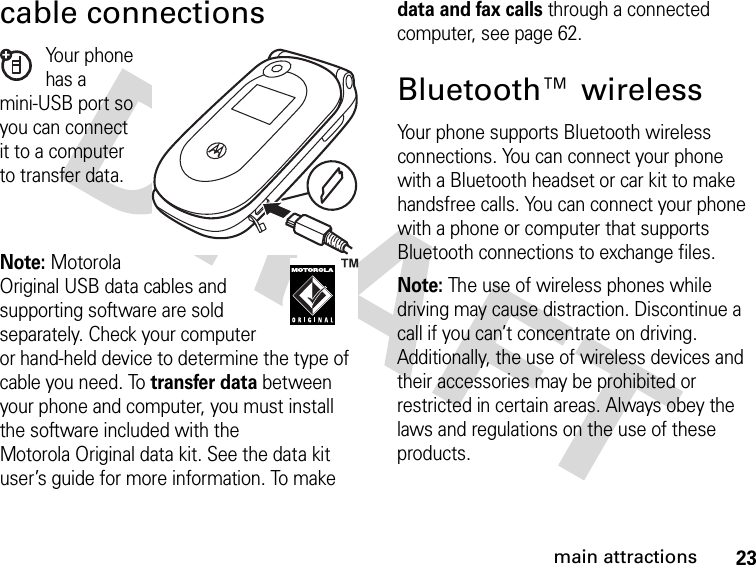
- 1. Exhibit 8 Users Manual
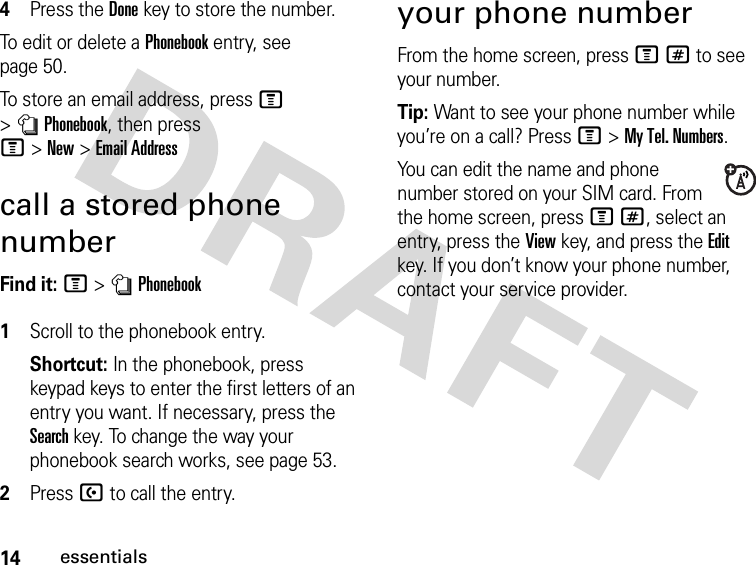
- 2. Exhibit 8b Users Manual Supplement
- 3. Exhibit 8b Supplemental Users Manual
Exhibit 8b Users Manual Supplement

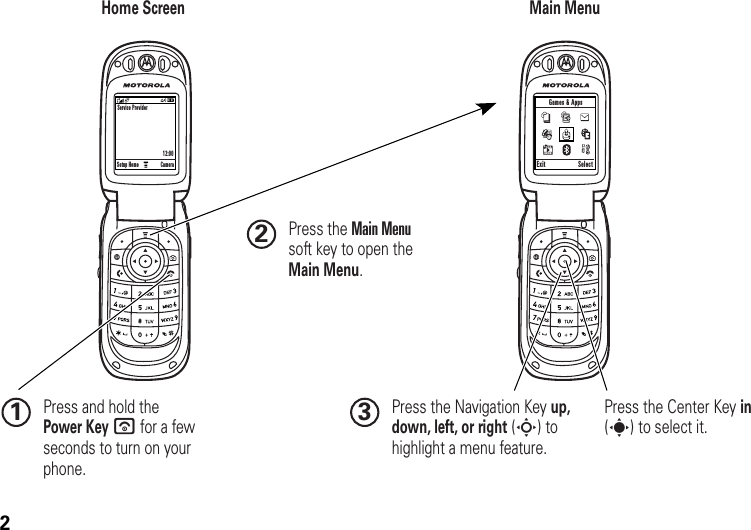
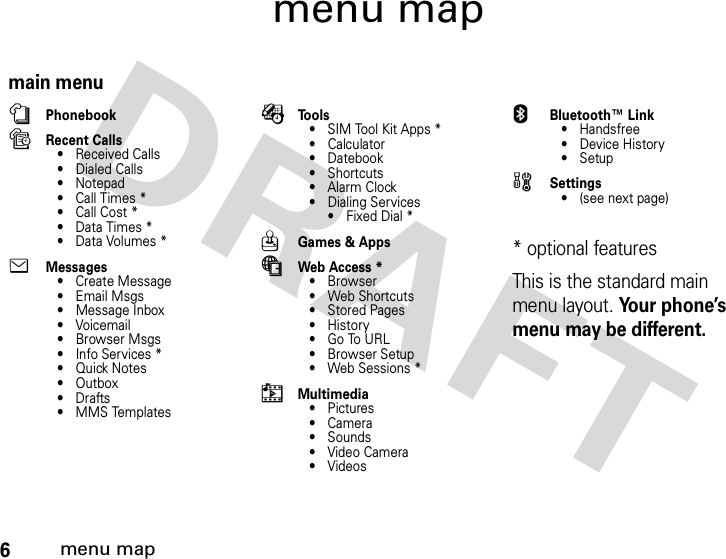
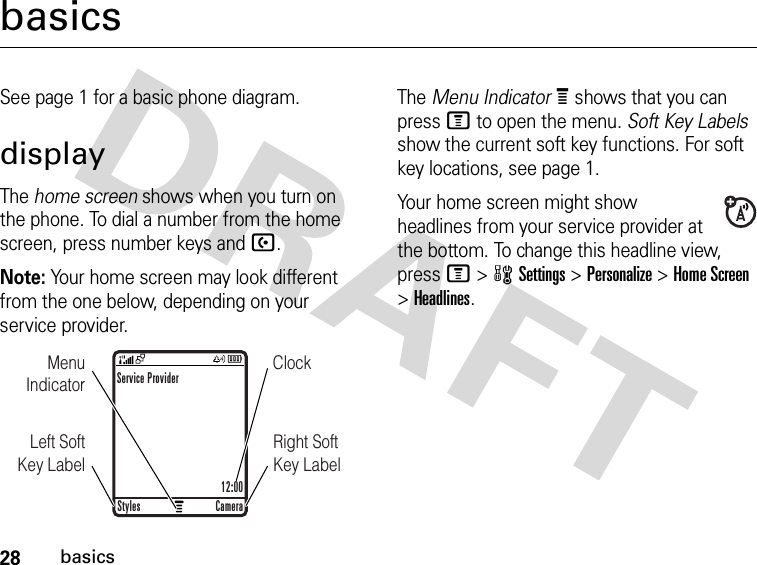
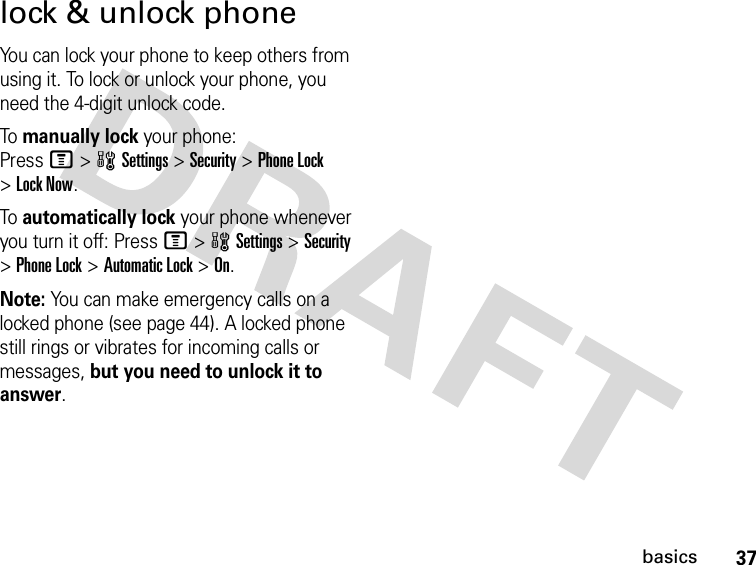
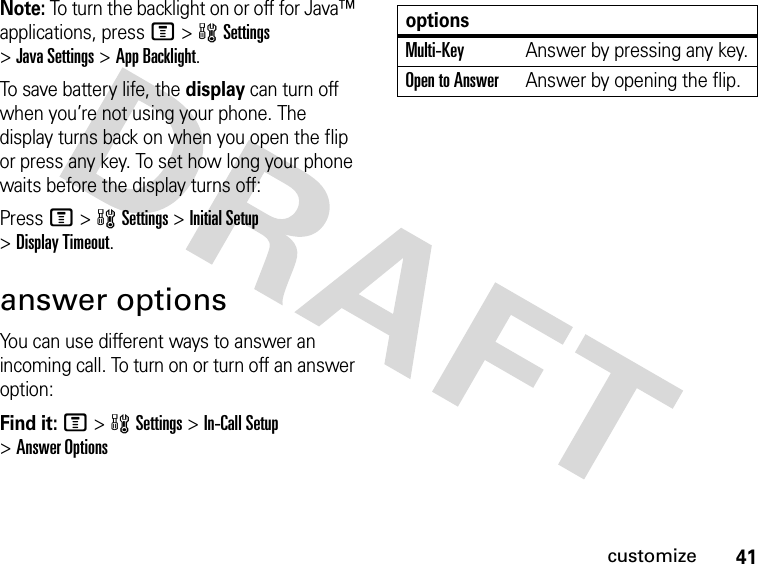
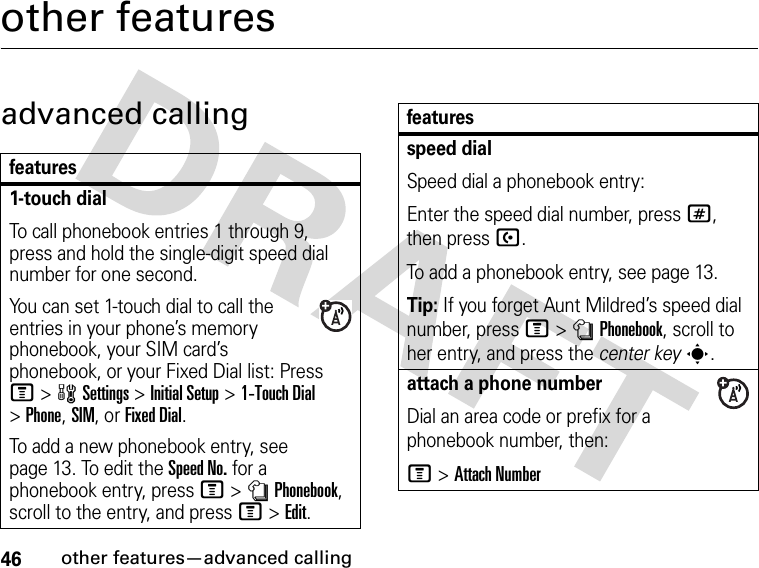
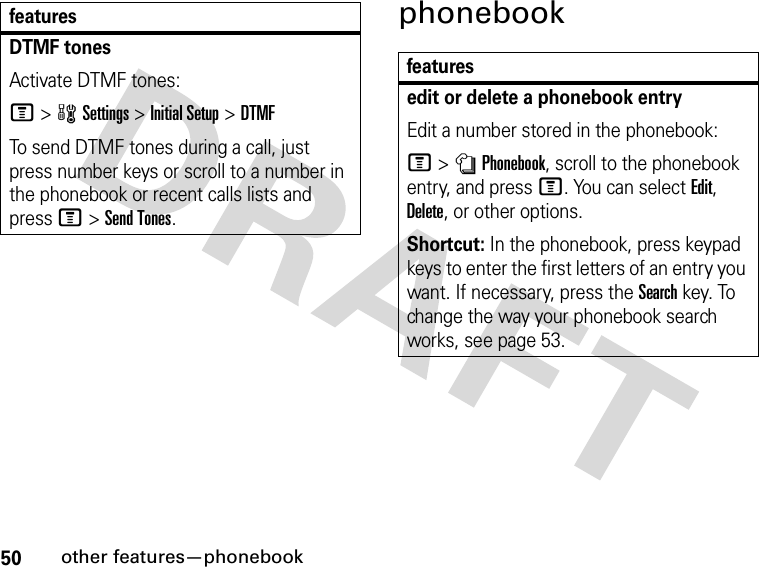
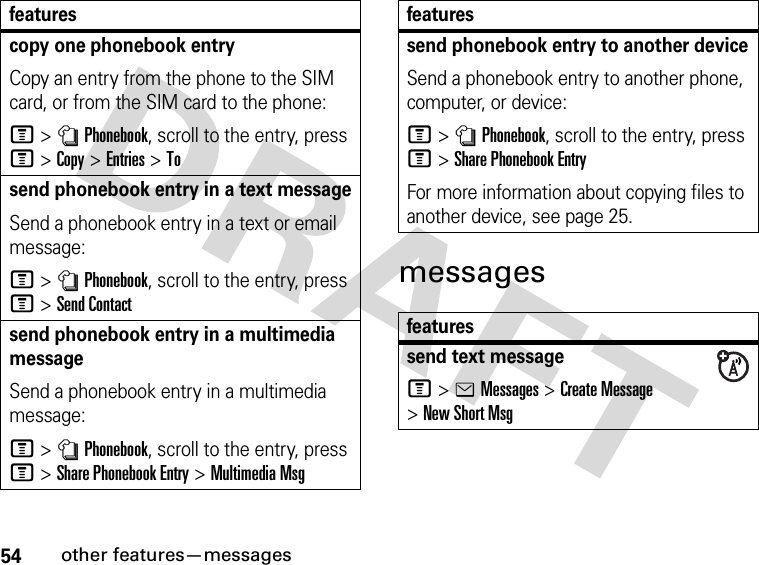
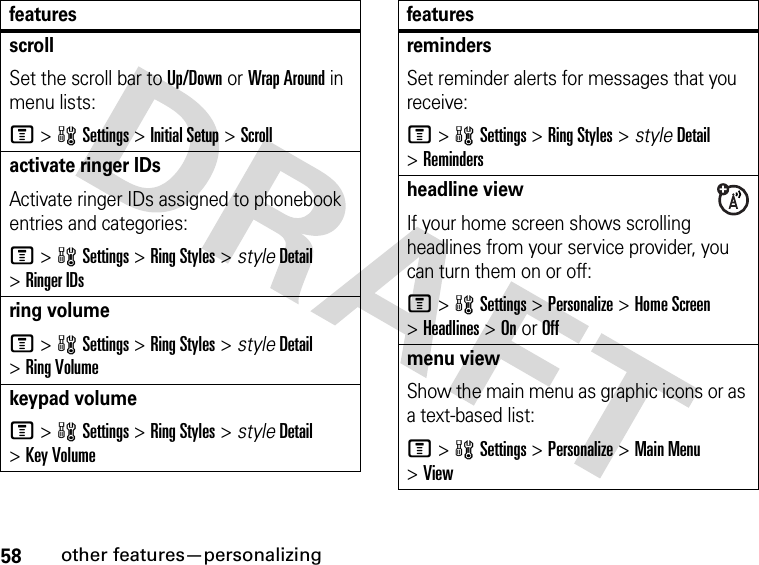
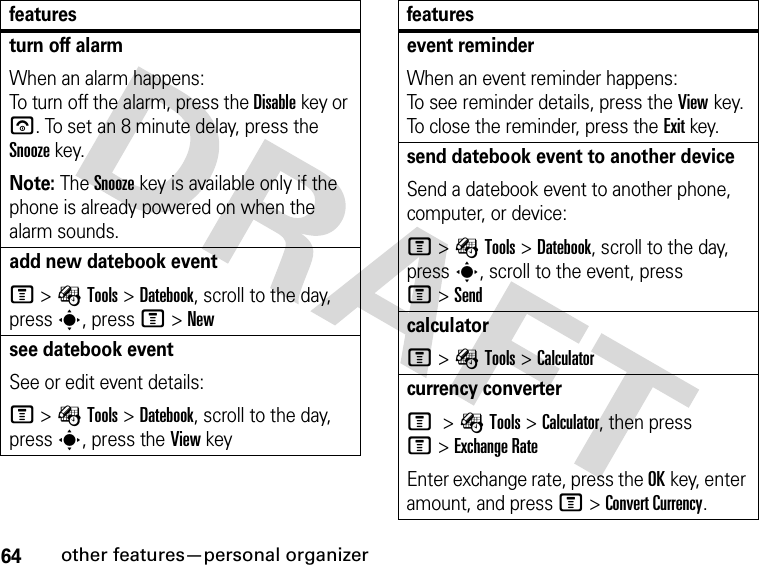
![24main attractionsFor maximum Bluetooth security, you should always connect Bluetooth devices in a safe, private environment. turn Bluetooth power on or offFind it: M >EBluetooth Link >Setup >Power >OnNote: To extend battery life, use this procedure to set Bluetooth power to Off when not in use. Your phone will not connect to devices until you set Bluetooth power back to On and connect your phone with the device again.use a headset or handsfree car kitBefore you try to connect your phone with a handsfree device, make sure the device is on and ready in pairing or bonding mode (see the user’s guide for the device). You can connect your phone with only one device at a time.Find it: M >EBluetooth Link >Handsfree >[Look For Devices]Your phone lists the devices it finds within range. 1Scroll to a device in the list and press the center keys.2Press the YesorOKkey to connect to the device.3If necessary, enter the device passkey (such as 0000) and press the OKkey.When your phone is connected, the Bluetooth indicator E shows in the home screen.Shortcut: When Bluetooth power is on, your phone can automatically connect to a handsfree device you have used before. Just turn on the device or move it near the phone.](https://usermanual.wiki/Motorola-Mobility/T6FF2.Exhibit-8b-Users-Manual-Supplement/User-Guide-619094-Page-26.png)
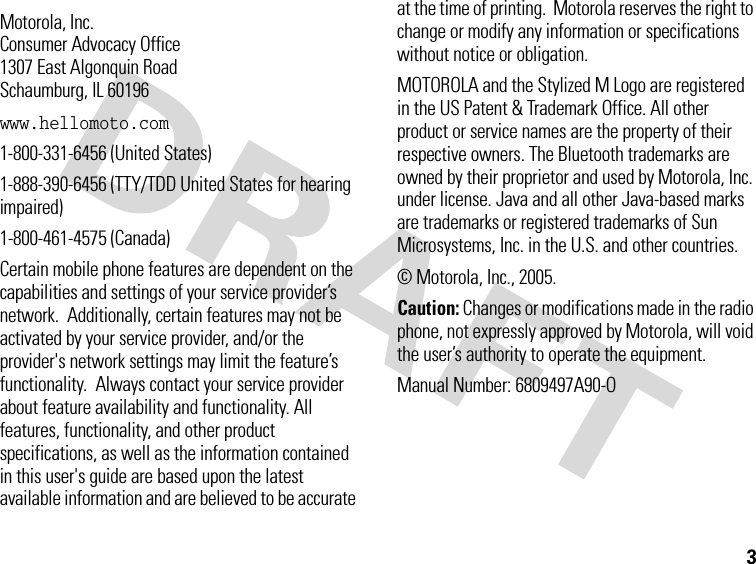
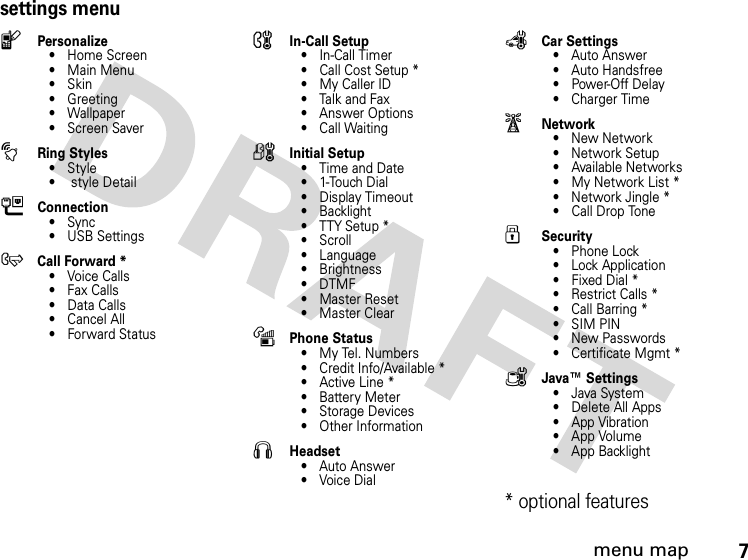
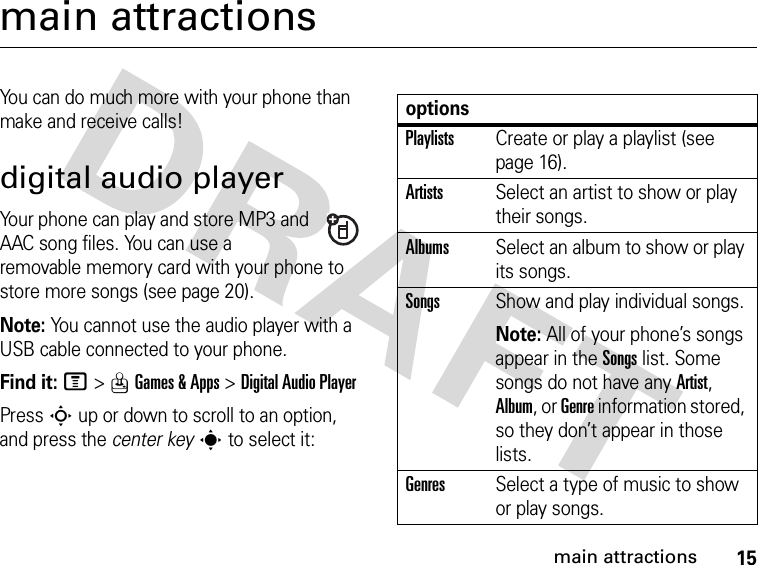
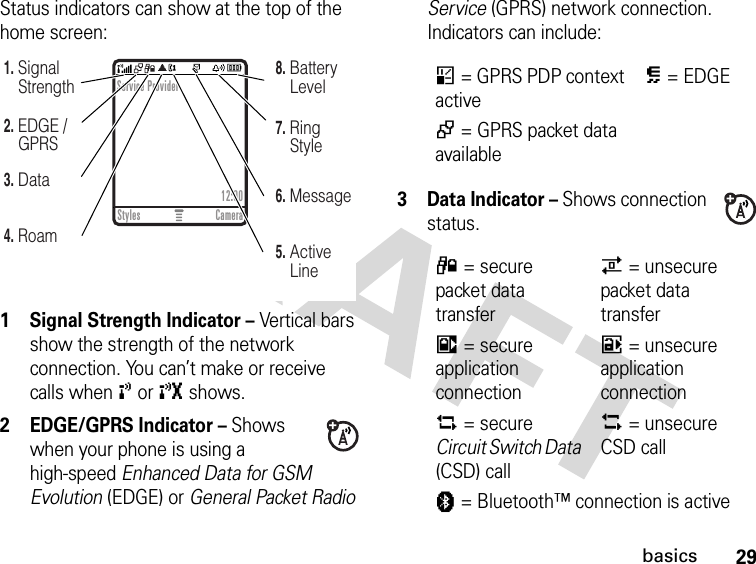
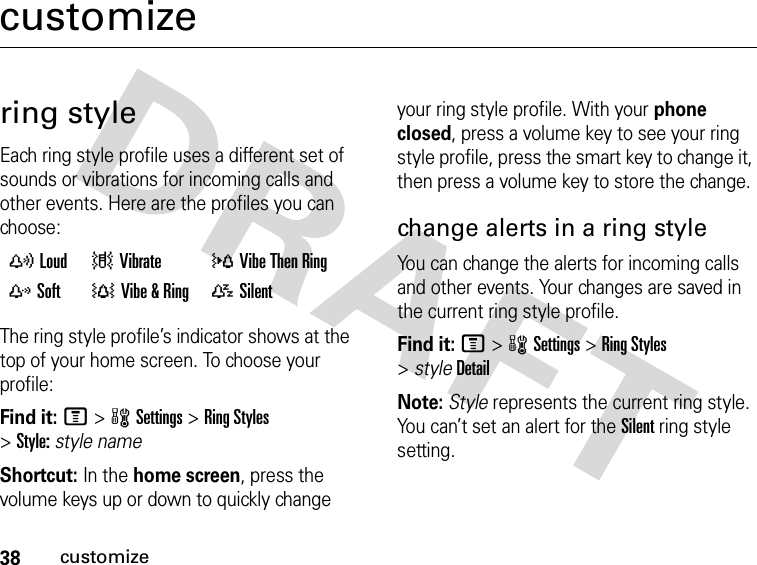
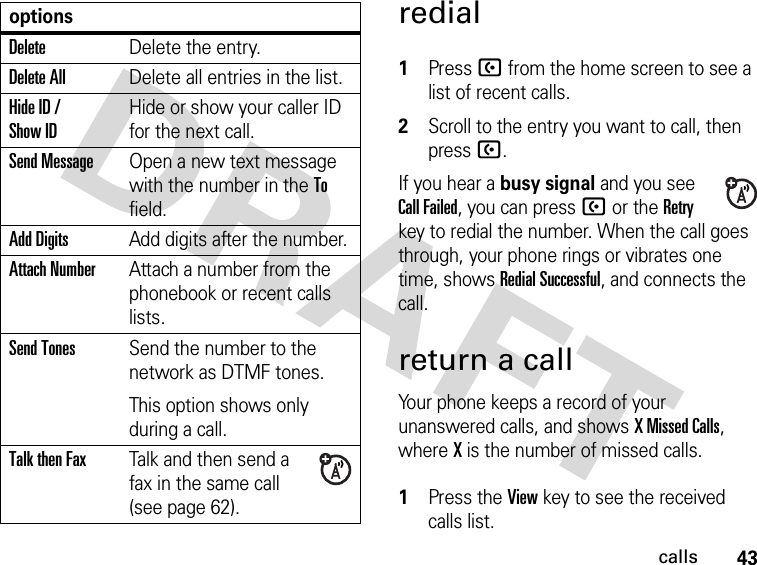
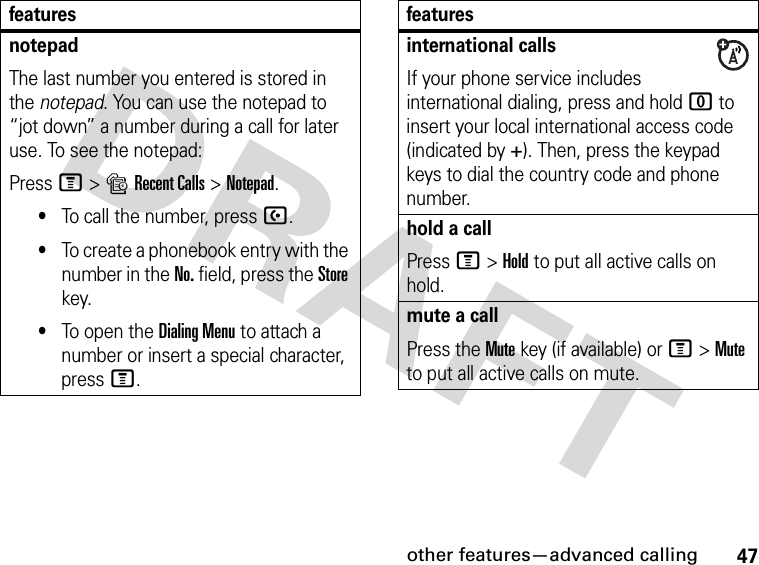
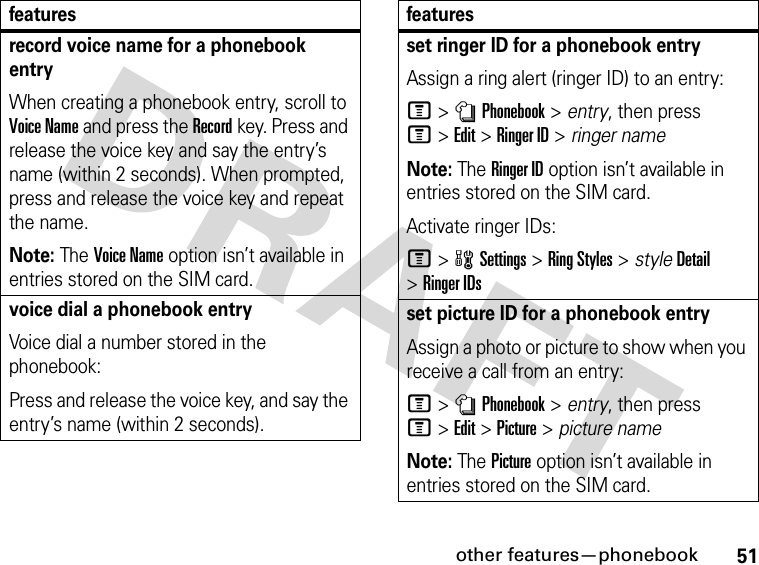
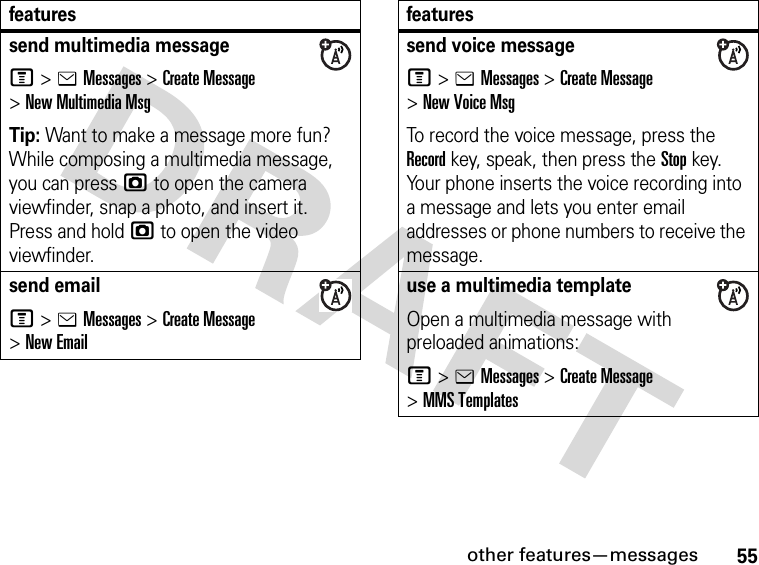
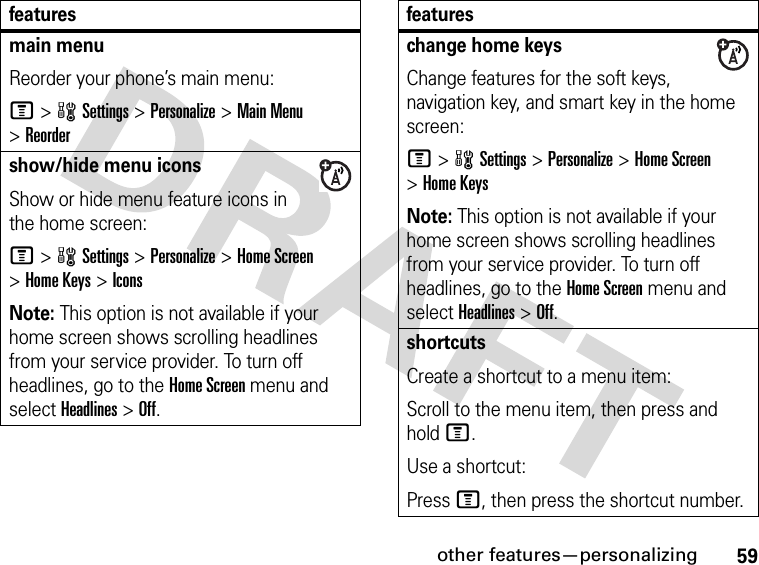
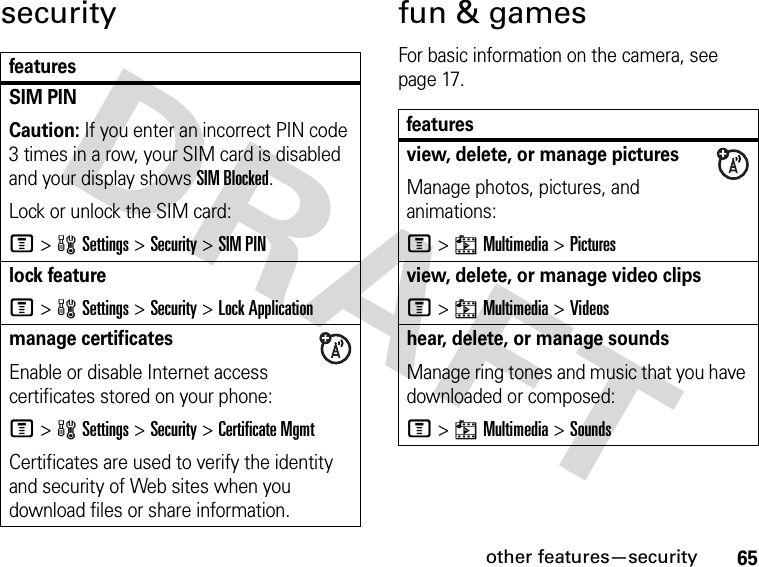
![25main attractionsTip: We can’t see the device you’re holding. For specific information about a device, refer to the instructions that came with it.copy files to another deviceYou can copy a media file, phonebook entry, datebook event, or Web shortcut from your phone to a computer or other device.Note: You can’t copy some copyrighted objects.Before you try to copy files to another device, make sure the device is on and ready in discoverable mode (see the user’s guide for the device). 1On your phone, scroll to the object that you want to copy to the other device.2Press M, then select:•Copy for media files.•Share Phonebook Entry for phonebook entries.•Send for datebook events.3Select a recognized device name, or [Look For Devices] to search for the device where you want to copy the file.Note: Once you connect your phone to a Bluetooth device, that device can start similar Bluetooth connections with your phone. Your display shows the Bluetooth indicatorO at the top when there is a Bluetooth connection.receive files from another deviceBefore you try to receive files from another device, make sure your phone’s Bluetooth power is on (see page 24). 1Place your phone near the device, and send the file from the device.](https://usermanual.wiki/Motorola-Mobility/T6FF2.Exhibit-8b-Users-Manual-Supplement/User-Guide-619094-Page-27.png)
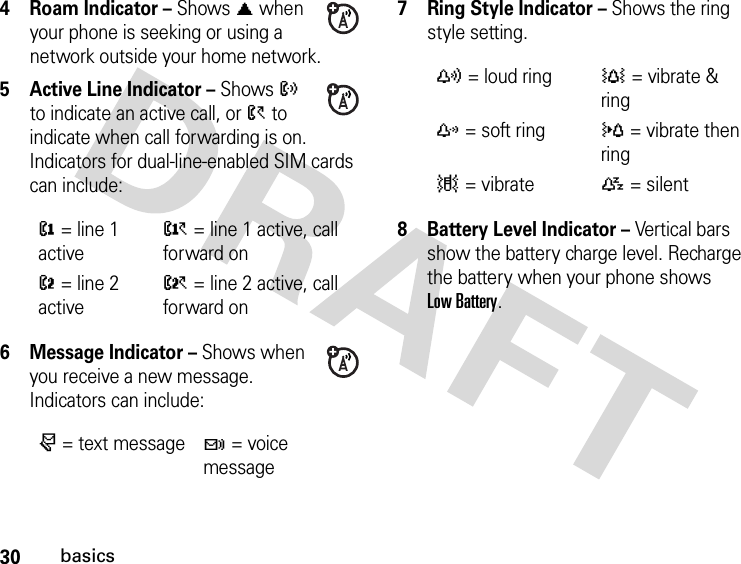

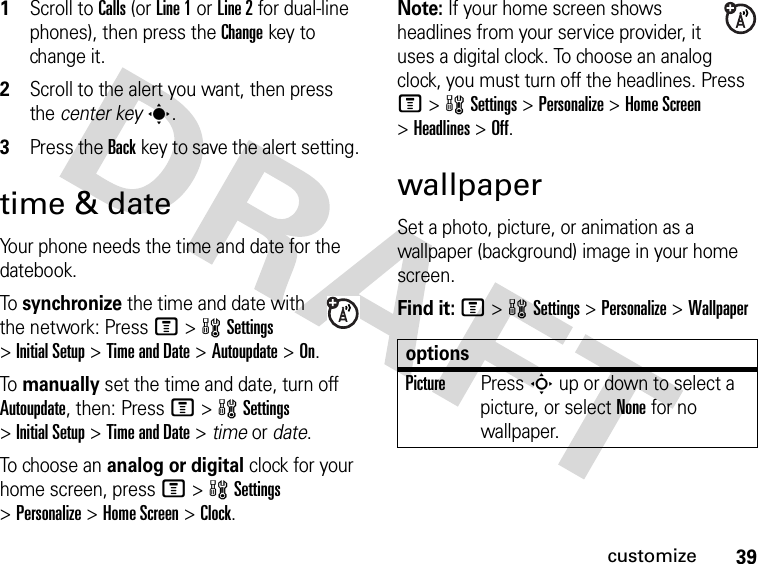

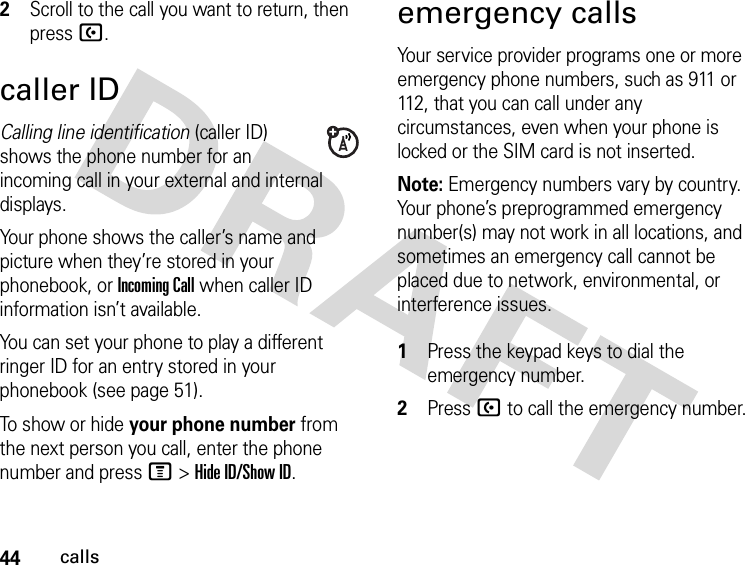
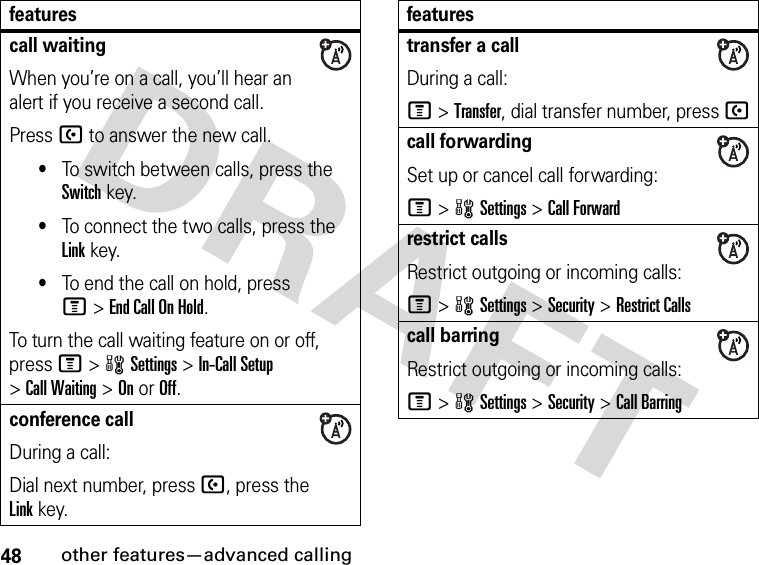
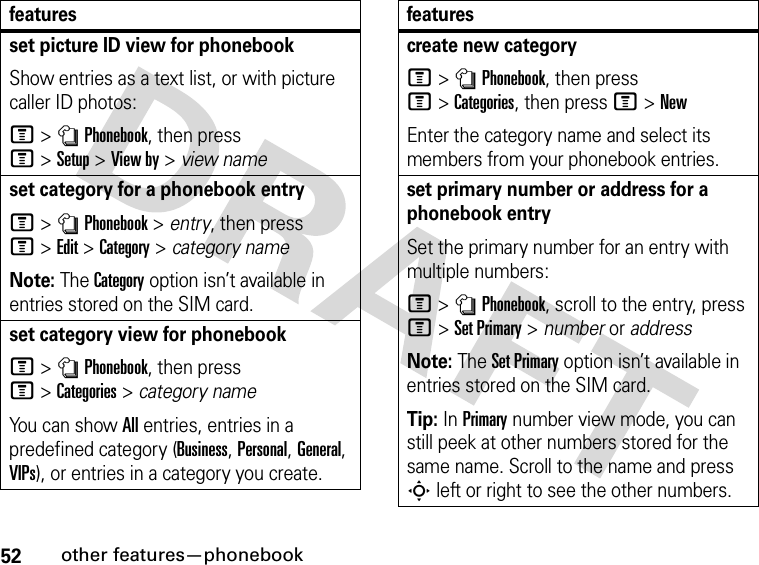
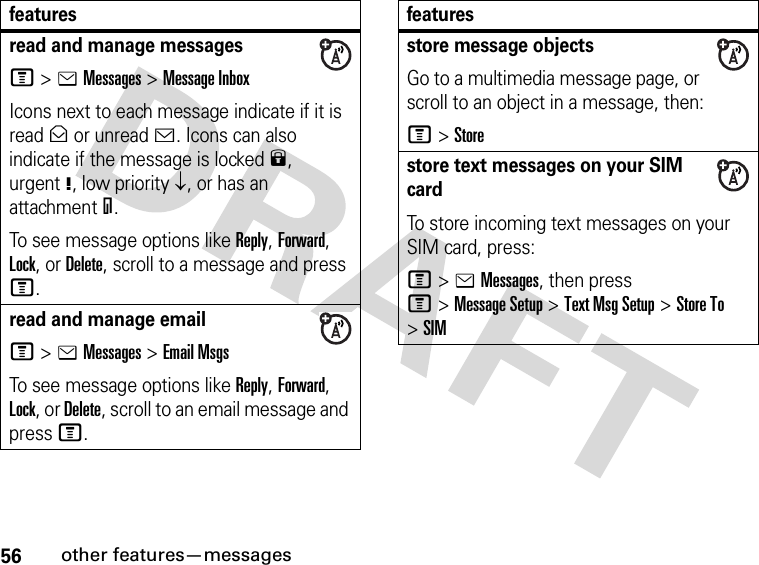
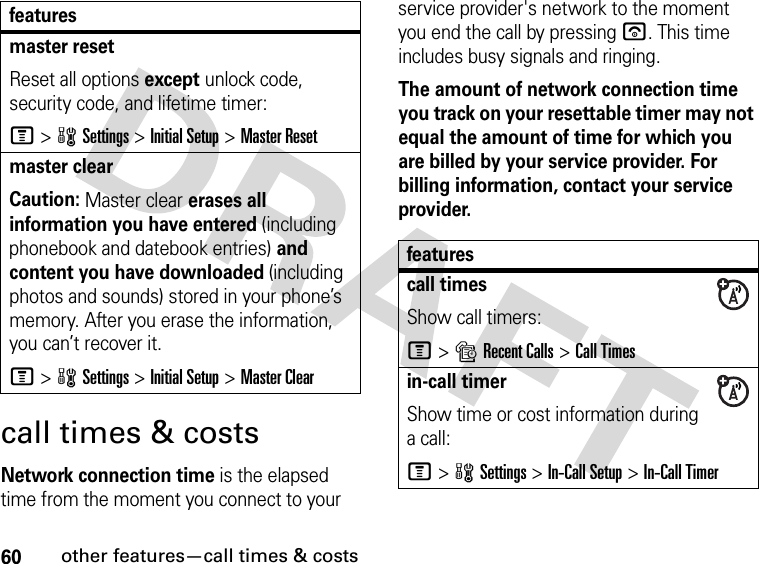

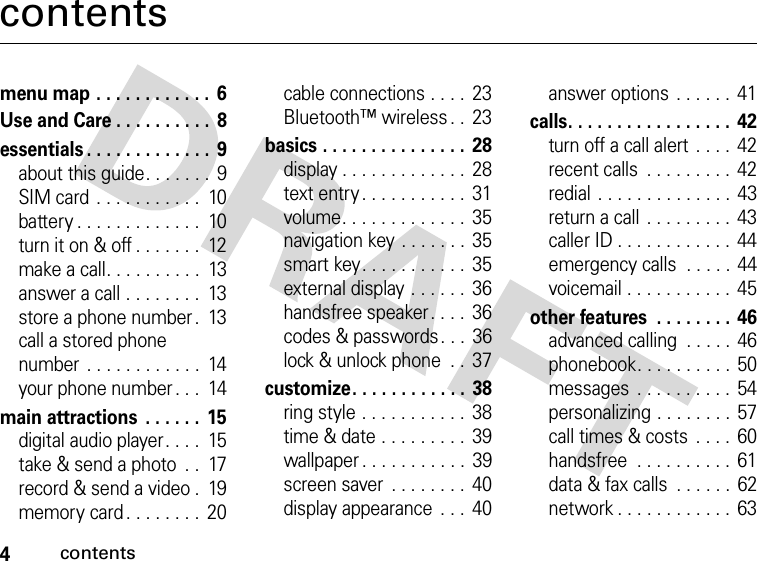
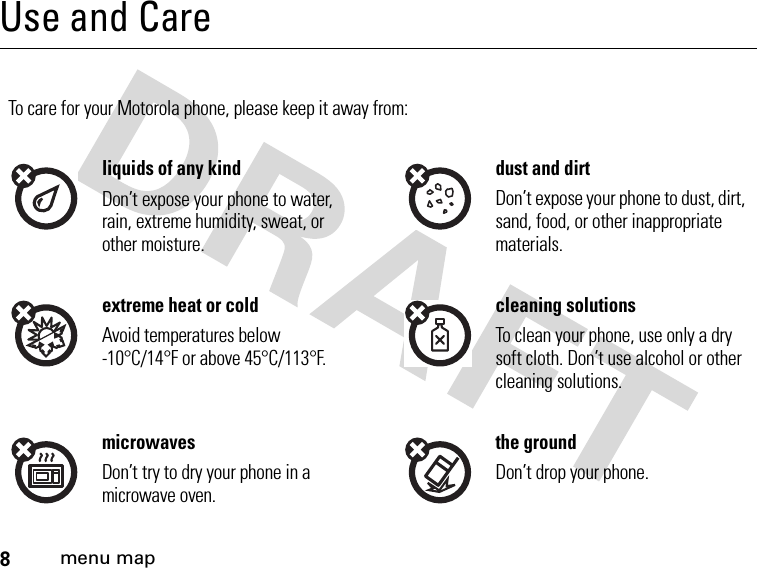
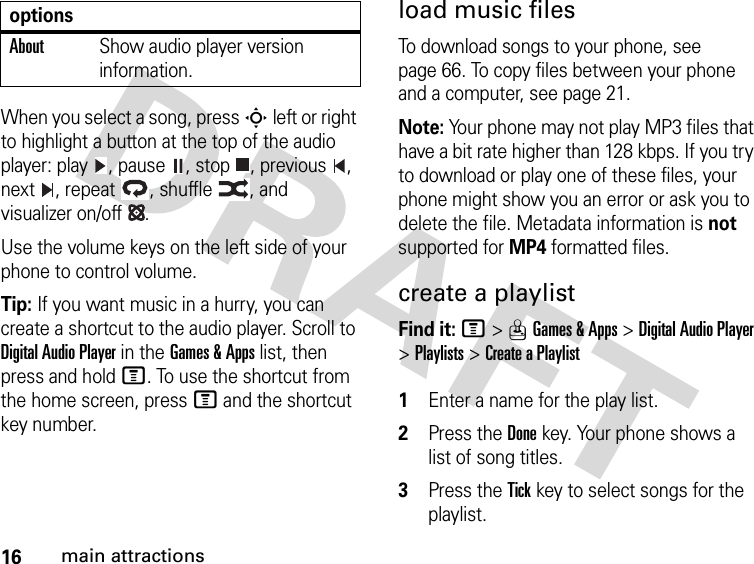
![63other features—networknetworkpersonal organizerusing syncYou can call an Internet server and synchronize your phonebook and datebook entries with the server.To set up an Internet sync partner, press M>wSettings >Connection >Sync >[New Entry]. Enter the server details, including Server URL (you can omit http://) and Data Path (the folder below the URL where your data is stored).To synchronize files with a partner you set up, select the partner from the list in M>wSettings >Connection >Sync.featuresfeaturesnetwork settingsSee network information and adjust network settings:M>wSettings >Networkfeaturesset alarmM>ÉTools >Alarm Clock](https://usermanual.wiki/Motorola-Mobility/T6FF2.Exhibit-8b-Users-Manual-Supplement/User-Guide-619094-Page-65.png)
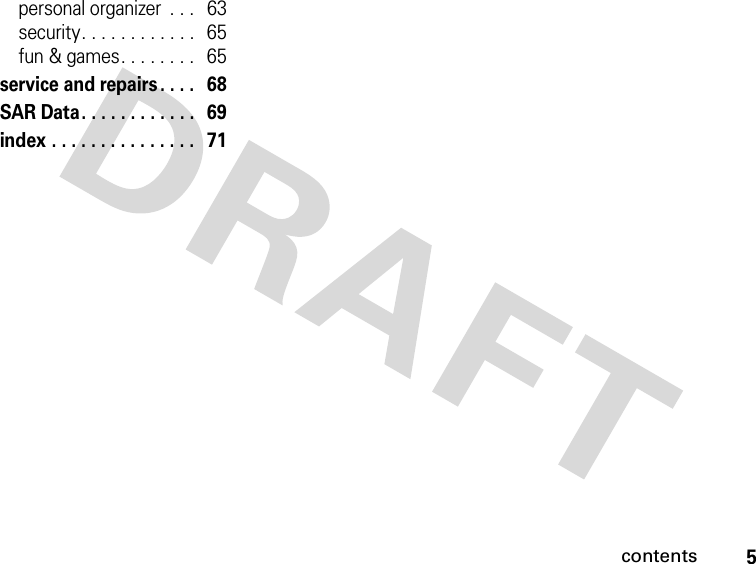
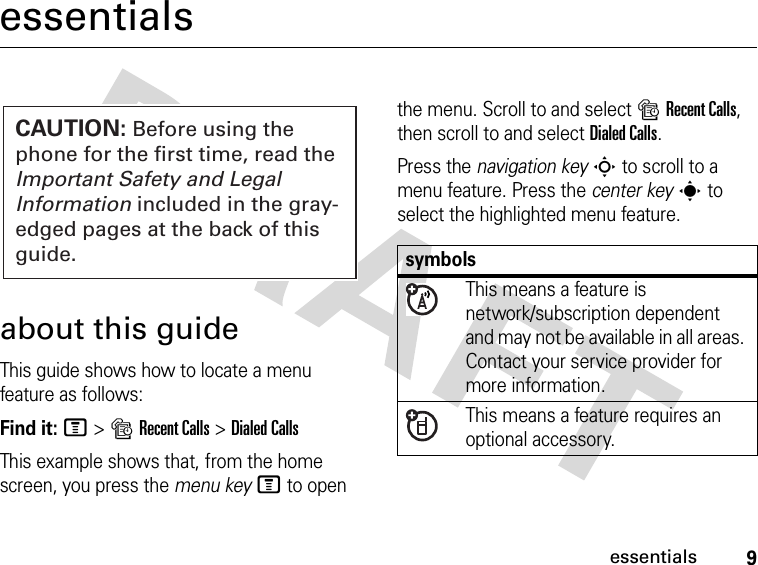
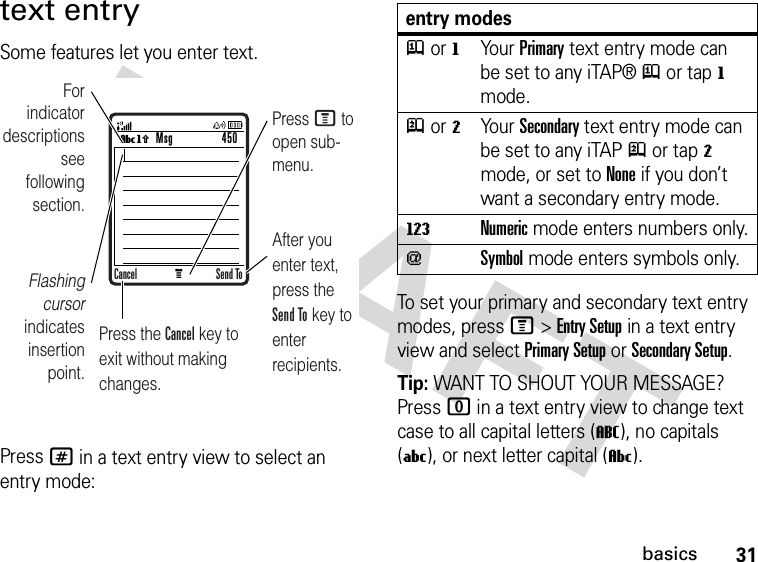
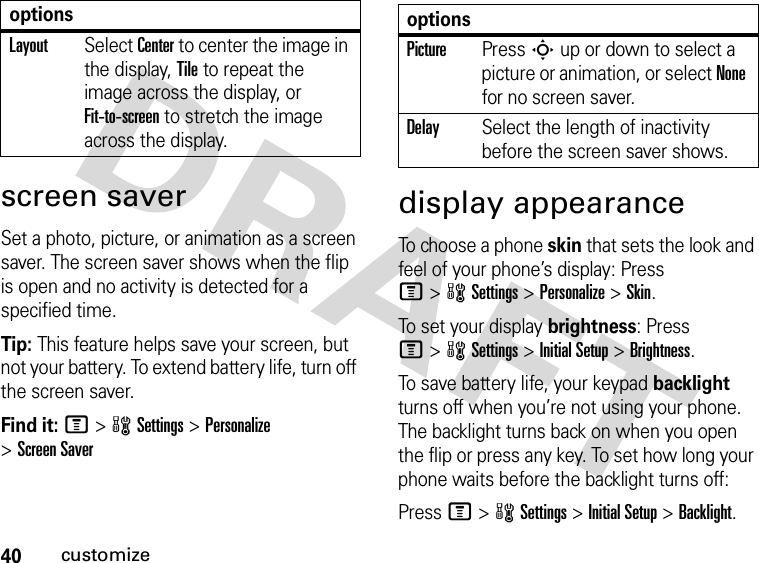
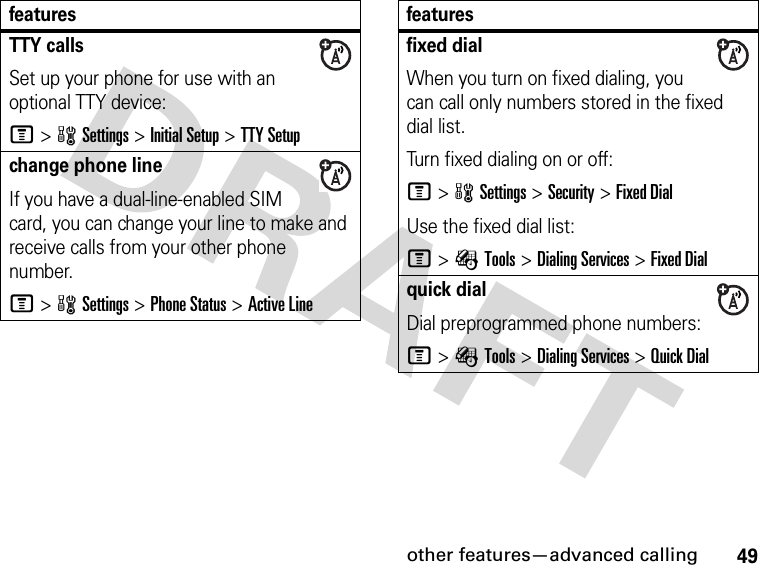
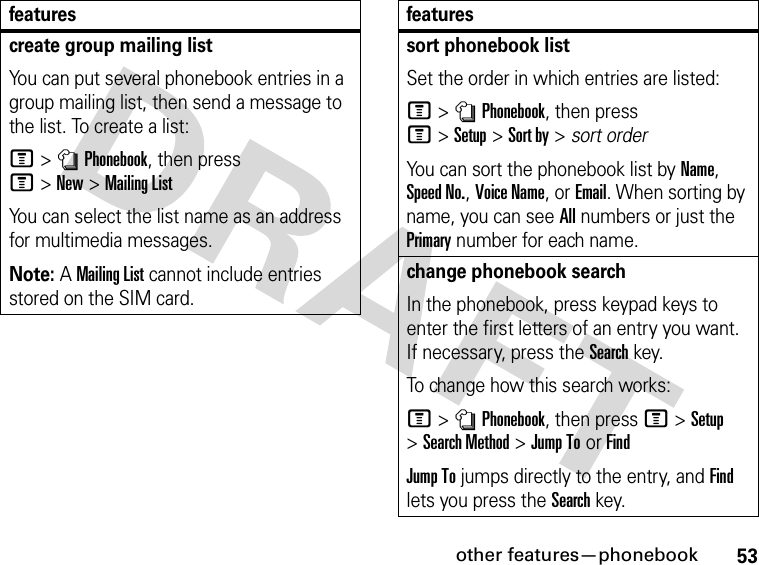
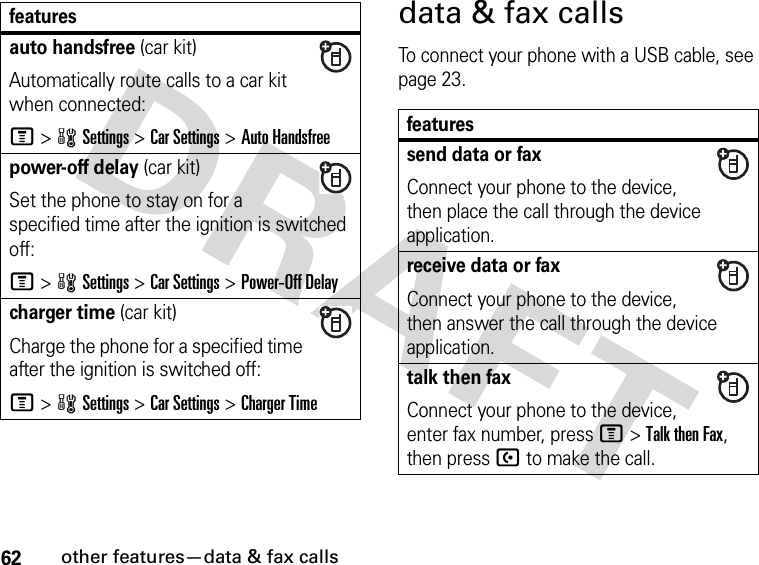
![66other features—fun & gamescreate ring tonesCreate ring tones that you can use with your phone:M>hMultimedia >Sounds >[New iMelody]start micro-browserJust press L.download objects from Web pageDownload a picture, sound, or other object from a Web page:Press L, go to the page that links to the file, scroll to the link, and select it.Note: Normal airtime and/or carrier usage charges apply.featuresWeb sessions A Web Session stores settings that your phone uses to access the Internet. To select or create a Web session:M>áWeb Access >Web Sessionsdownload game or applicationYou can download a Java™ game or application the same way you download pictures or other objects:Press L, go to the page that links to the file, scroll to the link, and select it.Note: Normal airtime and/or carrier usage charges apply.features](https://usermanual.wiki/Motorola-Mobility/T6FF2.Exhibit-8b-Users-Manual-Supplement/User-Guide-619094-Page-68.png)
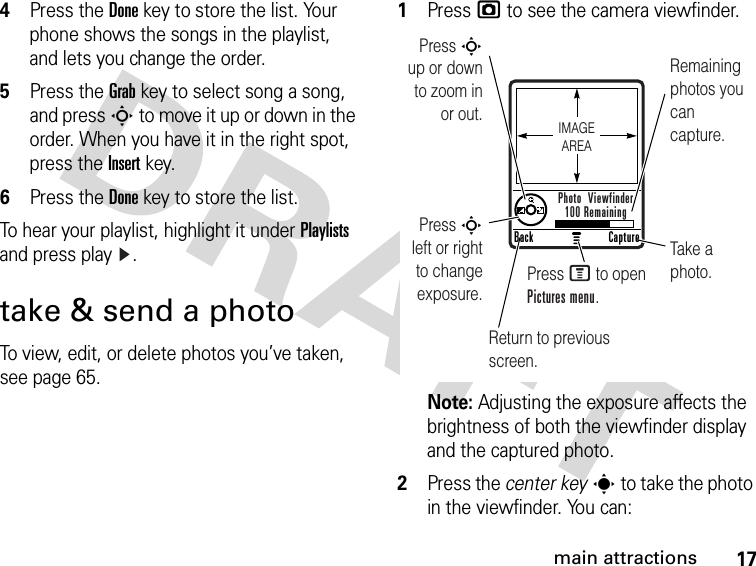
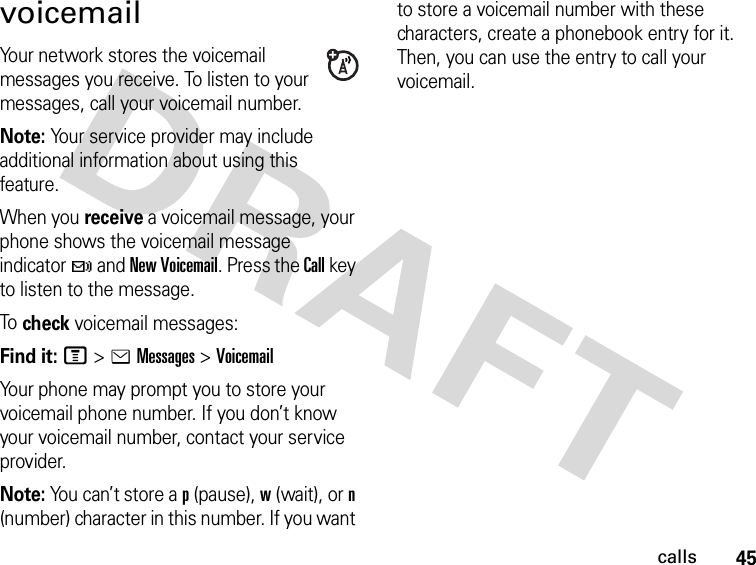
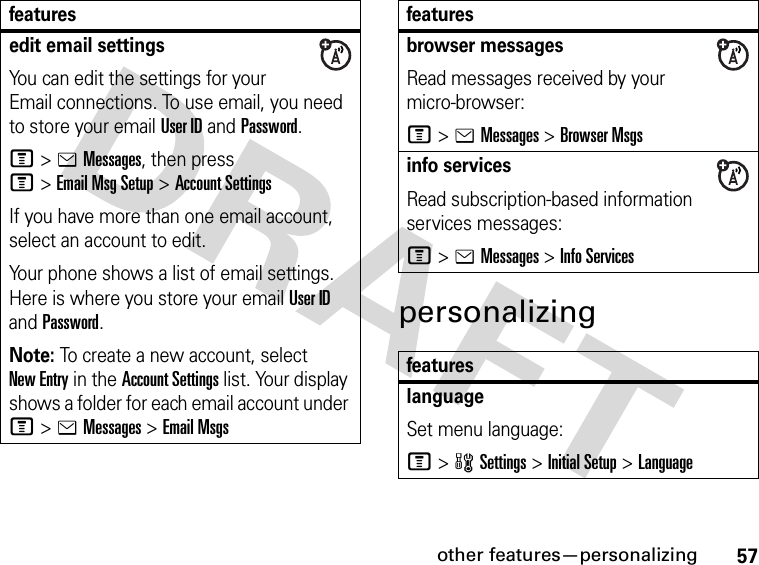
![67other features—fun & gamesstart game or applicationStart a Java™ game or application:M>QGames & Apps, scroll to the game or application, press the center keysNote: To install and run games stored on your memory card, press M>QGames & Apps >[Install New]. features](https://usermanual.wiki/Motorola-Mobility/T6FF2.Exhibit-8b-Users-Manual-Supplement/User-Guide-619094-Page-69.png)