Motorola Mobility T56ED1 Portable Cellular / PCS GSM Transceiver User Manual UG C330 GSM
Motorola Mobility LLC Portable Cellular / PCS GSM Transceiver UG C330 GSM
UserManual.wiki
>
Motorola Mobility
>
T56ED1 User Manual
Exhibit 8 Users Manual
Navigation menu
Upload a User Manual
Namespaces
Wiki Guide
HTML
PDF
Info
Views
User Manual
Discussion / Help
Navigation


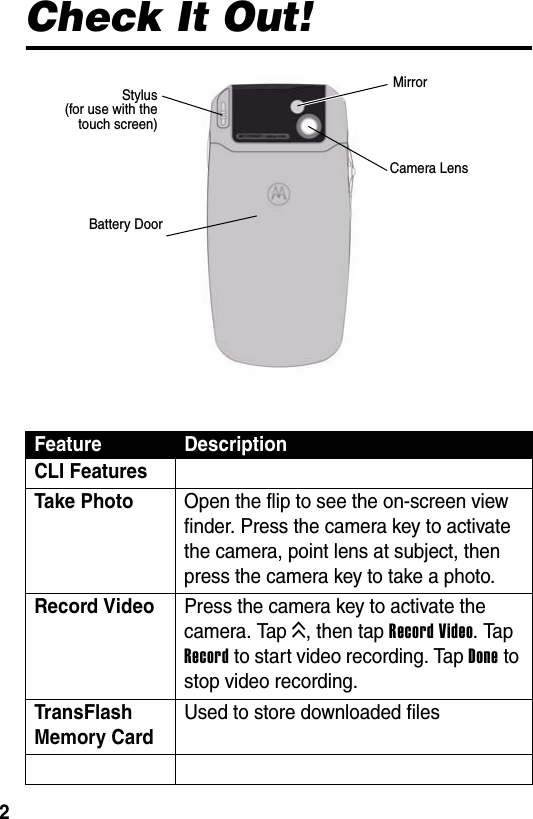


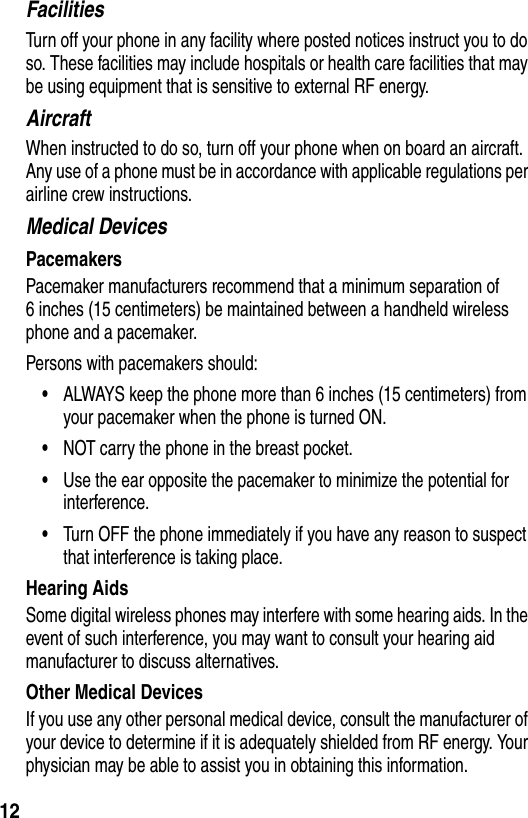


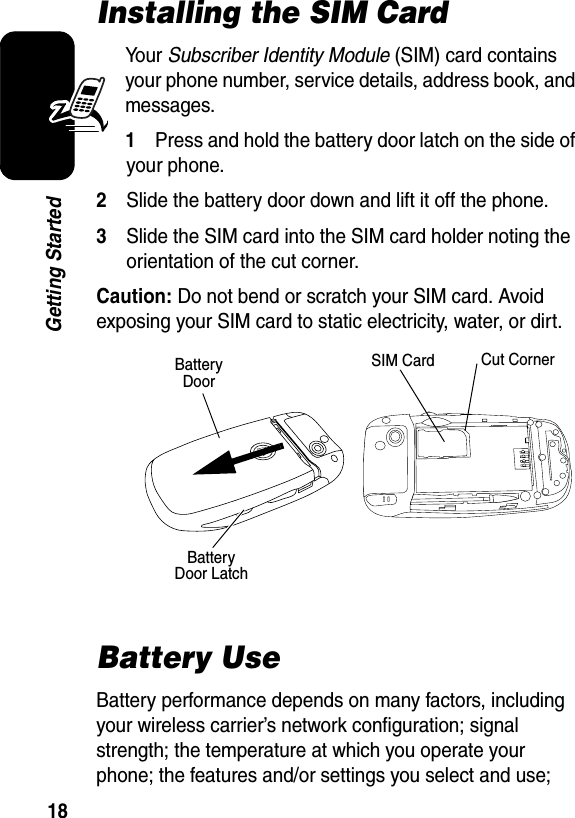


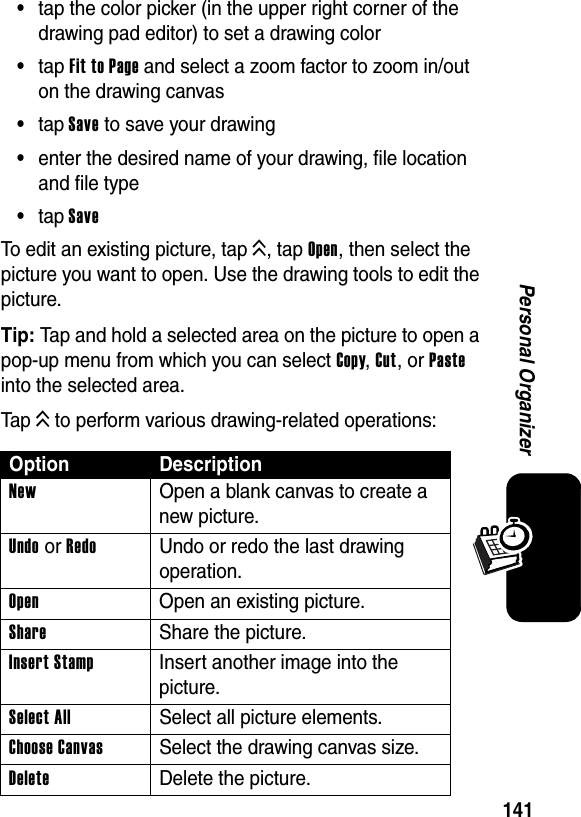
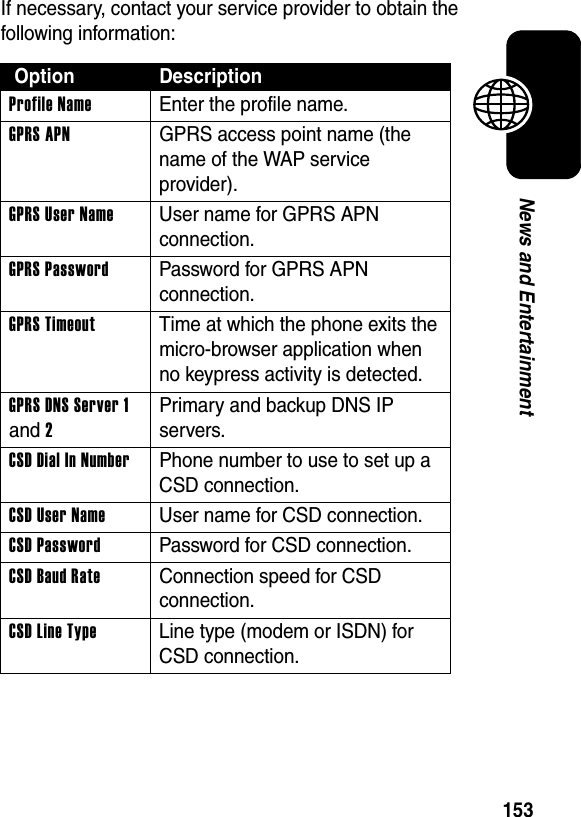
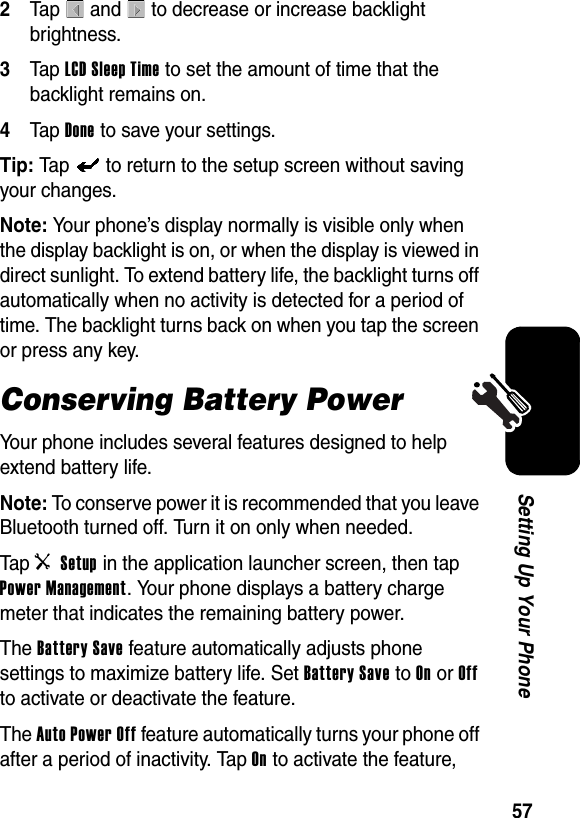
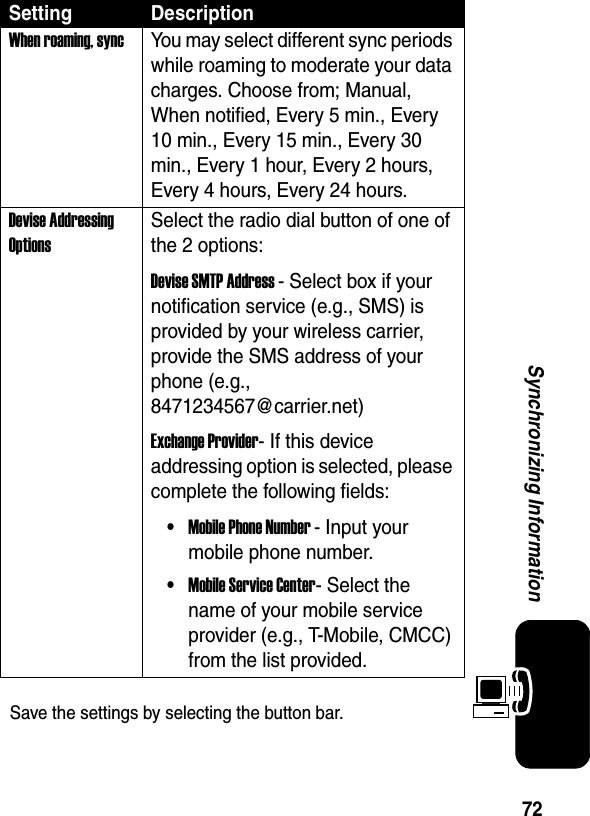
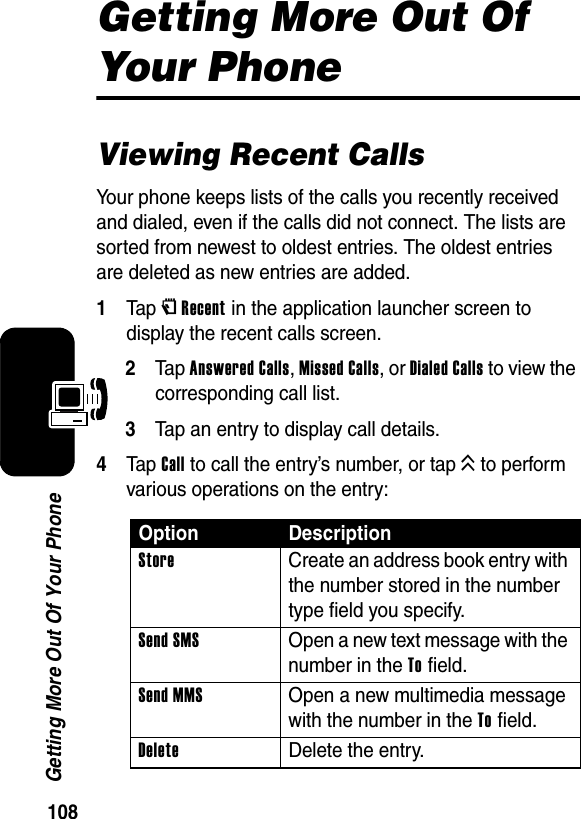
![47Learning to Use Your Phonenot include the equivalent navigation key for using the feature.Opening Phone FeaturesYour phone has many built-in features for communications, personal organization, and entertainment. Every feature has an associated icon.You can open a feature in the following ways:•Tap one of the icons in the global navigation bar at the top of the screen. These icons are always visible on the screen.•Tap K in the top global navigation bar to go to the application launcher screen. The application launcher screen displays icons for all of your phone’s features. Select the feature you want to open.The following icons identify features available on the application launcher screens:Application Launcher Screen 1Application Launcher Screen 2VRecent bBrowser lIM XEmail \Recorder [Note Pad mMedia ECamera ]Drawing YFile Manager](https://usermanual.wiki/Motorola-Mobility/T56ED1/User-Guide-471987-Page-48.png)


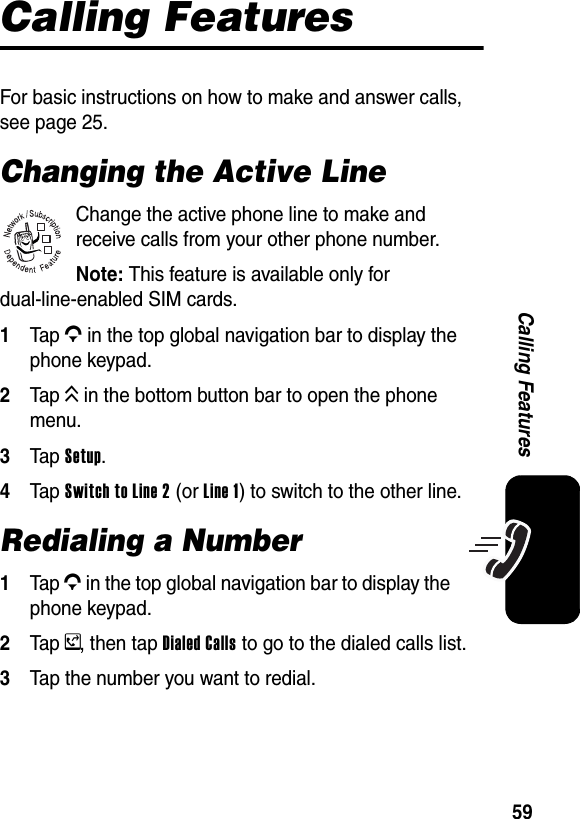


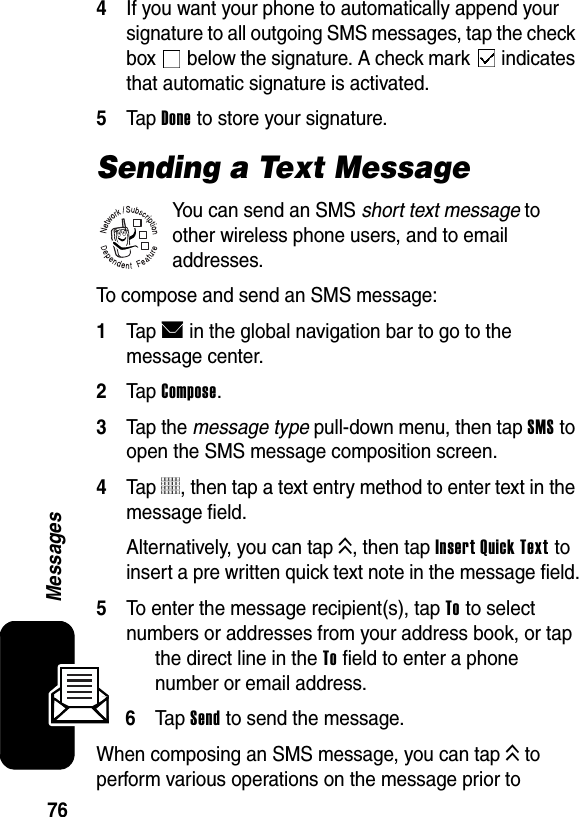


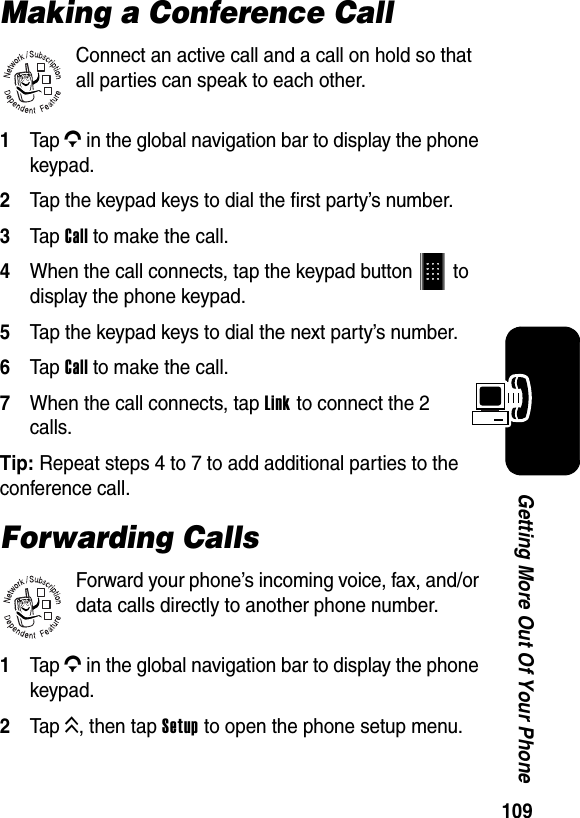


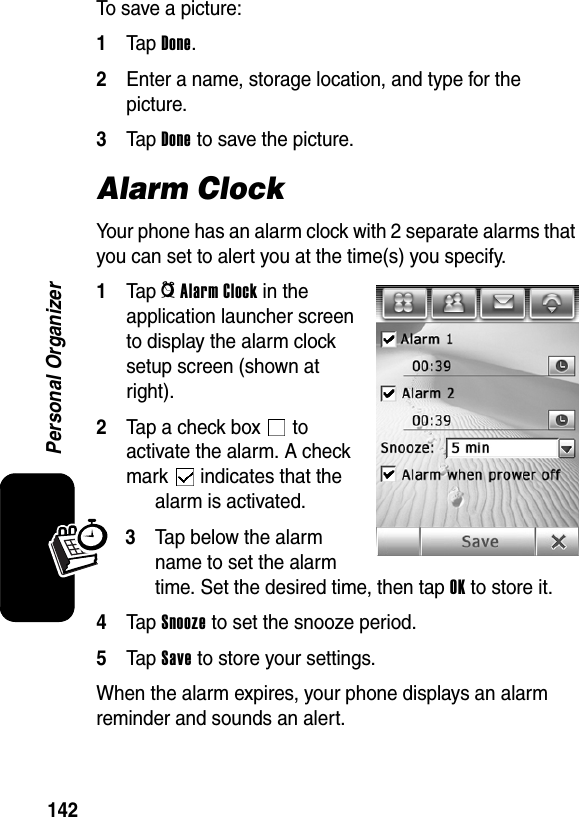
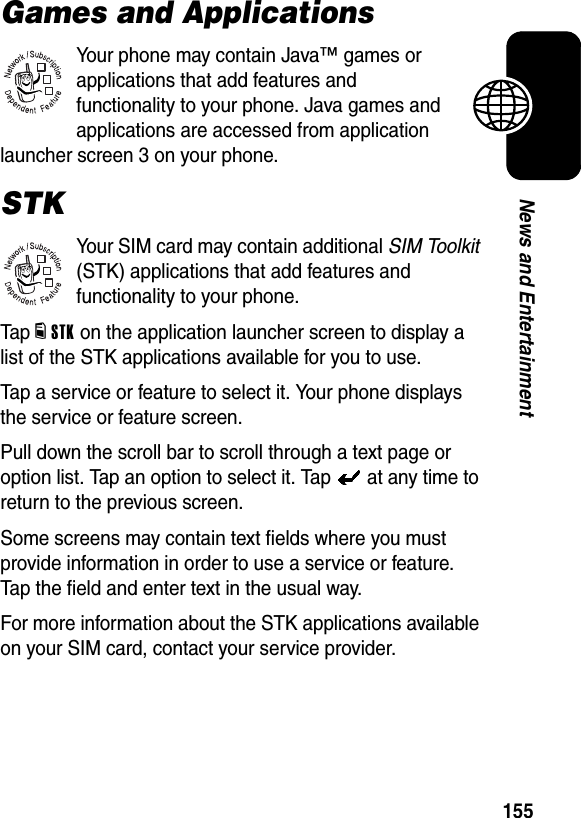
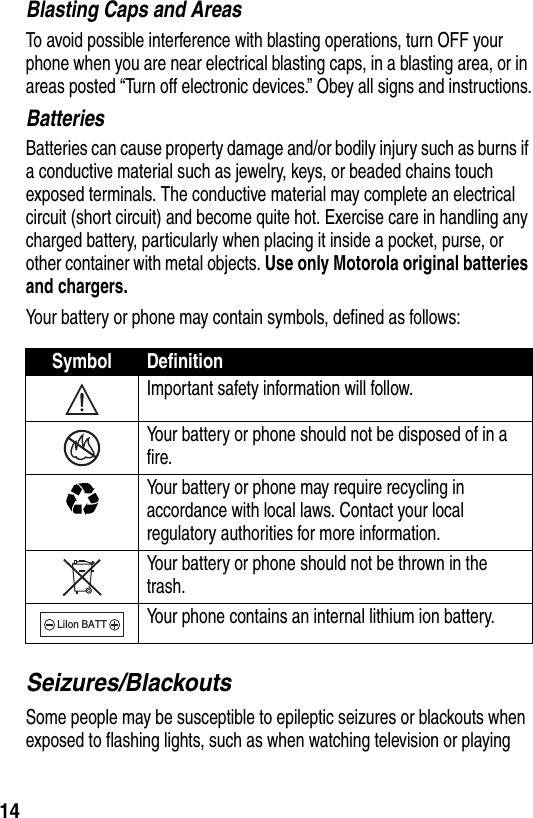
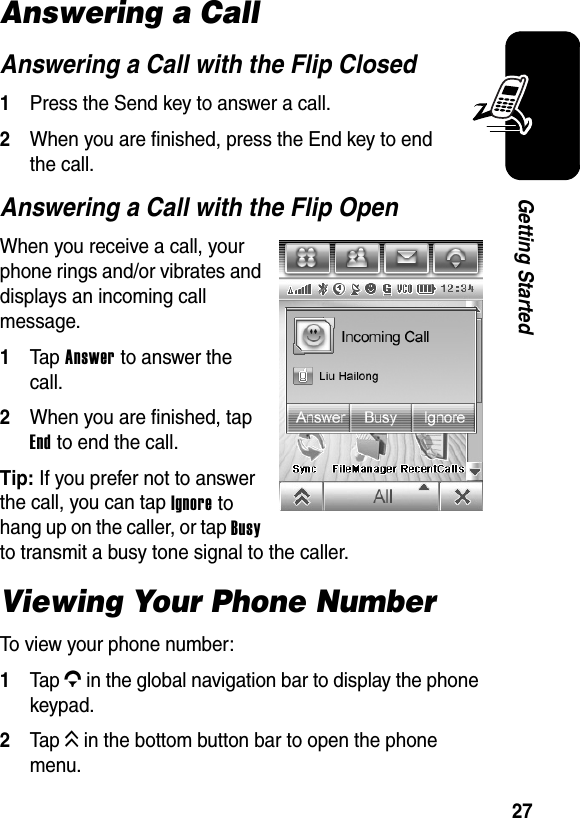
![140Personal OrganizerNote PadYou can write and store notes on your phone.1Tap [Note Pad in the application launcher screen to open the note pad editor.2Tap the text line and enter the information on the keypad you want to record.3When you are finished entering information, tap to close the keypad and tap Save.4Enter a name, storage location, and type for the note.5Tap Save to save the note.To read a note that you have saved, tap K, tap Open, then select the note you want to open.Drawing PadUse the drawing pad to create drawings and illustrations, or edit photos and images stored on your phone.Ta p]Drawing in the application launcher screen to open the drawing pad editor.To draw a new picture:•tap the drawing tool in the upper left of the screen (shown at right)](https://usermanual.wiki/Motorola-Mobility/T56ED1/User-Guide-471987-Page-141.png)