MobiWireS MOBIPRINT2 MobiWire Mobiprinter User Manual MP2 English 121114
MobiWire SAS MobiWire Mobiprinter MP2 English 121114
UserManual.wiki
>
MobiWireS
>
MOBIPRINT2 User Manual
User Manual
Navigation menu
Upload a User Manual
Namespaces
Wiki Guide
HTML
PDF
Info
Views
User Manual
Discussion / Help
Navigation
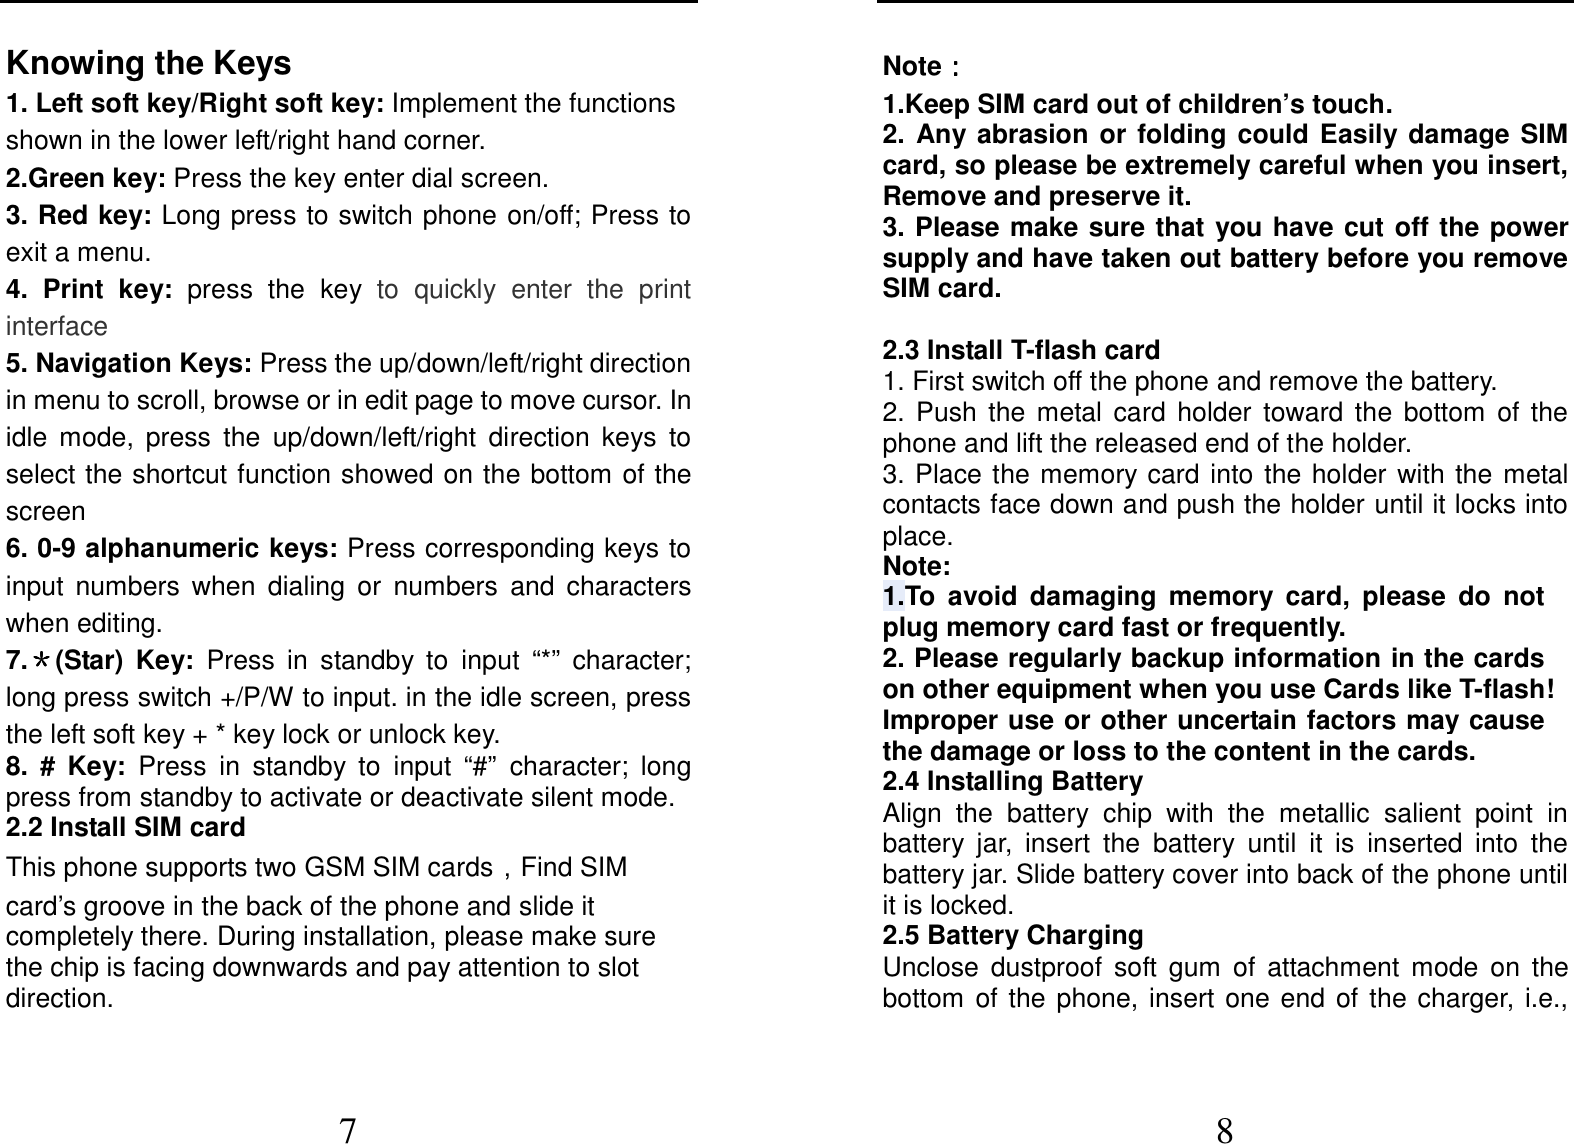
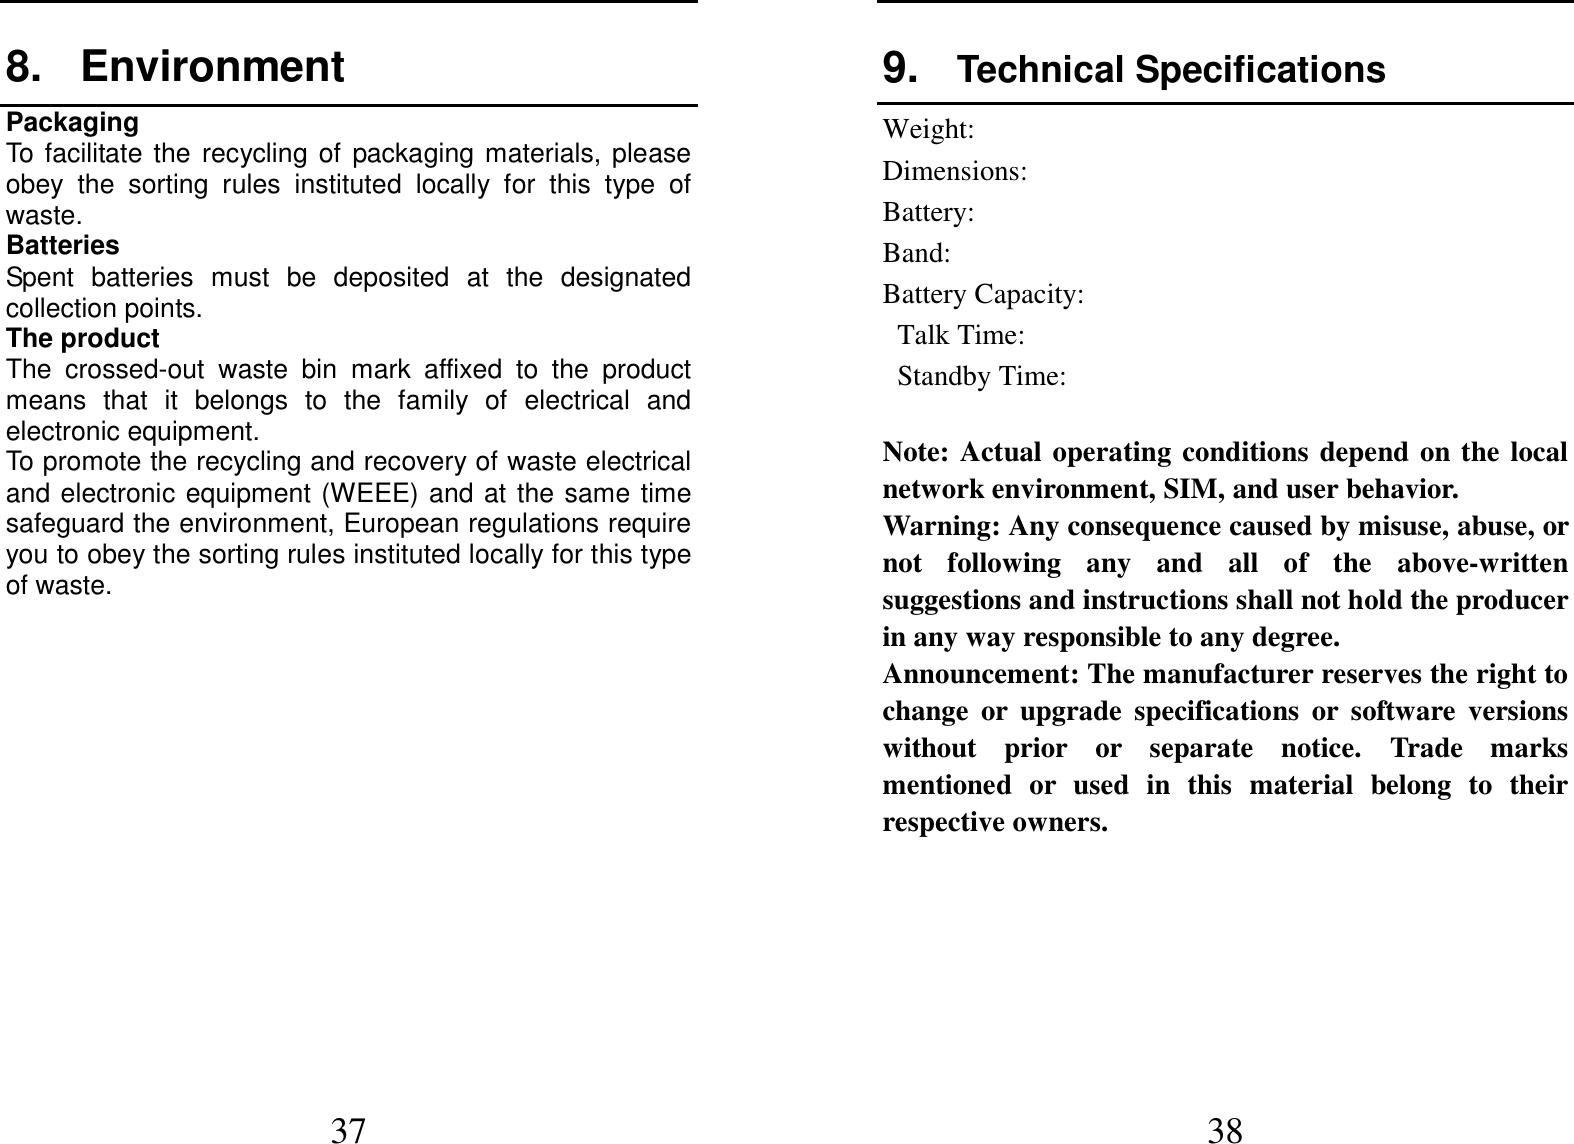
![19 phone reset to default settings. Please enter a privacy password (initial password is 1122), restore factory settings 9.Sound effects In this feature, you can set all audio equalizer. 10.Shortcuts Select this option to enter the functions directly that you often want to use. Scroll to a listed function and press the Left soft key to select [Add], scroll to a desired function from the list of available functions, then use the Left/Right navigator keys to select 1-6 order and press the left soft key to replace. You can also select [Add, Edit, Delete, Delete all, Change order] options to set the function 3.2 Folder access 1.File manager In document management, you can open files in the Phone or Memory card, you can select file or folder to press the left soft key into options, you can do the following: - Open: open the file or folder. - New Folder: the folder in the selected directory New Folder. - Rename: you can rename the select folder. - Delete: delete the selected file or folder. - Details: View the details of a folder or file. - Send: the select file can send by Bluetooth. - Copy: you can copy the select file to other folders. - Move: you can move the select file to other folders 2 Contacts. The Phone for your well-prepared high-capacity phone storage space. You can use the phone's contacts feature to save the contact name, number, Email address, mobile number, Home number Birthday and job title etc. The 20 phone can save 500 phone book records, SIM card number of records stored phone numbers vary because of their capacity. Quick search In order to facilitate you to quickly search the phone book to the desired number, the phone prompts you to quickly find features. In the contact list interface, you press * key to switch input method, enter the contact name of the first characters to locate search. Browse contacts In the phonebook list screen, press the up / down navigation key to select the contact record, press the green key to dial the number in the record, then the red key to end the dialing. In the phonebook list screen, select either the phonebook record, press the left key to perform the following operation: - View: view the select - send text message: send SMS to the select number - Edit: you can edit the select record - Delete: Delete the select record - Copy: this record can copy to “SIM1” “SIM2” or “phone” - Move: this record can move from SIM to phone, or move from phone to SIM. - Phonebook settings: Preferred storage: you can set preferred storage is SIM\ phone\all. My number and Extra numbers: set this number to own number Memory Status: Query "SIM1", "SIM2", "phone" memory Phonebook using status](https://usermanual.wiki/MobiWireS/MOBIPRINT2/User-Guide-1841761-Page-10.png)
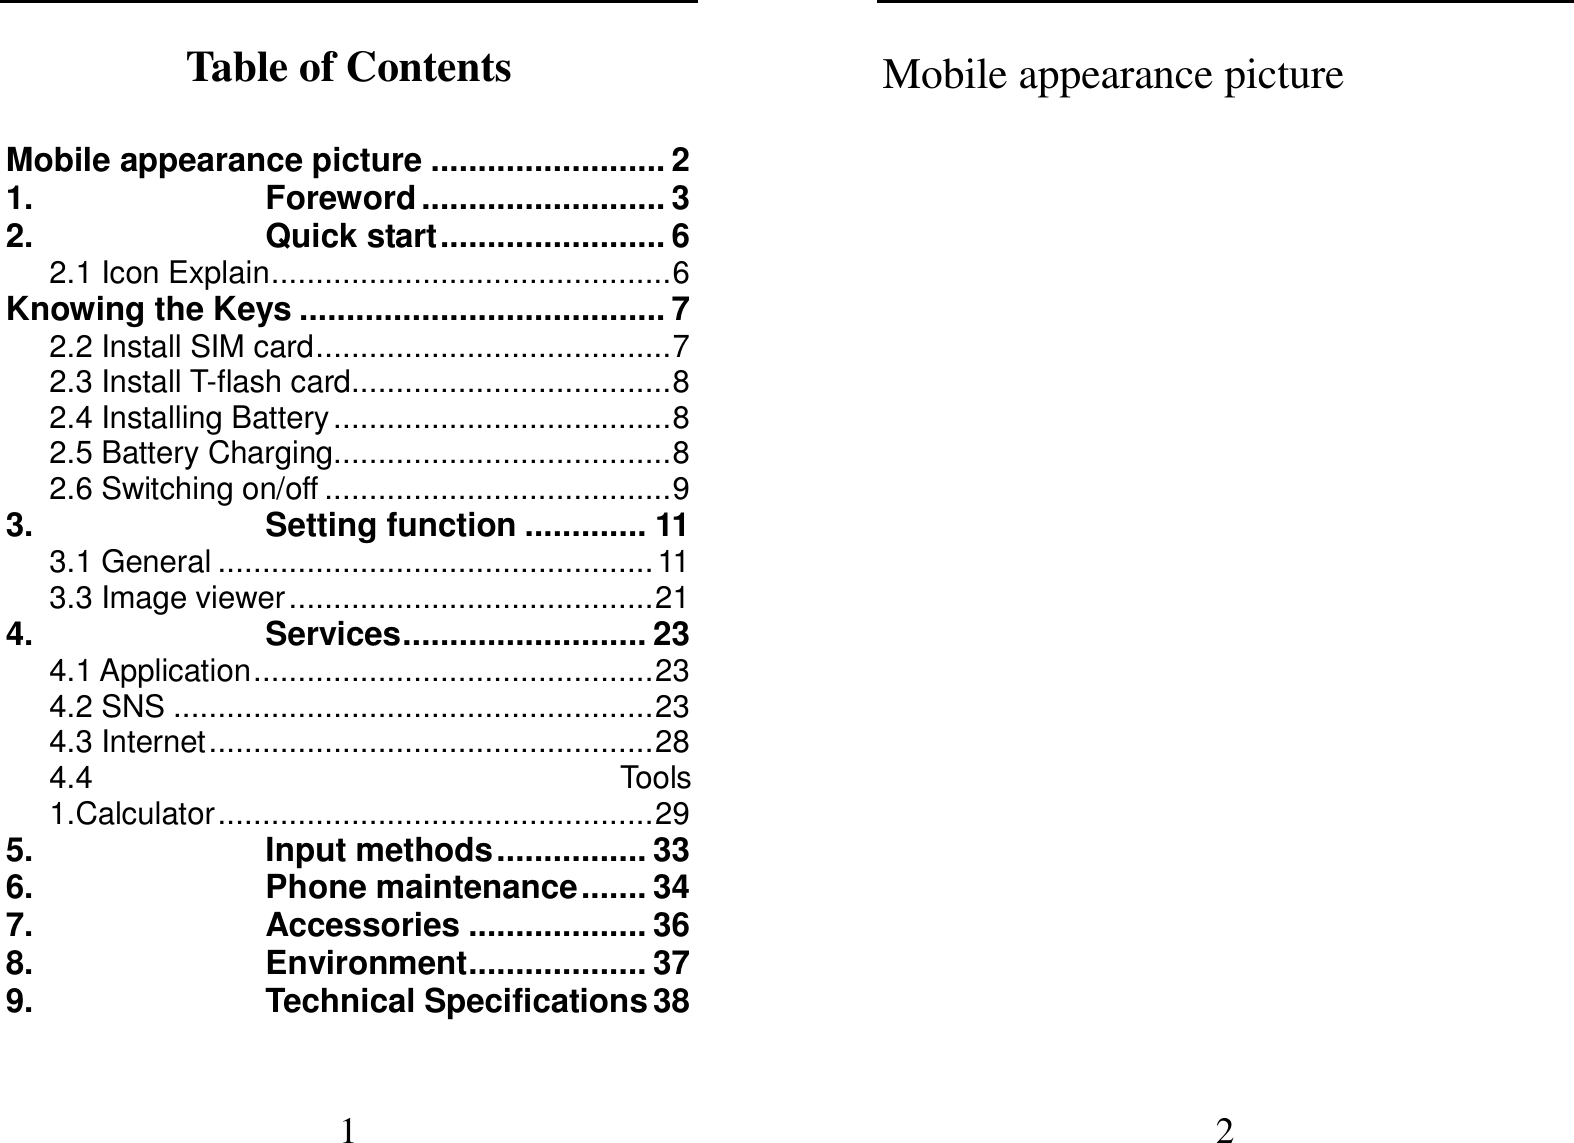
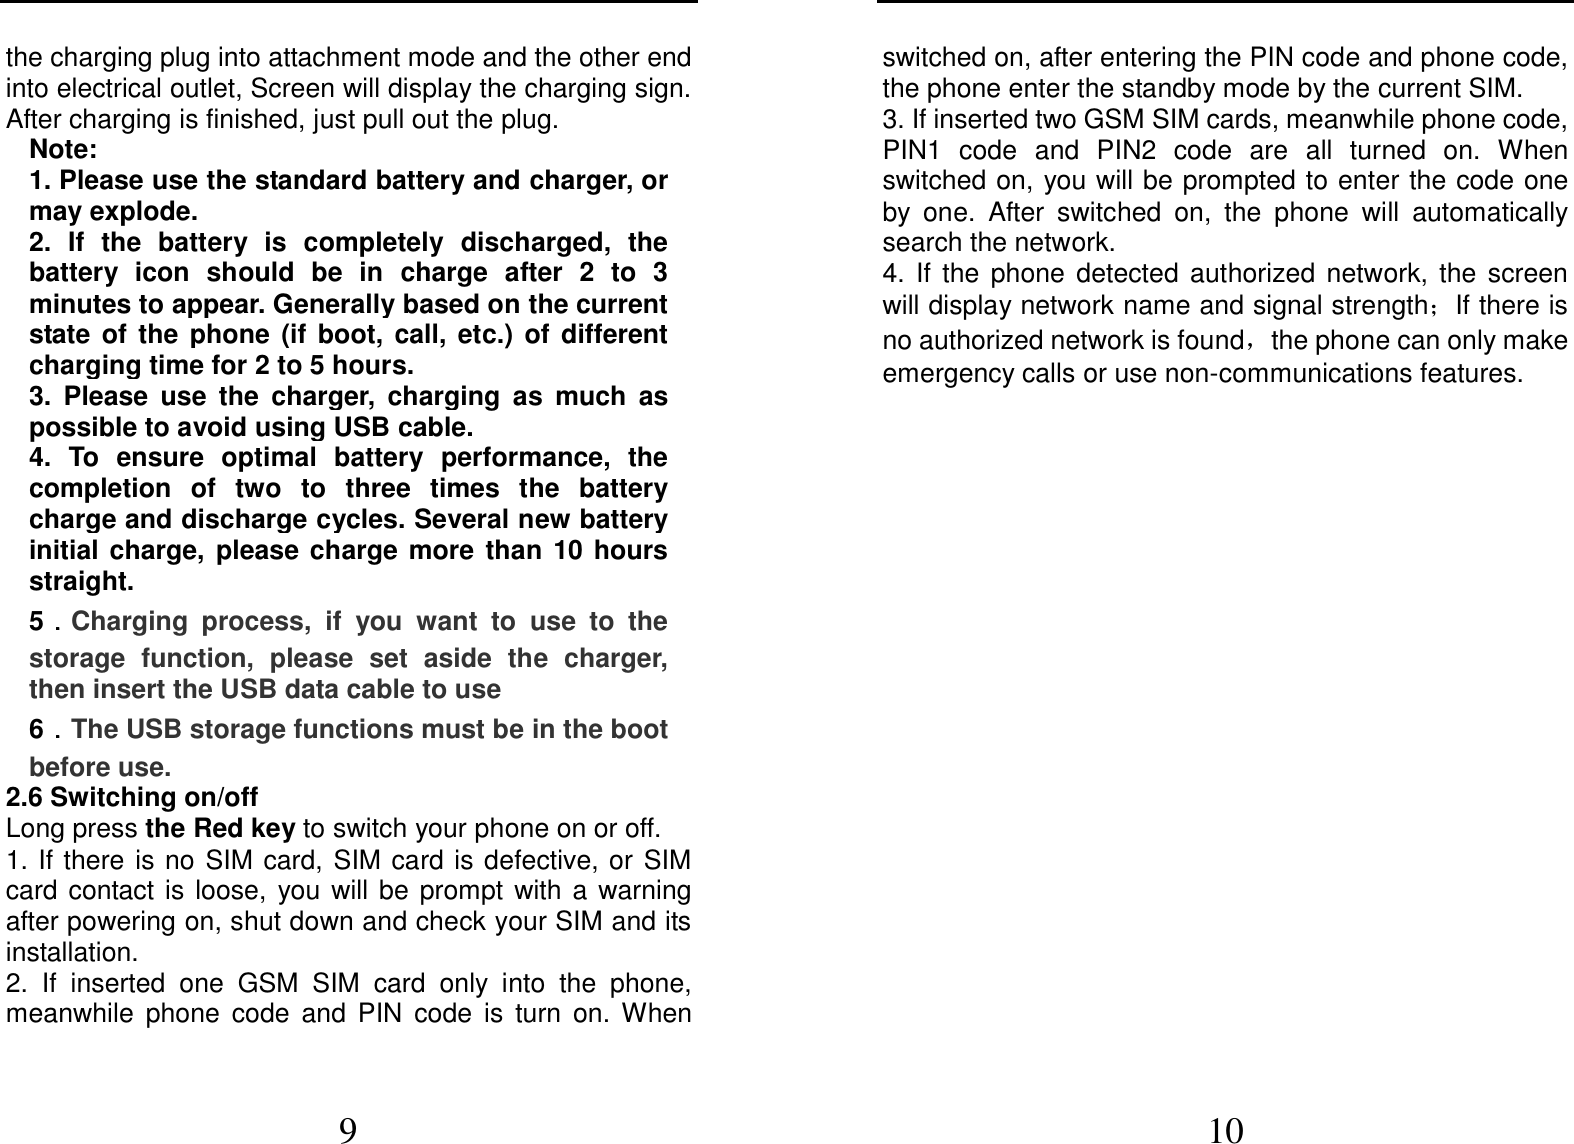
![23 4. Services 4.1 Application 1.Java Your phone possesses Java function with which you can download and install compatible Java games to your phone through network. 2.Java settings Set Java parameters. 3.Java default security Set the third party and entrusted domain parameters. And you can select [Restore settings] to set the parameters to the default. 4.2 SNS Message service is a network dependent function, which allows you to send, receive and edit all kinds of messages. Please contact the network operator for more details. 1.Write message Edit a new message, save or send it to the recipient. Note: To send SMS, you need to set the correct SMS service center number which can be obtained from network provider. While editing, press the * key to change input method, a text message can be up to 612 characters in length. When characters beyond 612, the message will be automatically switch to MMS format press the Left Soft key enter options: - Send to: Enter the destination number is sent, or into the address book to find the necessary records, you can select the type of SIM card, confirmed, you can send - Insert symbol: you can select necessary symbol to 24 insert. - Input method: you can select input method. - Input method options: you can select writing language. - Add picture: Insert picture in phone or memory card to MMS - Add sound: Insert audio file in phone or memory card to MMS. - Add video: Insert video file in phone or memory card to MMS. - Add subject: Add MMS subject - Slide options: Under this option adder to the next page, add the page to the previous page and set the slide timing. - Switch to MMS: Switch from SMS to MMS - Advanced: can select insert attachment and insert bookmark option - Save: Save the edited message to the outbox - Details: you can view the SMS or MMS for more information 2.Inbox Received SMS messages can be stored either in phone or in SIM1/SIM2 memory, and are accessed here. When you have received a message, the tones or vibration to alert you and message mark will also be shown on the screen. Press the Left soft key [Read] to read the new message, press the Right soft key [Back] to return, and you can also access the inbox to read the new message. If the message memory is full, the indication “Memory full” and the message icon will be shown on the screen and flashed. Before you can receive new messages, delete some of your old messages in the inbox folder. If the](https://usermanual.wiki/MobiWireS/MOBIPRINT2/User-Guide-1841761-Page-12.png)
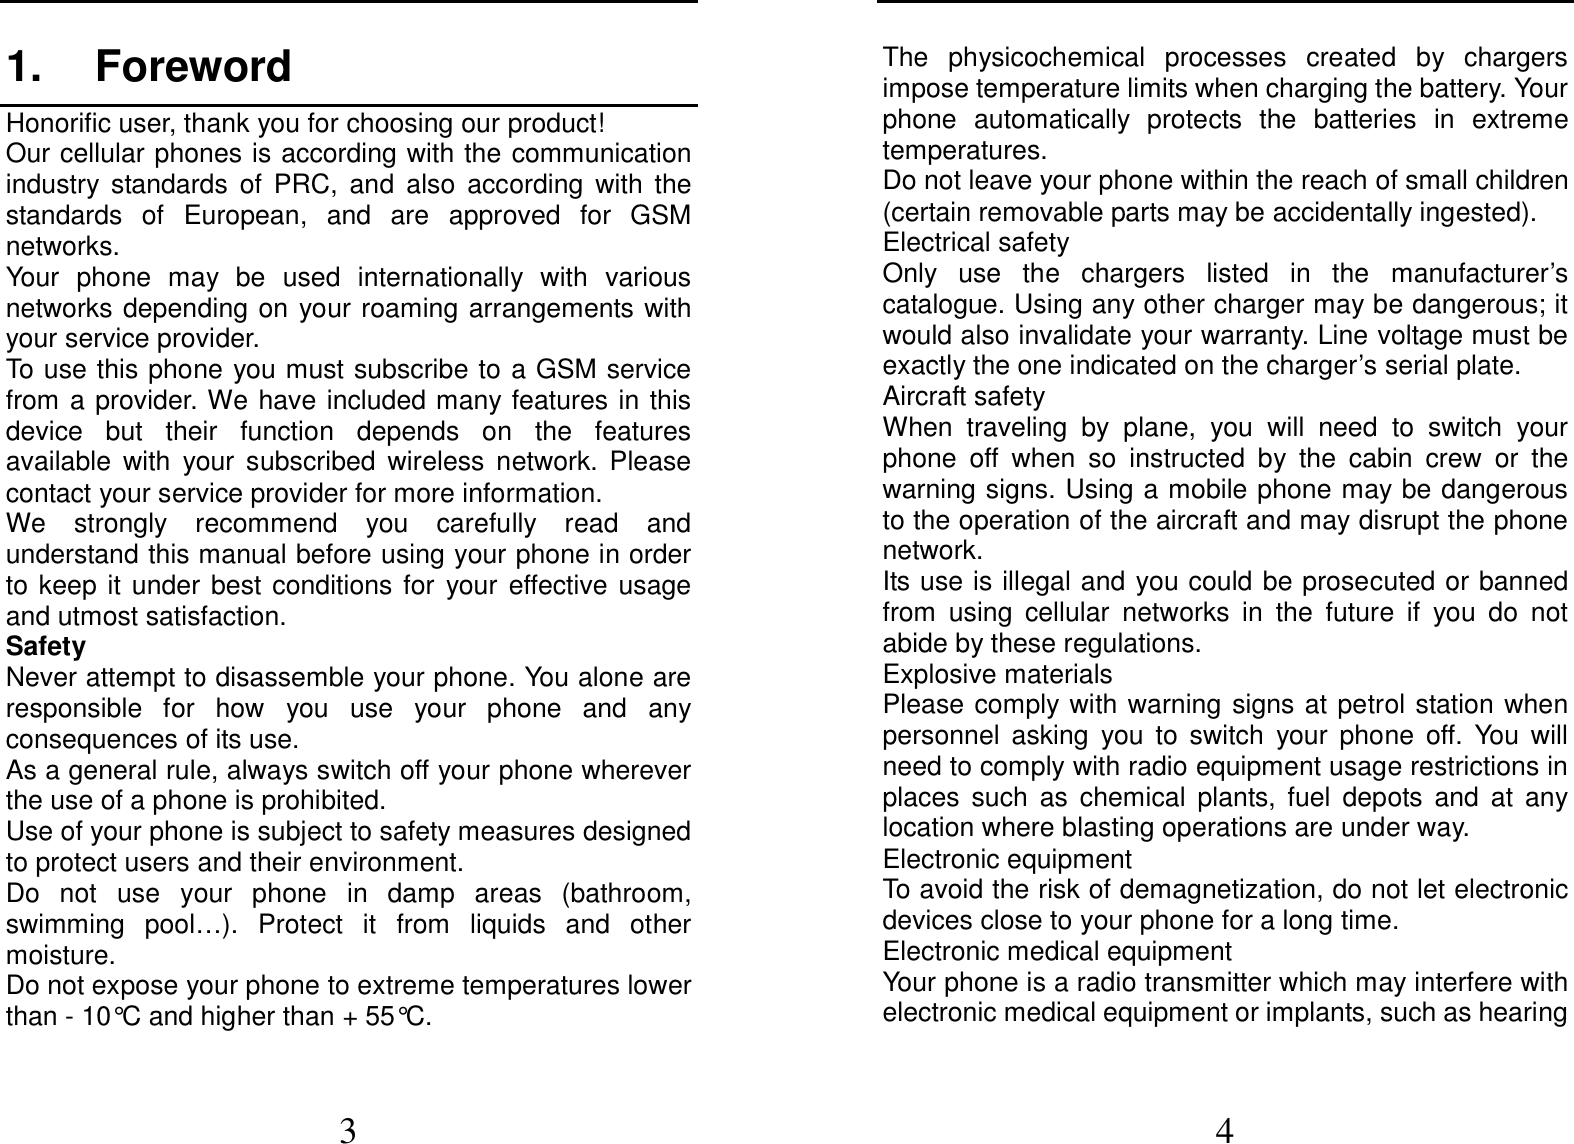
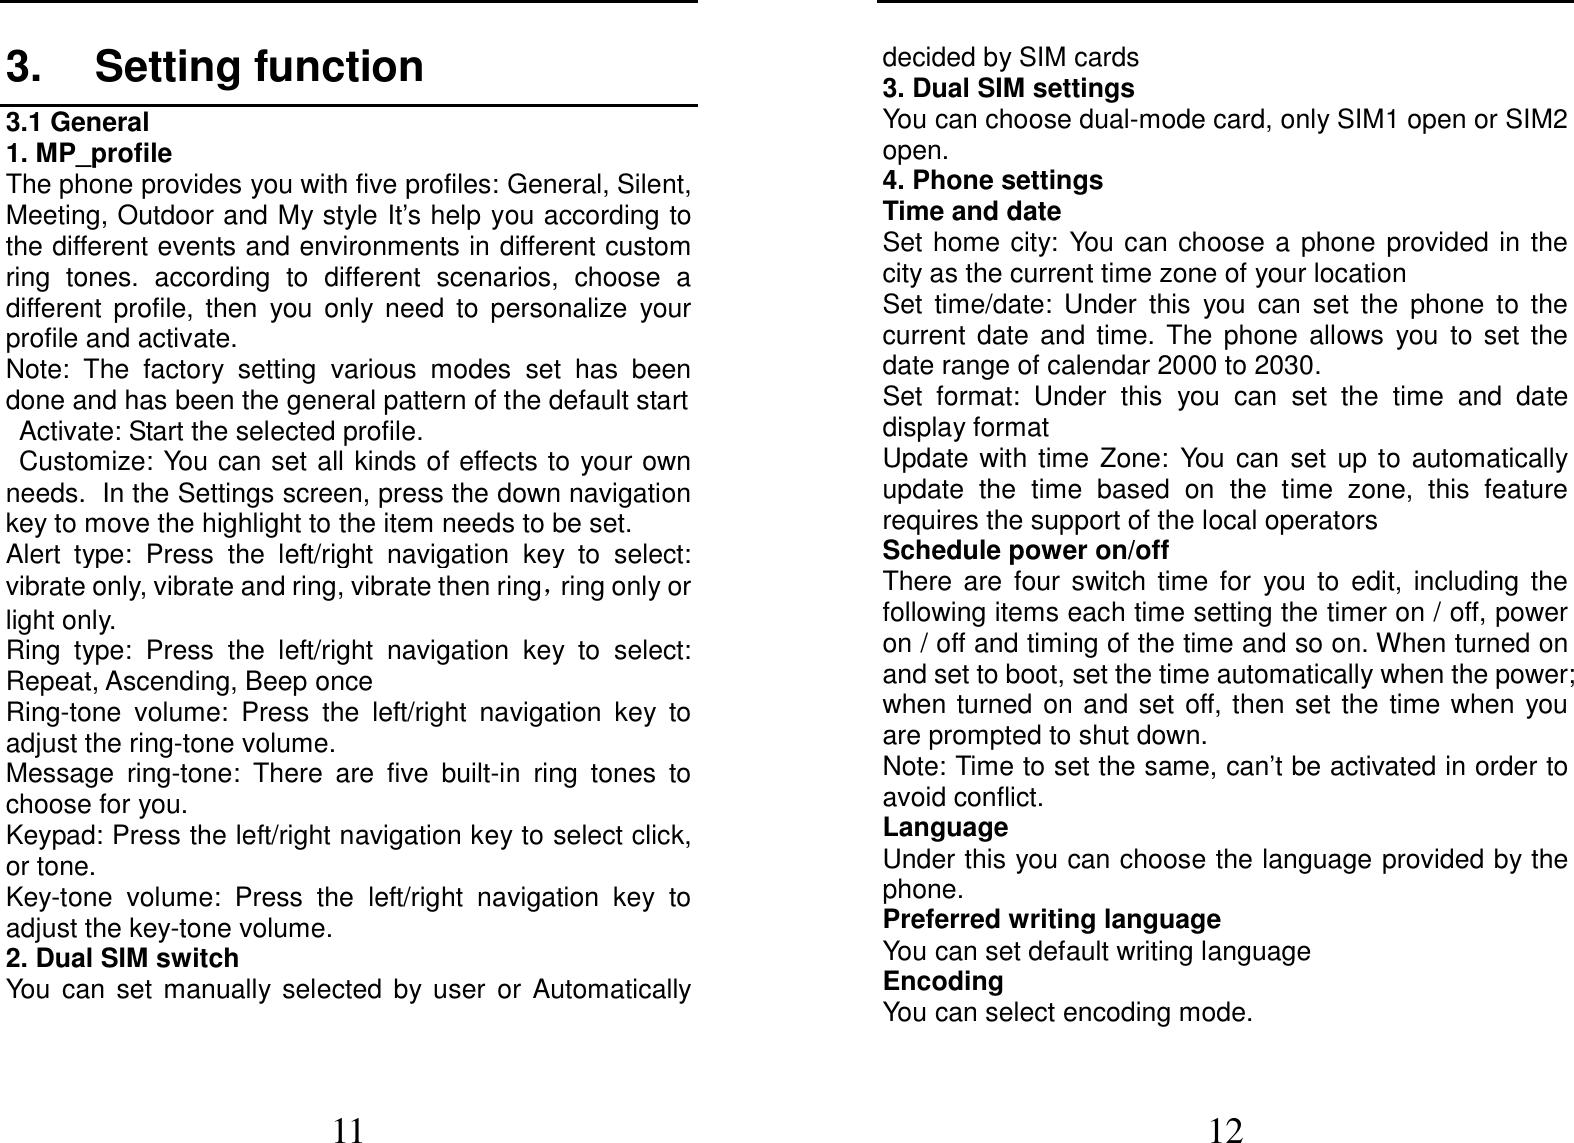
![25 capacity of new messages is beyond the capacity of the inbox, the information will be lost and incomplete. In message list, press the Left soft key [Options] to make the following menu: -View: view the current message -Reply: Reply SMS to the message sender directly. -Forward: Forward the selected message to other contacts. -Delete: delete the selected message. -Delete all: delete all messages in inbox. -Save to phonebook: Not save the sender's number can be saved directly to the phone book -Delete several: mark one message or several messages to delete. 3.Drafts Not send SMS and MMS, will be stored in the mail within, the operation is the same with inbox 4.Outbox Failed to send SMS and MMS, will be stored in the mail within, the operation is the same with inbox 5.Sent messages If SMS or MMS is sent successfully, then be stored in the letter box. Automatically save messages need to select in [Message Settings--Text message--save sent message ], other operation is the same with inbox. 6.SIM messages Display all the information stored in the SIM card 7.Broadcast messages Broadcast message is sent by network operators, public information, this function needs the network operator support, please contact the network operator. Using the cell broadcast service, you can receive from the network 26 operator information on various topics, such as weather, taxis, hospitals and so on. For information on available topics, please consult your local network operator. 8.Templates The 10 information stored, the users of these commonly used phrases, edit or remove operation can also choose to insert a template messages sent directly from the text editing interface 9.Message settings Text message Profile settings: You can choose either of two modes, custom different parameters, including the model name, short message center number, Validity period and Message type. Voicemail server: When you can not answer the phone, automatically incoming calls to voice mail number, you can let the other party to your message, a message stored in the network's voice mail system, and afterwards, you can access the voice mail system to listen to a message. Into the voice mail sub-menu, you can see the current voice message (up to the establishment of two voice mail) Voice mail function needs the support of network operator, you may need to subscribe to the service. For details, please contact with the operator. Common settings: Delivery report: Open the function, after a successful send text messages, the system will return to report. Reply path: If the network allows, open the function, the recipient receives a text message, the system will send a confirmation message. Save sent message: open the function, After the success of SMS will be automatically saved in the Outbox.](https://usermanual.wiki/MobiWireS/MOBIPRINT2/User-Guide-1841761-Page-13.png)
![27 Memory status: can view the memory storage status. Preferred storage: you can choose to give priority to messages stored in SIM card or mobile phone. Preferred connection: You can select prefer connection: GPRS or GSM. Multimedia message Data account:Internet access account settings. Common settings: Compose: In the menu, you can set slide time, creation mode, signature set act. Sending: Delivery report:Select [On], when the recipient receives and download, the network will send a message to notify you (subject to network support); You can also choose [Off] Read report:Select [On], then when the recipient read the MMS, you can choose to read the report sent to you(need network support), you can also choose [Off]. Priority:Priority Setting MMS. Delivery time:you can set delivery time, immediate\1 hour later\12 hours later\24 hours later. Send and save: open the function, After the success of MMS will be automatically saved in the Outbox. Retrieval: In the menu, you can set home network\Roaming\Filters\Read report\Delivery report Preferred storage: you can select preferred storage as phone or memory card. Memory status: you can select phone or memory card to view Used status. Service messages Enable push: you can select accept all push messages 28 or disable. Enable service loading: you can select prompt, Auto launch or disable. 10.Text msg.counter View SIM1/SIM2 sent and received Message quantity 4.3 Internet 1.Wlan The phone supports WLAN Internet access, enter the function, the phone will automatically go to search around the available wireless network If the selected network is encrypted, you must enter the password, and then select the connection properly connected to the network, your phone can enjoy browse the Internet 2.Internet service The Internet is the combination of wireless communications and Internet application platform that enables you to get rich by phone and ecommerce and other Internet information resources application. Note: 1. Your ISP may not support some features, in order to ensure the normal operation of the browser, make sure your SIM card is supported and open Internet access. 2. If you browse the web, you need to charge fees related to traffic. Homepage This is the WAP settings you set in the homepage address, if you have no other set will have a direct connection to the phone pre-set or the default home page. Bookmarks In this menu, the display has all the bookmarks in the bookmark, you can add and save you frequently visit the](https://usermanual.wiki/MobiWireS/MOBIPRINT2/User-Guide-1841761-Page-14.png)
![29 site name and address for future quick access. Search or Input URL Enter the need to access the WAP services, and URL addresses, complete, can be connected to the WAP site you want to connect. From the surface in the bookmarks, web history, other than to provide you a flexible way to access the network. Last web address Choose to enter directly into the last pages Recent pages List of pages you have recently visited records to facilitate your browsing history in selected cases, can directly select [Enter] to access the page, the record could be deleted. Settings Homepage: Into the function, you can select default homepage or user-defined. Select profile: Into the function, you can set the mode to access your account is always asked, SIM1 or SIM2. Data account: Into the function, you can set correspond SIM card data account. Browser options: Clear the temporary buffer information and cookie, it’s can avoid congestion and improve web browsing speed, periodically clear. Preferences: You can set the appropriate parameters, including the display time, display pictures, cache and cookie. 4.4 Tools 1.Calculator Into the calculator, the calculator interface: Press 0 - 9 numeric keys to enter the number to be calculated, 30 Press the navigation key to select the location on the screen corresponding to add, subtract, multiply and divide symbols for computing Press the right soft key to clear the last bit can be input or the result (no input figures, has withdrawn from the calculator function)Press the left soft key to display the results. 2 Stopwatch The phone provide typical stopwatch and Nway stopwatch use for you. 3 Calendar Choose to enter the calendar, the screen will display the system date on the calendar month, and have a background box marked the current date. Press the navigation key to select the date, calendar information on the screen will be updated accordingly. Select any date, press the left soft key to enter options to the following: View: View the details of the selected schedule, and re-editing of the operating schedule View all: view all schedule Add event: Create a calendar reminder, the default time is the date where the calendar highlights. Delete event: Delete calendar. Jump to date: Jump the selected date. Go to today: the date of the input query calendar information Go to weekly/monthly view: can set the calendar display mode through week or month 4 Tasks This feature allows you to easily manage all tasks in working life, arrange and record your do in the future](https://usermanual.wiki/MobiWireS/MOBIPRINT2/User-Guide-1841761-Page-15.png)
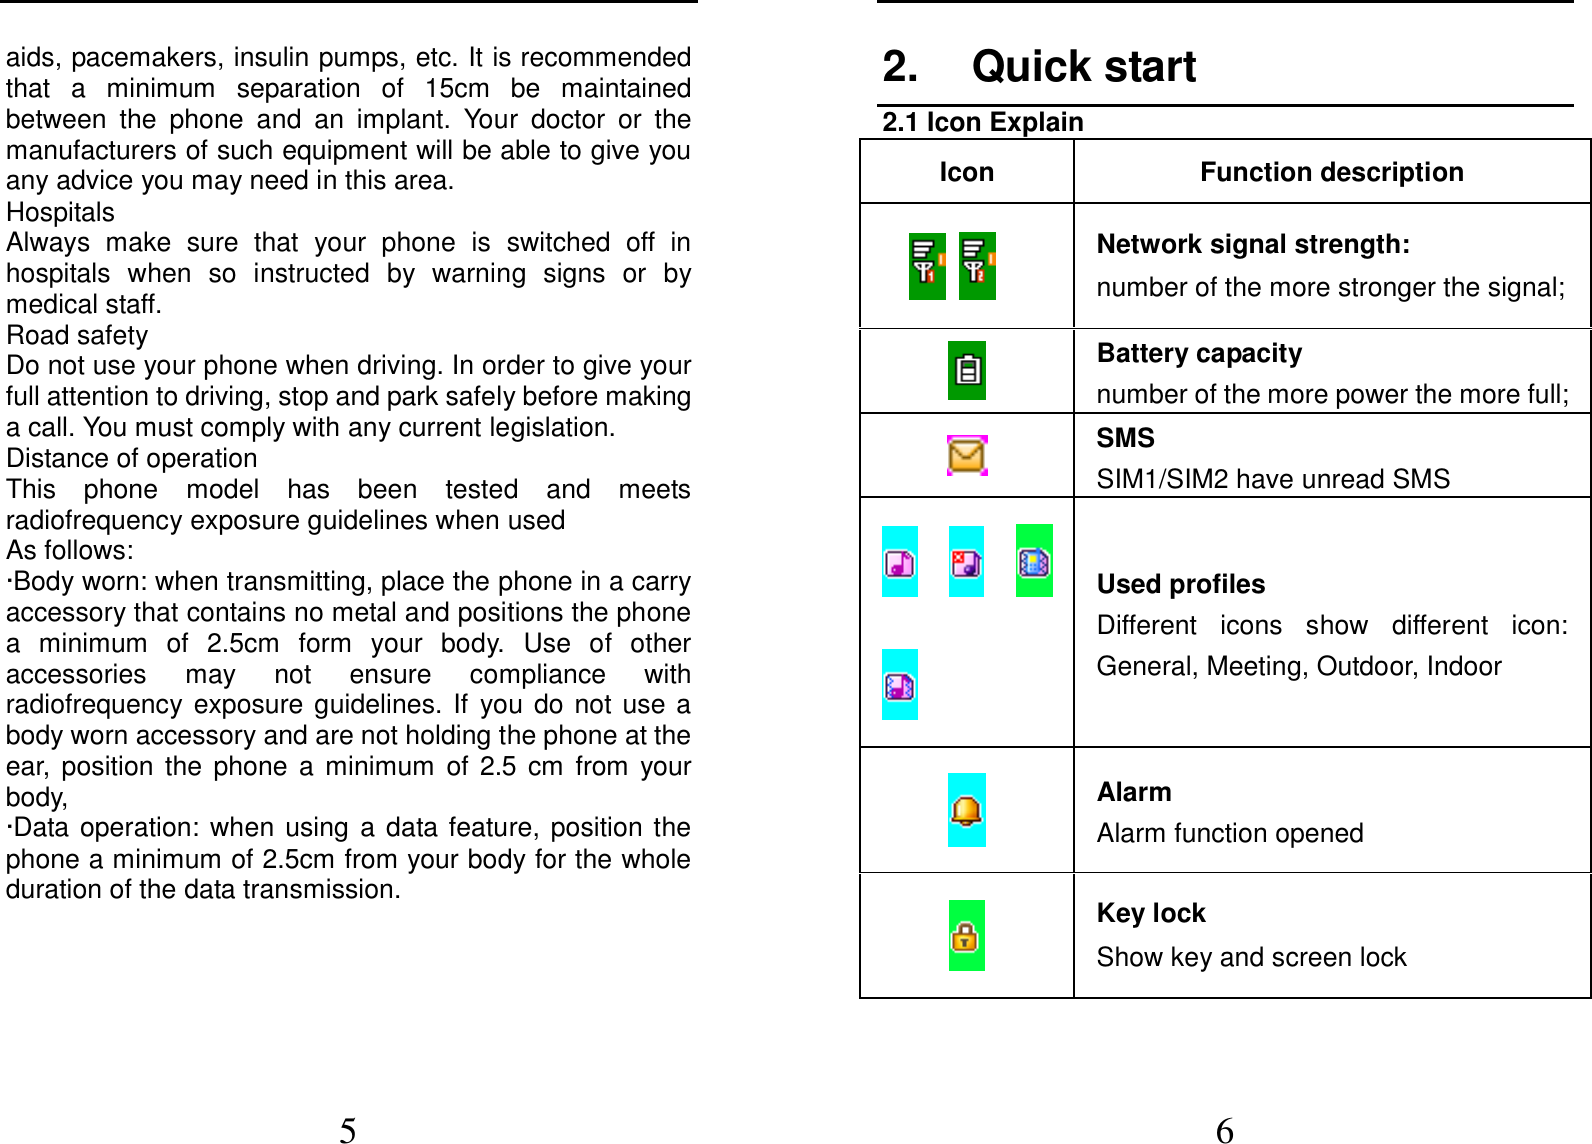
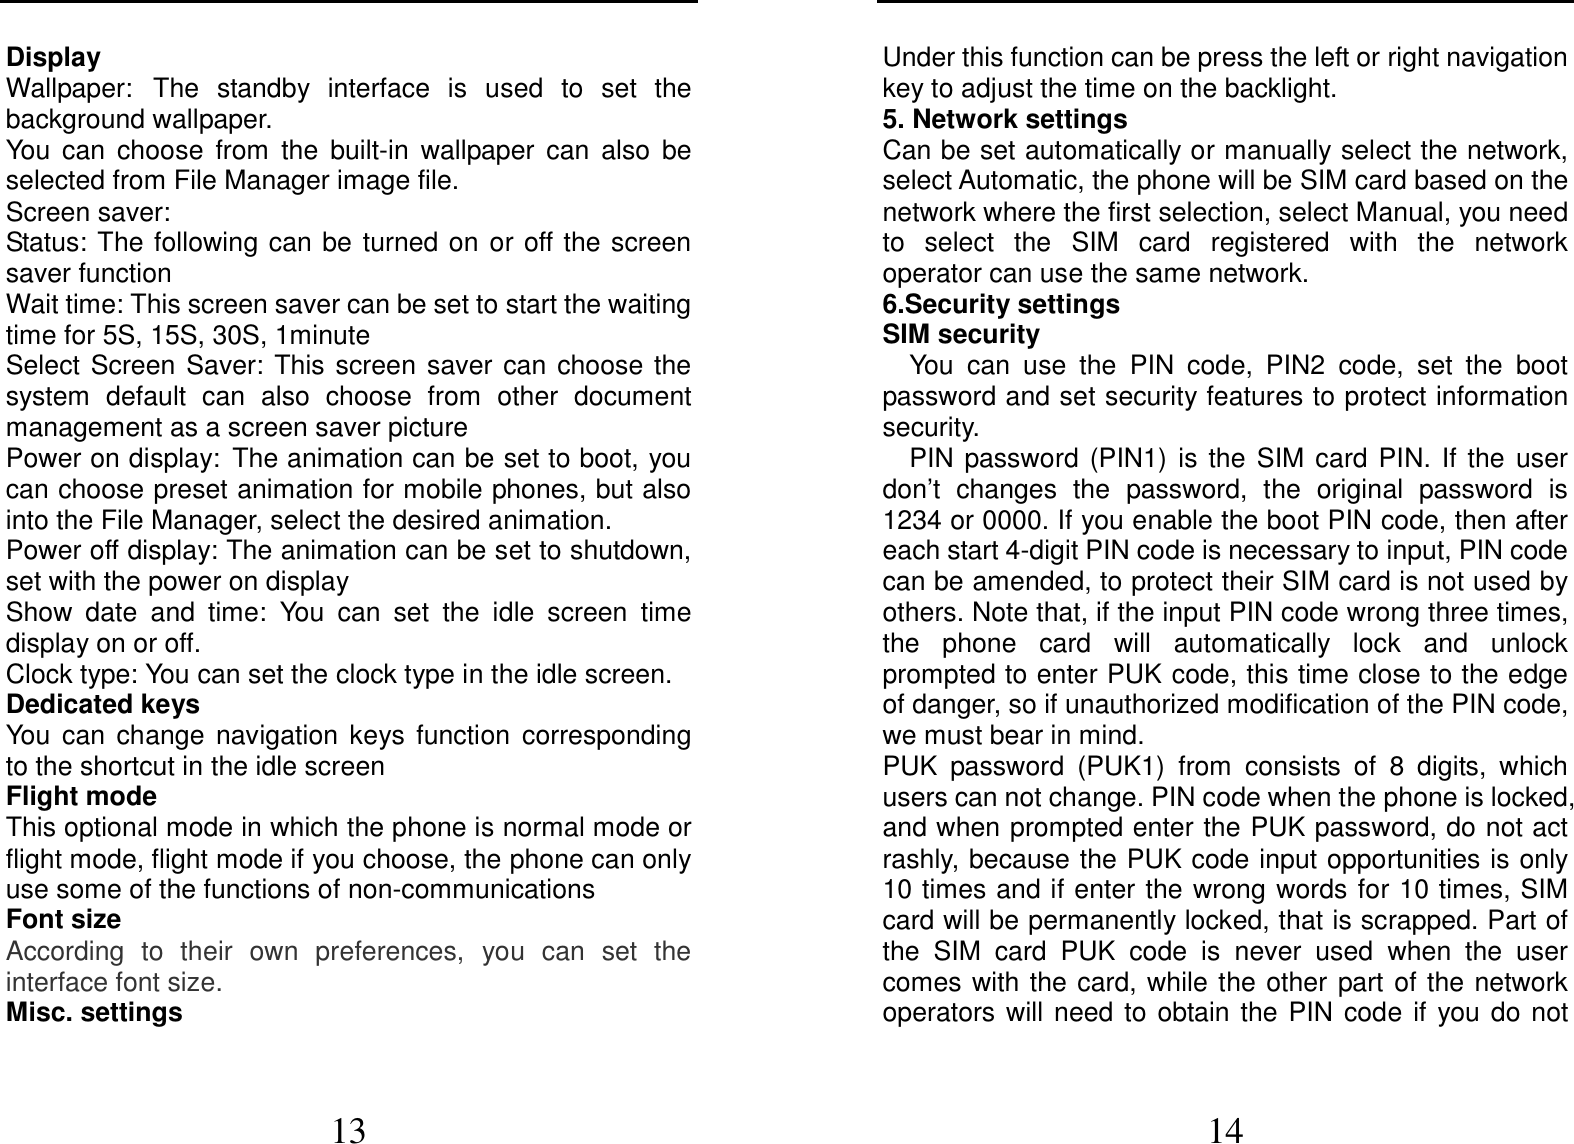
![33 5. Input methods This phone provides diversified input modes for you to enter letter information when editing SMS and adding phonebook. Use the * key to switch between different input methods. When editing the key controls: The Left soft key: Generally represents confirmation. The Right soft key: Press to clear one character, long press to clear all. The End/Power key: Return to the idle screen. ABC (abc) input method Each key is used to input several characters. Fast and repeatedly press key until your required character appears. When you need to input English punctuation and some special signs, press the numeric key to call out special sign input box in English input status Press the [0] key to input blank once. The Numeric input method To input numerical values, press the respective numeric keys. 34 6. Phone maintenance Mobile is a high-precision electronic products, please carefully maintained. The following suggestions can help you maintain phone, to extend the lifespan: - Phone and its accessories should be placed out of the reach of children. - Keep the device dry. Rain, humidity or moisture will corrode the circuit board. If the phone is accidentally flooded, shall promptly remove the battery, and immediately sent to a local authorized service center for processing. - Do not place your phone in dusty places, this may affect the normal use of mobile phones. - LCD display is easily damaged cell phone parts, mobile phone dropped onto the ground should be avoided or be strong vibration; prohibit the use of sharp objects to touch the screen. -Do not place the phone where the temperature is too high. High temperatures can shorten the life of electronic devices, damage batteries, and warp or melt plastic shell phone. - Do not place the phone where the temperature is too low. Otherwise, when the phone temperature to normal temperature, moisture will be generated internally, could damage the device electronic circuit boards. - Do not drop, knock or severe shaking the phone, so as not to damage the internal circuit boards and precision mobile structure. - Do not use chemicals, cleaning solvents or strong detergents to clean the device, apply a soft cloth soaked in soapy water and gently scrub.](https://usermanual.wiki/MobiWireS/MOBIPRINT2/User-Guide-1841761-Page-17.png)