Microsoft NEM4 N-Gage Bluetooth Enabled PCS Phone User Manual Part 2
Microsoft Mobile Oy N-Gage Bluetooth Enabled PCS Phone Part 2
UserManual.wiki
>
Microsoft
>
NEM4 User Manual
>
Part 2
Contents
1.
Part 1
2.
Part 2
Part 2
Navigation menu
Upload a User Manual
Namespaces
Wiki Guide
HTML
PDF
Info
Views
User Manual
Discussion / Help
Navigation
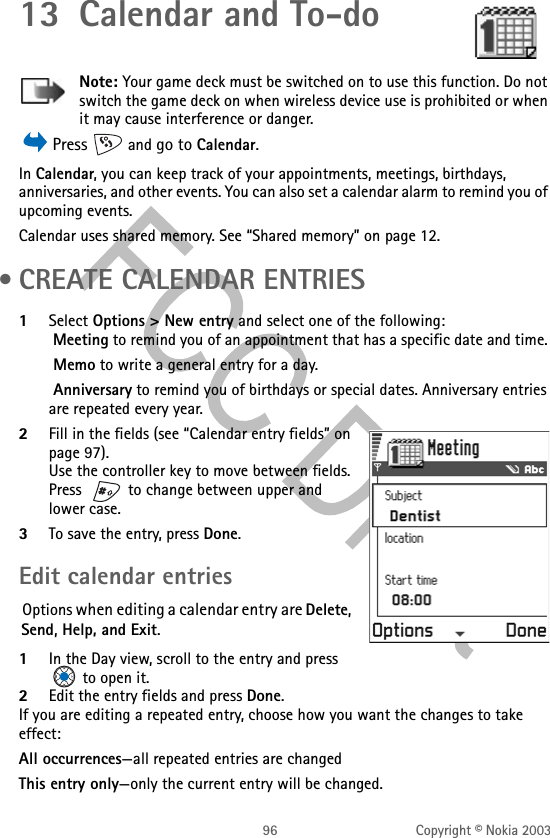

![138 Copyright © Nokia 2003 • EMERGENCY CALLSImportant: This phone, like any wireless phone, operates using radio signals, wireless, and landline networks as well as user-programed functions. Because of this, connections in all conditions cannot be guaranteed. Therefore you should never rely solely upon any wireless phone for essential communications (for example, medical emergencies).Emergency calls may not be possible on all wireless phone networks or when certain network services and/or phone features are in use. Check with local service providers.To make an emergency call:1If the phone is not on, switch it on. Check for adequate signal strength.PHONES WITH SIM CARDsSome networks may require that a valid SIM card is properly inserted in the phone.2Press [handset down] as many times as needed (for example, to exit a call, to exit a menu, etc.) to clear the display and ready the phone for calls. 3Key in the emergency number for your present location (for example, 911 or other official emergency number). Emergency numbers vary by location.4Press the [handset up] /[send] key.If certain features are in use, you may first need to turn those features off before you can make an emergency call. Consult this user guide and your local cellular service provider.When making an emergency call, remember to give all the necessary information as accurately as possible. Remember that your wireless phone may be the only means of communication at the scene of an accident—do not end the call until given permission to do so.](https://usermanual.wiki/Microsoft/NEM4.Part-2/User-Guide-330829-Page-57.png)