Long Range Solutions TX7400A Short range paging system transmitter User Manual Layout 1
Long Range Systems, LLC Short range paging system transmitter Layout 1
UserManual.wiki
>
Long Range Solutions
>
TX7400A User Manual
Users Manual
Navigation menu
Upload a User Manual
Namespaces
Wiki Guide
HTML
PDF
Info
Views
User Manual
Discussion / Help
Navigation


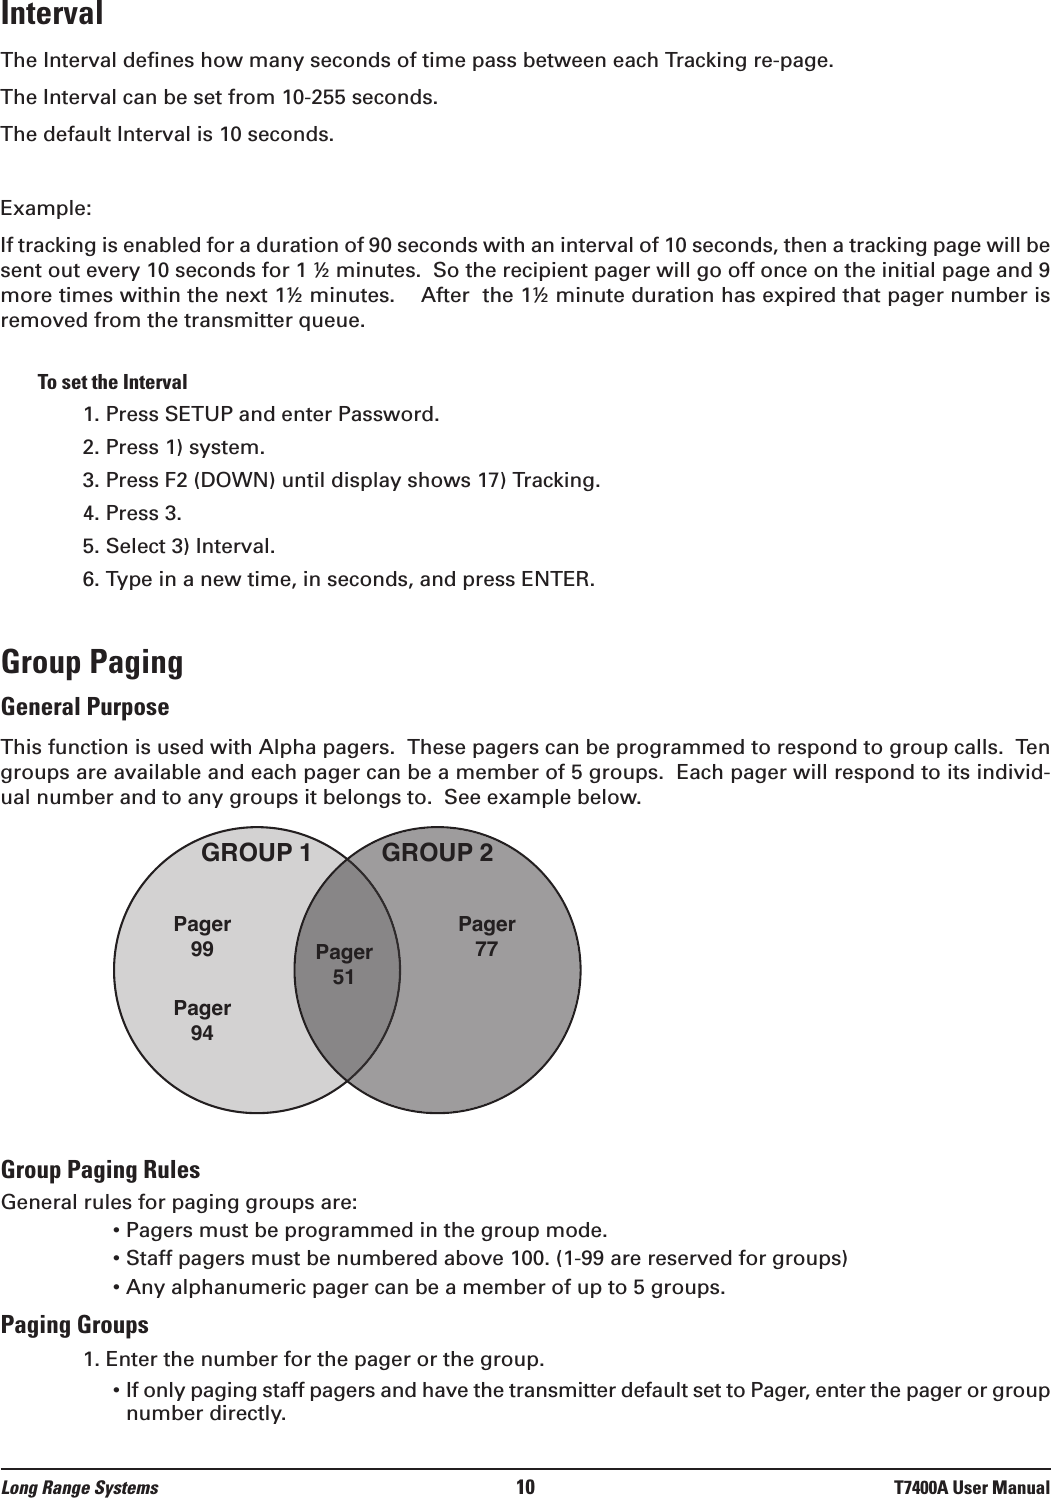
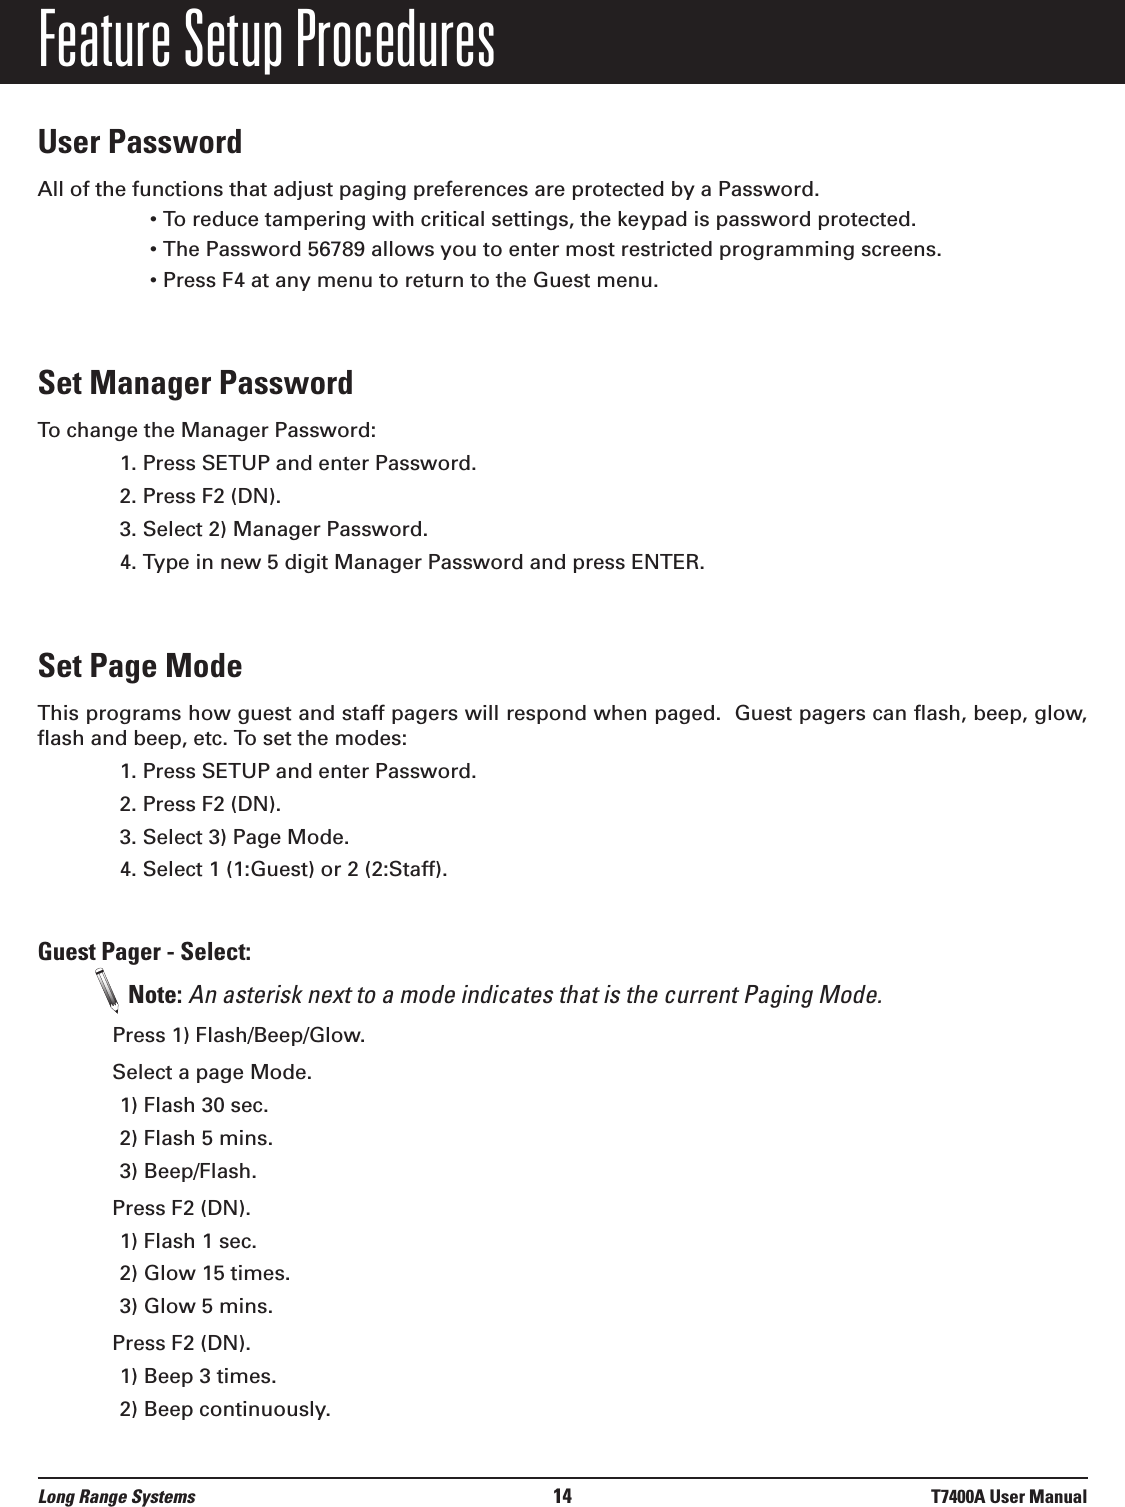
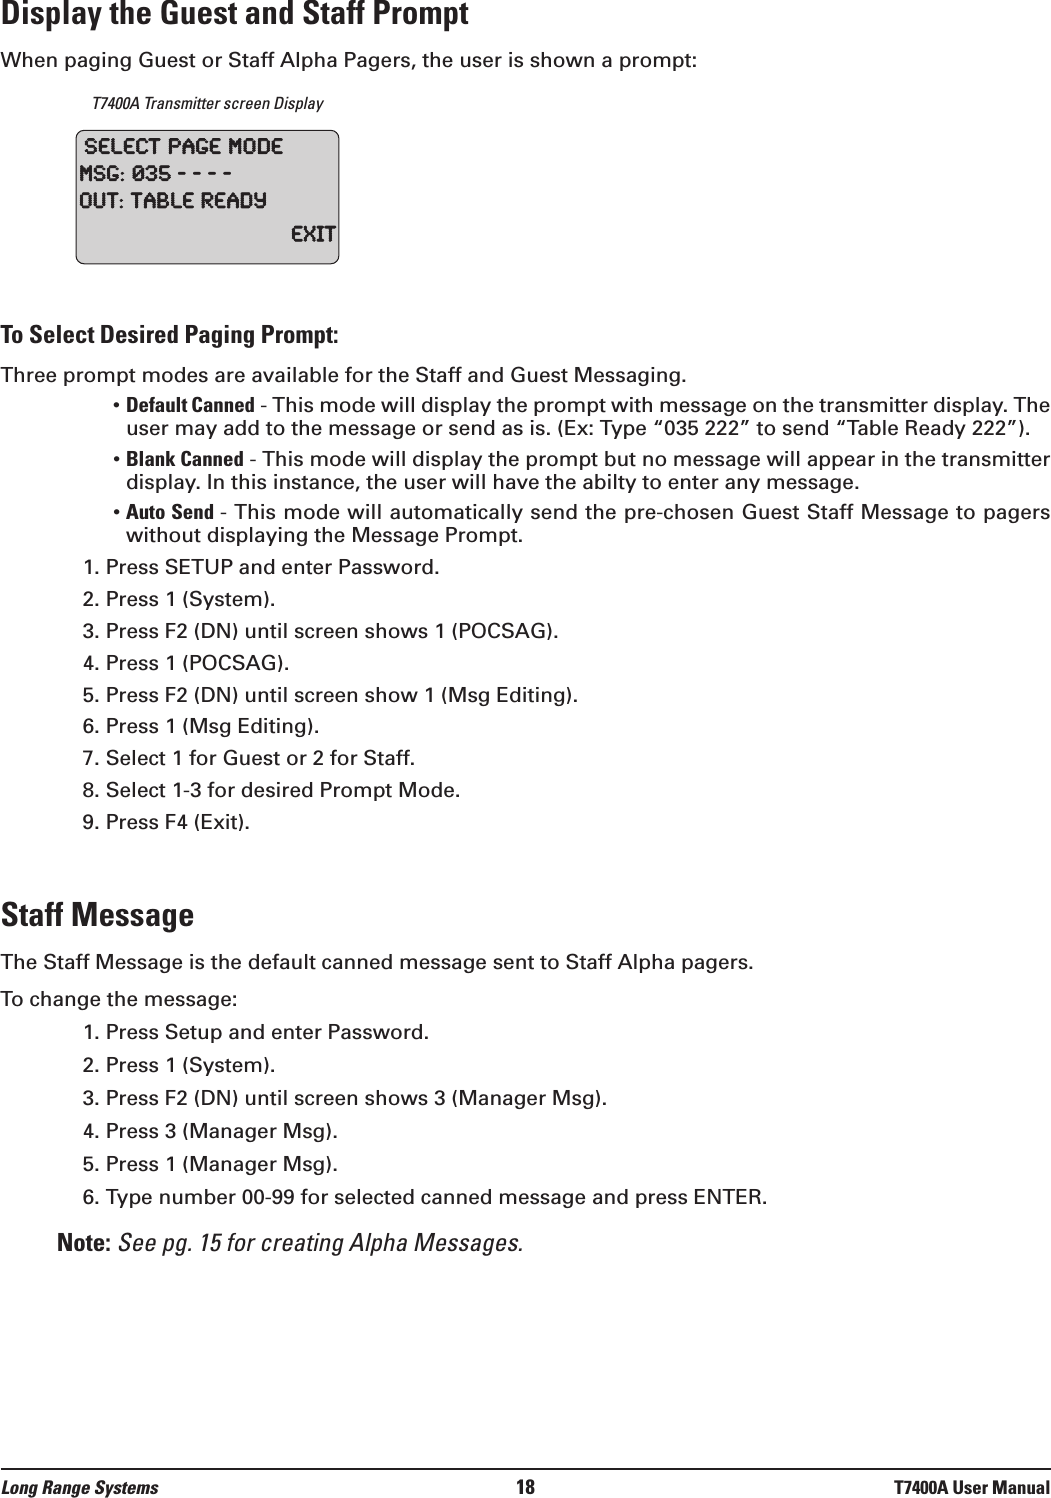
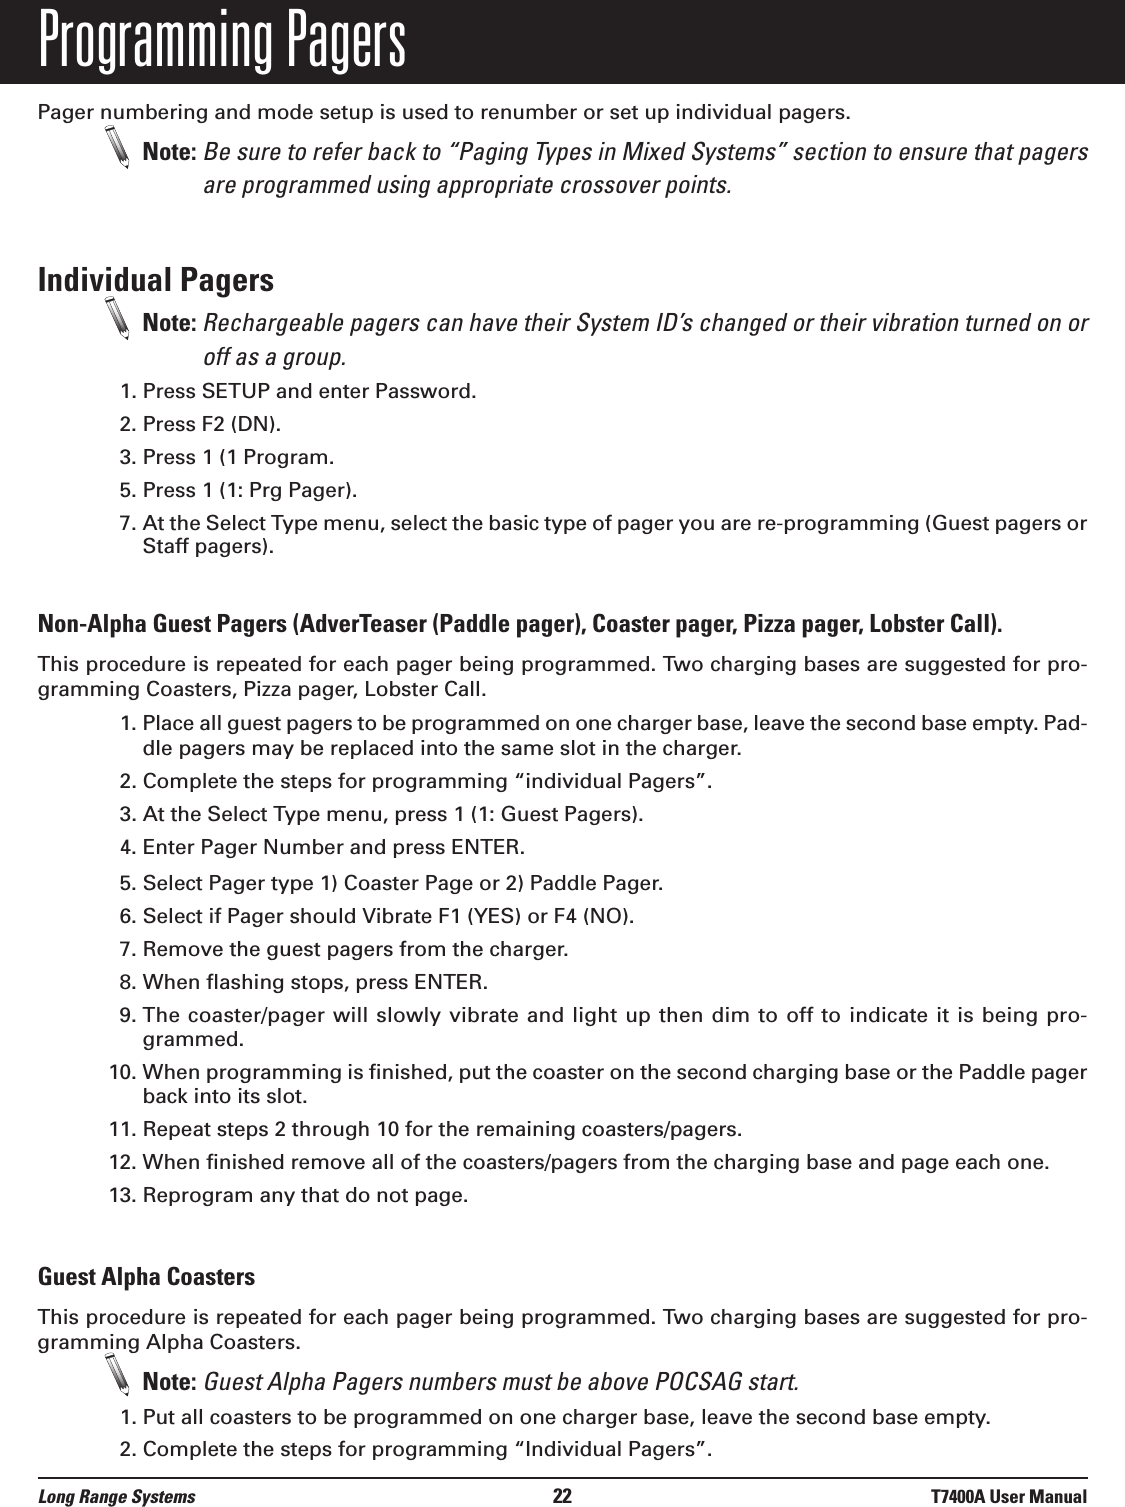
![3. At the Select Type menu, press 1 (1: Guest Pagers).4. Enter Pager Number and press ENTER.5. Remove the coaster from the charger.6. When flashing stops, press ENTER.7. The pager will beep four times to indicate it is being programmed and the screen will display: Example: System ID = 0, Pager ID Number = 99, All Page = 911• [0]123 prg Single• [0]911 prg All Page• [0]0 prg System8. Repeat steps 2 through 7 for the remaining coasters.9. When finished, remove all of the coasters from the charging base and page each one.10. Reprogram any that do not page.Staff Pagers (Star Type)This procedure is repeated for each pager being programmed. Pagers may be replaced into the same slot inthe charger.1. Place all Pagers to be programmed in the charger.2. Complete the steps for programming “individual Pagers”.3. At the Select Type menu, press 2 (2: Staff).4. At Enter ID --- enter the number you wish to assign to the Pager and press ENTER.5. Select if Pager should Vibrate F1 (YES) or F4 (NO).6. Remove the Pager from the Charger. 7. When the Flashing Stops, press ENTER.8. The Pager will slowly Brighten and Dim to Off to indicate it is being Programmed.9. When Programming is finished, return the Pager to its Charging Base.10. Repeat Steps 1 through 9 for the remaining Pagers.11. When finished, remove all of the Pagers from the Charging Base and Page each one.12. Reprogram any that Do Not Page.Staff Pagers (Rechargeable Alpha Pagers)This procedure is repeated for each pager being programmed.Note: Staff Alpha Pagers numbers must be above POCSAG start.1. Place pagers in charger.2. Complete the Steps for Programming “Individual Pagers”.3. At the Select Type menu, press 2 (2: Staff). 4. At Enter ID --- enter the number you wish to assign to the Pager. 5. Remove the Pager from the charger.6. At the screen display “Reset Pager. When Pager Stop...” press ENTER.7. The pager will Vibrate and/or Beep.8. When the Vibration/Beeping Stops, press ENTER again.9. The Pager will beep three times to indicate it is being programmed and the screen will display: Example: System ID = 0, Pager ID Number = 99, All Page = 911• Prg C1: [0]99• Prg C2: [0]911Long Range Systems 23 T7400A User Manual](https://usermanual.wiki/Long-Range-Solutions/TX7400A/User-Guide-2254637-Page-24.png)
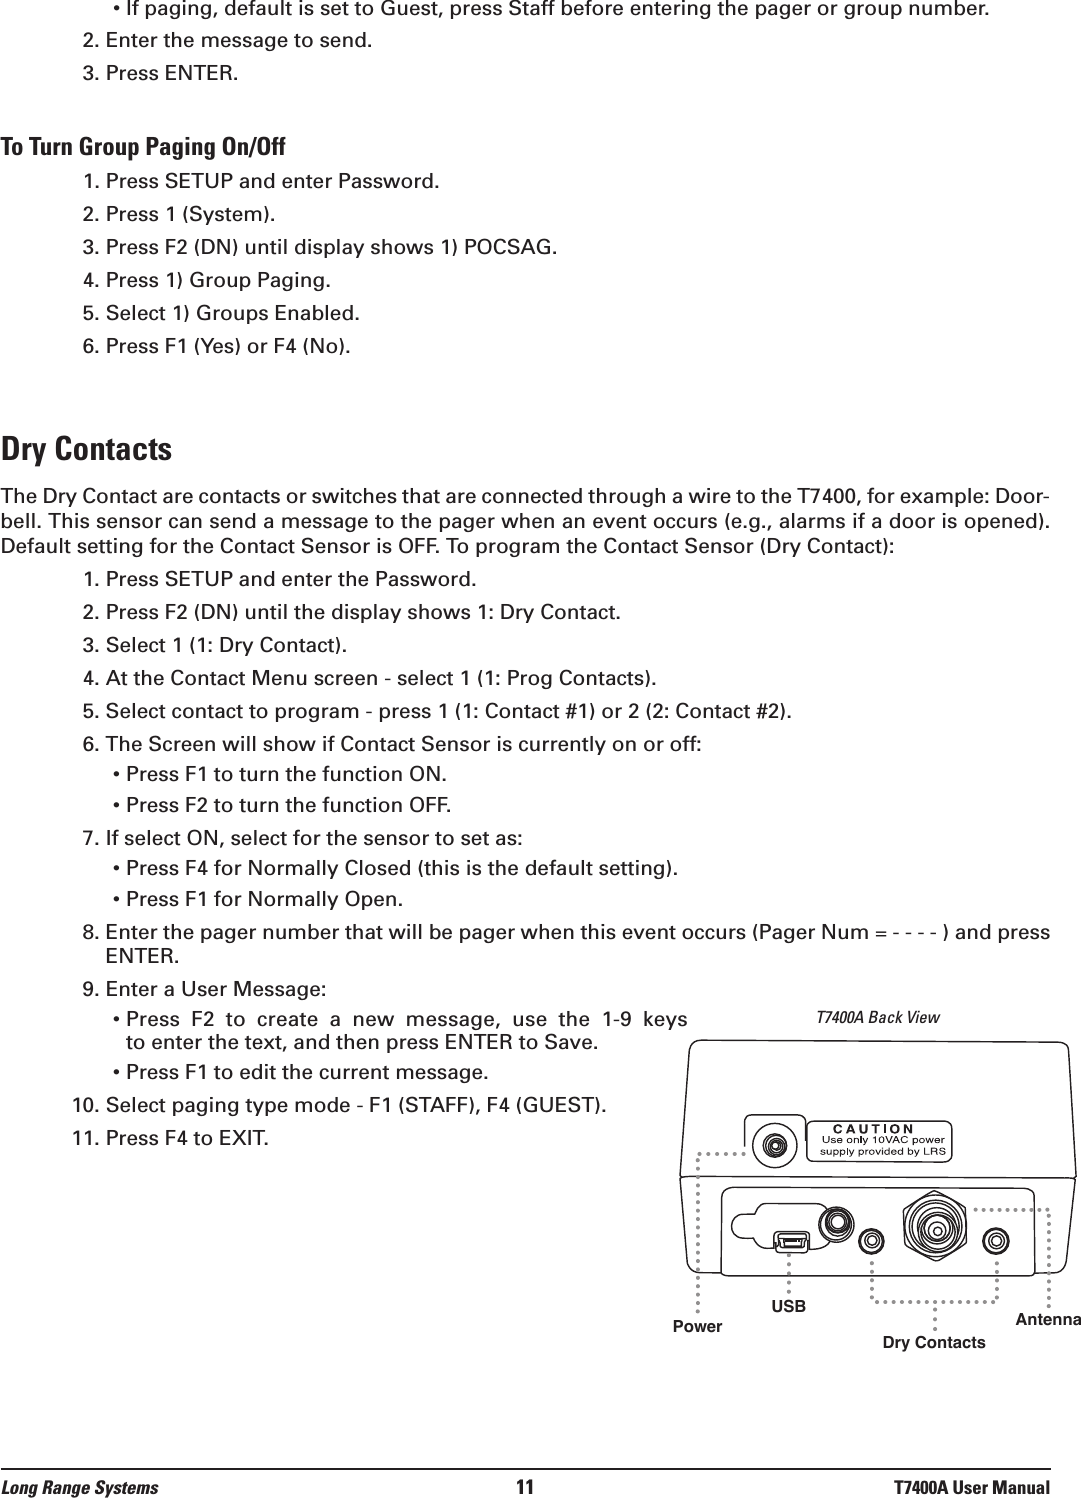
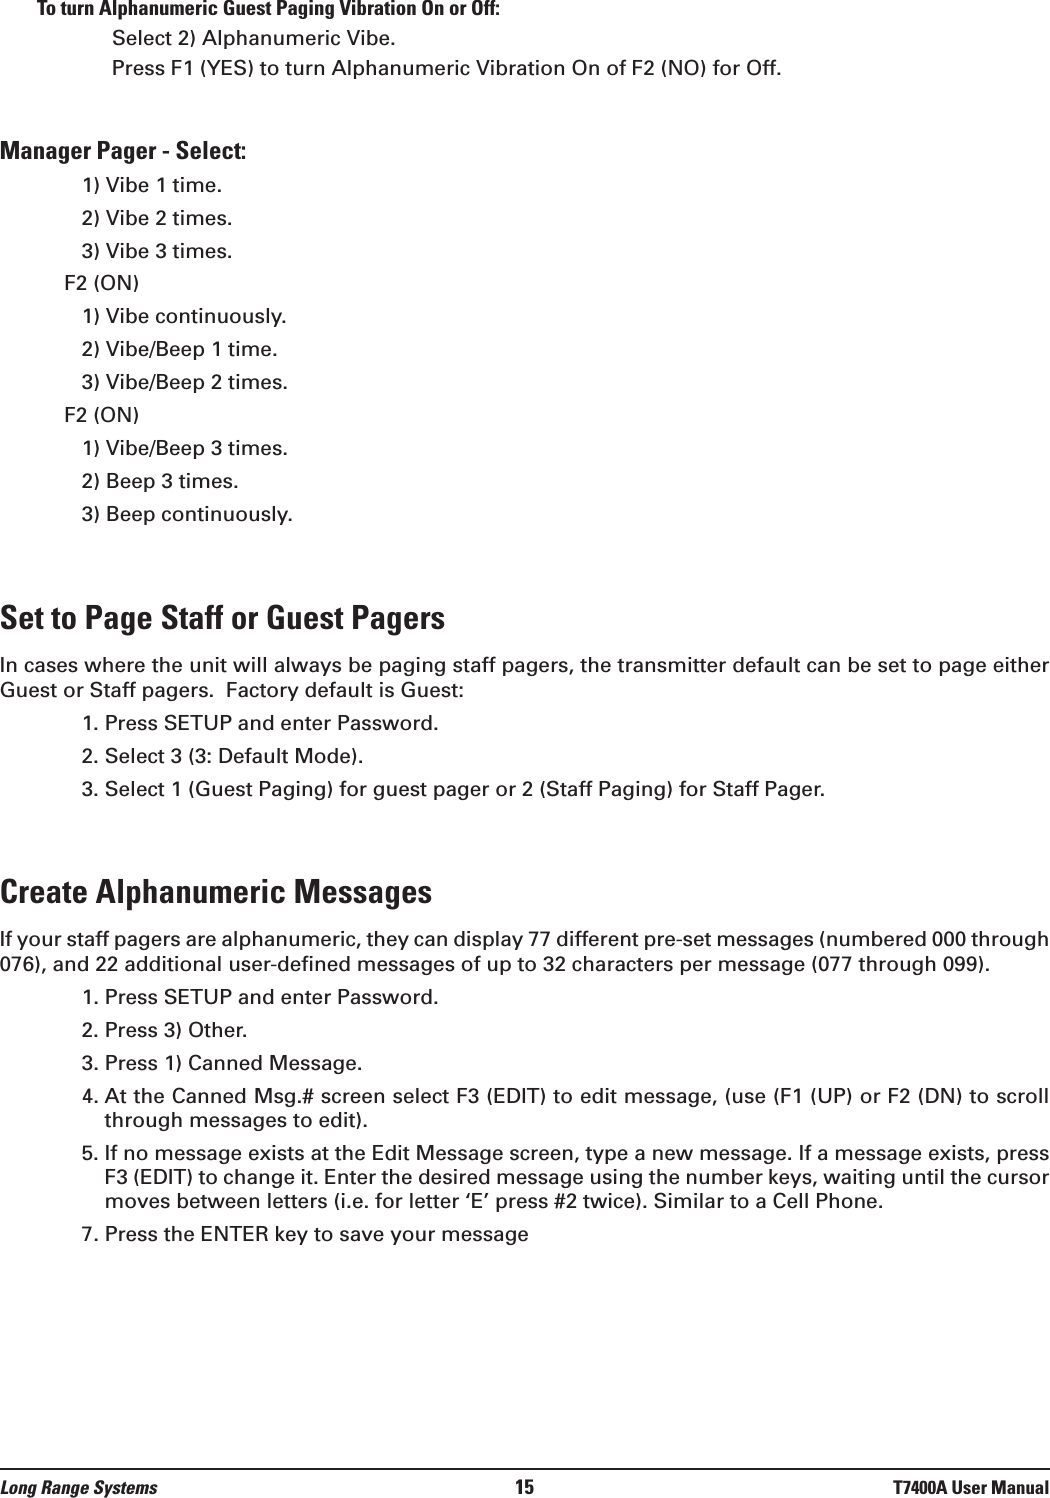
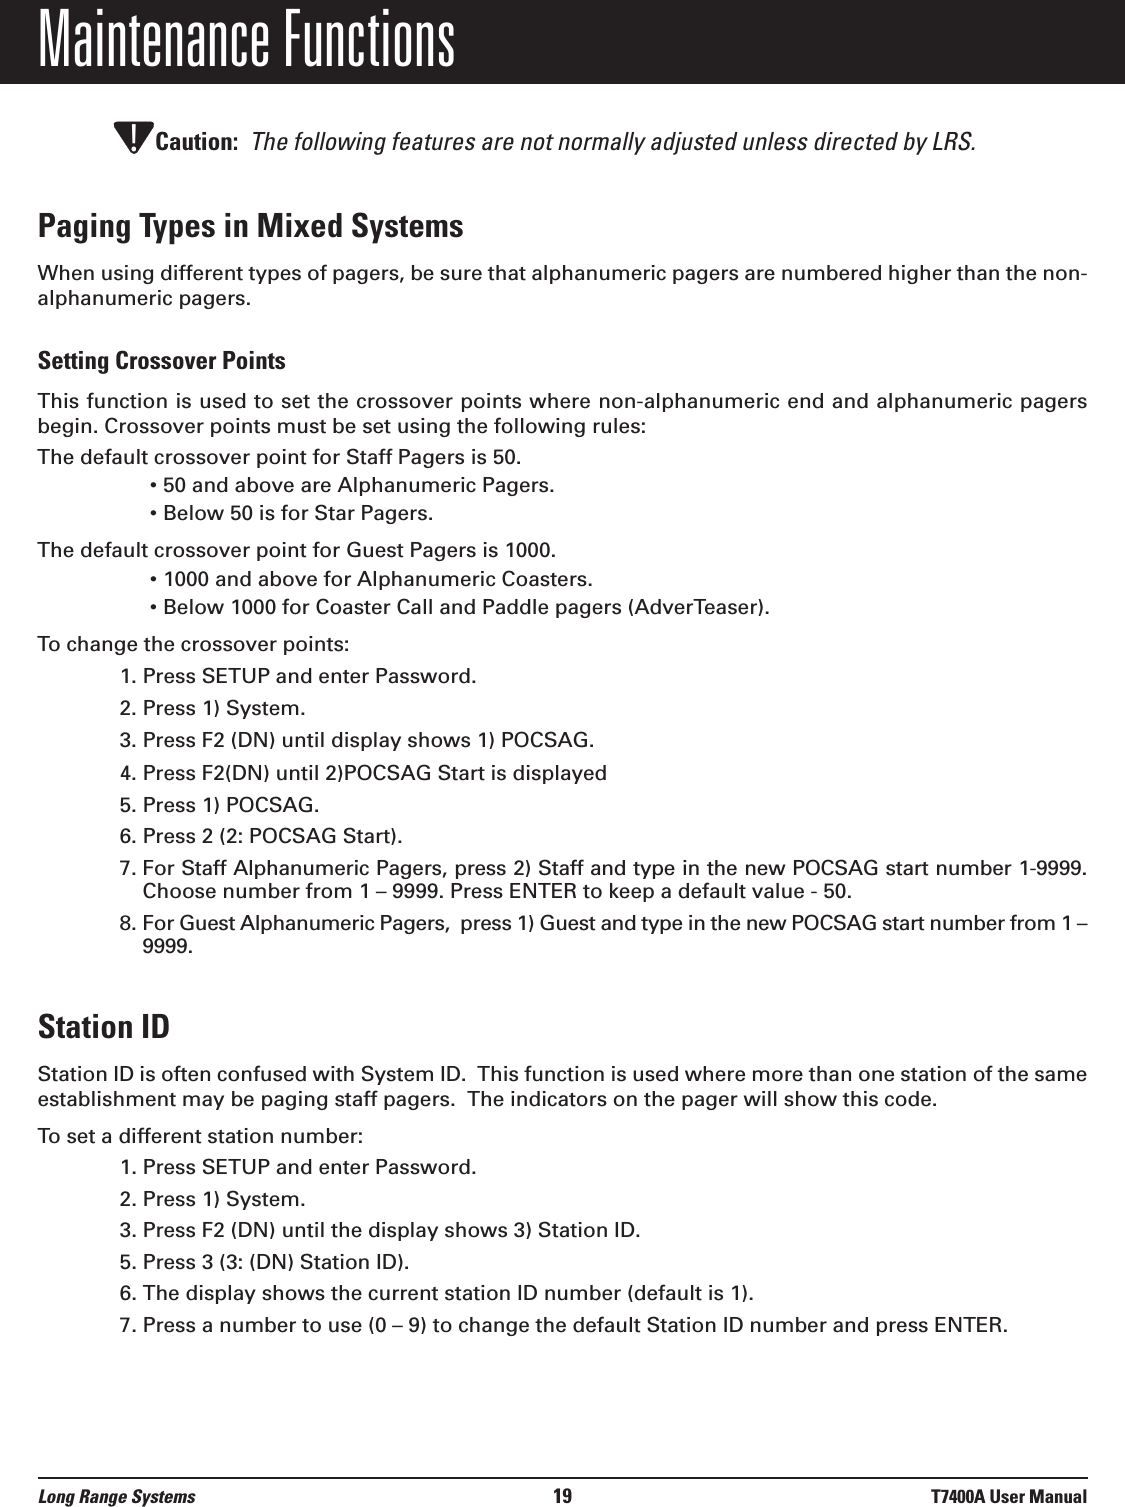
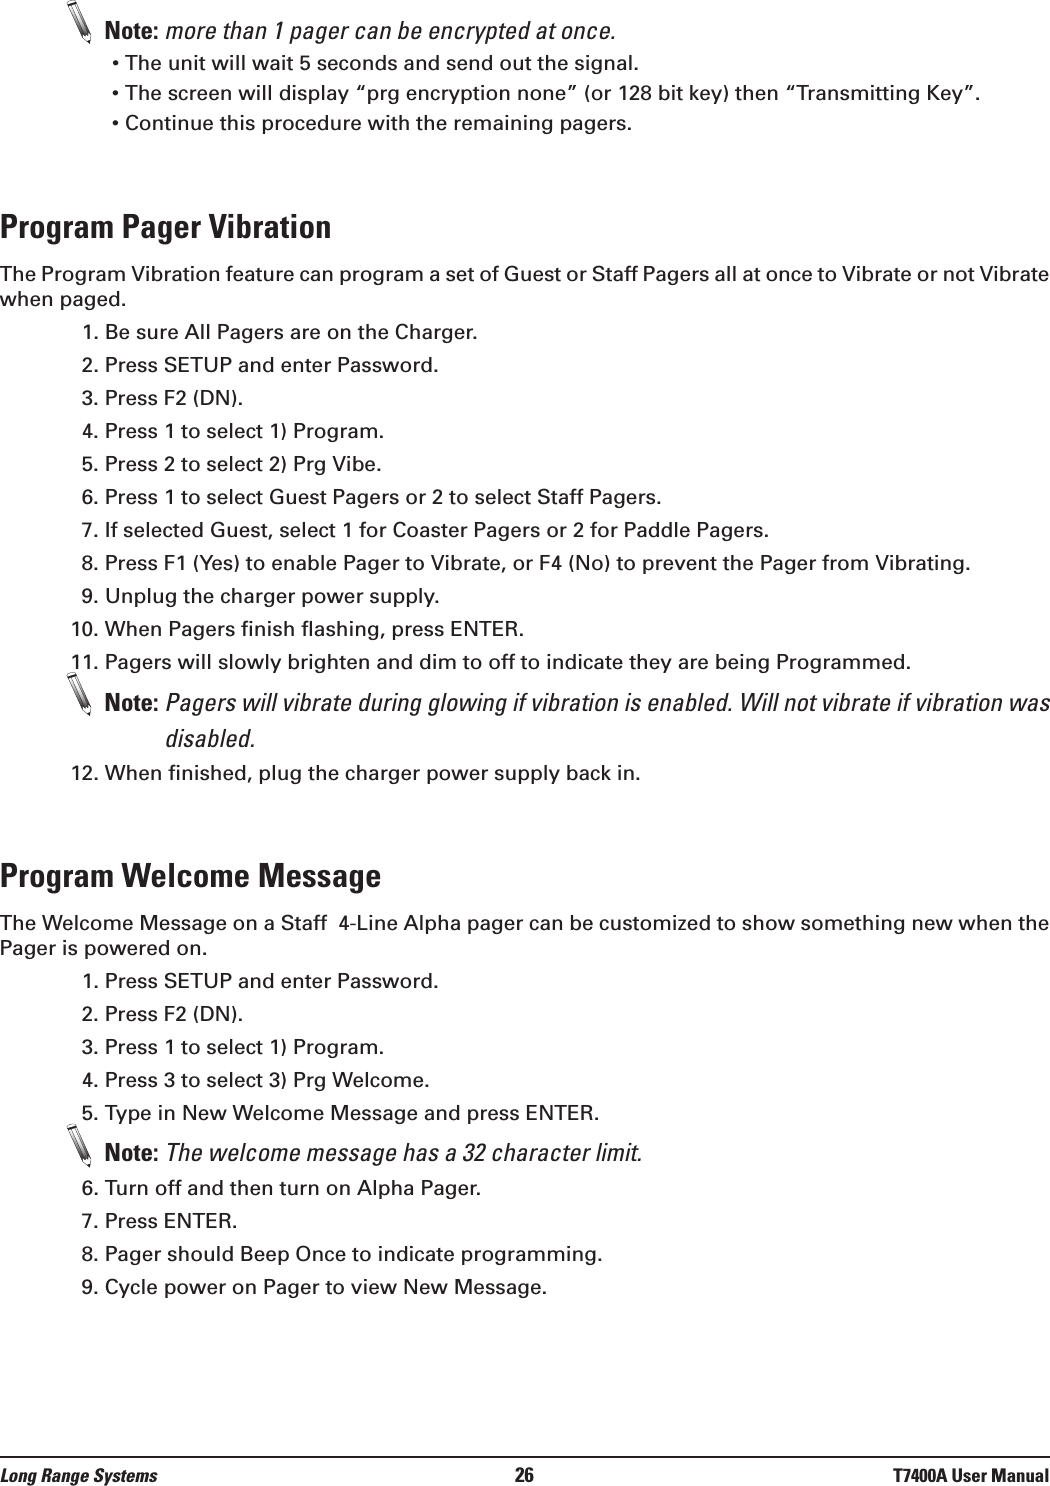
![• Prg C3: [0]010. Return the Pager to the Charger when Programming is complete.11. Repeat Steps 2 through 10 for the remaining Pagers.12. When finished, remove Pagers from the Charger and Page each one. 13. Reprogram any Pagers that Do Not Page.Staff Pagers (Battery Operated Alpha Pagers)This procedure is repeated for each pager being programmed.Note: Staff Alpha Pagers numbers must be above POCSAG start.1. Turn all of the Pagers Off (or remove batteries).2. Complete the steps for Programming “individual Pagers”.3. At the Select Type menu, press 2 (2: Staff).4. At Enter ID --- enter the number you wish to assign to the Pager. 5. Turn the Pager Off and then On (or reinstall the battery).6. At screen display “Reset Pagers. When Pagers Stop…” press ENTER.7. It will Vibrate and/or Beep.8. When the Vibration/Beeping Stops, press ENTER again.9. The Pager will beep three times to indicate it is being Programmed and the screen will display: Example: System ID = 0, Pager ID Number = 99, All Page = 911• Prg Single [0]99• Prg All Page [0]911• Prg System [0]010. Repeat Steps 2 through 9 for the remaining Pagers.11. When you're finished programming, send a test page to each pager.12. Repeat the programming procedure for any pagers that do not page.Program Pager GroupsGroup Paging must be enabled.Note: Only LRS pagers can be assigned groups and be programmed from the transmitter.1. Turn all Pagers Off (or remove batteries) or Place unit in Charger.2. Complete the steps for individual Pagers.3. At select type menu, press (2: Staff).4. At enter ID, enter the number you wish to assign to the Pager. 5. At enter Groups, enter the Group Numbers you which to assign the Pager to and press ENTER. 6. Turn Pager or Remove pager from charger.7. At screen displays “Reset Pagers. When Pagers Stop…” press ENTER.8. The Pager will beep three times and additional beeps for each Group Number and Group Nameassigned.Example: System ID = 0, Pager ID Number = 99, All Page = 911, Group = 1, 2[Group numbers will display across the screen as you enter them]• Prg Single [0]99Long Range Systems 24 T7400A User Manual](https://usermanual.wiki/Long-Range-Solutions/TX7400A/User-Guide-2254637-Page-25.png)
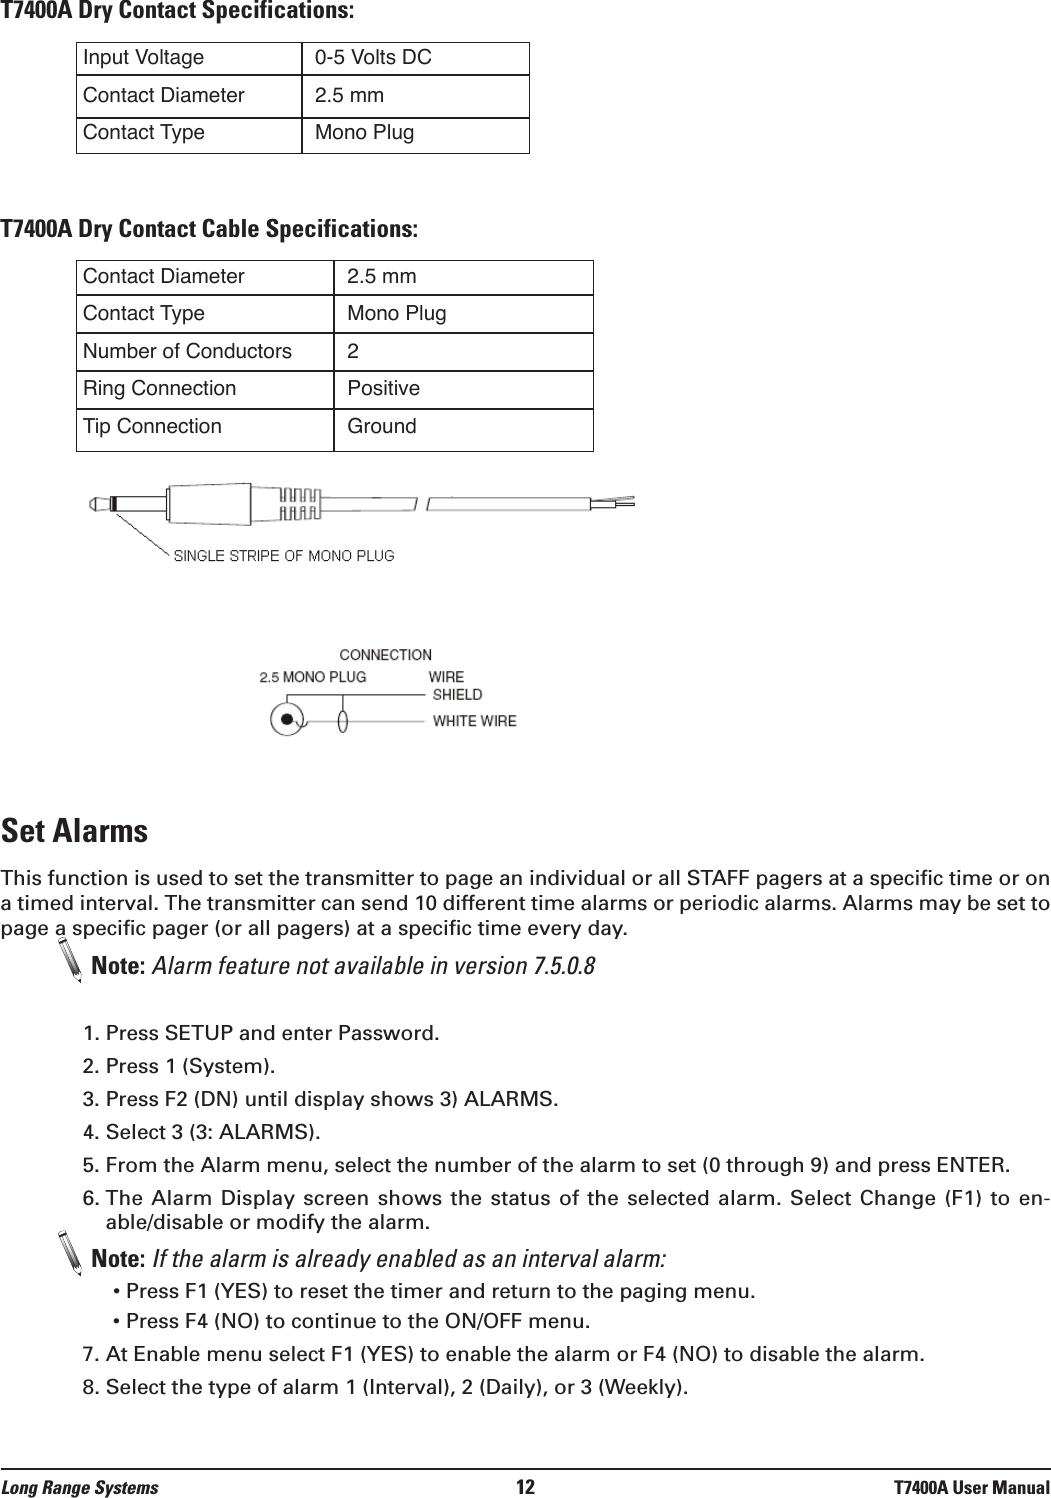
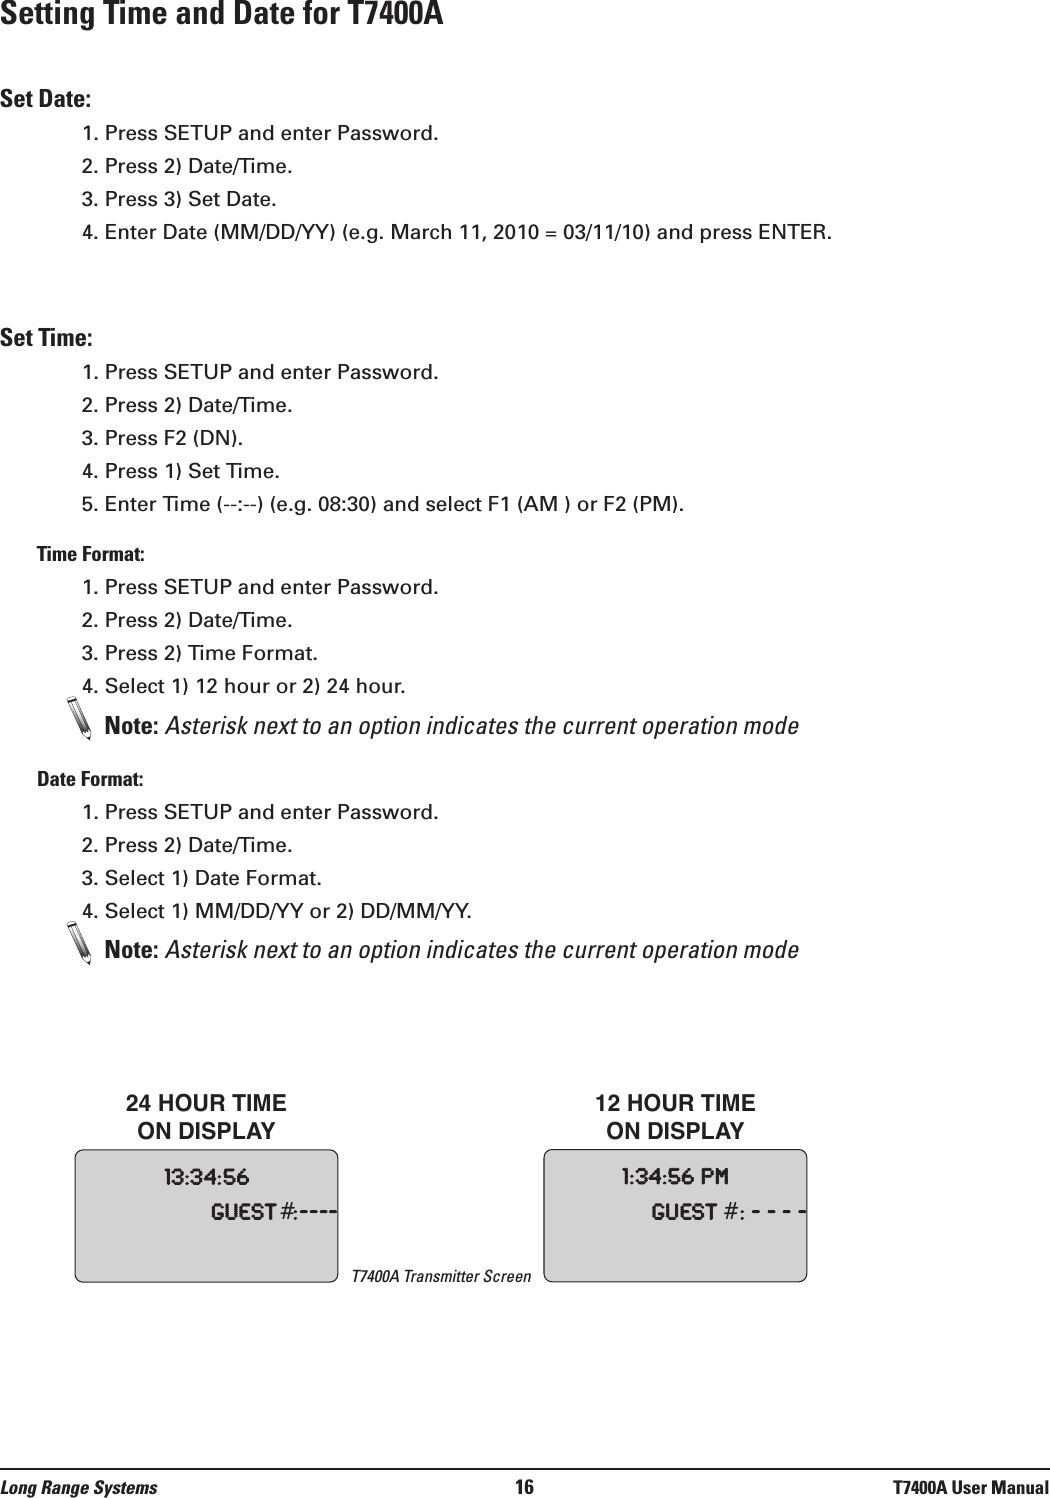
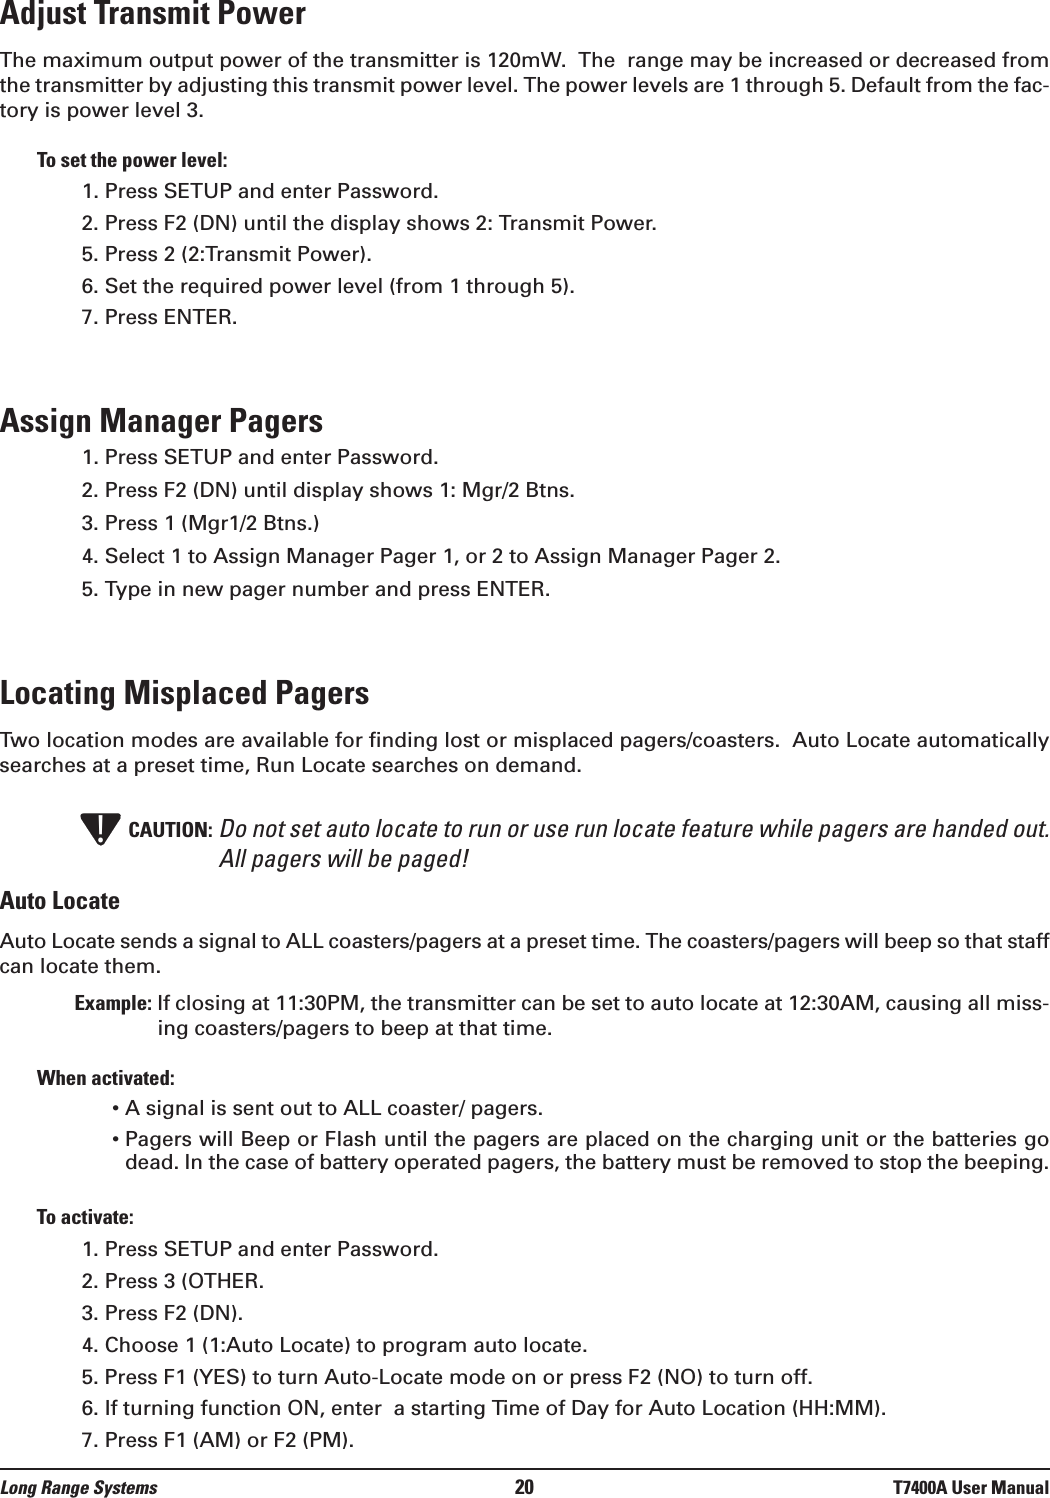
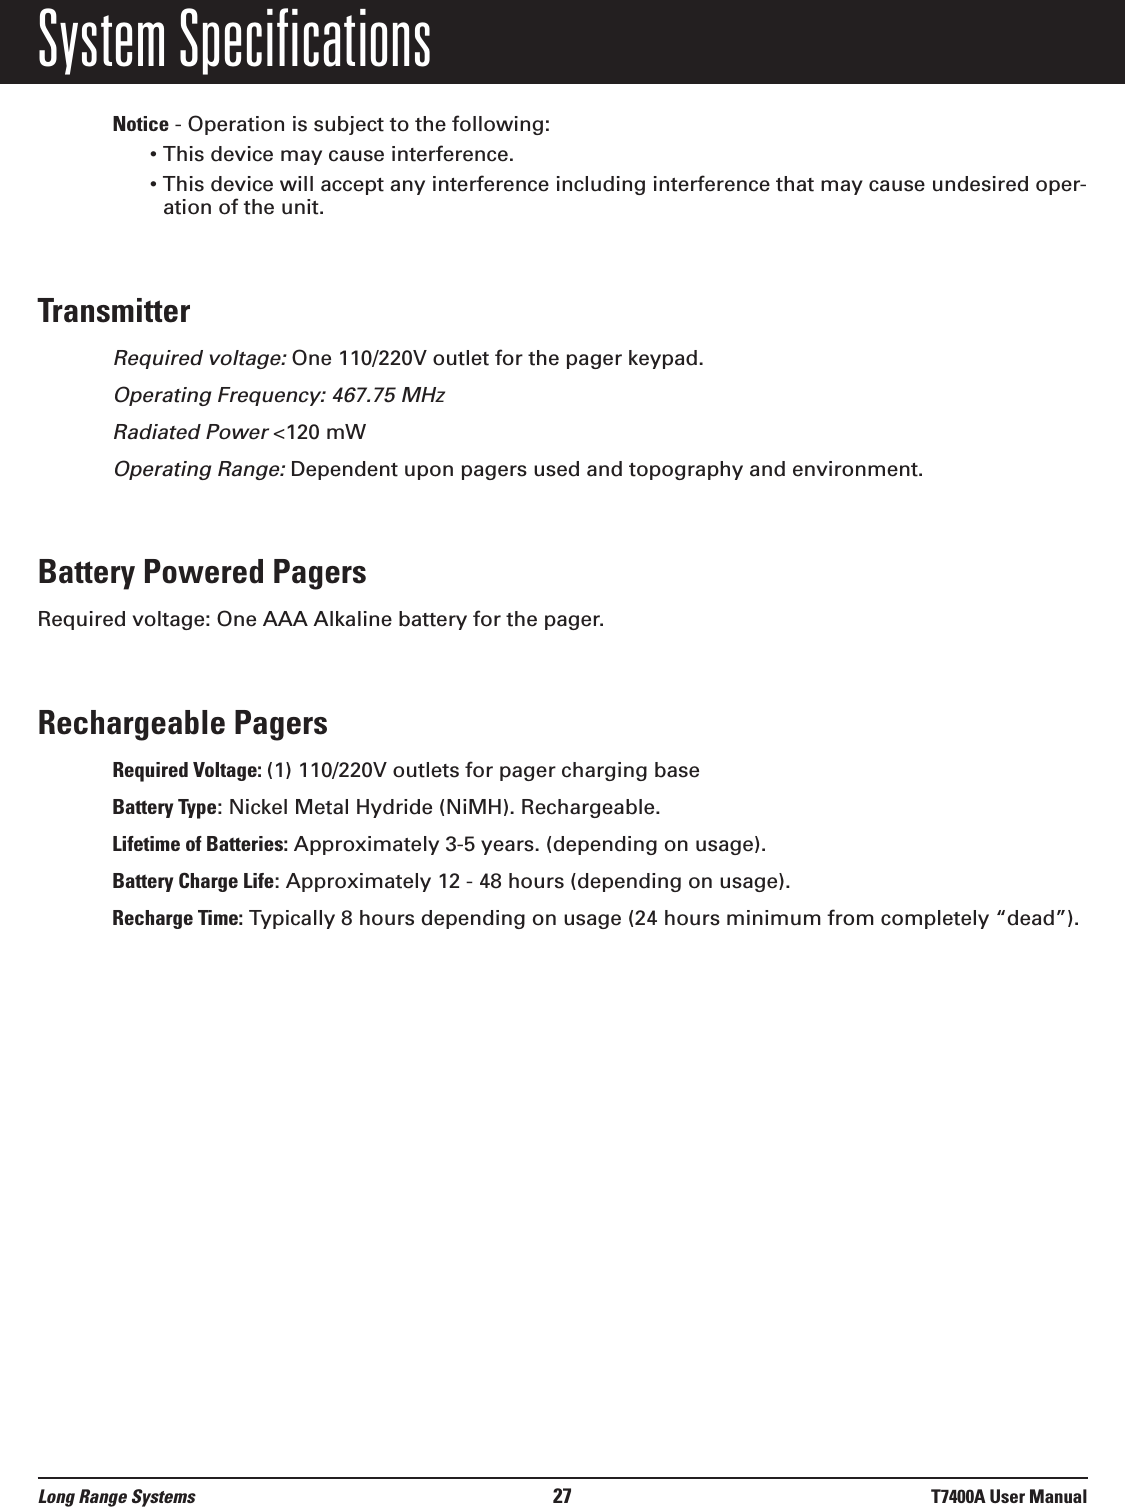
![• Prg All Page [0]911• Prg System [0]0• Group [1] 1• Group [2] 29. Return the Pager to the Charger when done (If rechargeable).10. Repeat steps 2 through 8 for the remaining Pagers.11. When finished, remove Pagers from the Charger and Page each one.12. Reprogram any Pagers that Do Not Page.Alpha Encryption• Only LRS Alpha pagers can be encrypted and be programmed from the transmitter• Encryption does not change the pager numbering1. Press Setup.2. Enter Access Code.3. Press the F2 (DN) until the display shows 2: Encryption.4. Press 2 (2: Encryption).5. Select:1 (1: On/Set) to enable encryption and set new encryption key• Enter 16 double digits (Note: all ff will disable the key)(Example: 11:12:13:44:11:11:11:11:11:11:11:11:11:11:11:11)• Press ENTER when finished with each line.• Follow instructions on display.• Turn the pager off then on. • When it stops vibrating, press ENTER (note more than 1 pager can be encrypted at once).• Screen will display “Transmitting Key”. • Pager will beep once and display “Pgr Encryption 128-bit”.2 (2: Off) to disable encryption• The display shows “Transmit Key Now?” press the F1 (YES) key to send or F4 (NO).• Follow instructions on display. • Turn the pager off then on . • When it stops vibrating, press ENTER.• Screen will display “Transmitting Key”.• Pager will beep once and display “Pgr Encryption None”.3 (3: Transmit Key) to send the current encryption key to pagers.• Follow instructions on display. • Turn the pager off then on. • When it stops vibrating, press ENTER. 1:On/Set2:Off3.TransmitKeyLong Range Systems 25 T7400A User Manual](https://usermanual.wiki/Long-Range-Solutions/TX7400A/User-Guide-2254637-Page-26.png)
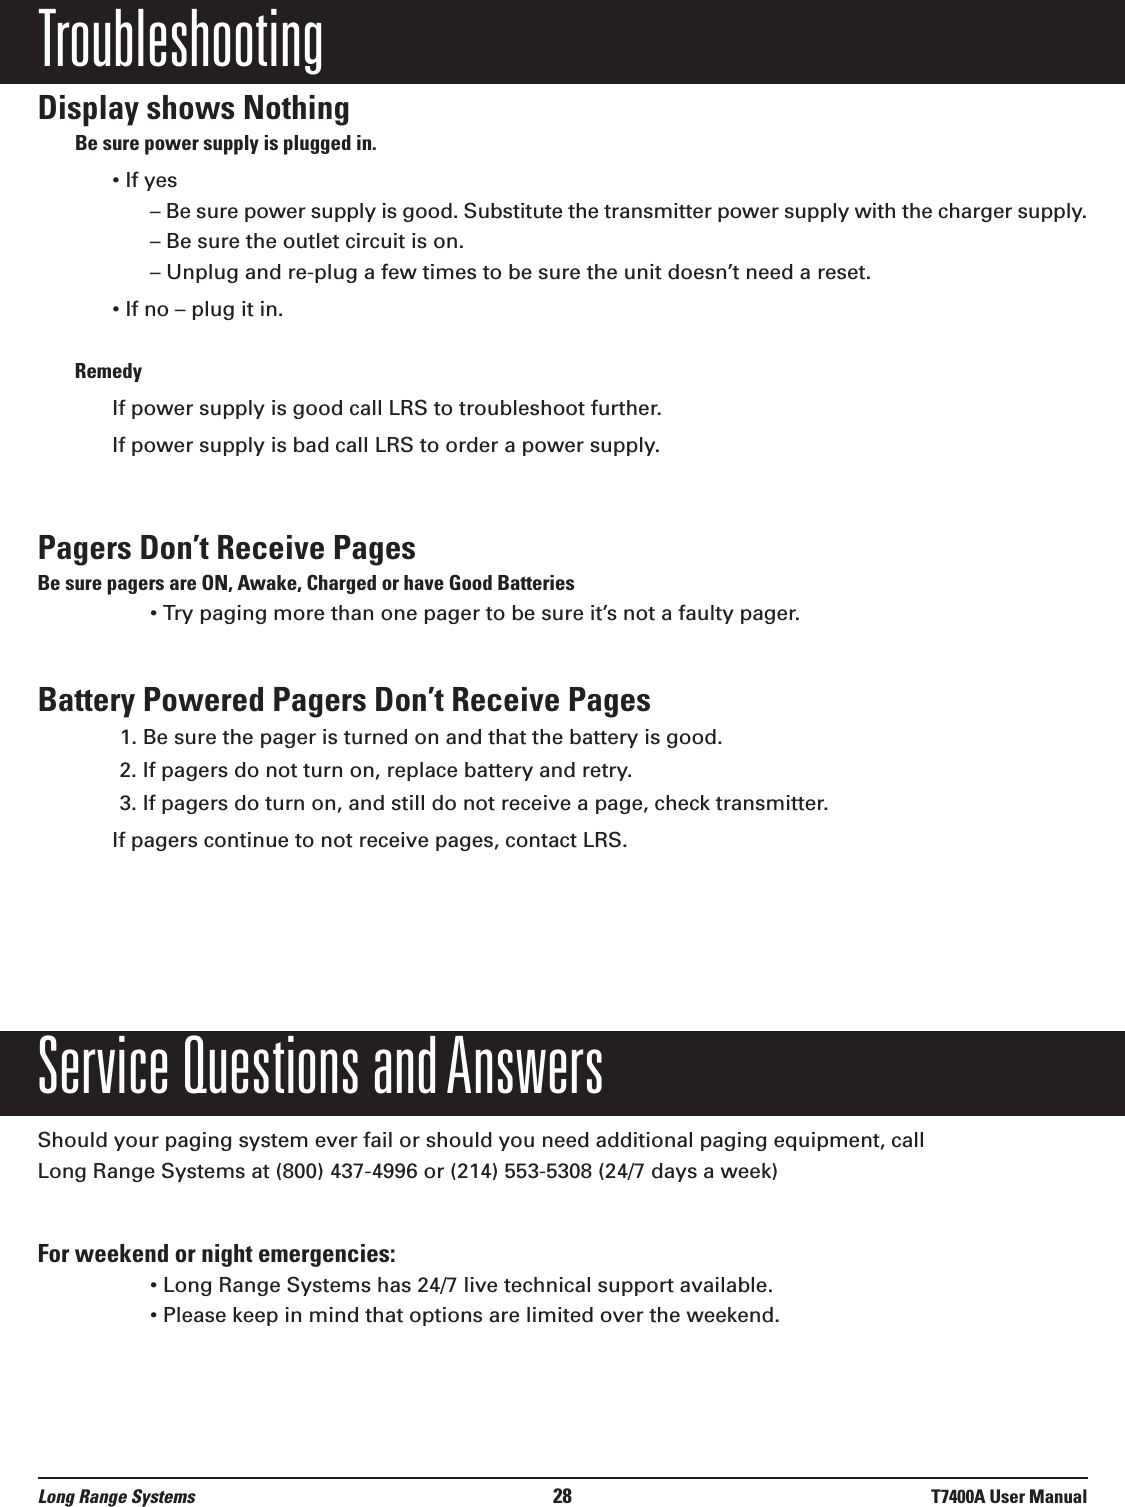
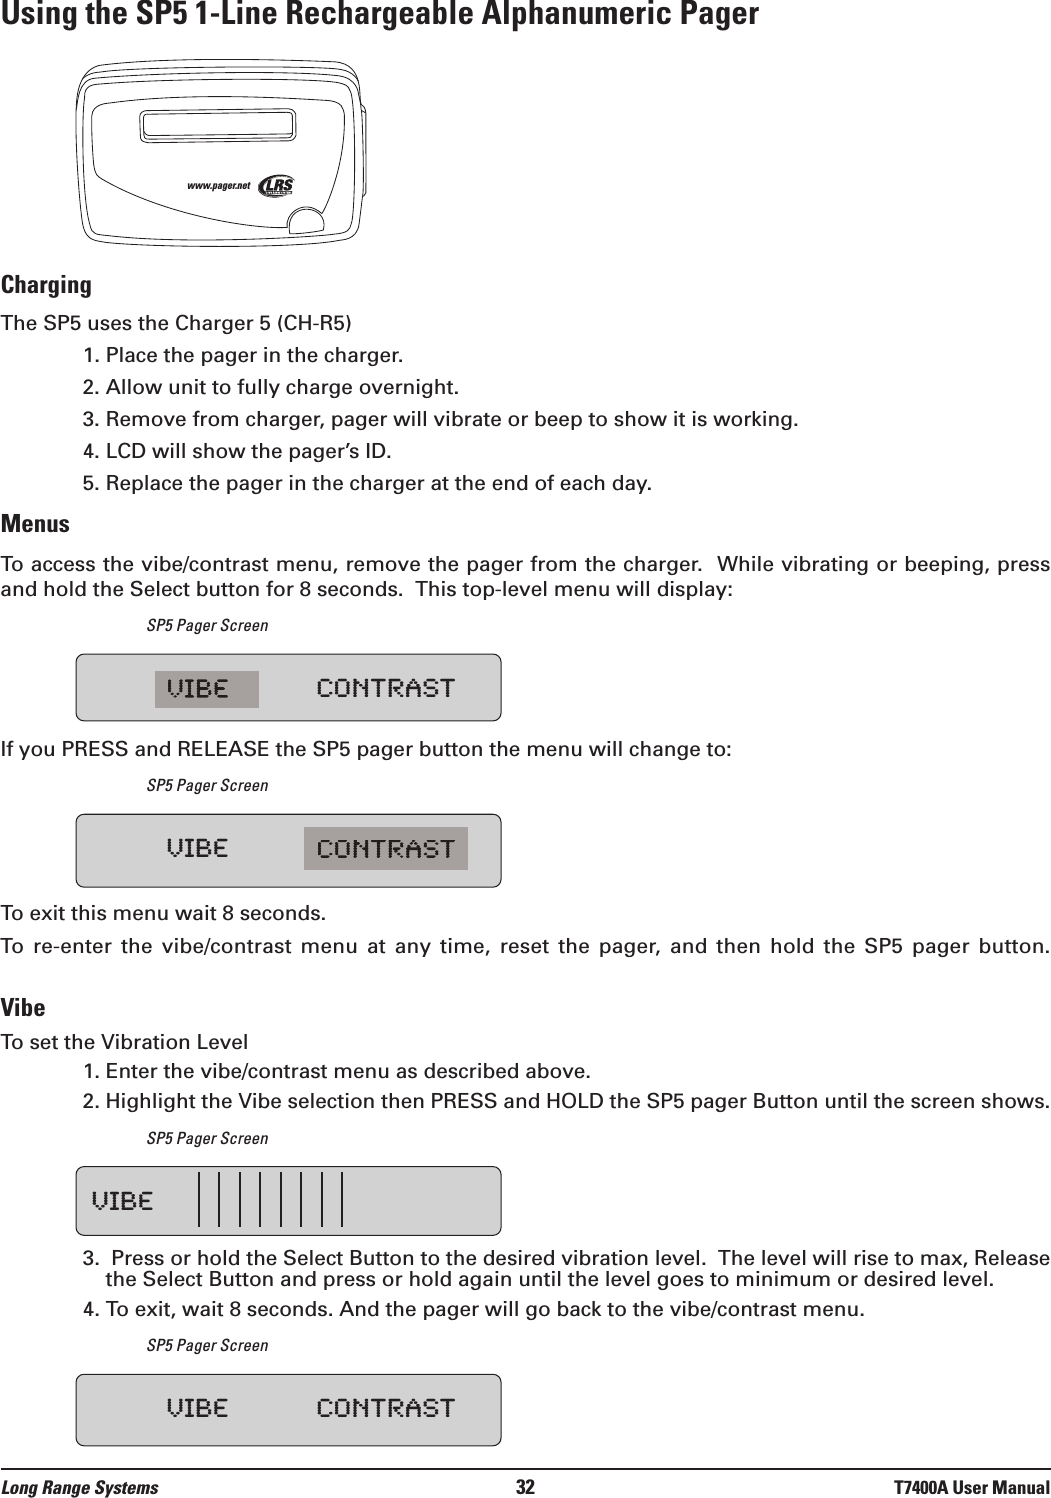
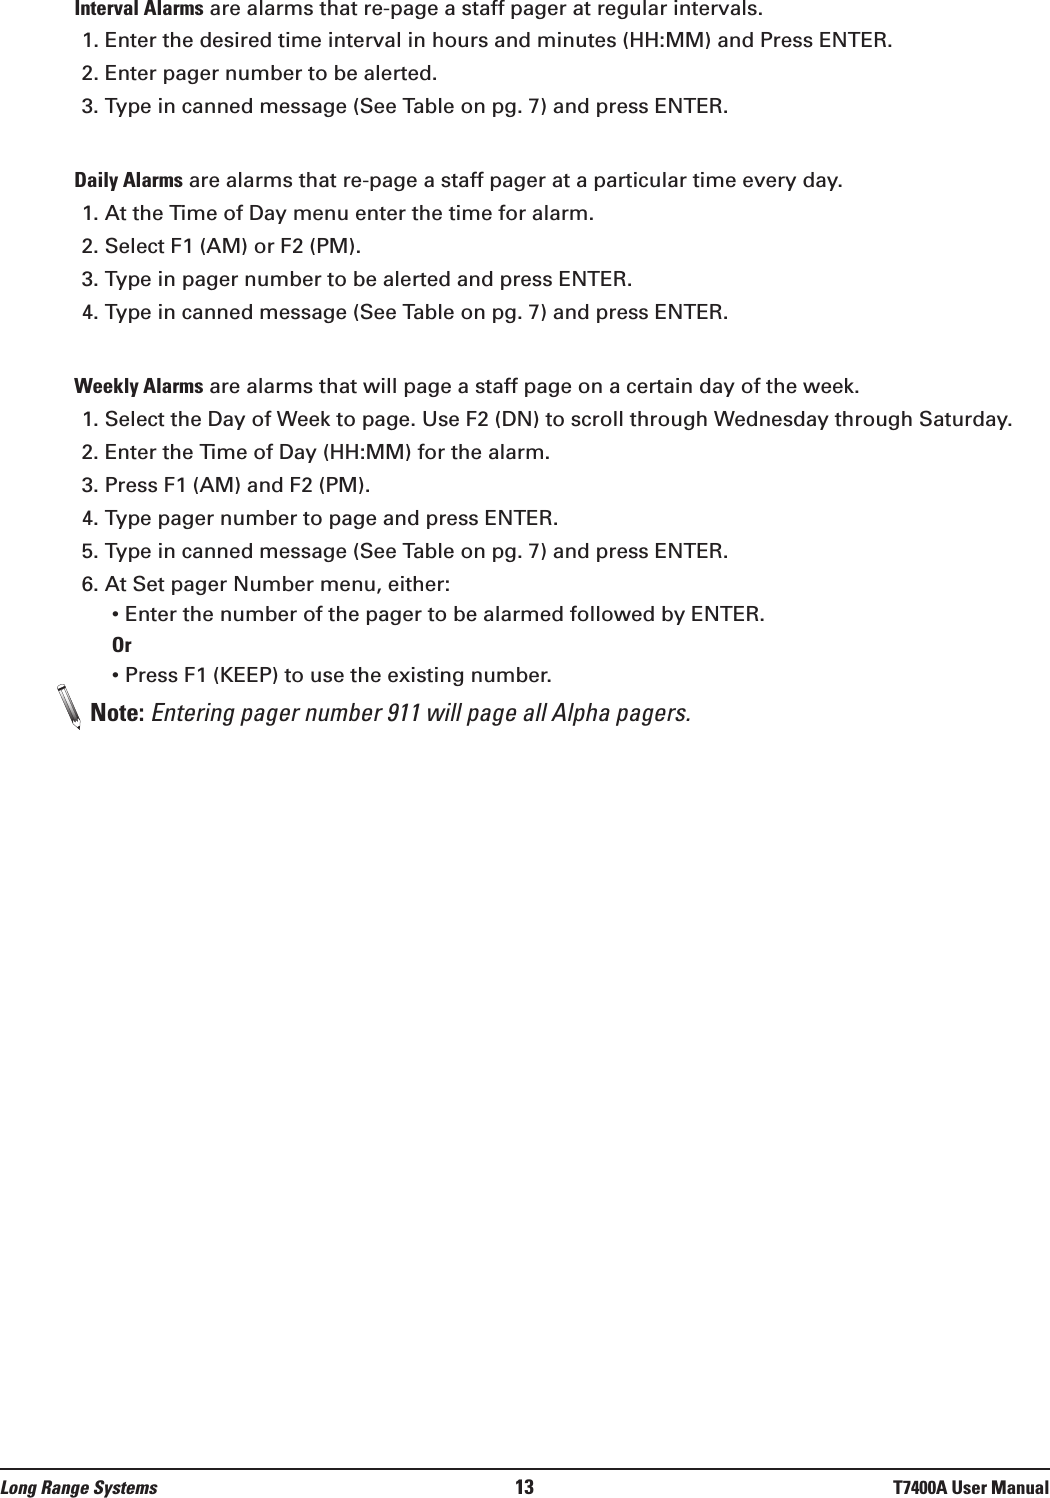
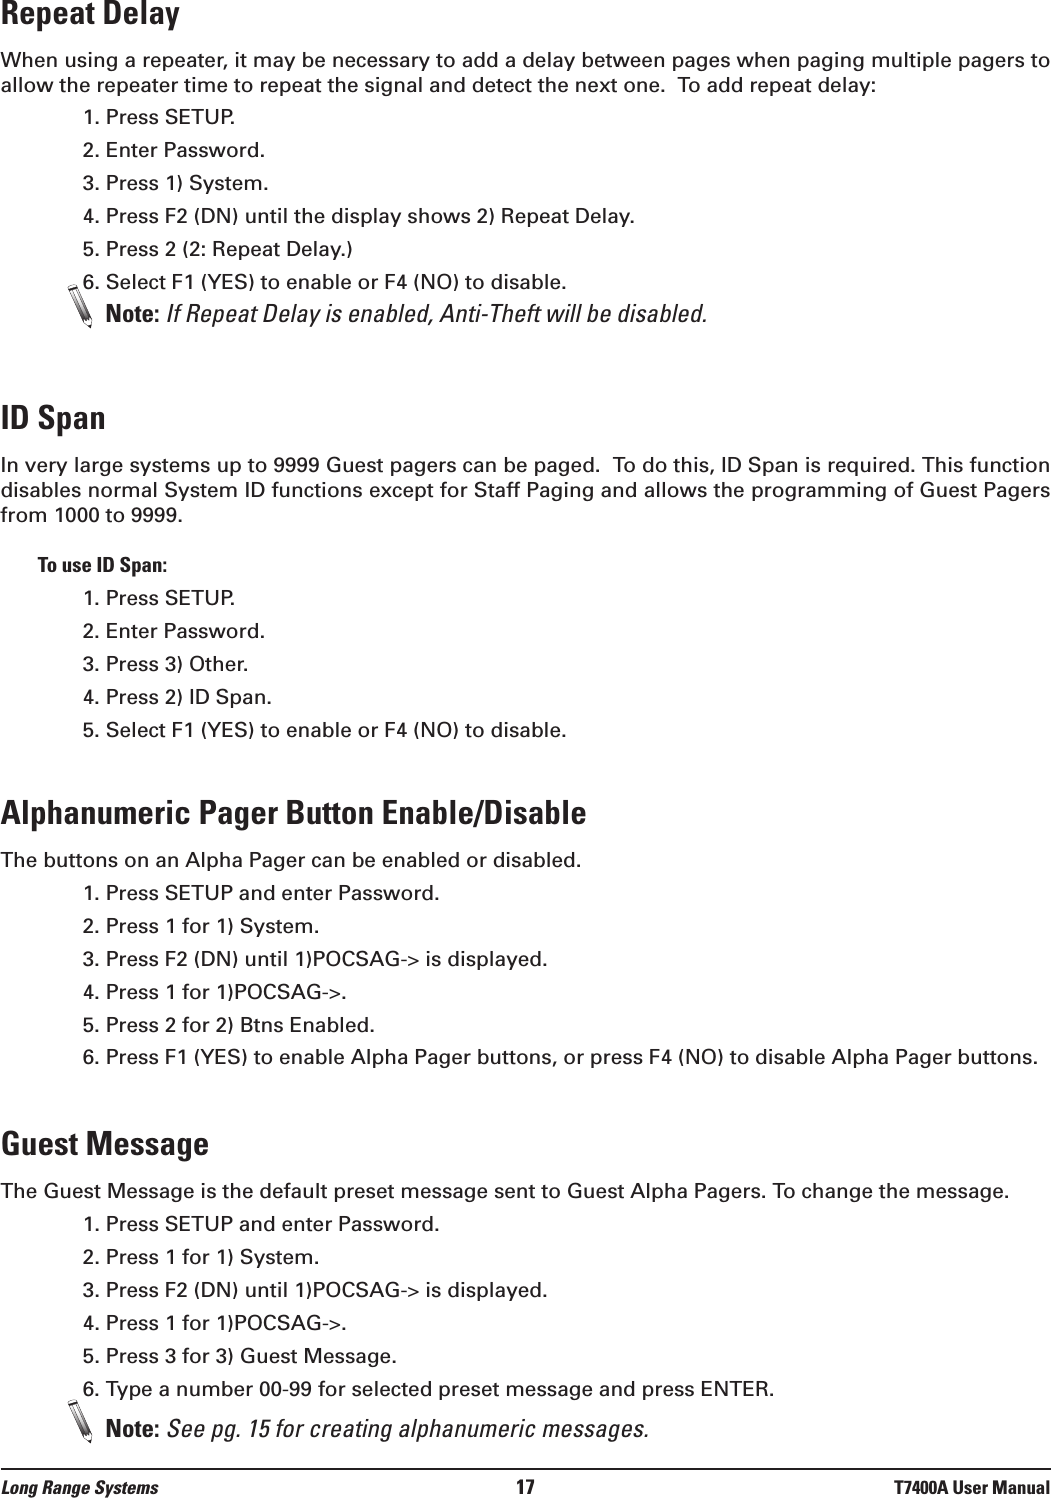
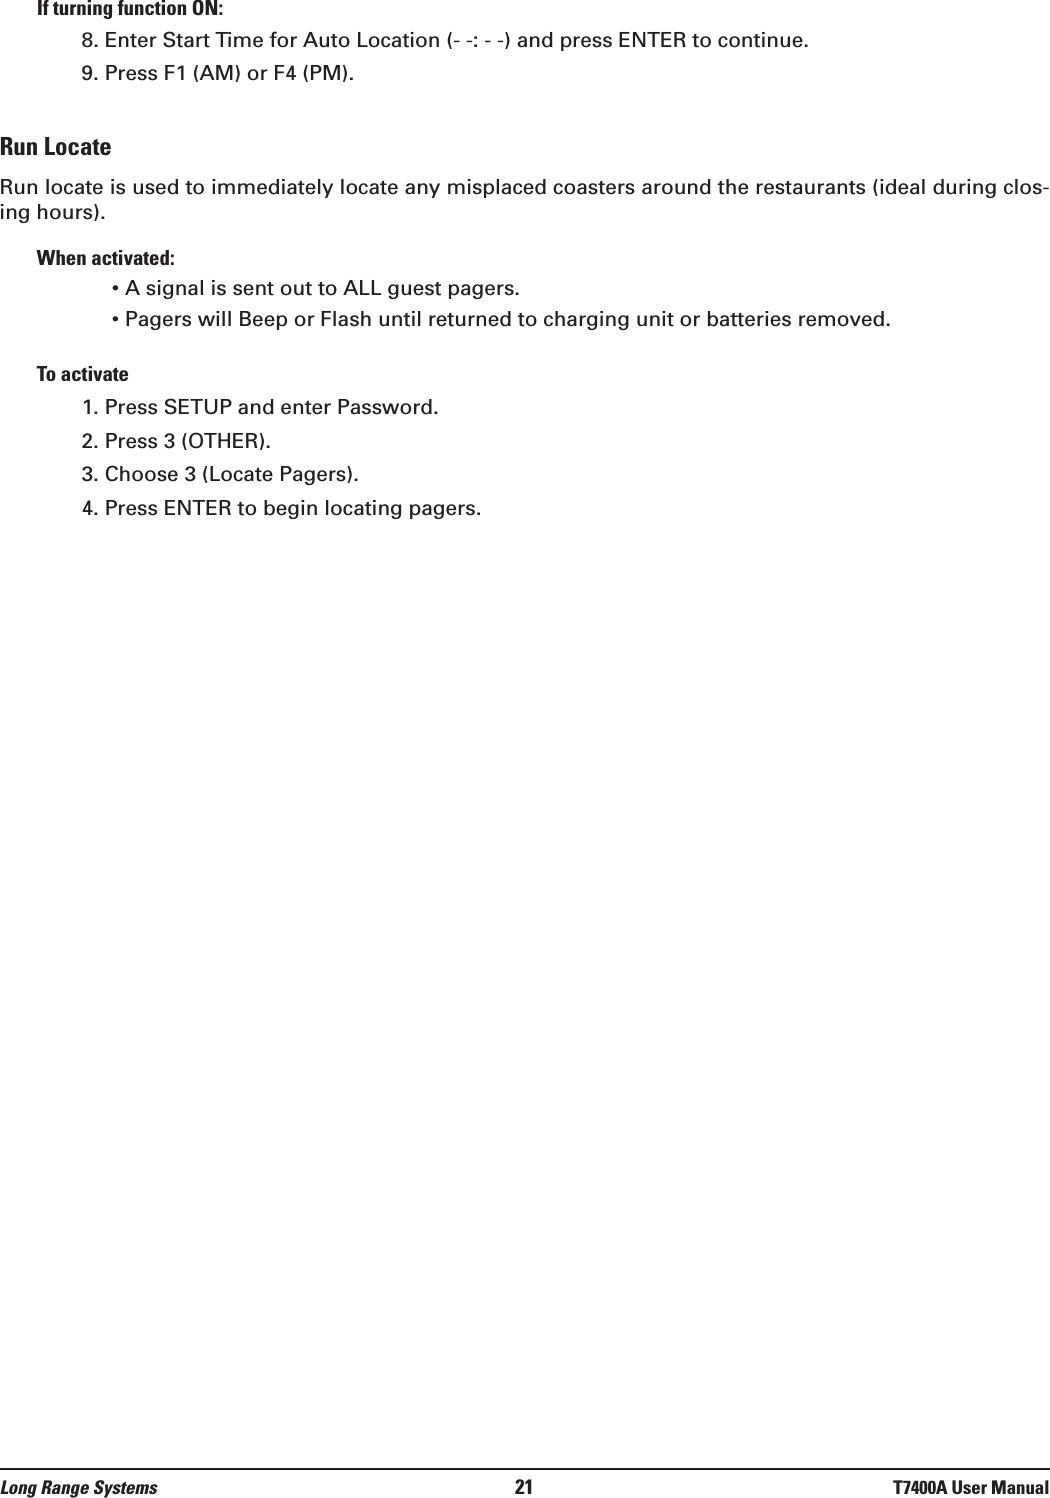
![ContrastTo set the Contrast Level1. Enter the vibe/contrast menu as described above.2. Highlight the Contrast selection then PRESS and HOLD the SP5 pager Button until the screen shows.SP5 Pager Screen3. Press or hold the Select Button to the desired Contrast. The level will increase to max (NOTE:screen could be dark and hard to read), Release the Select Button and press or hold again tochange the level back towards the minimum or to desired contrast. 4. To exit, wait 8 seconds. And the pager will go back to the vibe/contrast menu.SP5 Pager Screen5. To exit this menu wait 8 additional seconds.SettingsTo view the current pager settings1. Remove pager from the charger or reset on the T9601, T9100, or T9101 reset terminals.2. Press the Select Button repeatedly to scroll through the settings:C1: [System ID number] and Pager ID numberC2: [System ID number] and All Page numberC3: [System ID number] and System ID numberG: Group numberEnc: Encryption enabled (128) or noneVer: Current Firmware Version3. To exit, wait 8 seconds.MessagesThe pager stores the last 5 received messages. To view the messages:1. Press the Select Button once.2. Messages 2 lines in length will show a > symbol on the end of the first line and a < on the second line.Messages over 2 lines in length, the middle lines will show “< the next line of the message >”.3. Press the Select Button to continue scrolling forward through the message or messages.TimePager will display the current time. The T7400A transmitter automatically updates this feature. If the timedoes not appear, a flashing star will appear on the right side of LCD to show pager is operational.ProgrammingTo program the pager see pg. 25VIBE VIBE CONTRASTLong Range Systems 33 T7400A User Manual](https://usermanual.wiki/Long-Range-Solutions/TX7400A/User-Guide-2254637-Page-34.png)