Leetac Electronics Technology LEETACEZ250 FM Audio Transmitter User Manual ITGSH 300 E Z250 IM R08
Zhongshan Leetac Electronics Co., Ltd. FM Audio Transmitter ITGSH 300 E Z250 IM R08
UserManual.wiki
>
Leetac Electronics Technology
>
LEETACEZ250 User Manual
>
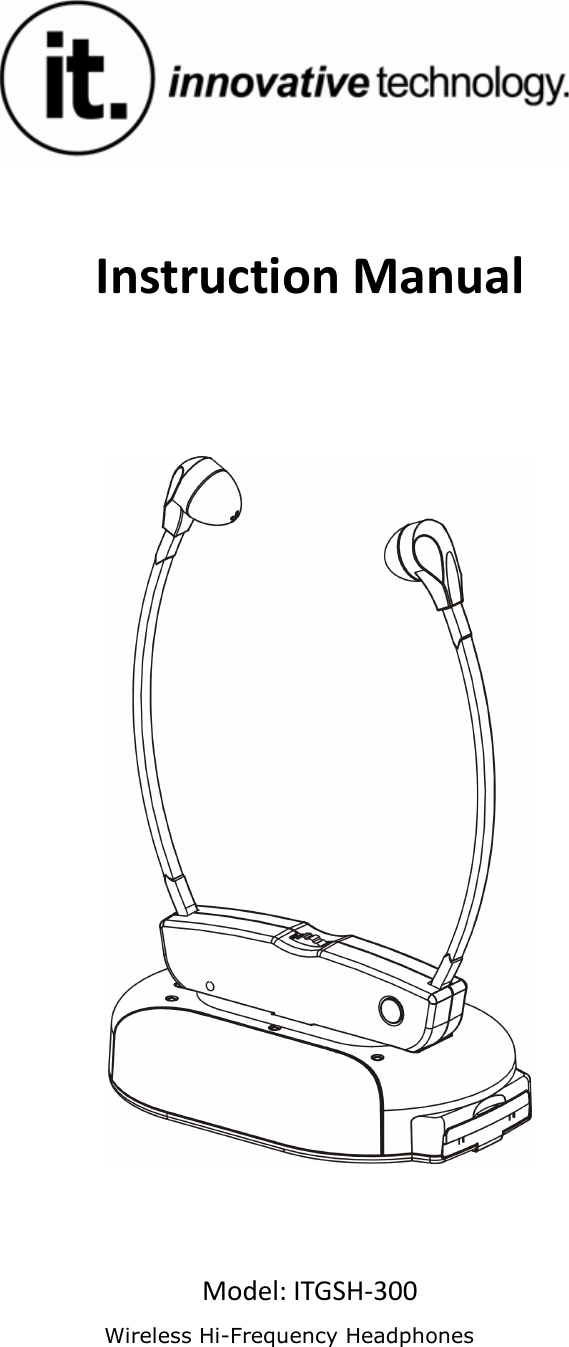
Manual ITGSH-300
Contents
1.
Manual E-Z250
2.
Manual ITGSH-300
Manual ITGSH-300
Navigation menu
Upload a User Manual
Namespaces
Wiki Guide
HTML
PDF
Info
Views
User Manual
Discussion / Help
Navigation
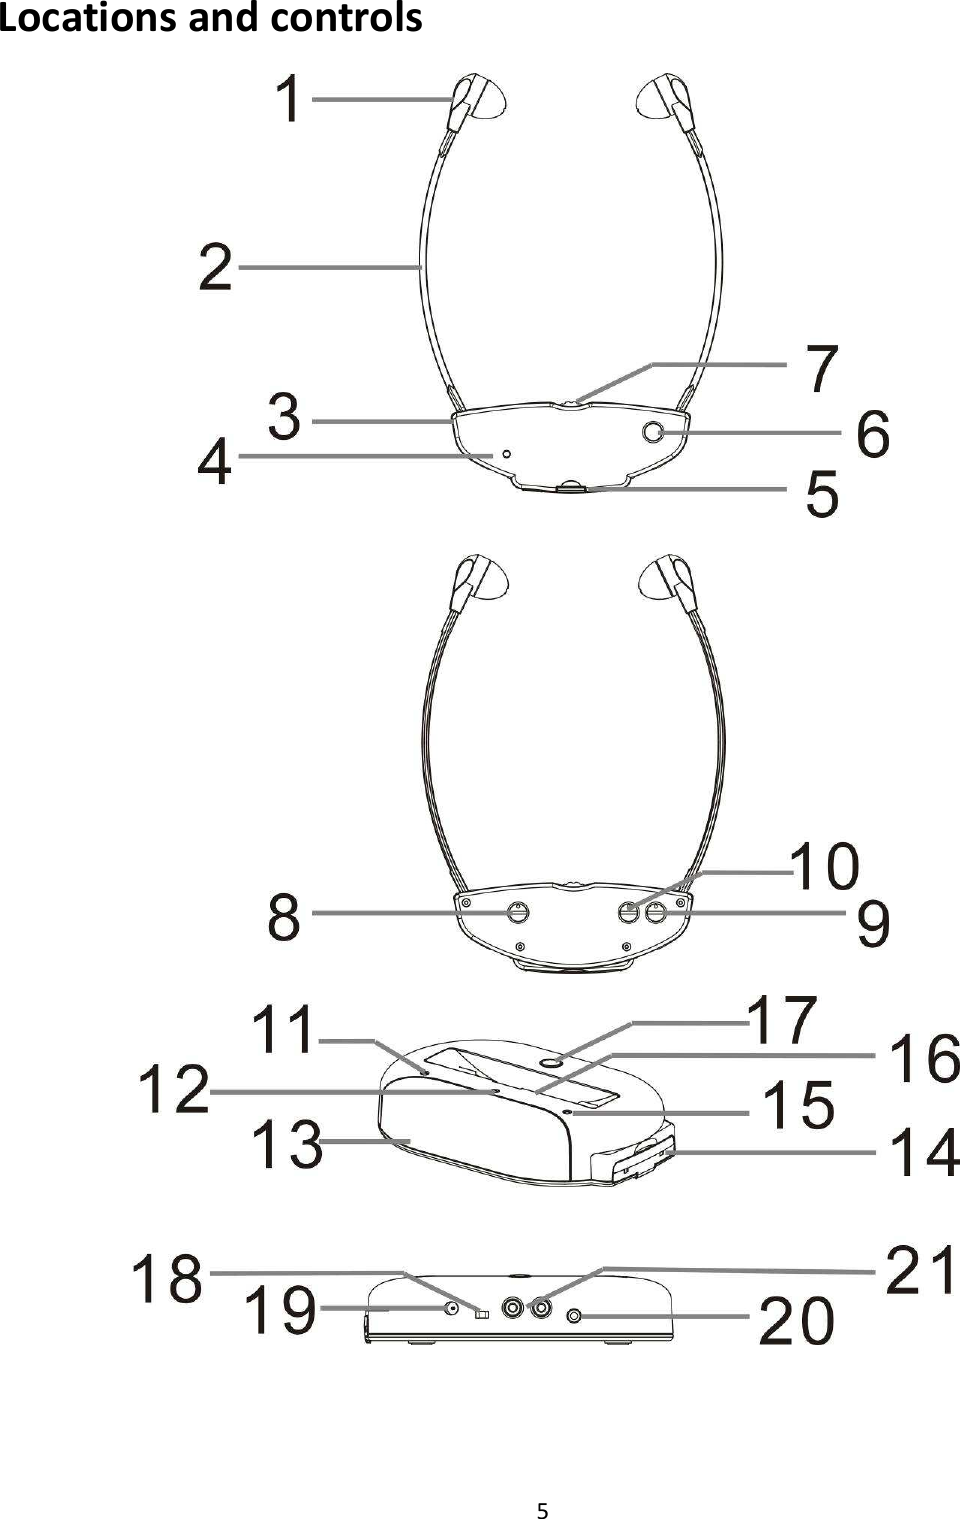
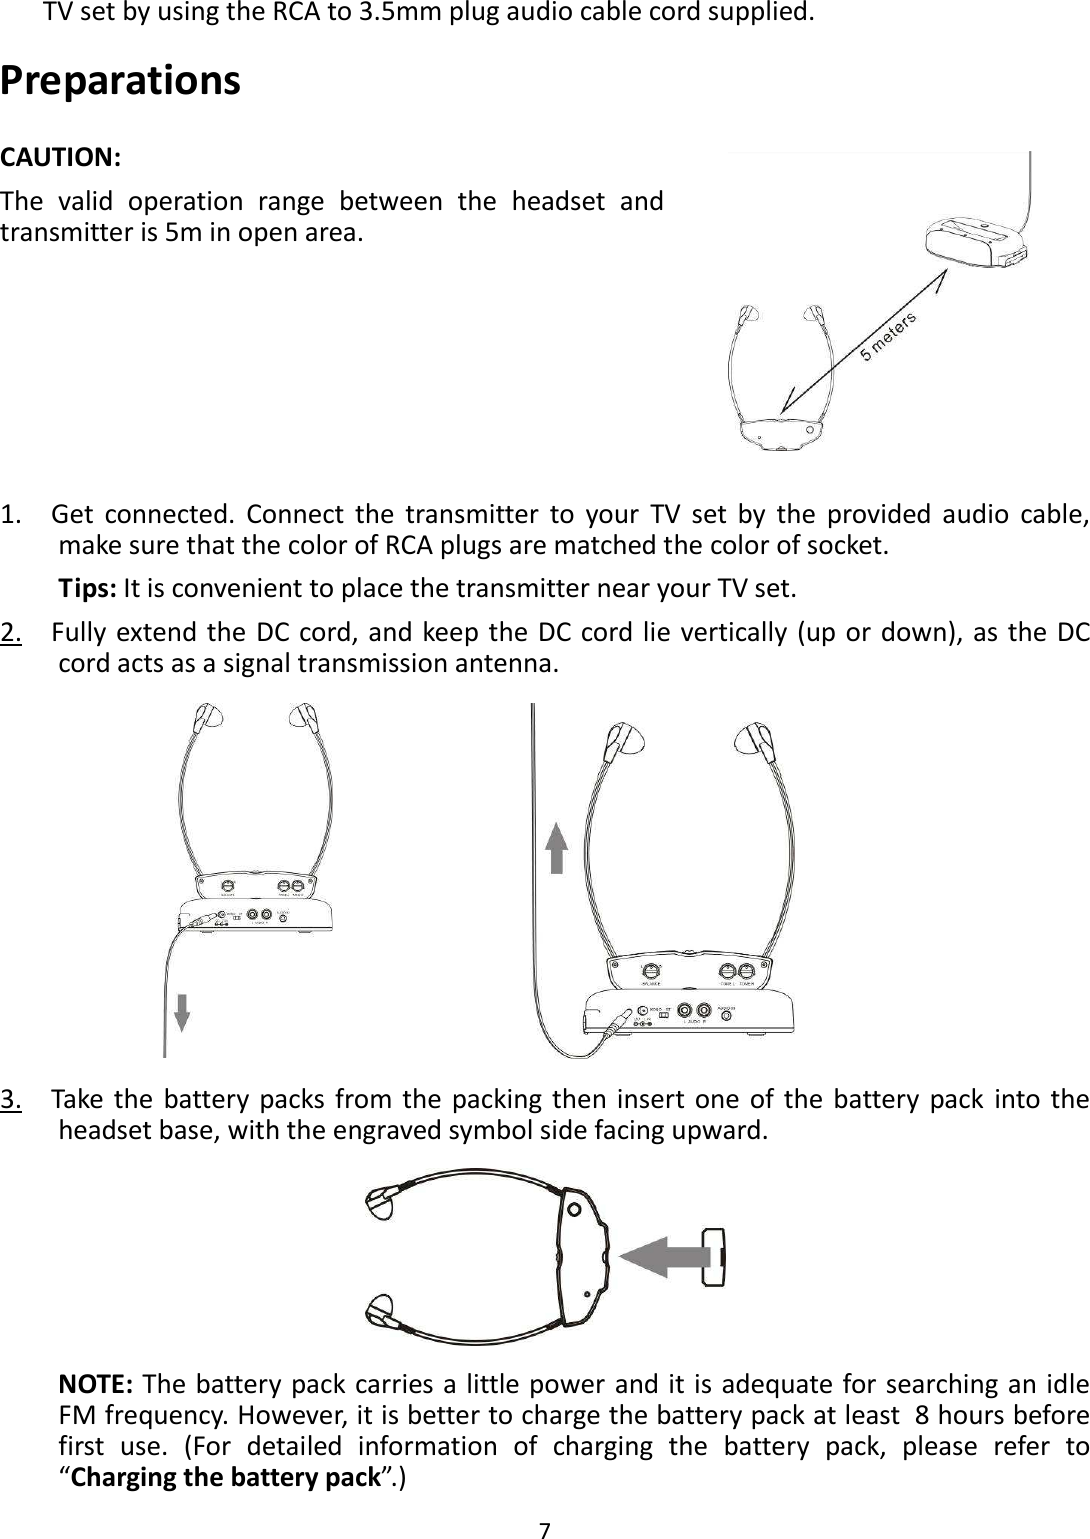
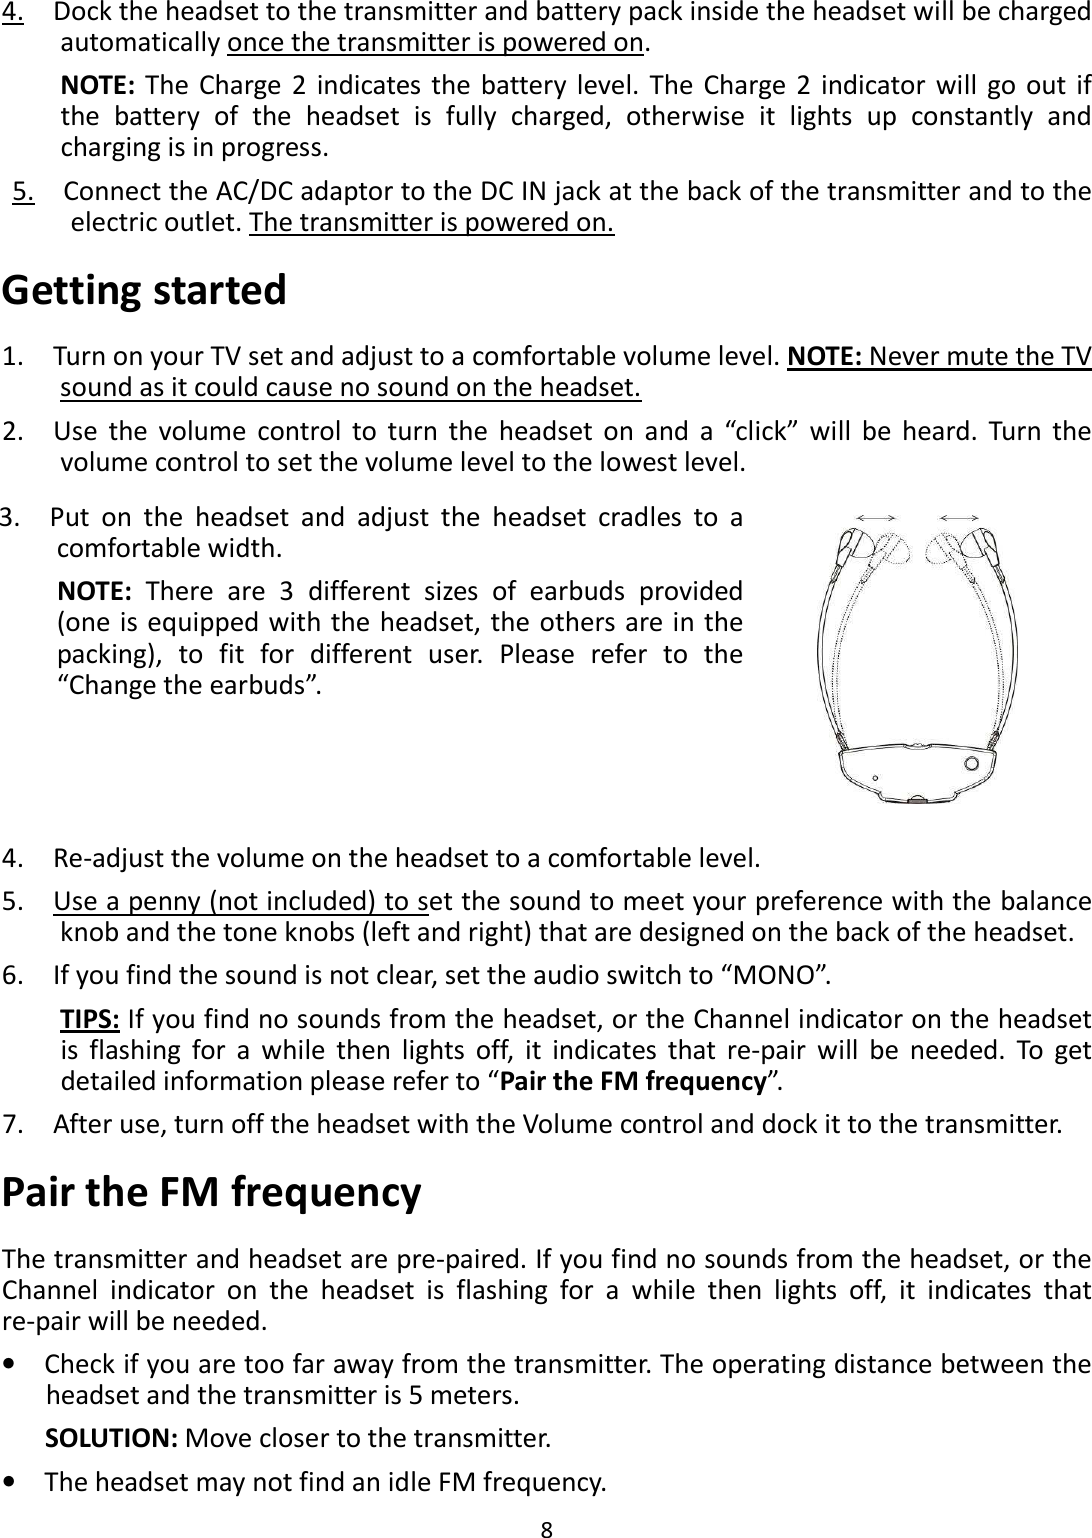
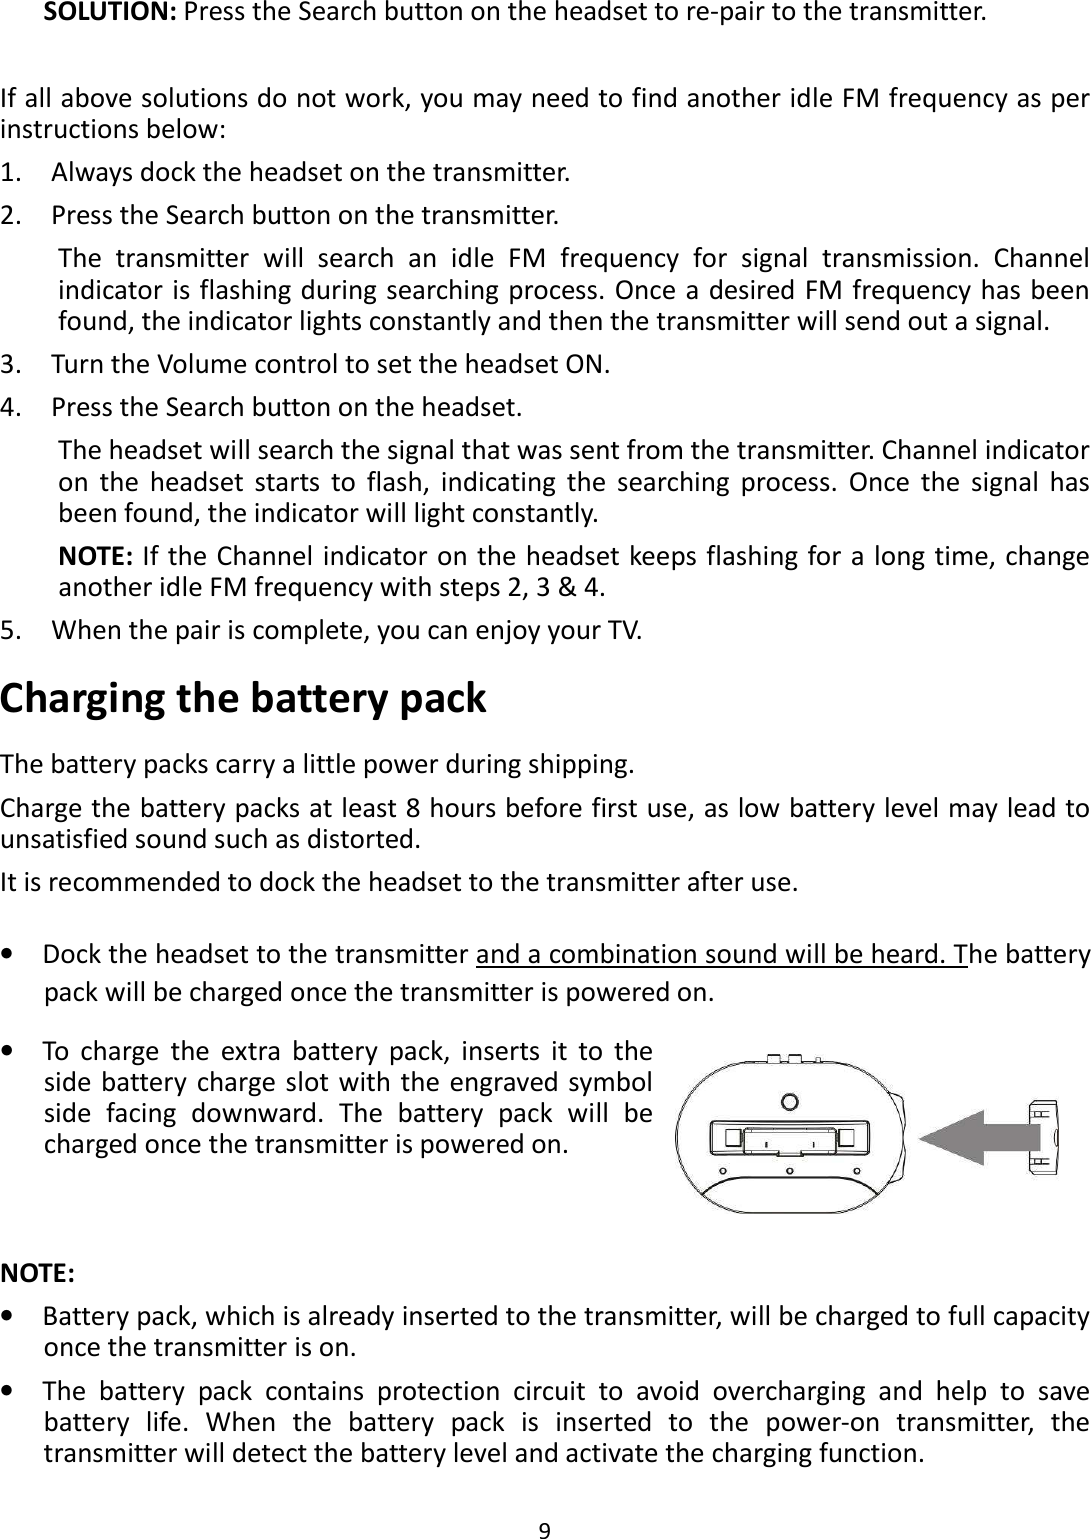
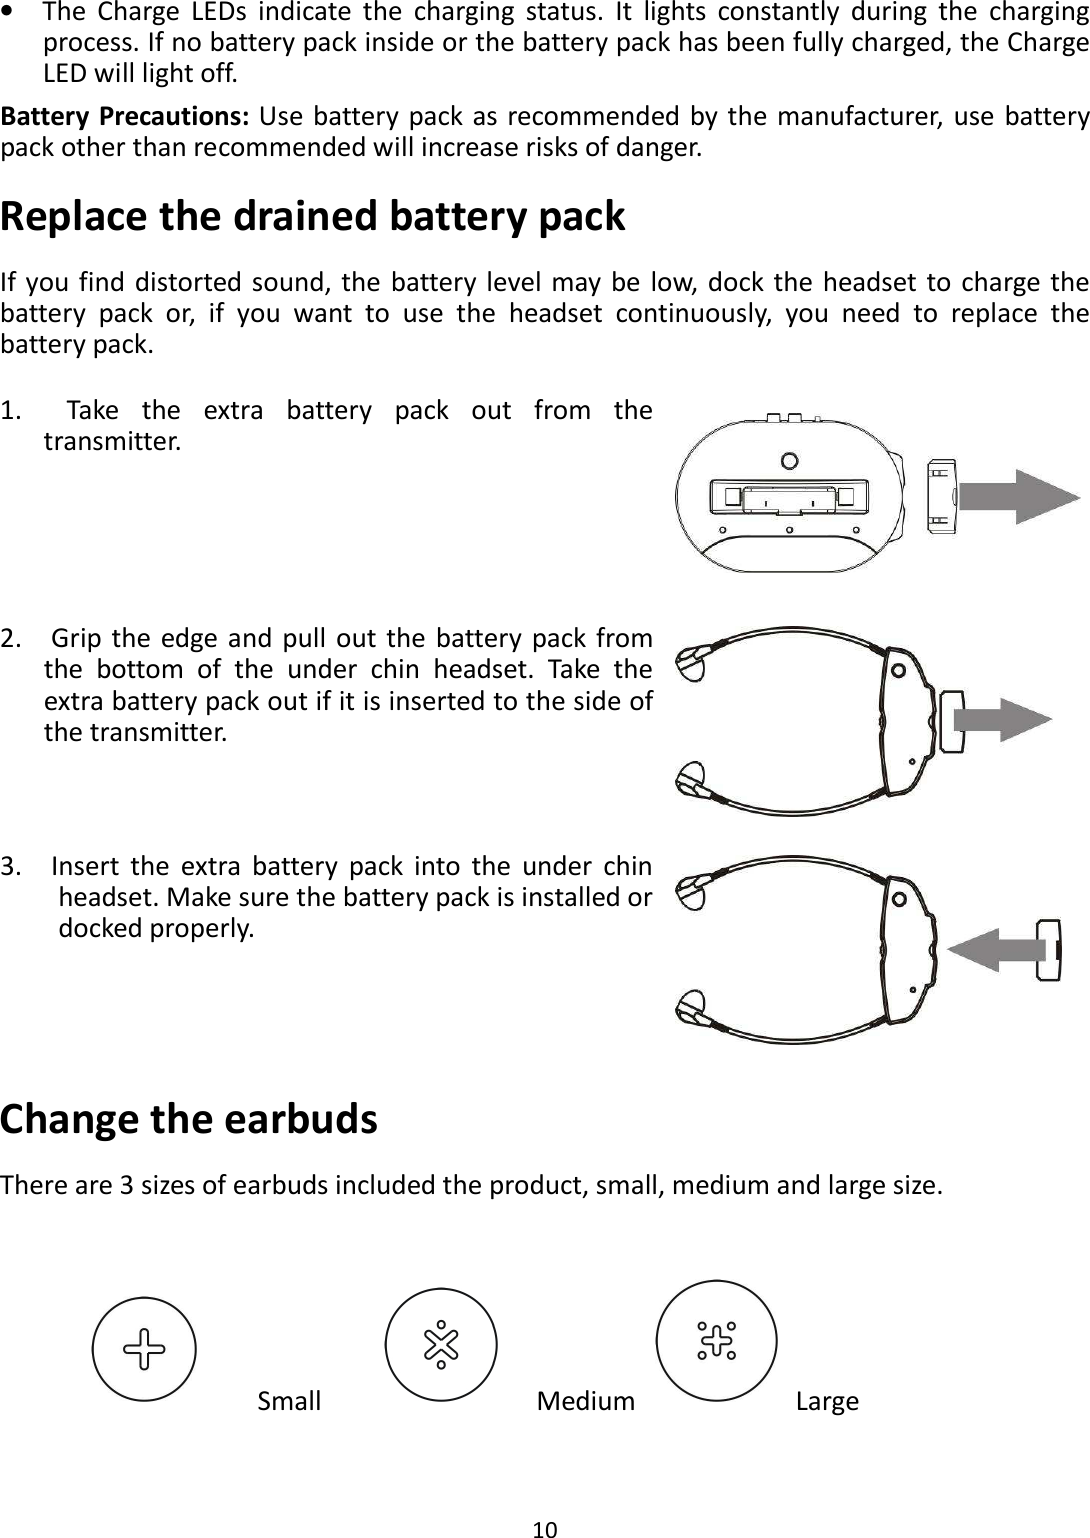
![6 Headset 1. Headset plugs & earbuds 2. Headset cradles: The cradles are adjustable at a settled angle range. You can set the headset plugs at a certain width by adjusting the angle. Do not force - it may damage the headset. 3. Under chin headset 4. Channel indicator: Indicate the operating status of the headset. Fast flash when the headset is searching for an idle FM frequency; Flash slowly to indicate the receiver is going to hold an idle FM frequency. Once the desired FM frequency has been found, the indicator will light constantly. 5. Battery pack: Take the battery pack from the packing and insert it into the bottom side of the under chin headset. 6. Search: Press to search the signal sent from the transmitter. 7. Volume control: Turn the sound on and off and adjust the volume level. 8. Balance knob: Adjust the sound balance of left and right channel. 9. Tone Right knob: Adjust the tone of right earphone. 10. Tone Left knob: Adjust the tone of left earphone. Transmitter 11. Channel indicator: Indicate the operating status of the transmitter. Flash when the transmitter is searching for an idle FM frequency. Once the desired FM frequency has been found, the indicator will light constantly. 12. Charge 2 indicator (middle): Indicate the battery pack inside the headset. Light constantly during the charging process; light off if the battery pack is fully charged or no battery pack inside. 13. Transmitter 14. Side battery charge slot: Dock and charge the extra battery pack. 15. Charge 1 indicator (side): Indicate the battery pack at the side of the transmitter. Light constantly during the charging process; light off if the battery pack is fully charged or no battery pack inside. 16. Headset dock: Charge the battery pack inside the headset during docking. 17. Search: Press to search an idle FM frequency. 18. DC IN jack: Connect the AC/DC adaptor to the jack. 19. Audio switch [MONO/STEREO]: Switch between stereo and mono operation. 20. AUDIO IN socket: Connects the 3.5mm audio input jack of the transmitter to your TV set by using the 3.5mm plug cable. 21. AUDIO IN sockets [RCA]: Connects the RCA audio input jack of the transmitter to your](https://usermanual.wiki/Leetac-Electronics-Technology/LEETACEZ250.Manual-ITGSH-300/User-Guide-1545483-Page-6.png)