Intermec Technologies DRCB DRCB User Manual ck32um
Intermec Technologies Corporation DRCB ck32um
UserManual.wiki
>
Intermec Technologies
>
DRCB User Manual
>
User Manual
Contents
1.
Compliance Insert
2.
Users Manual 1 of 3
3.
Users Manual 2 of 3
4.
Users Manual 3 of 3
5.
User Manual 1 of 2
6.
User Manual 2 of 2
7.
User Manual
8.
Quick Start Guide
User Manual
Navigation menu
Upload a User Manual
Namespaces
Wiki Guide
HTML
PDF
Info
Views
User Manual
Discussion / Help
Navigation

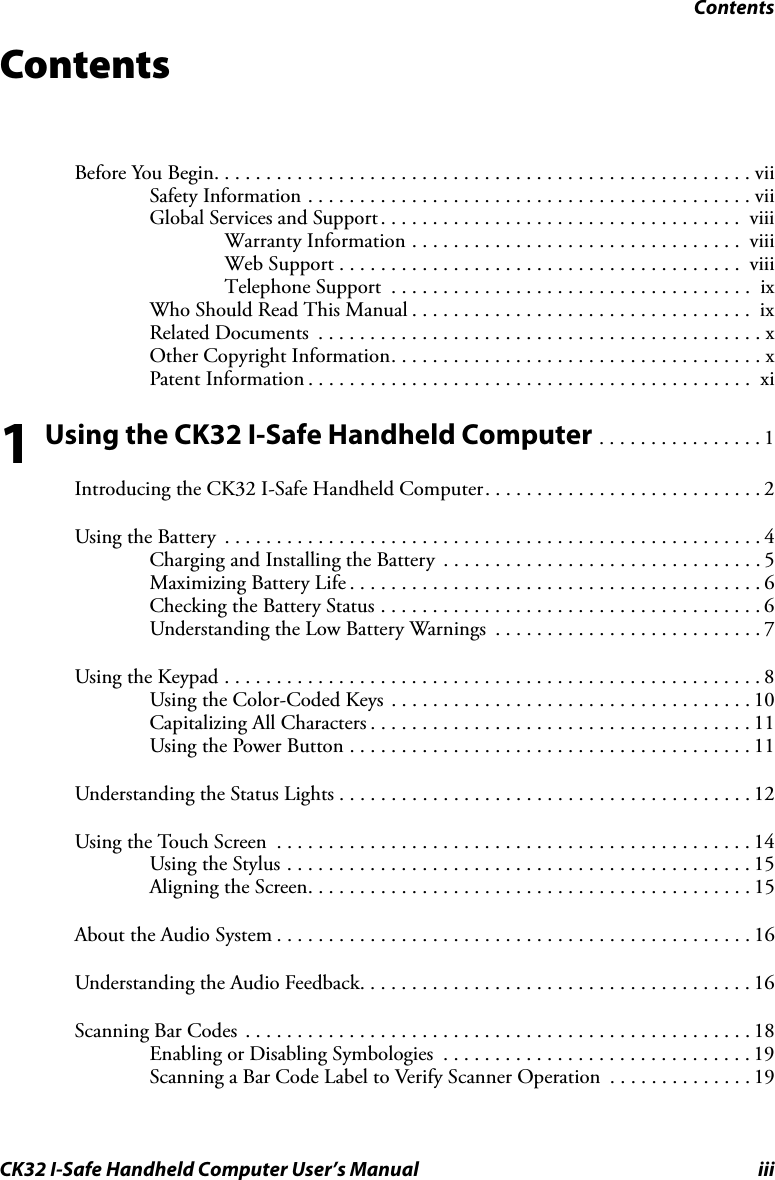
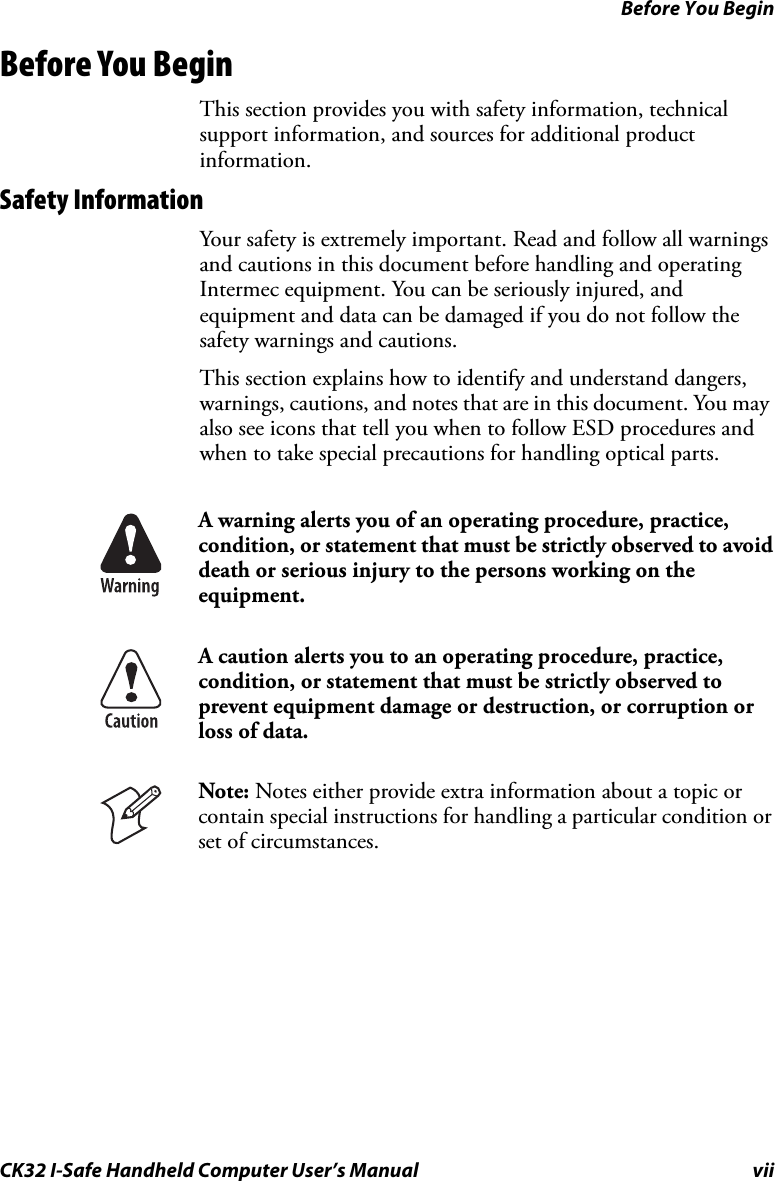
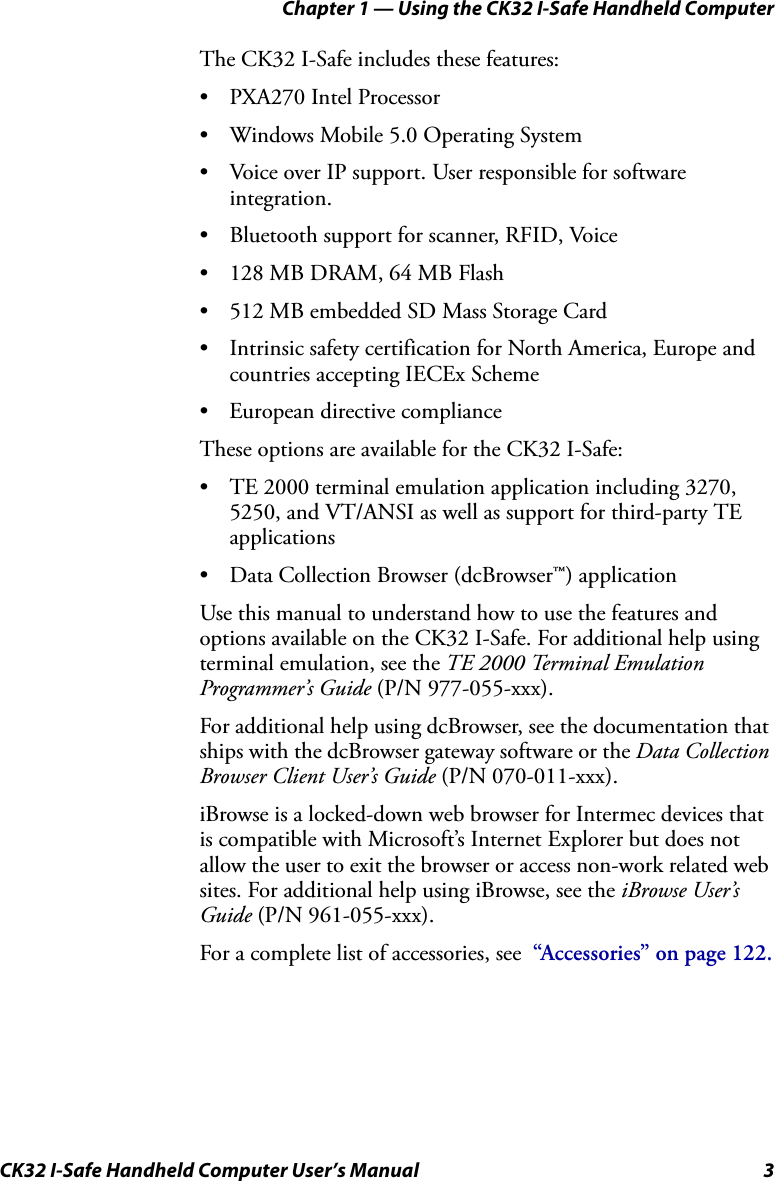
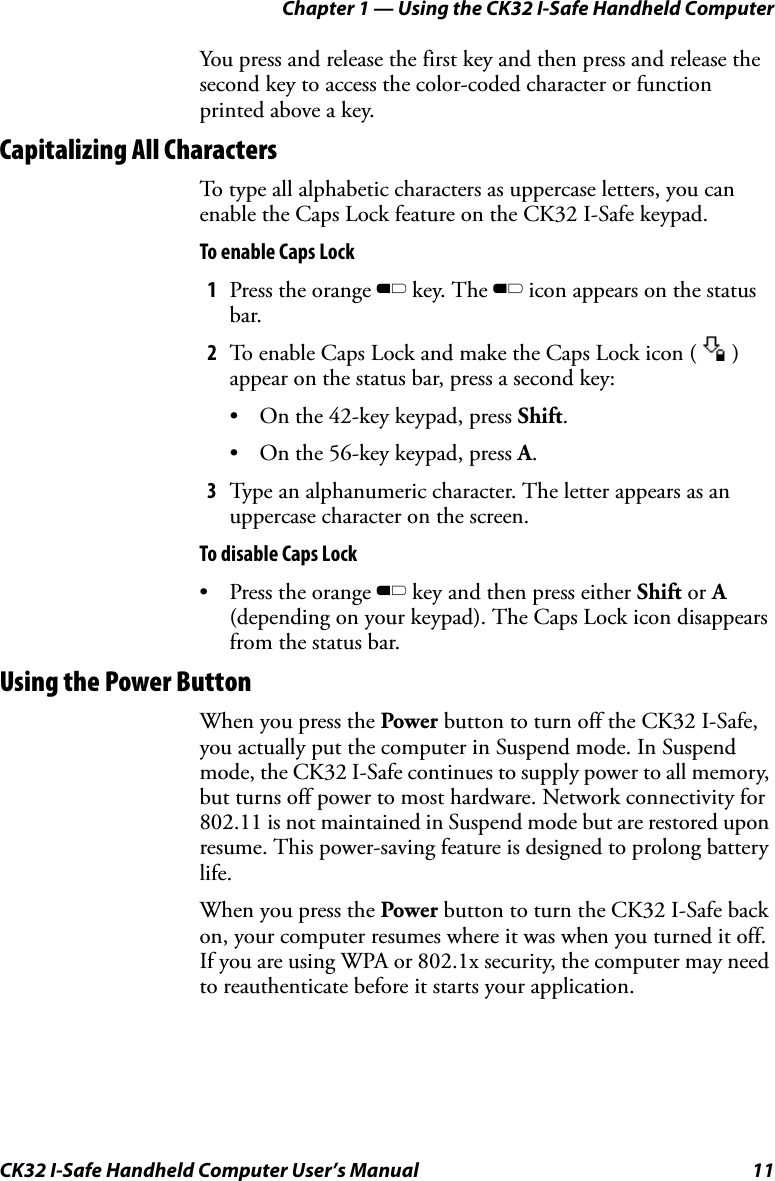
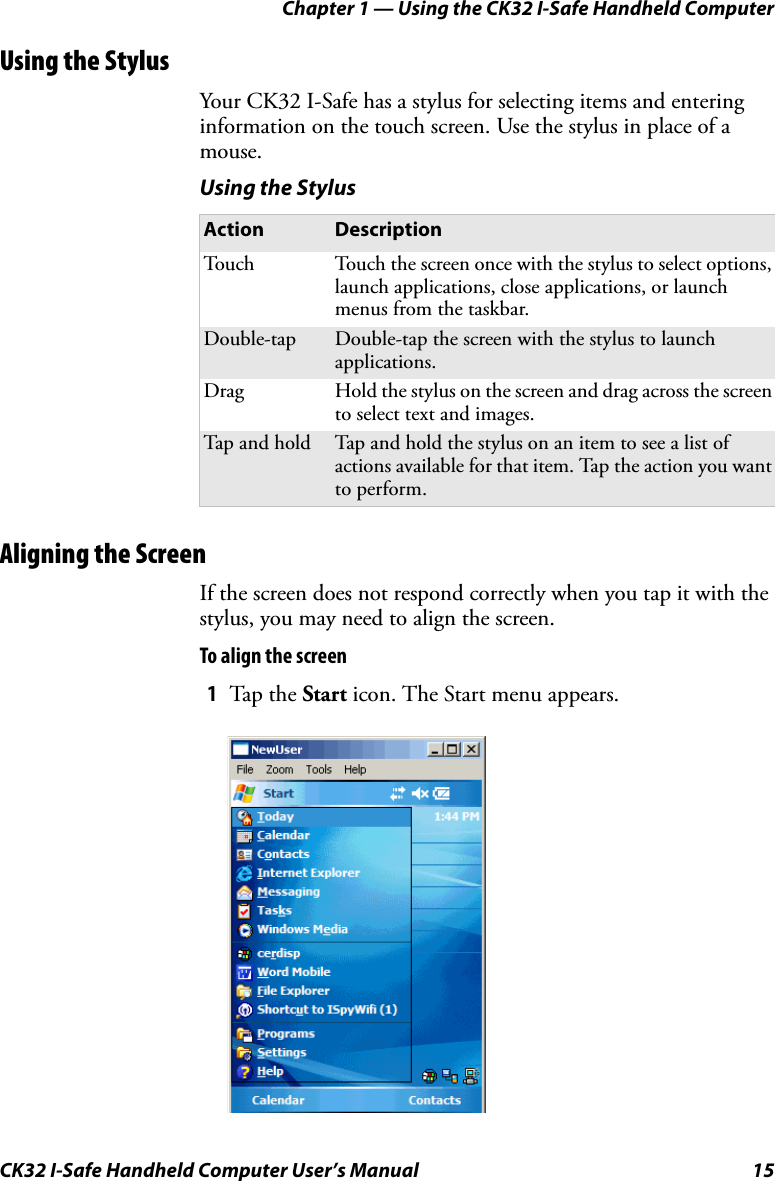

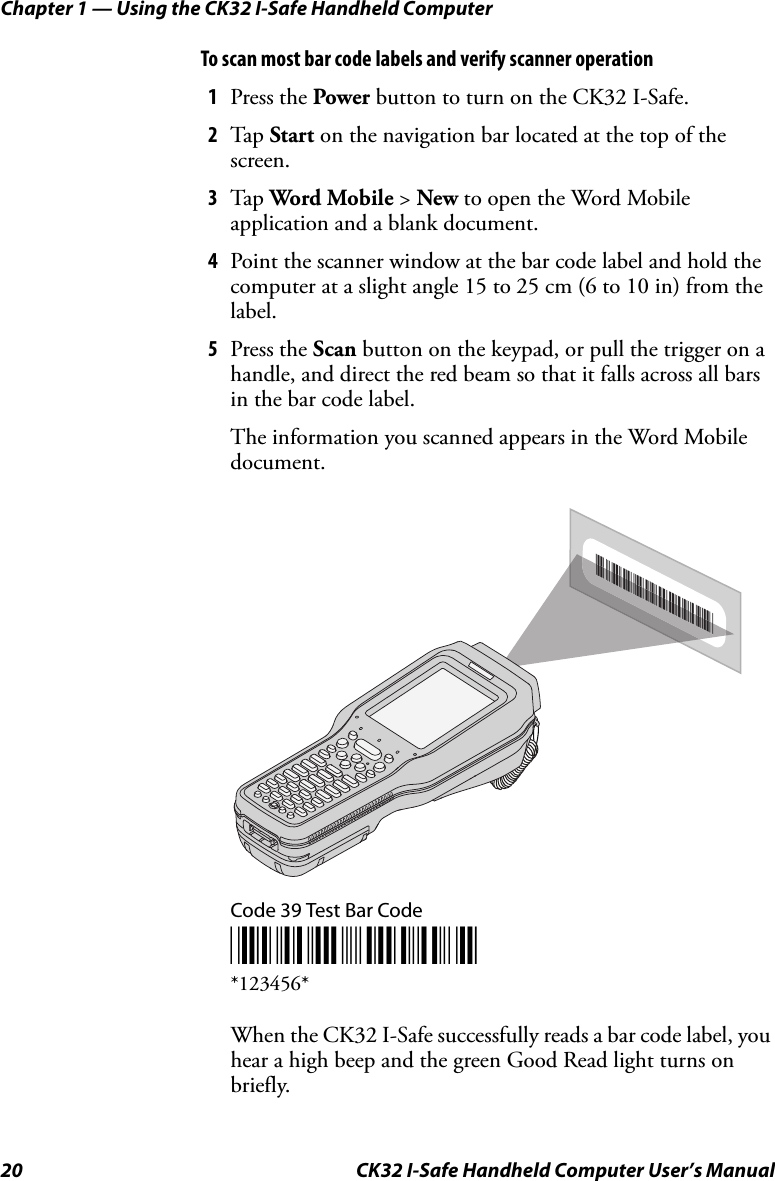

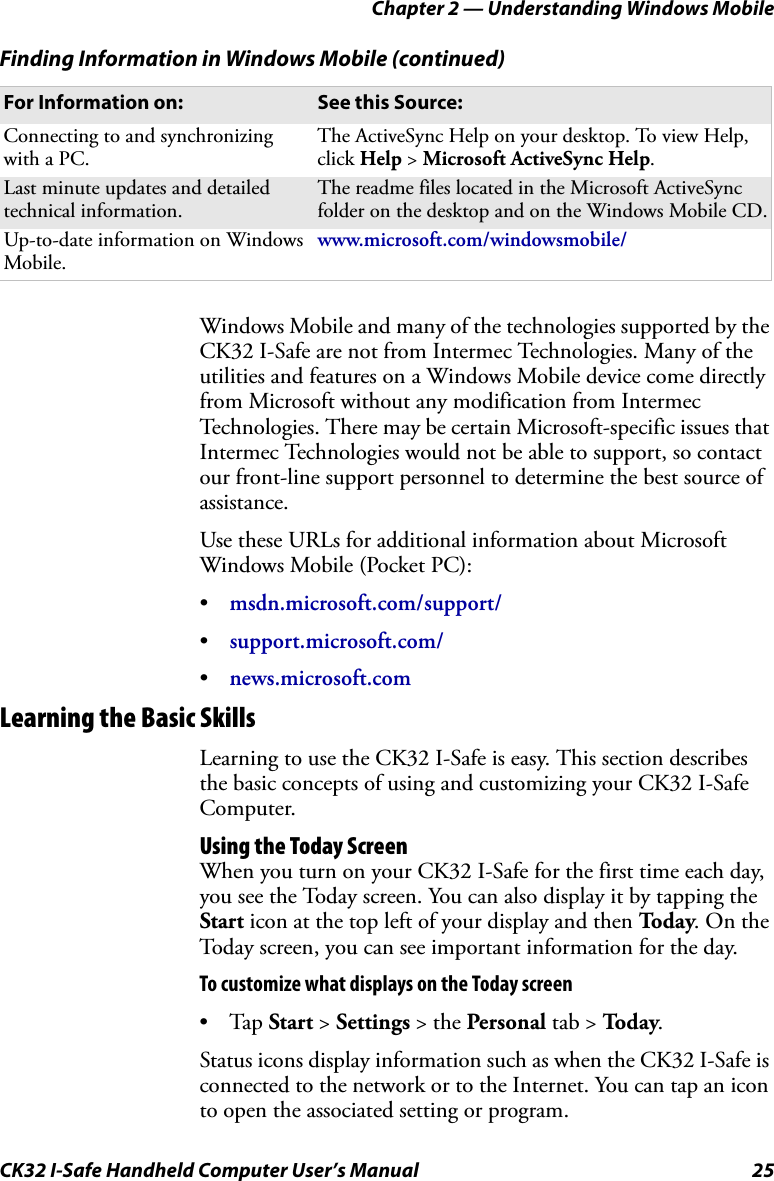
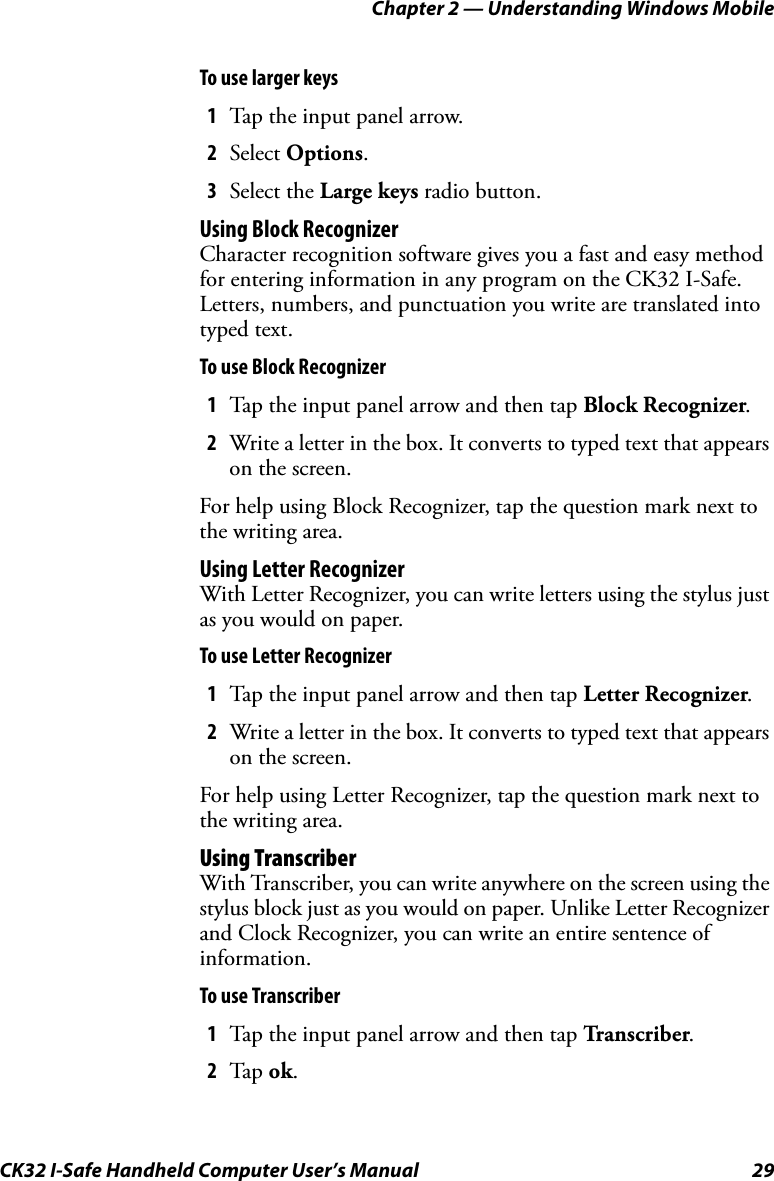
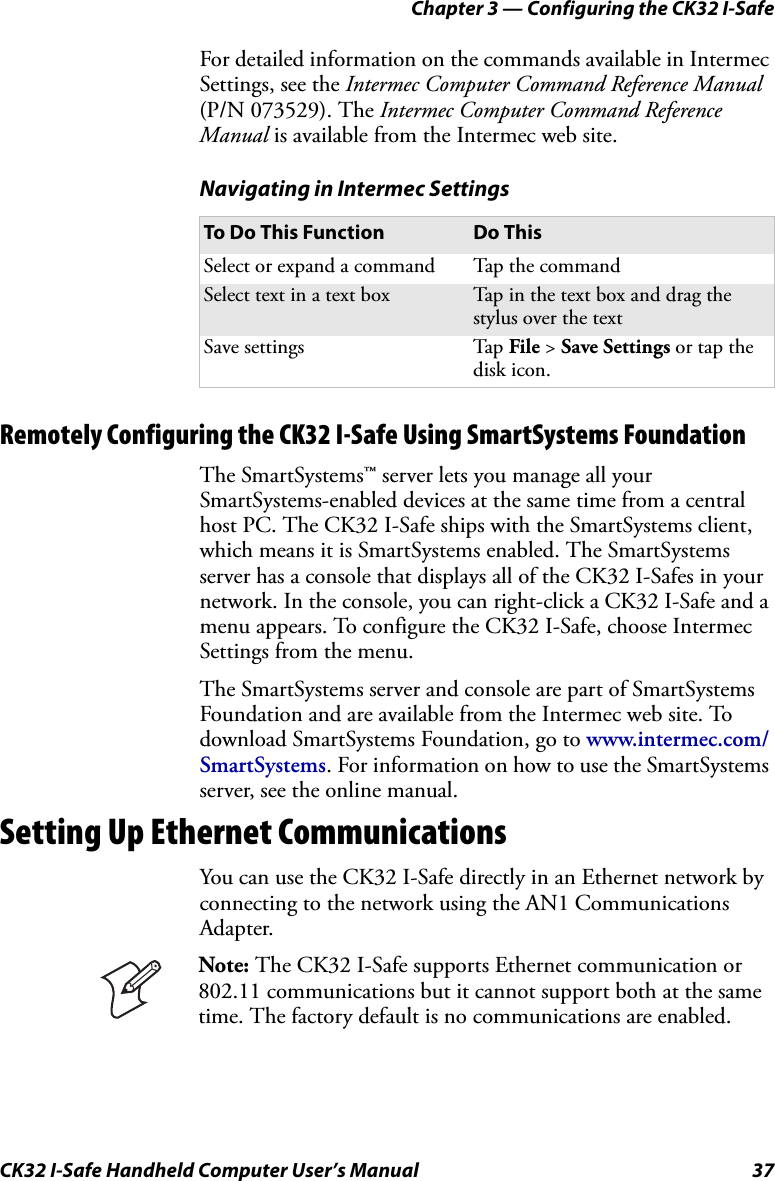

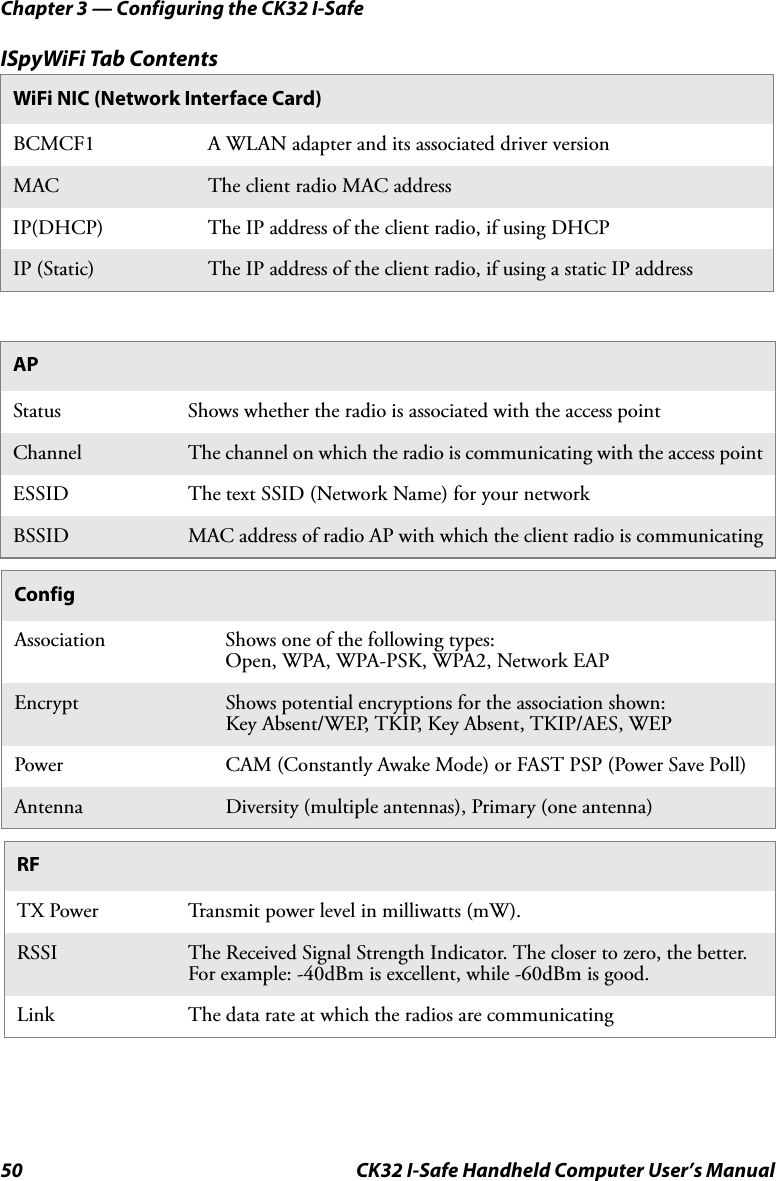

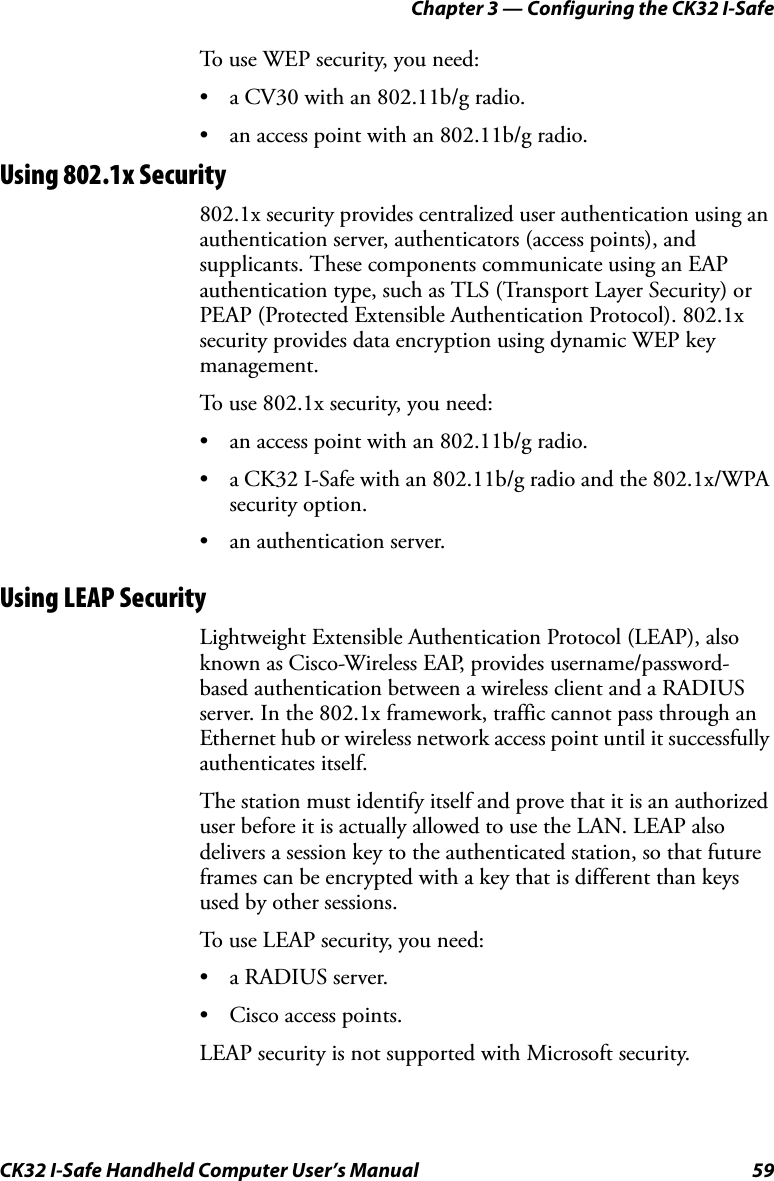
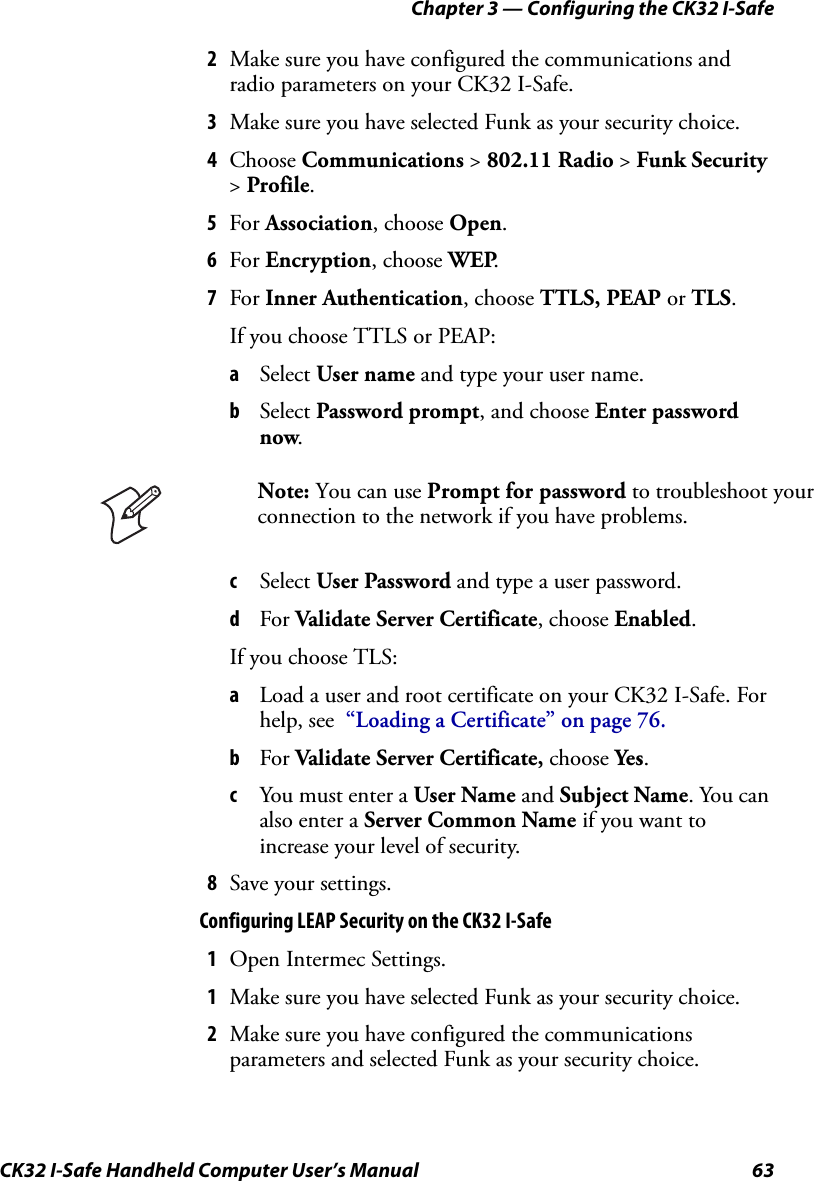
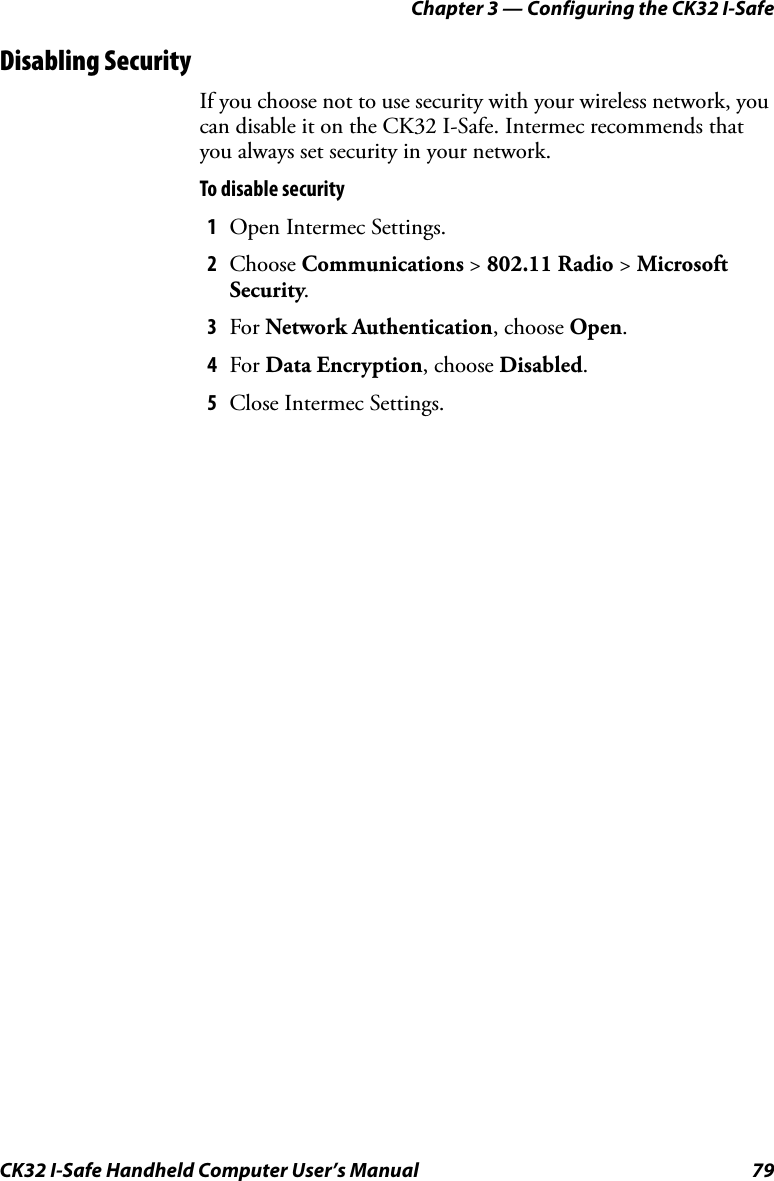

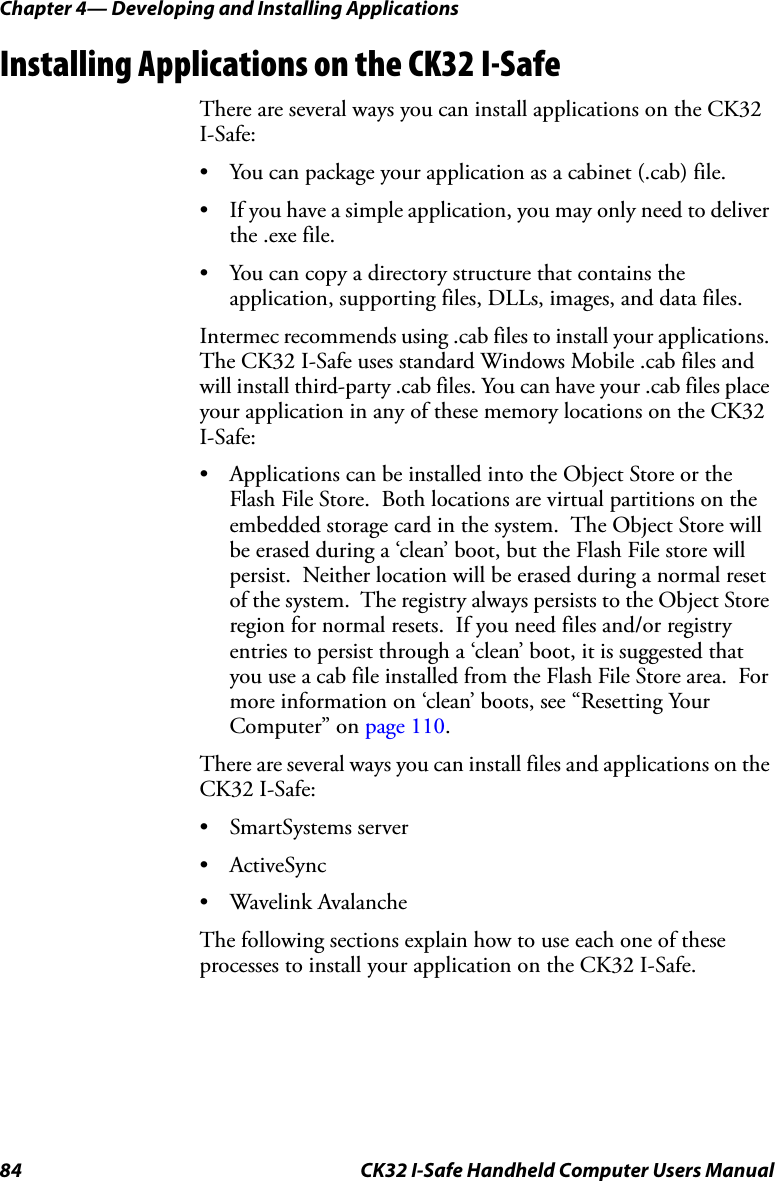
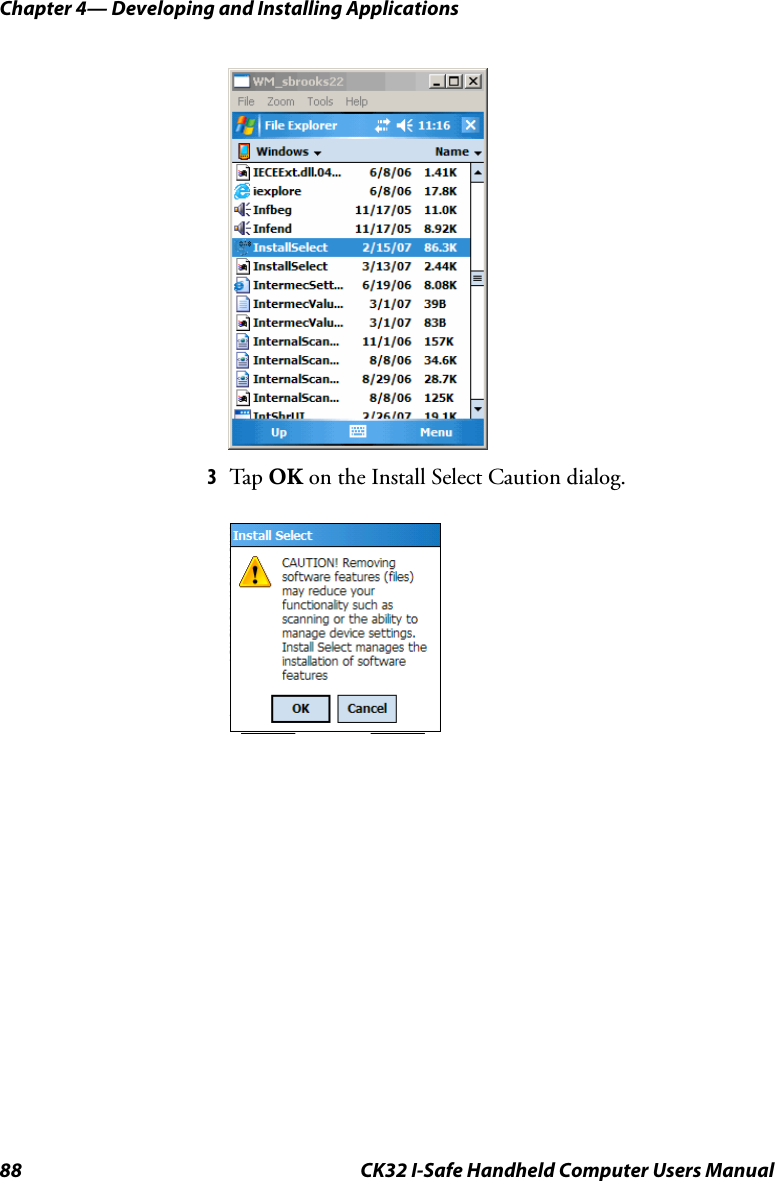
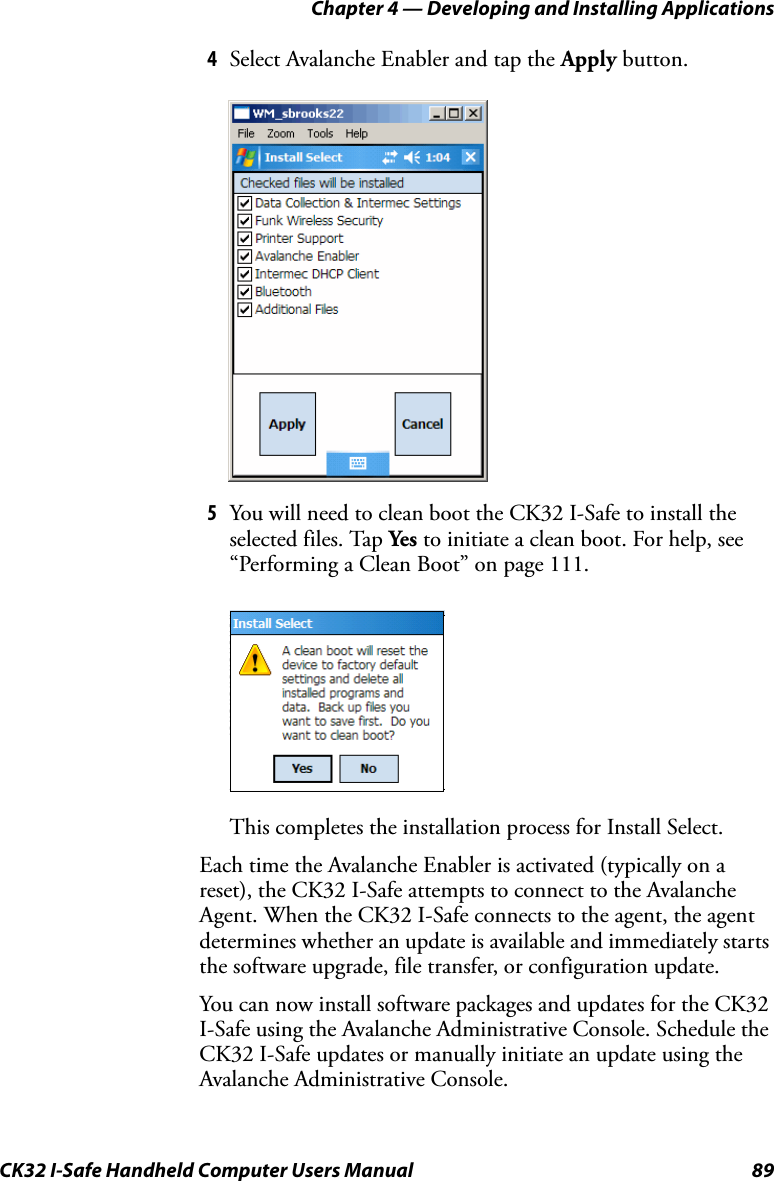
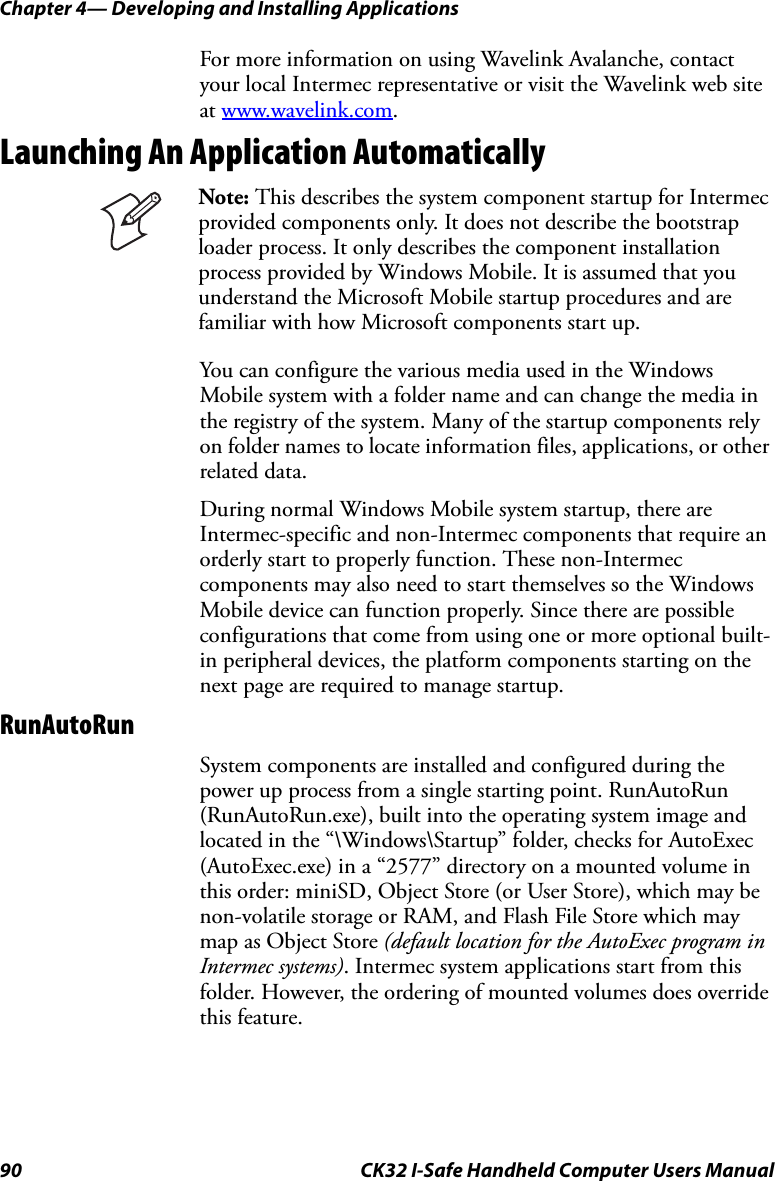
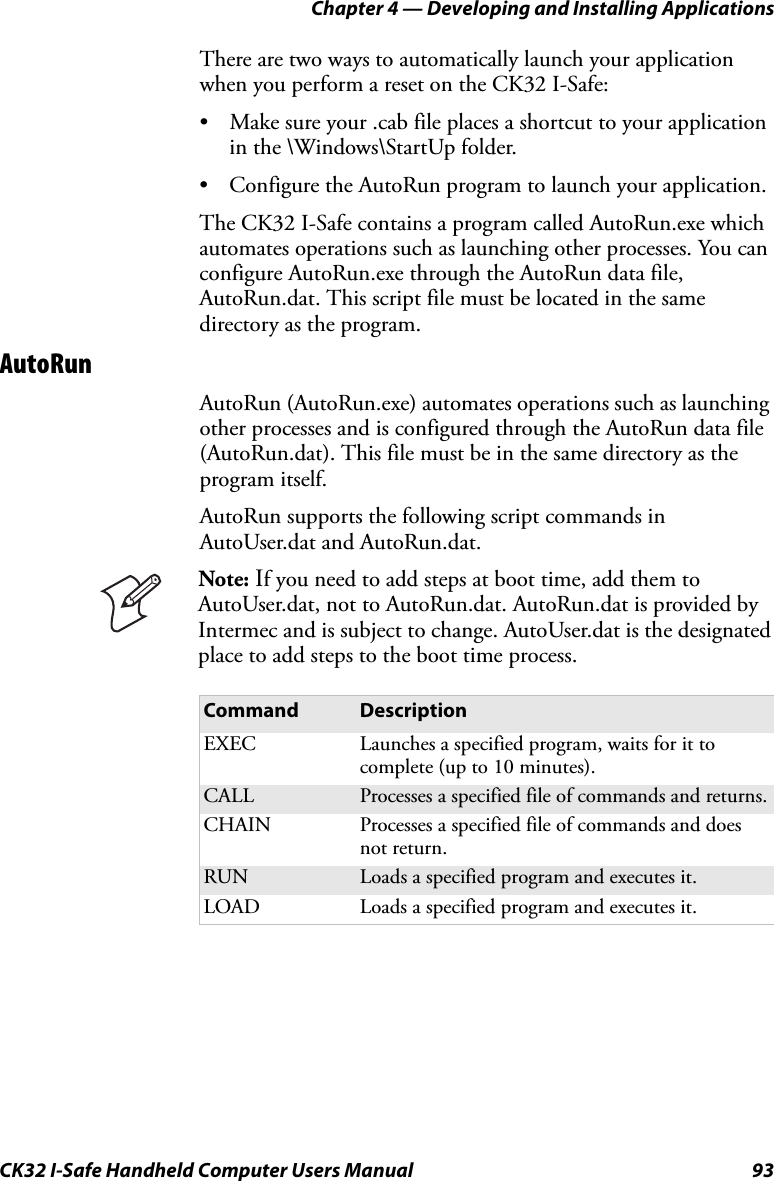
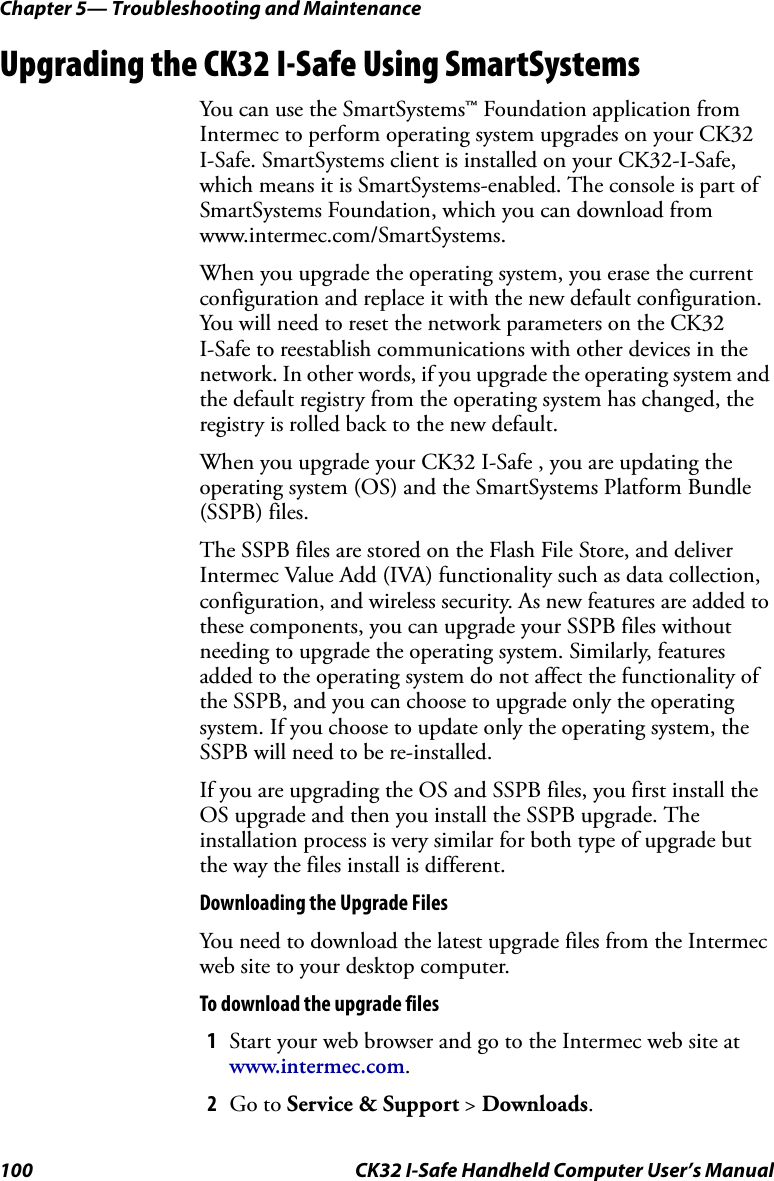
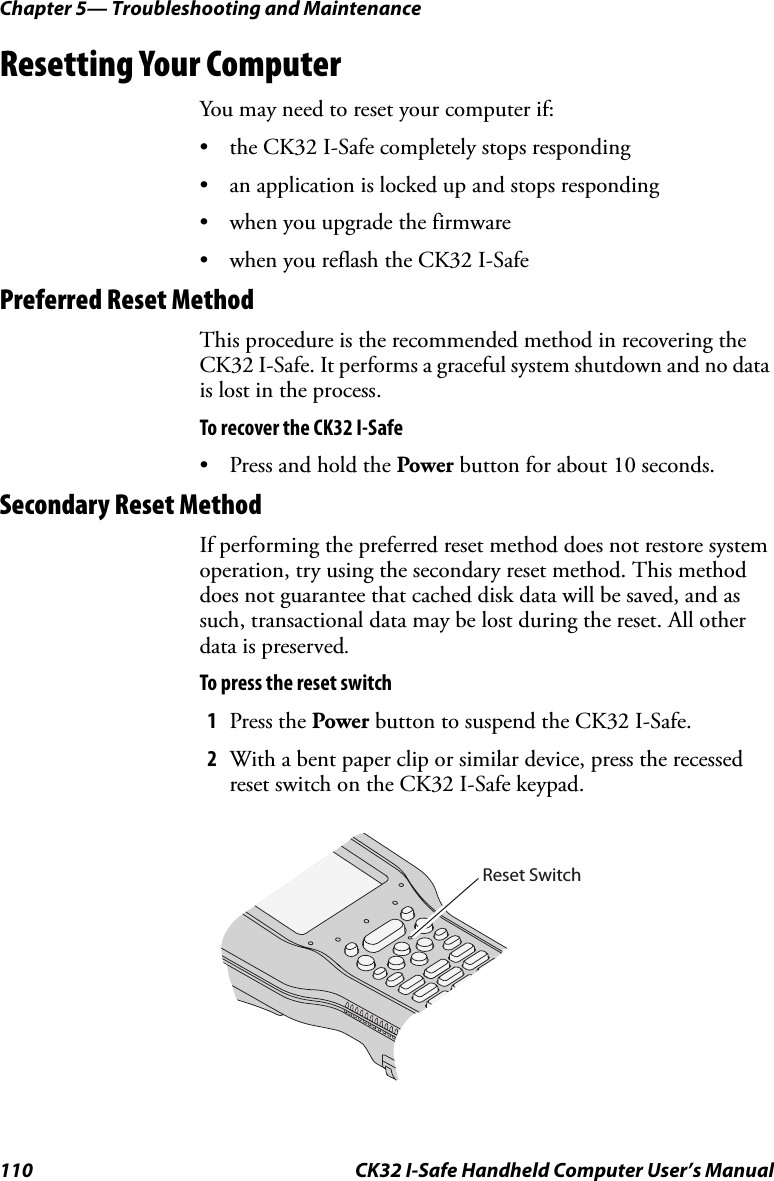
![Chapter 4 — Developing and Installing ApplicationsCK32 I-Safe Handheld Computer Users Manual 91Folder names used for the mounted volumes above are retrieved from the registry to maintain coherence with the naming of the mounted volumes on the platform. These folder names are not hard-coded. If AutoExec is present in the “\SYSTEM” folder on any of these media, it executes the program only on the first media it is found on and no other.AutoExec is reserved for Intermec use to configure Intermec-specific applications. It launches the .cab installer, AutoCab (AutoCab.exe), to install platform .cab files to the system, such as the SSPB.When the AutoExec is complete, RunAutorun then checks for the existence of AutoRun (AutoRun.exe) and executes this program from the first media it is found on. This order is the same as what is used by AutoExec.AutoRun is reserved for customer use to configure application launch sequences. It launches the AutoCab installer and any customer programs added to the AutoUser.dat file. Shown is the hierarchy of these files.AutoExecAutoExec (AutoExec.exe) automates operations such as pausing, launching processes, or signaling, and is configured through the AutoExec data file (AutoExec.dat). This script file must be in the same directory as the program itself.Usage:AutoExec [-%[W]] [-E=["X"]] [-F=["Y"]] [-LOG=] [-W=[Z]]Note: Intermec considers the usage of the AutoExec data file as “Intermec Private.” AutoExec installs Intermec applications such as Data Collection, Security Supplicants, Intermec Management, applets, and shortcuts from components found in the Flash File System. Do not modify the AutoExec data file. Instead, use the AutoRun program to add software components.](https://usermanual.wiki/Intermec-Technologies/DRCB.User-Manual/User-Guide-804254-Page-104.png)
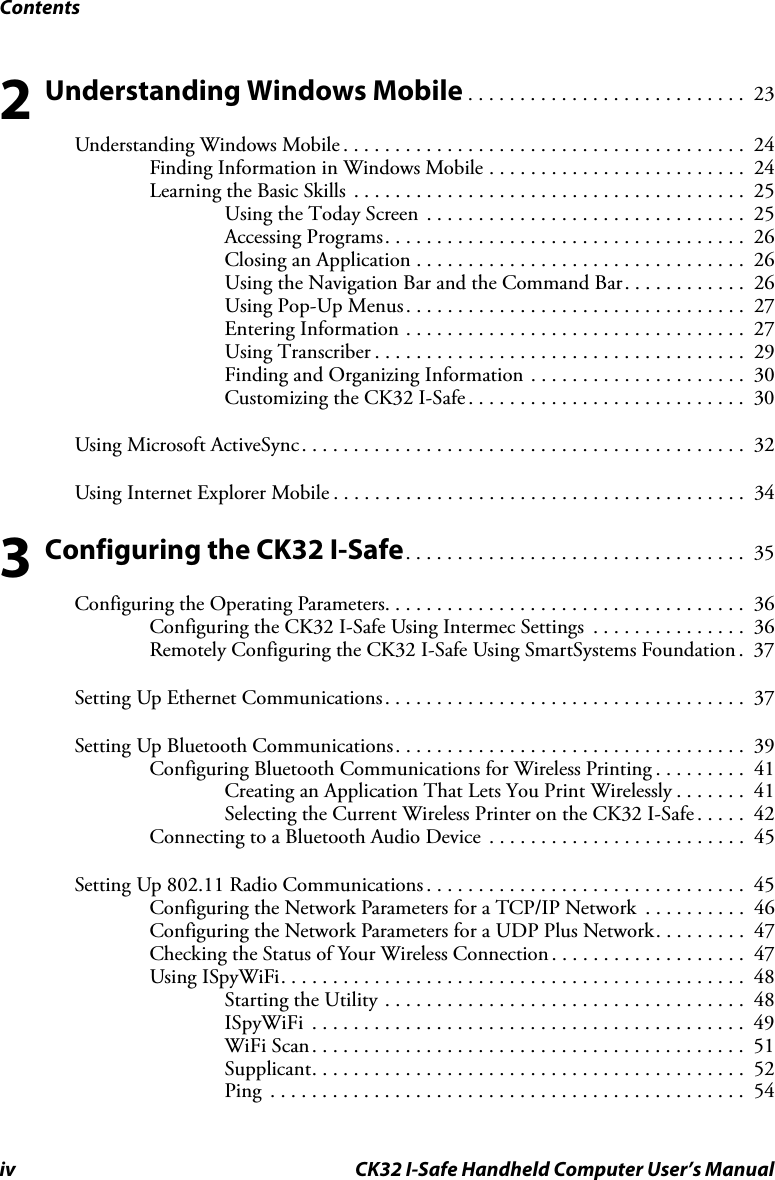
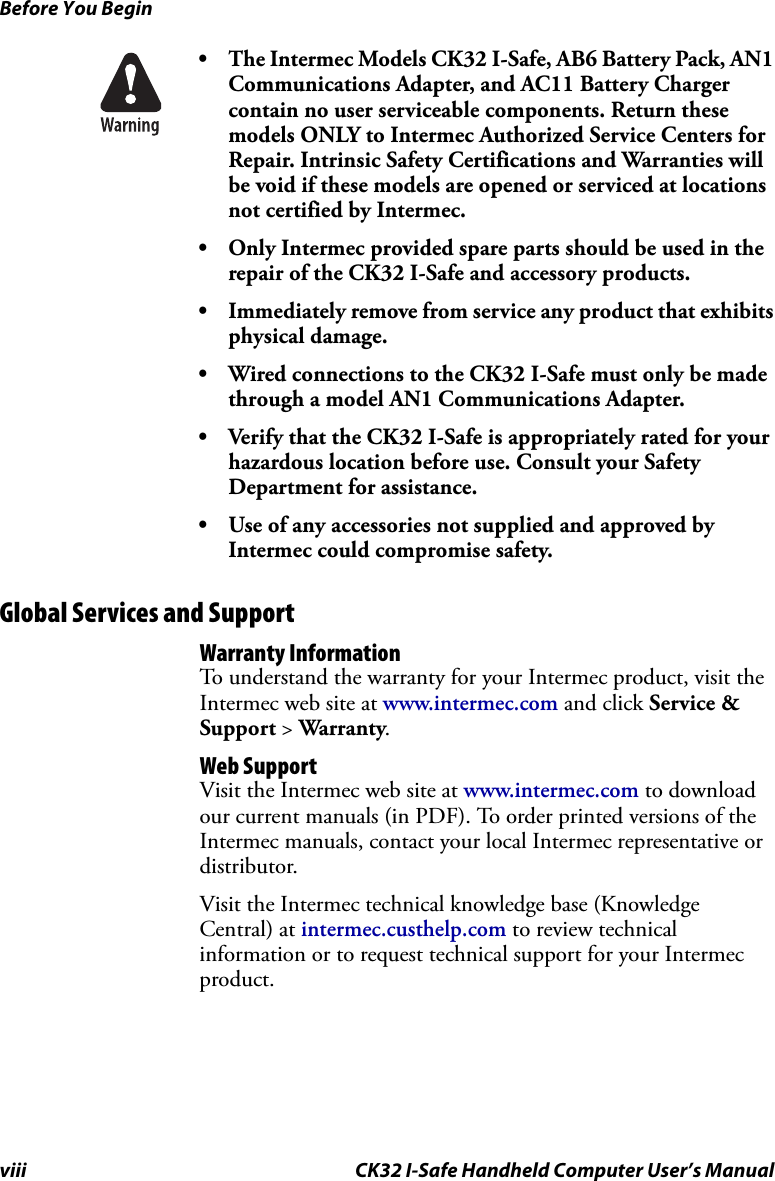
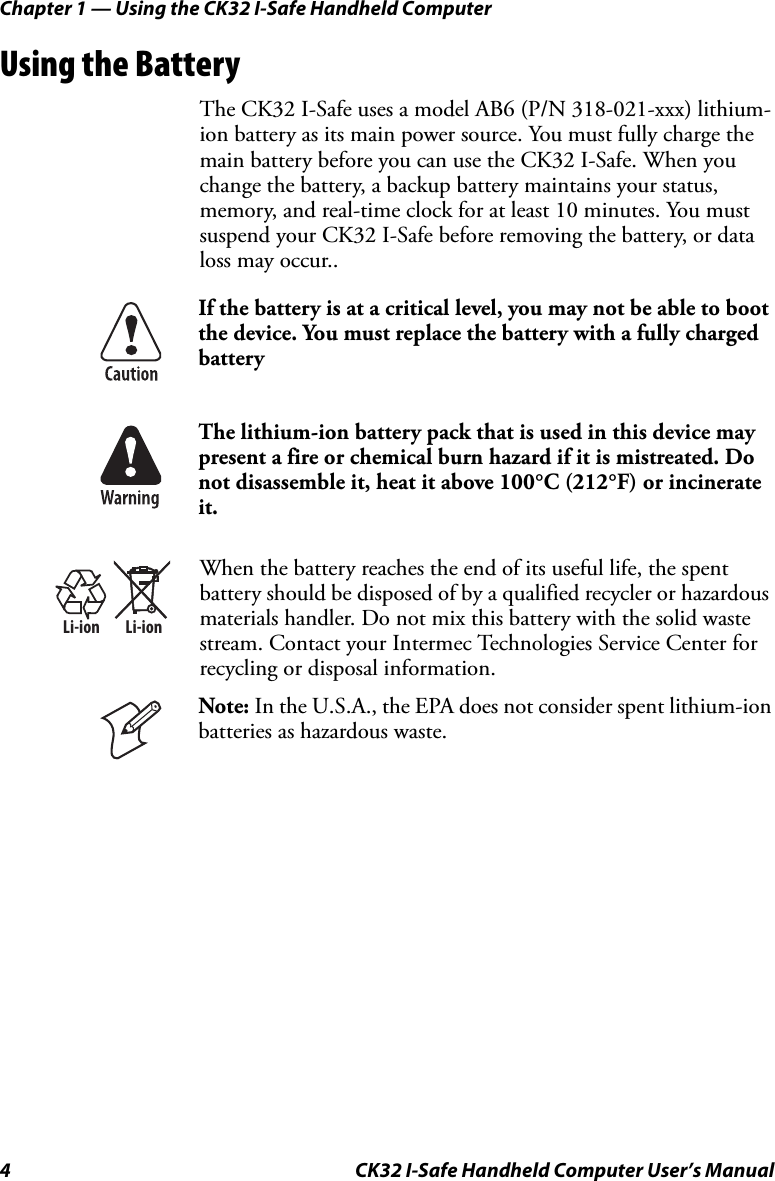
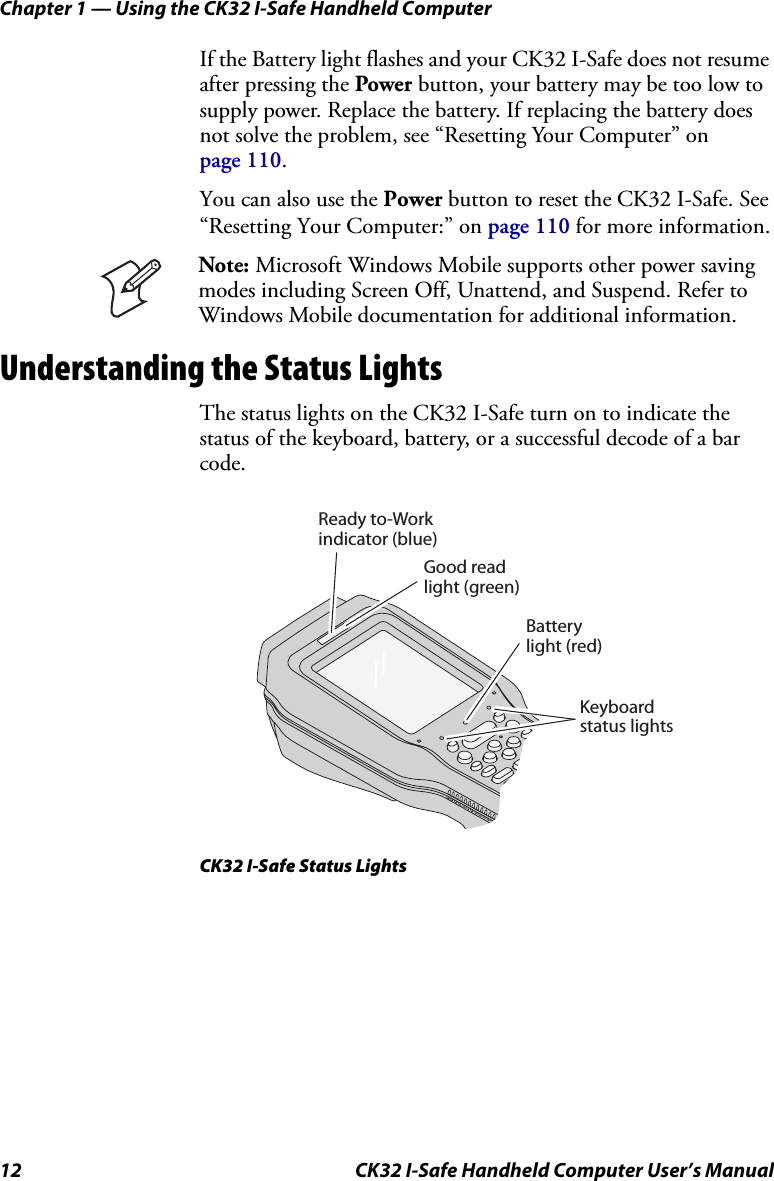
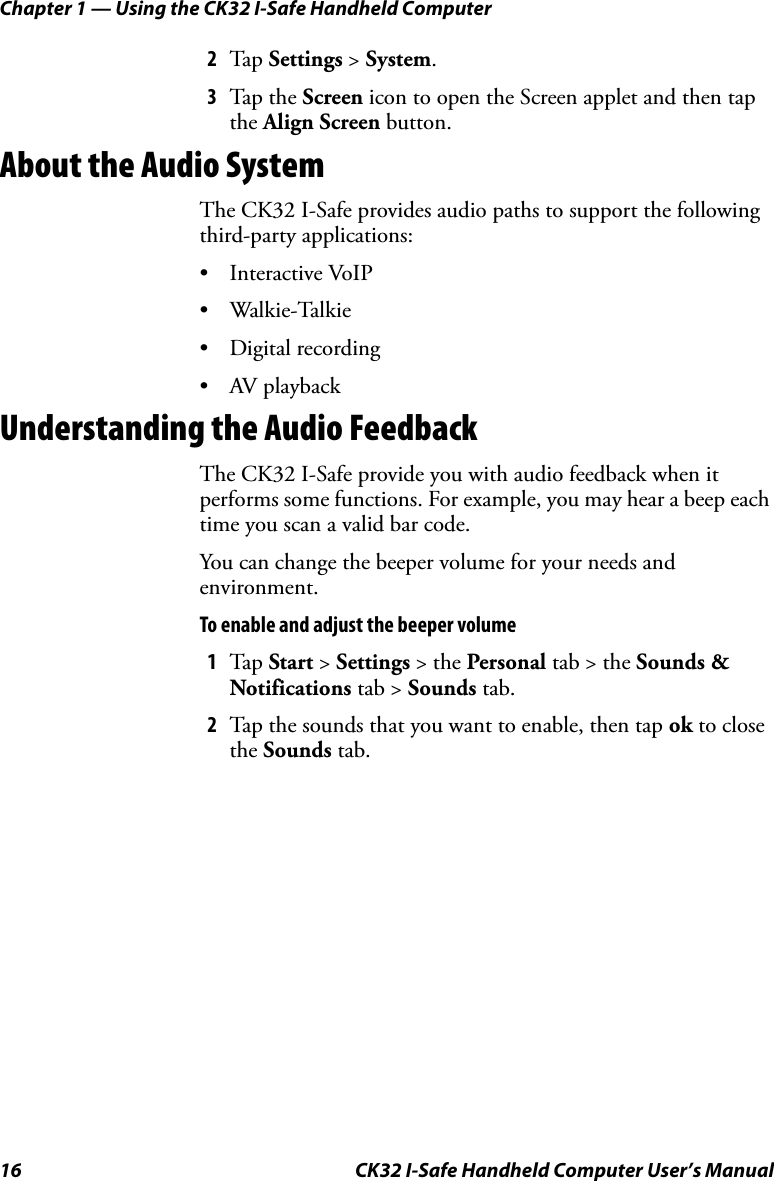
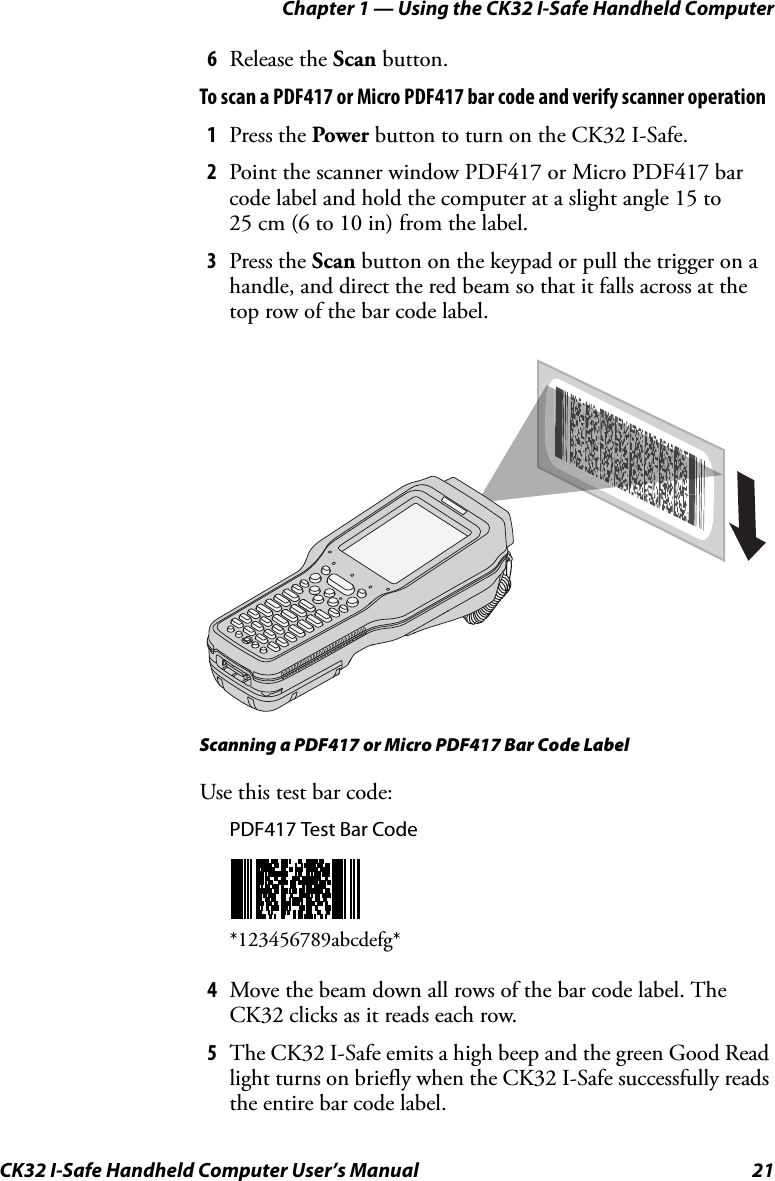
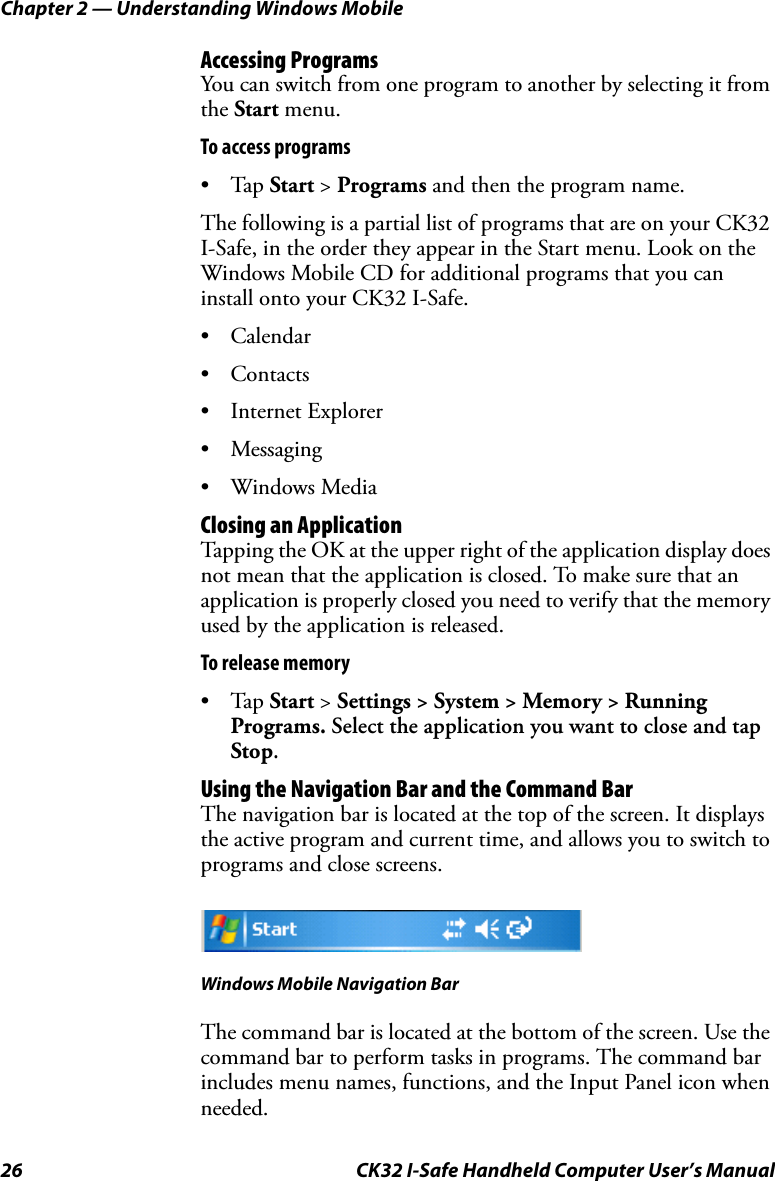
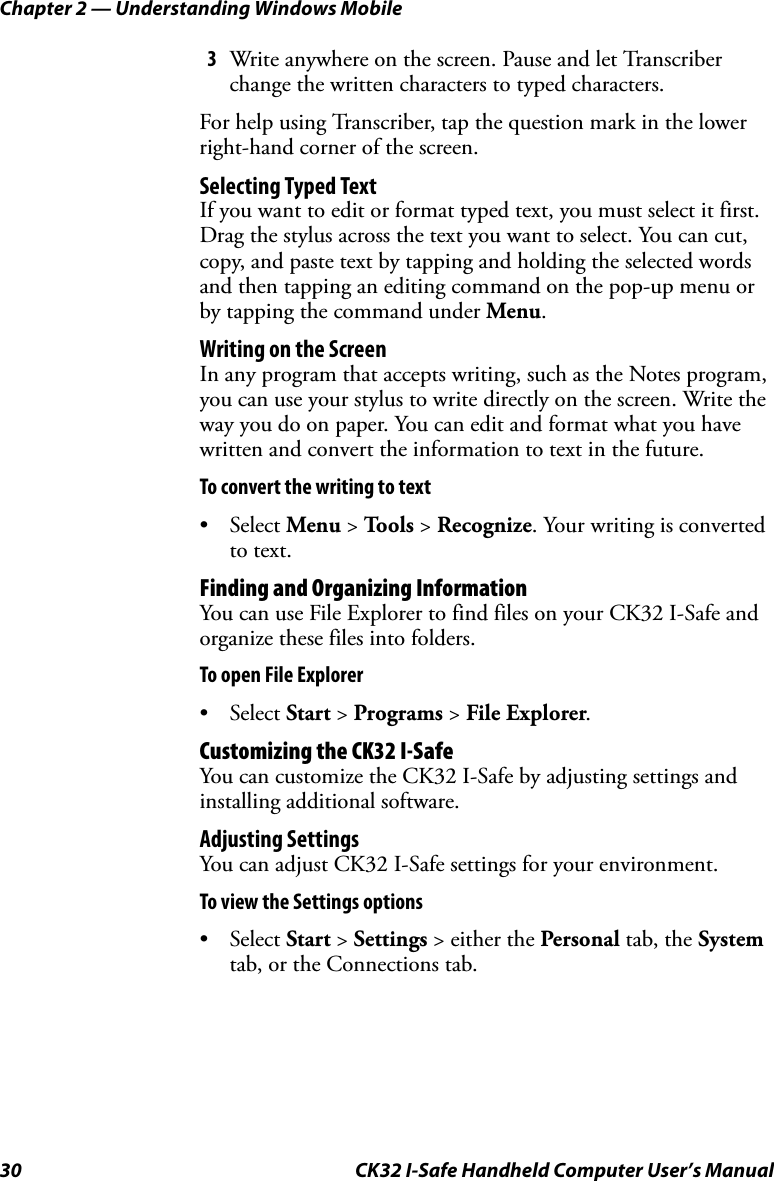
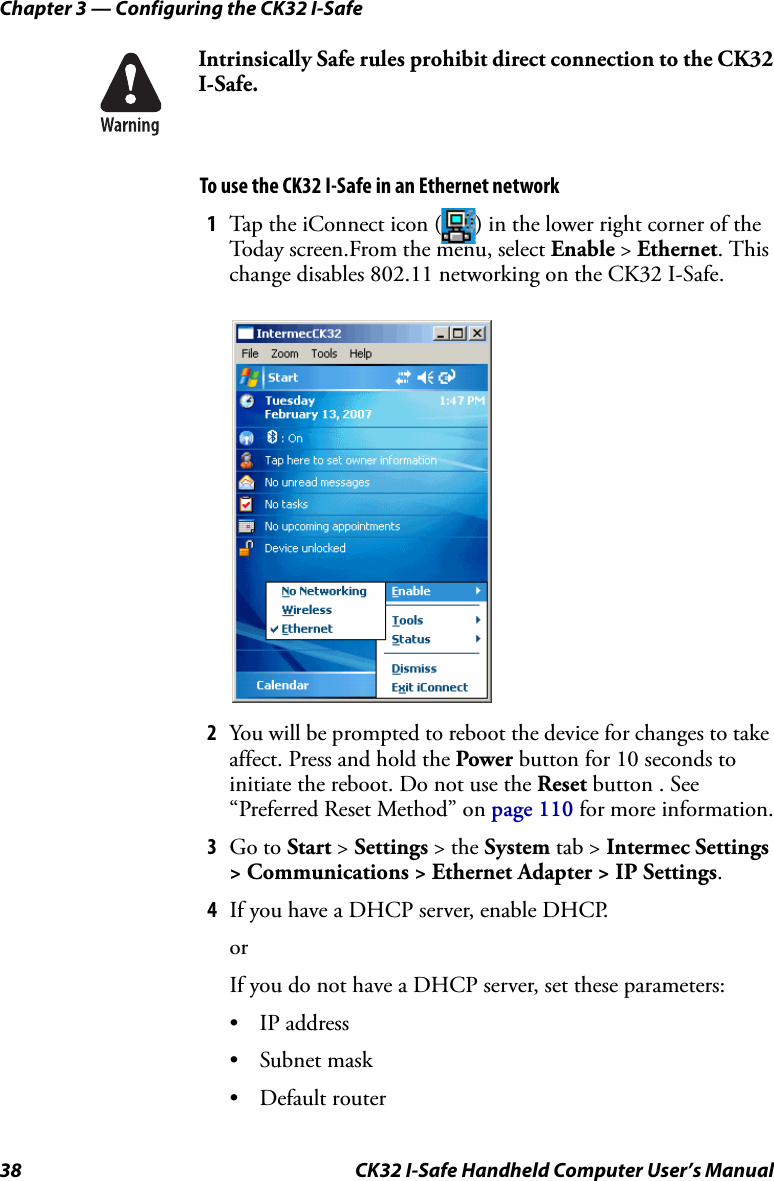
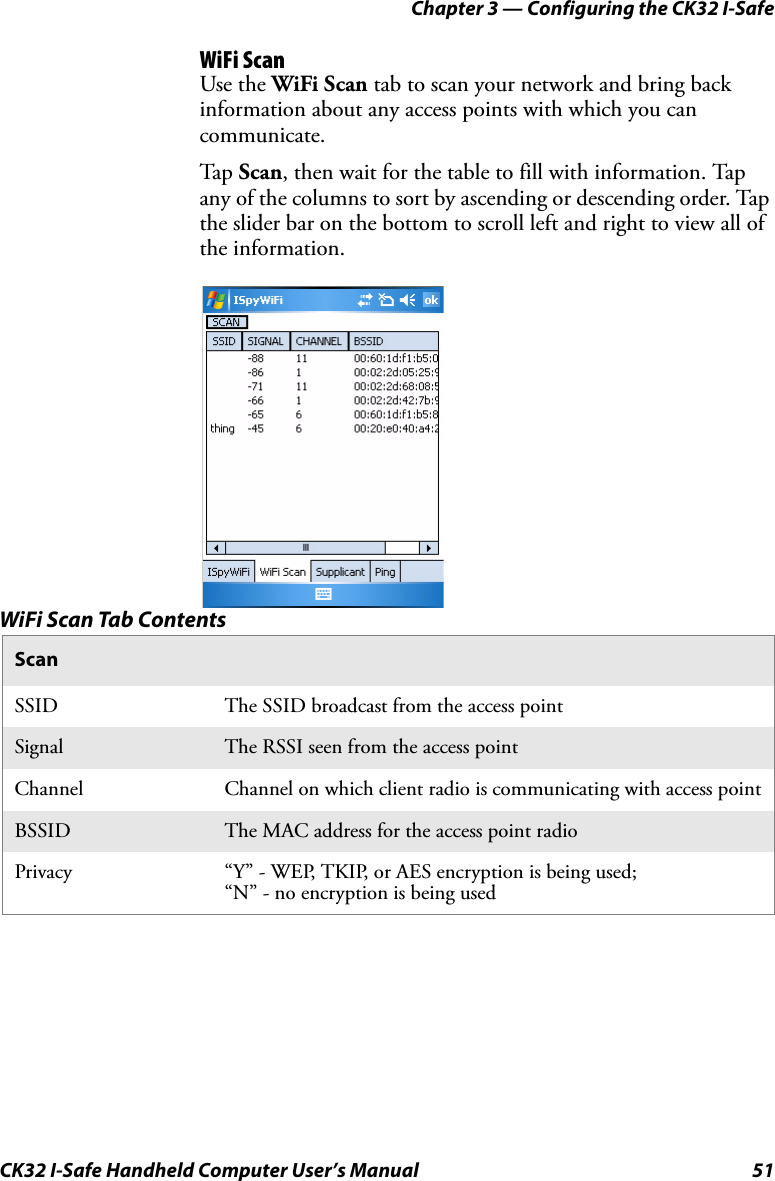
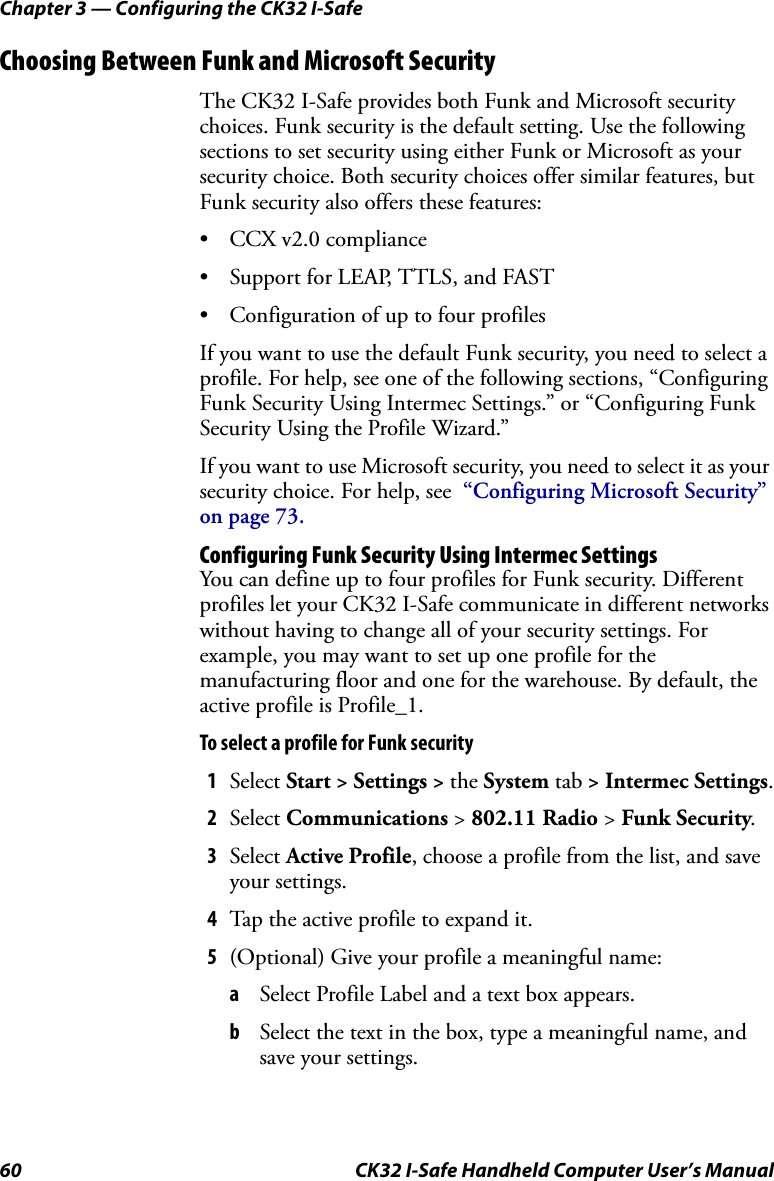
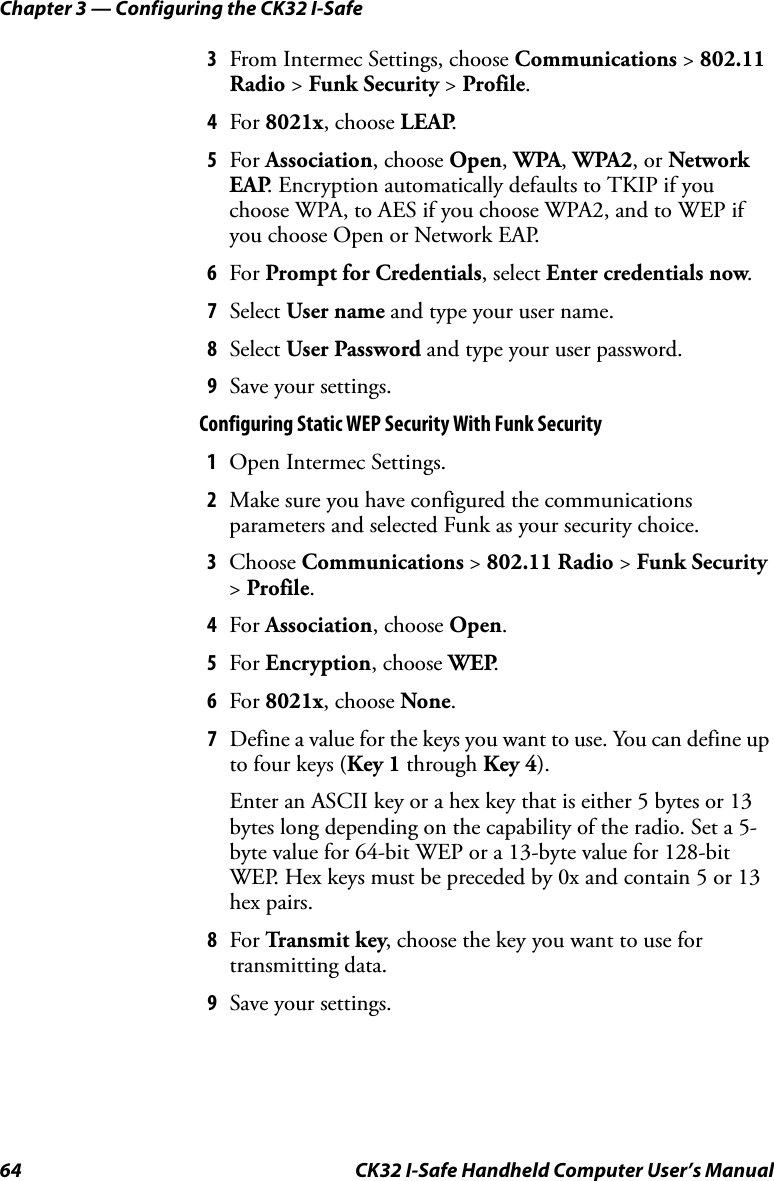
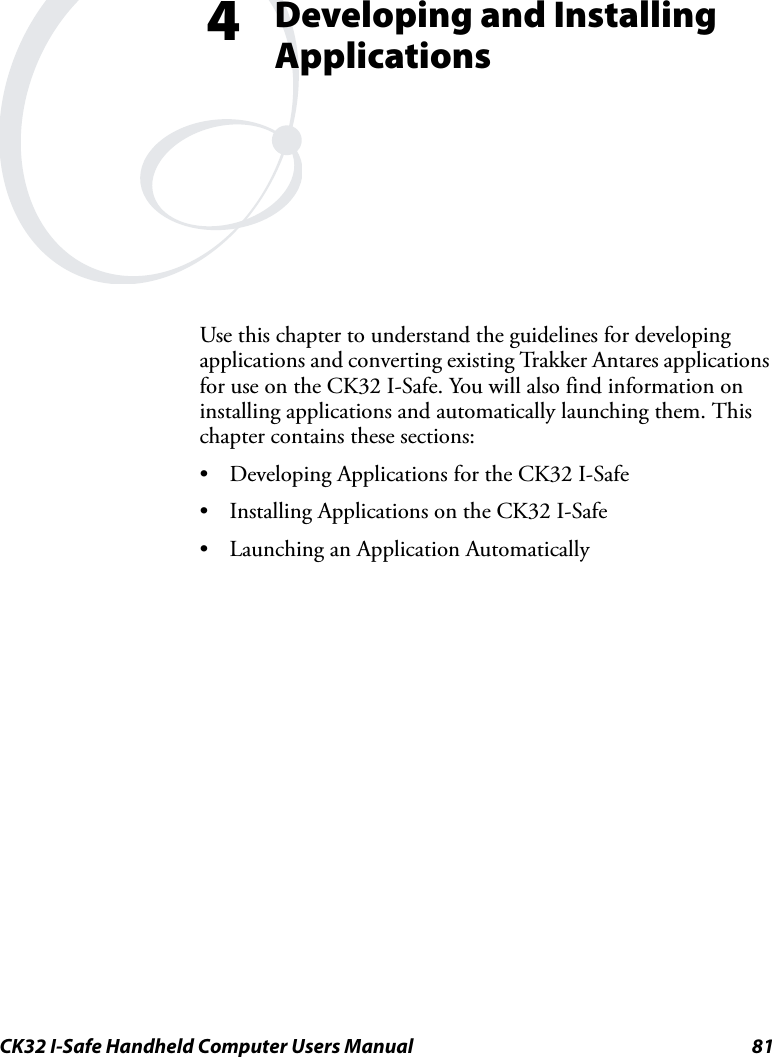
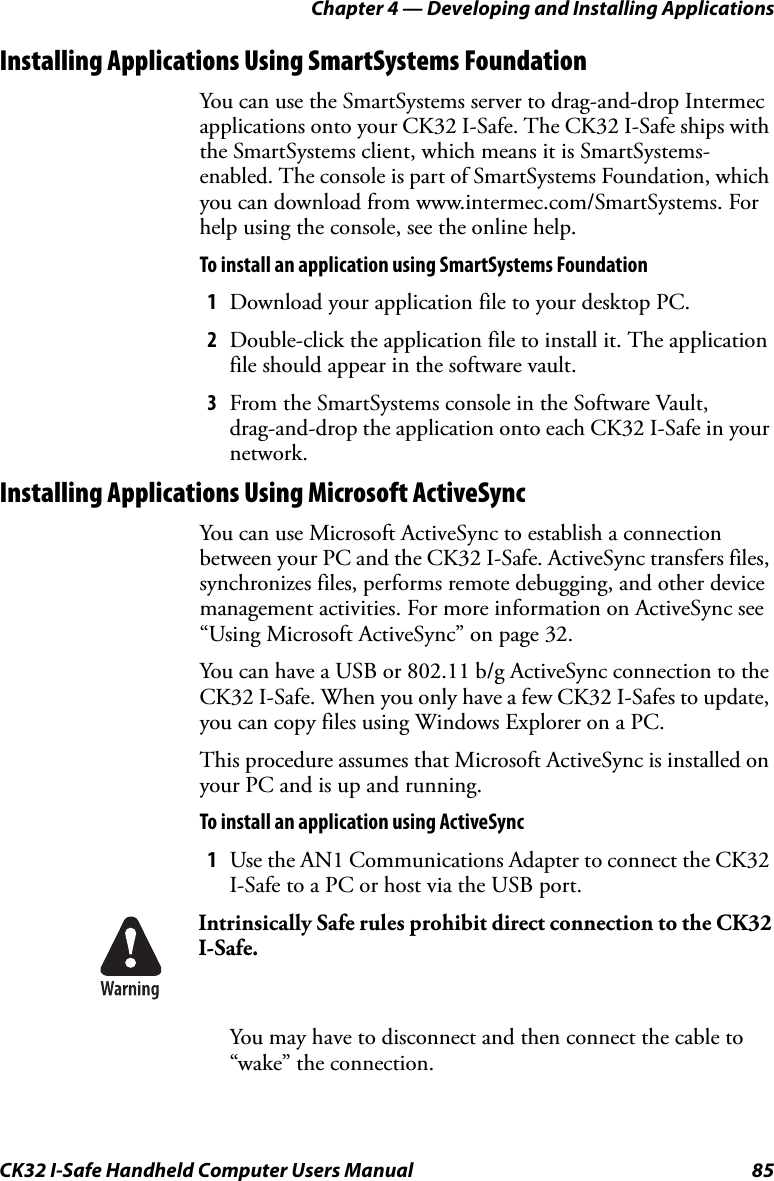
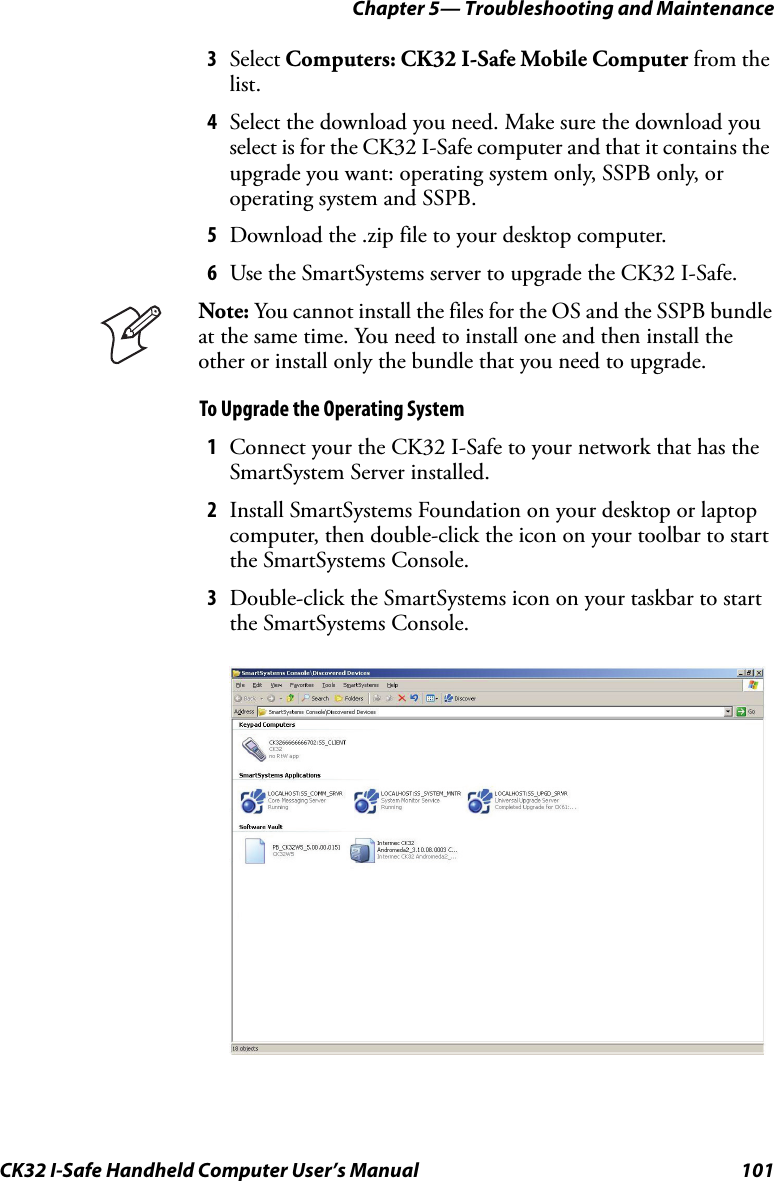
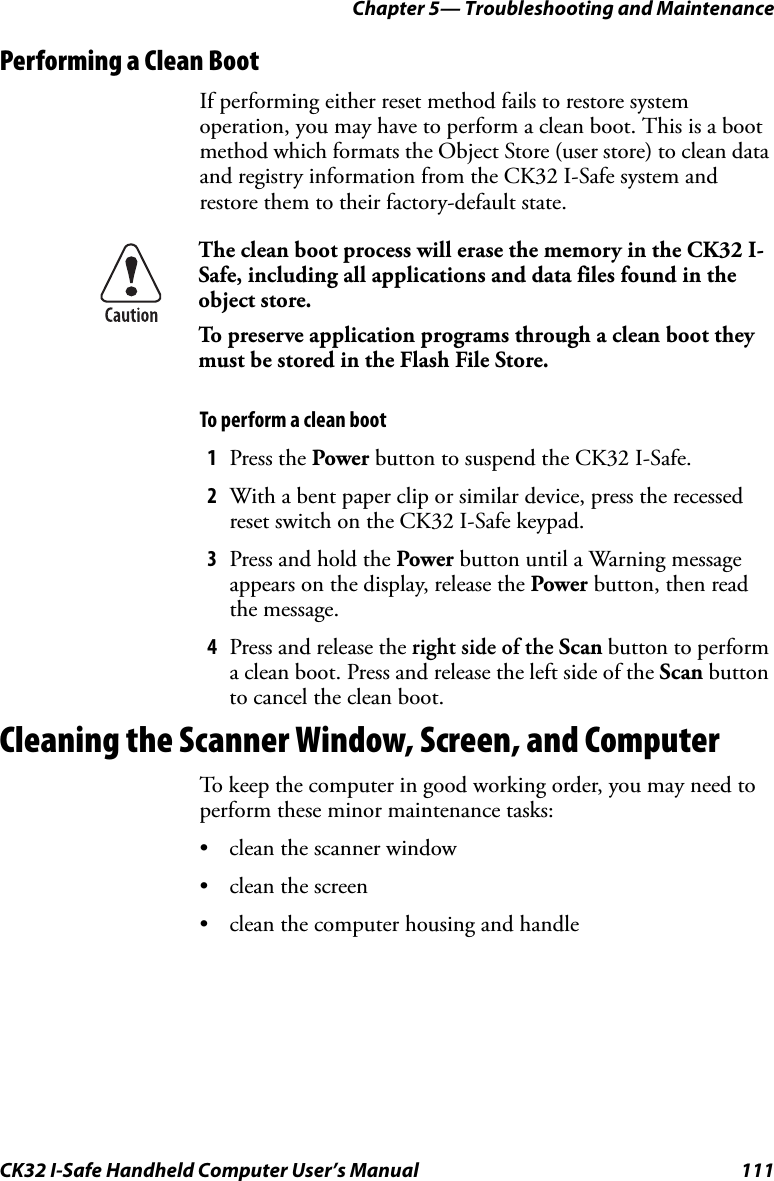
![Chapter 4 — Developing and Installing ApplicationsCK32 I-Safe Handheld Computer Users Manual 95; Log any debug output to a trace file.LOGGING 1; Perform a SetEvent on the event name "autoexec_started".SIGNAL "autoexec_started"; Include this child data file, childexec.dat.CALL "\childexec.dat"; Use autocopy to copy the audio control panel from flash file store to the windows directory. Wait for up to 60 seconds for it to exit.EXEC "\Flash File Store\SYSTEM\autocopy.exe" -S"\Flash File Store\System\CPLAudio.cpl" -D"\Windows\CPLAudio.cpl"; Change the default EXEC wait time to 90 seconds.EXECWAIT 90; Suspend processing any commands for 10 seconds.WAIT 10; Suspend processing any commands until event called MyEventName is signaled.WAITFOR "MyEventName"AutoCopyAutoCopy (AutoCopy.exe) copies/moves files between locations. It has no user interface and is configured through command line arguments. It has support for the following parameters, in no particular order:Usage: AutoCopy [-D["W"]] [-L["X"]] [-M[D]] [-Q[Y]] [-S["Z"]]AutoCopy Script CommandsProcess return code uses standard error codes defined in WinError.h.Command Description-D Indicates the destination file name and must be fully qualified. W is a string value.-L Indicates a fully qualified file name for logging to enable. Default is disabled. X is a string value.-M Moves file to a destination rather than copies the file. Default value is disabled. D is an integer value. D=1 indicates enabled, 0 is disabled.-Q Indicates if a message box should appear when an error occurs. Default is disabled. Y is an integer value.-S Indicates a source file name and must be fully qualified. Z is a string value.](https://usermanual.wiki/Intermec-Technologies/DRCB.User-Manual/User-Guide-804254-Page-108.png)
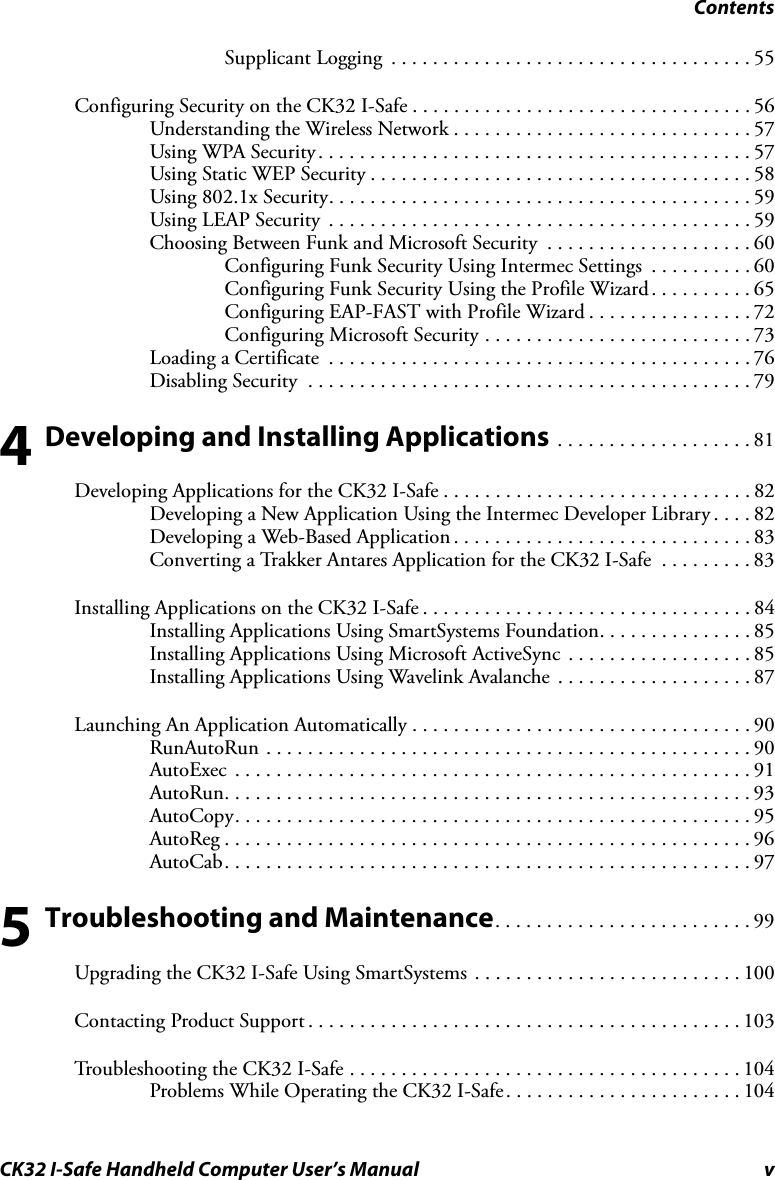
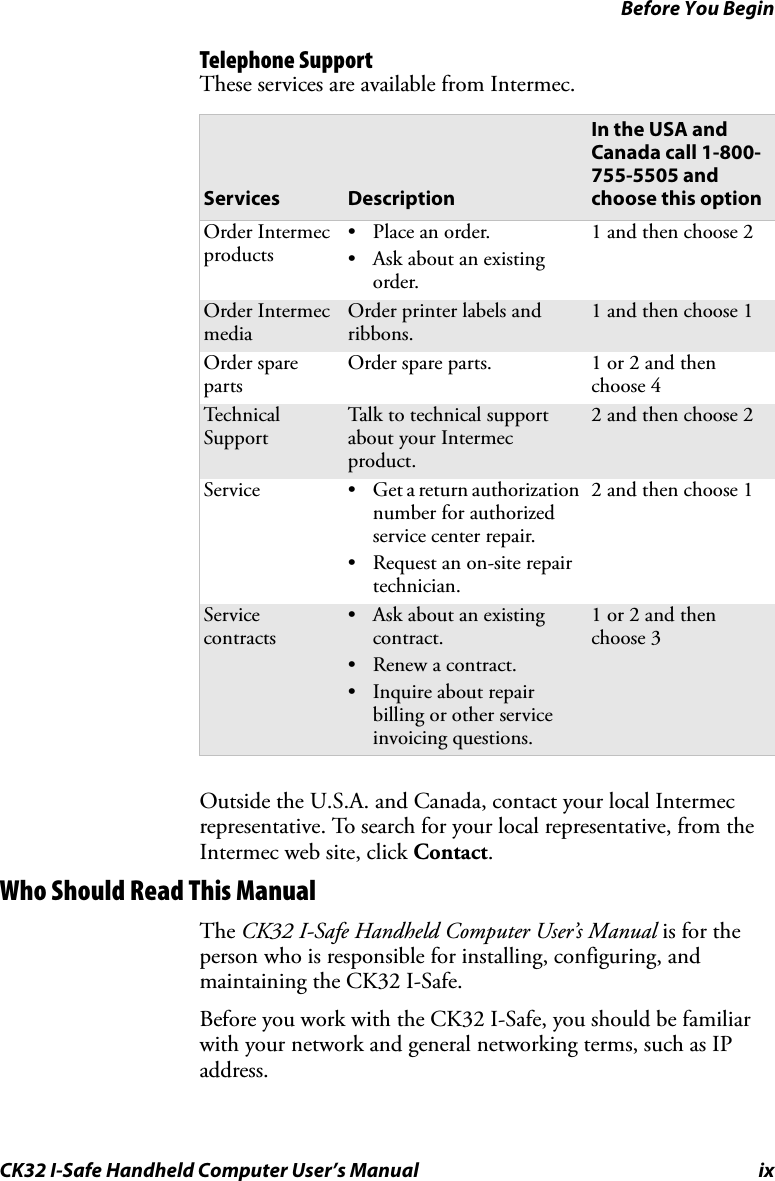
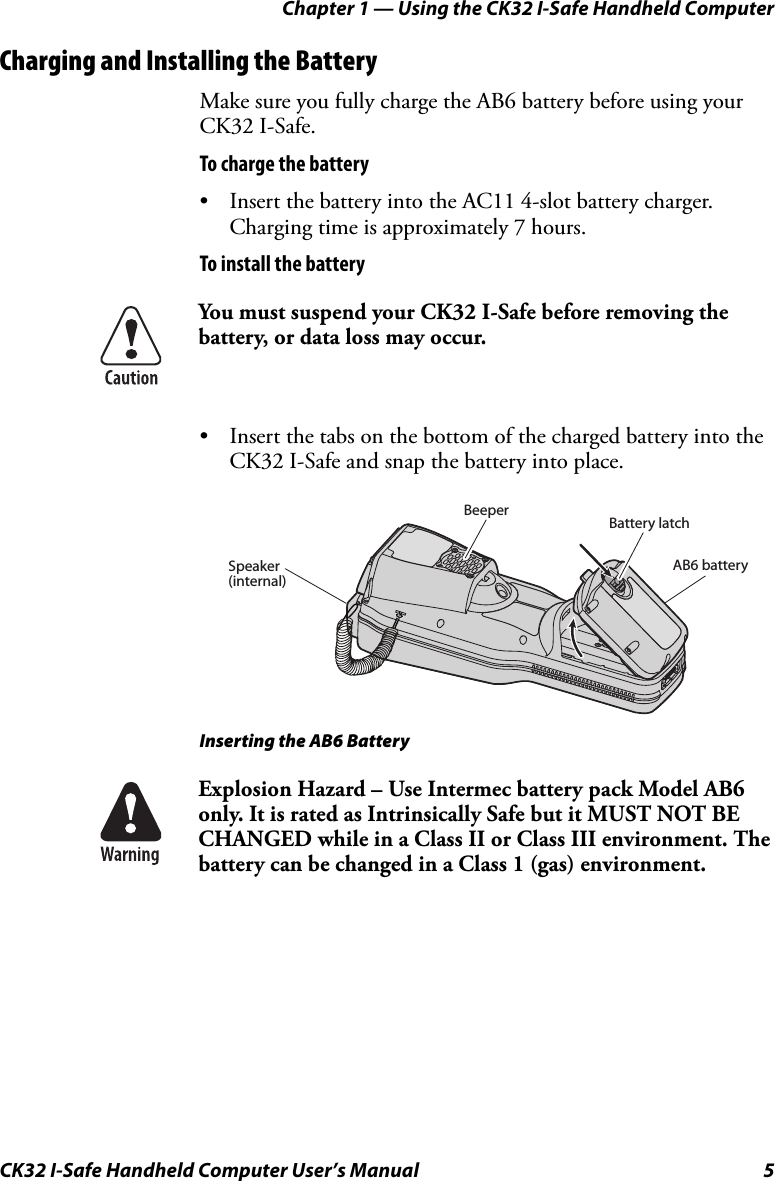
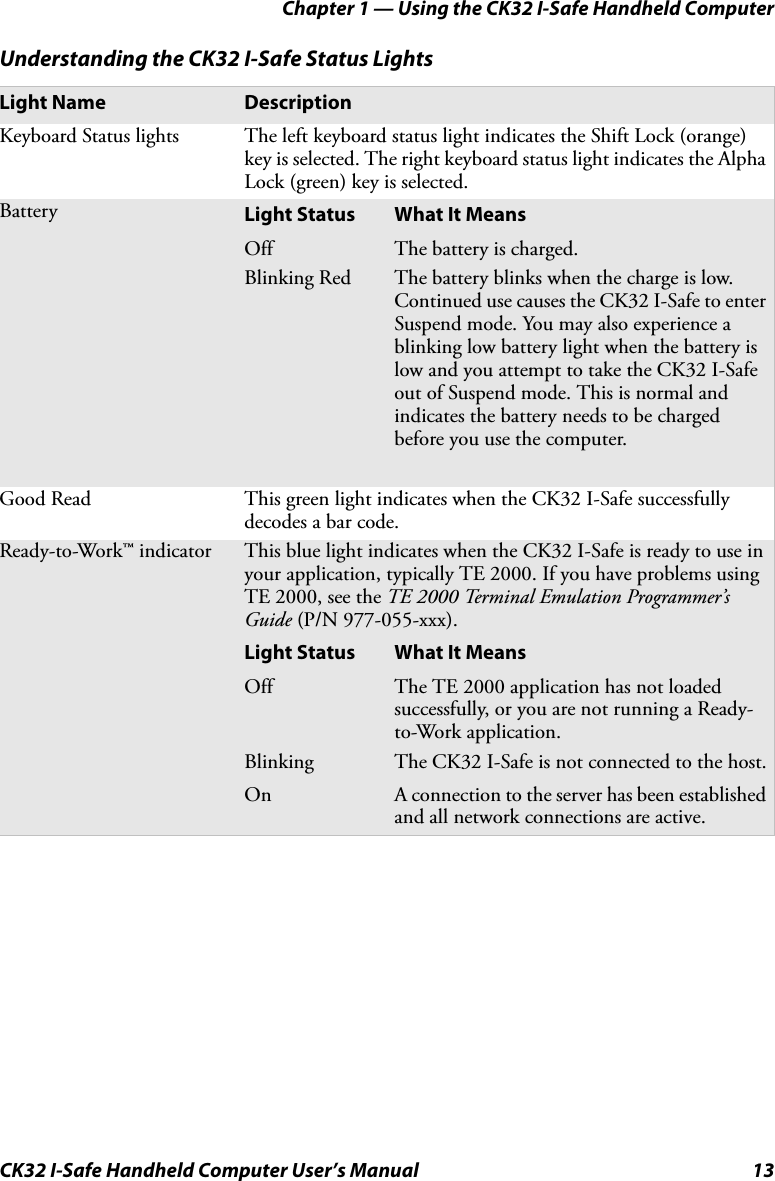
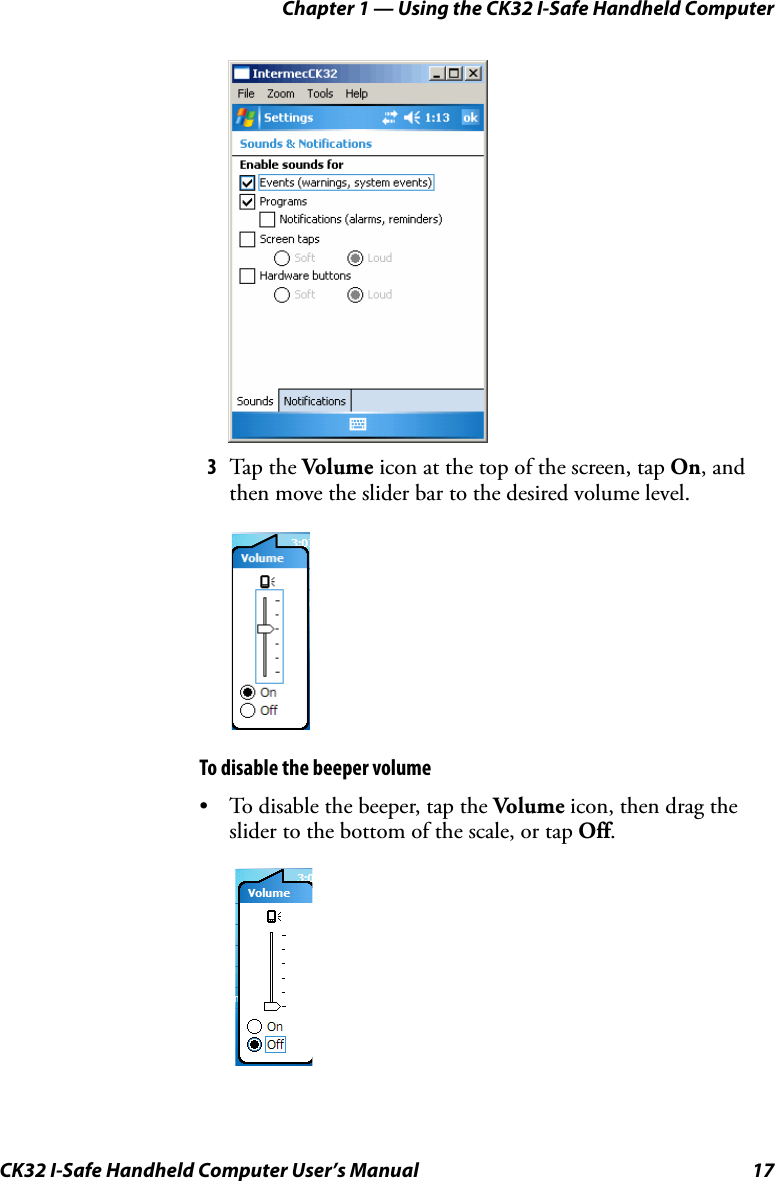
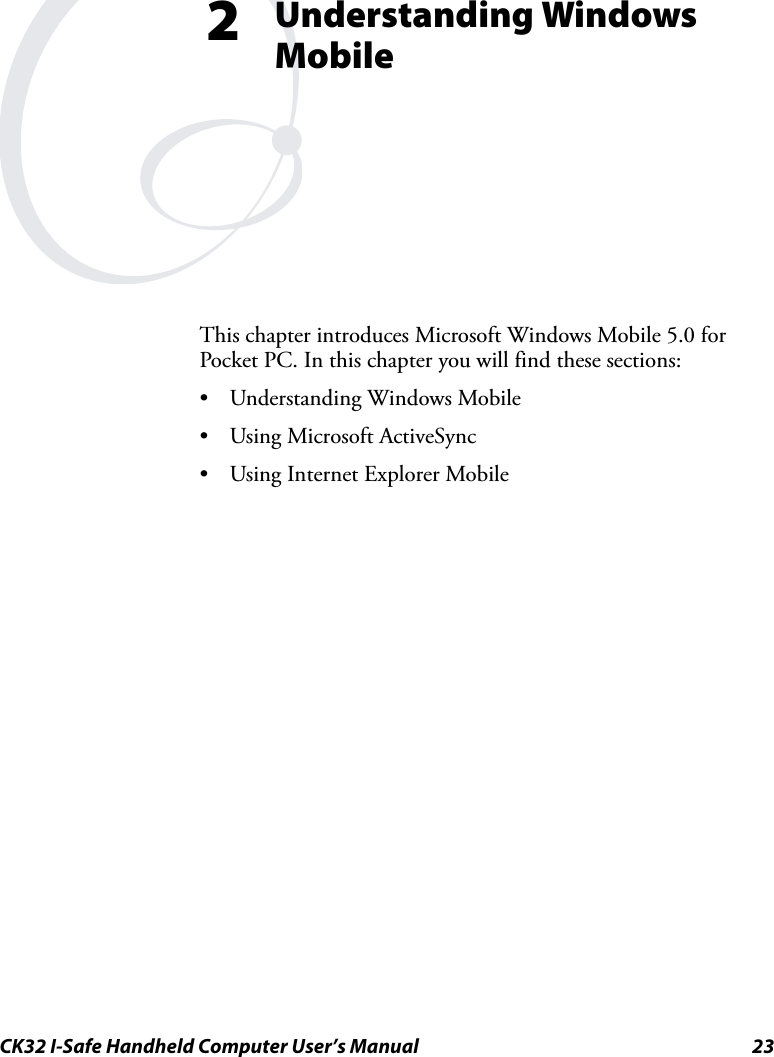
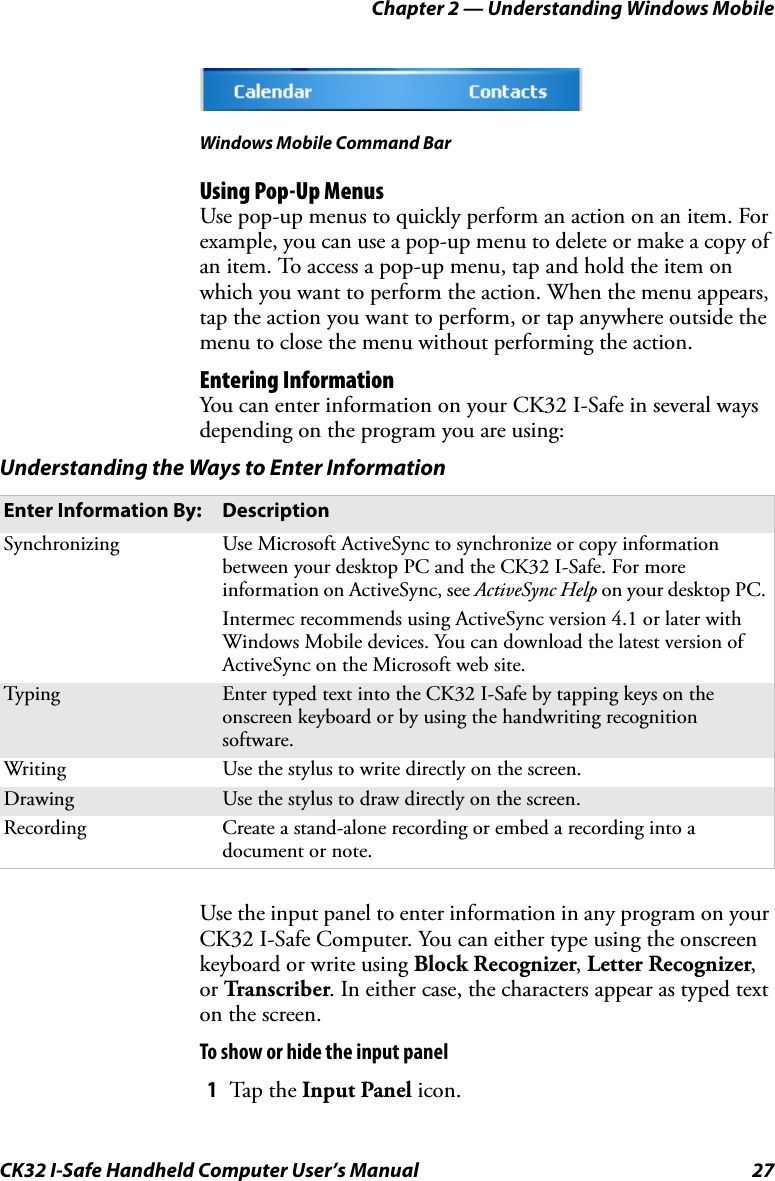
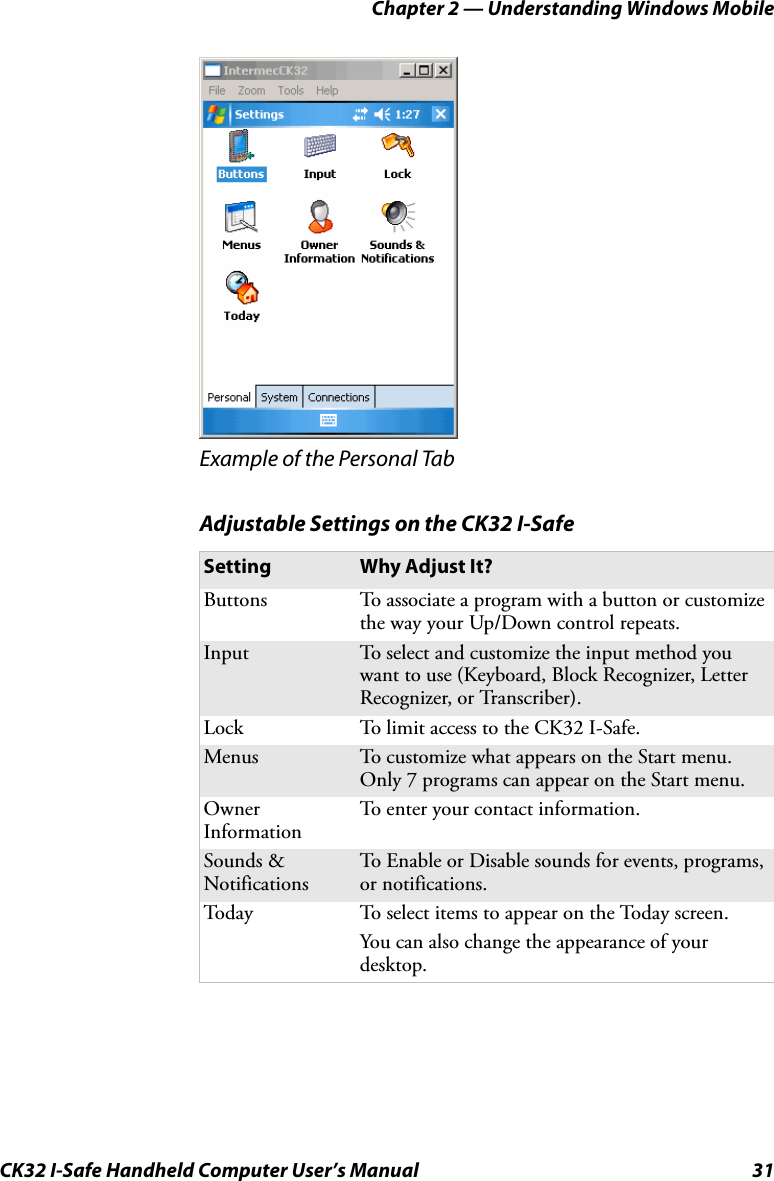
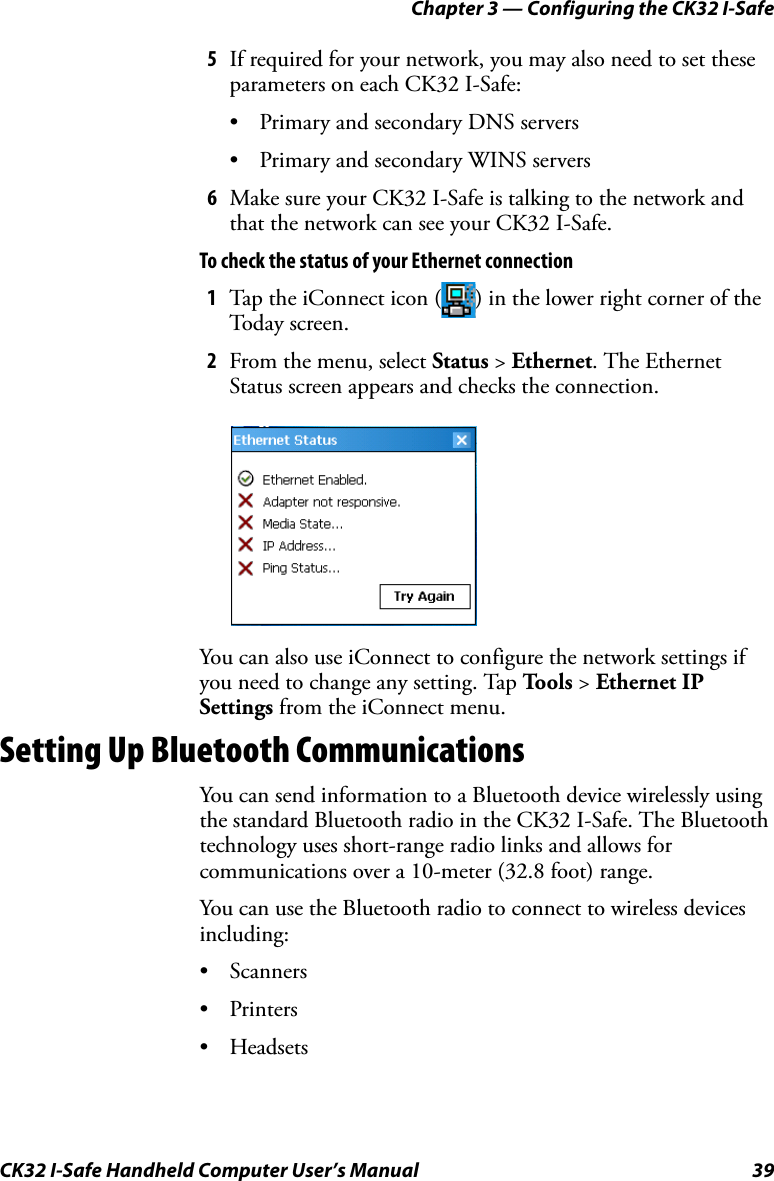
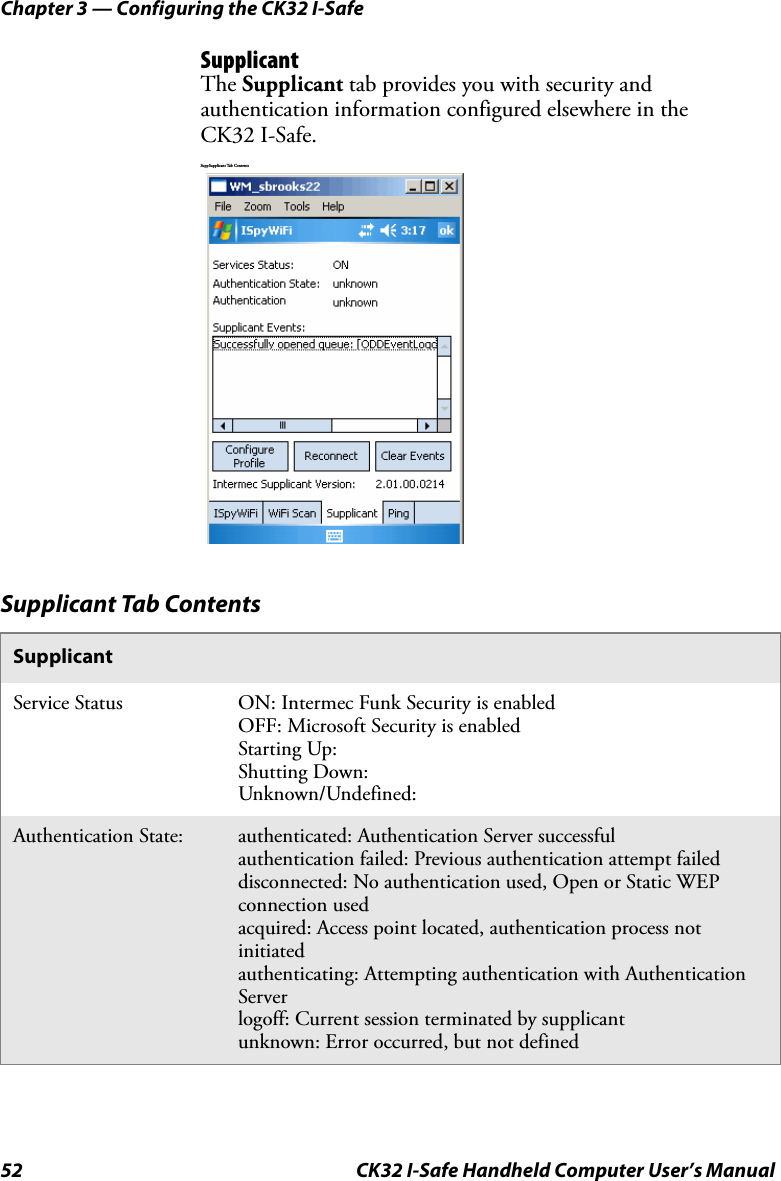
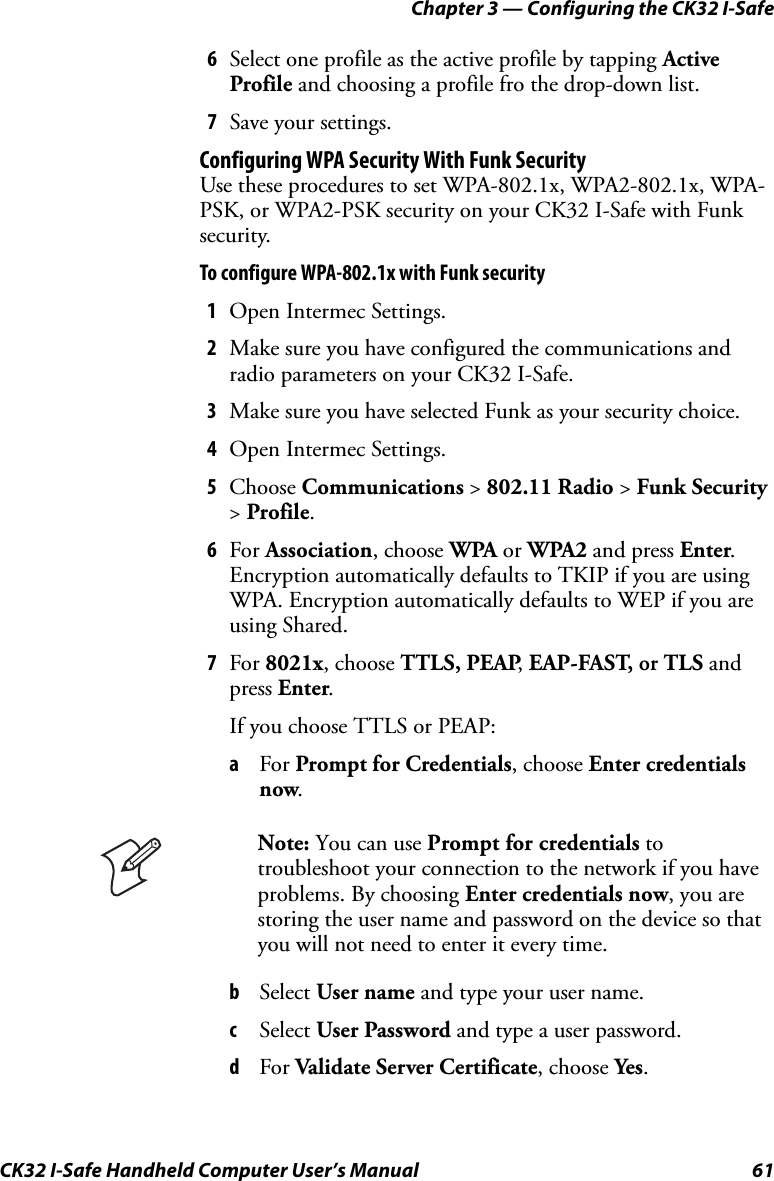
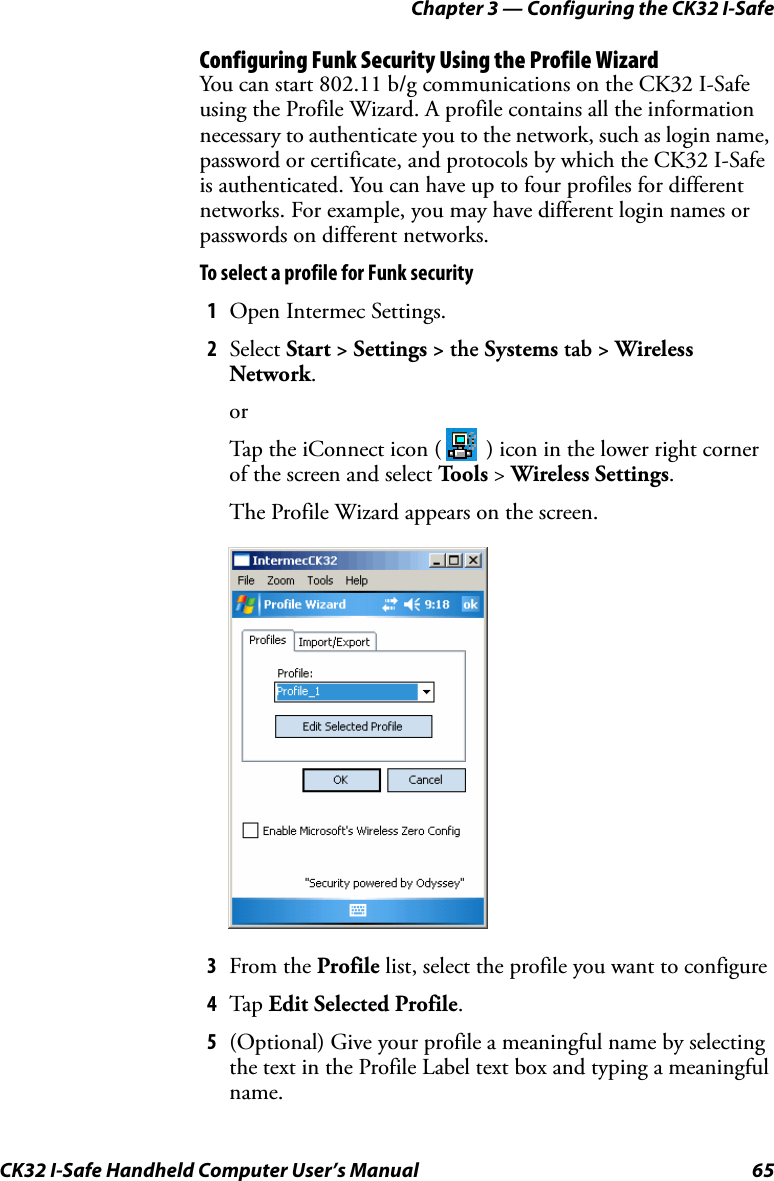
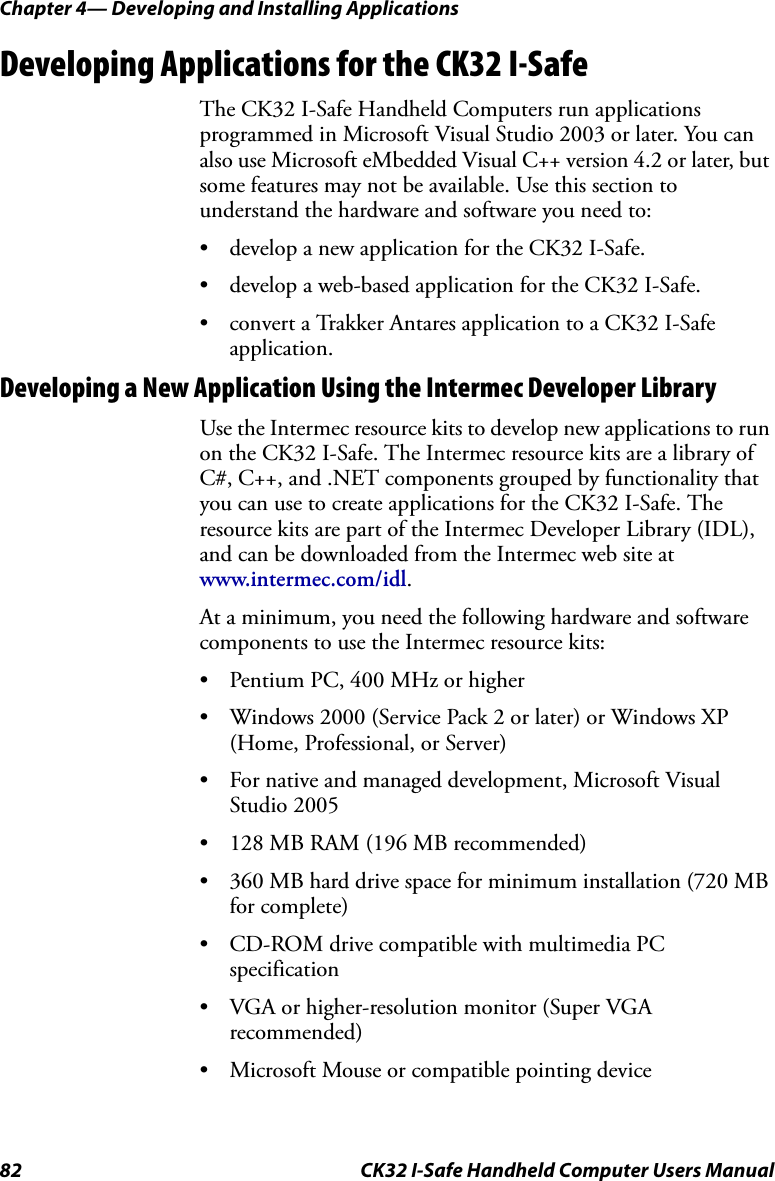
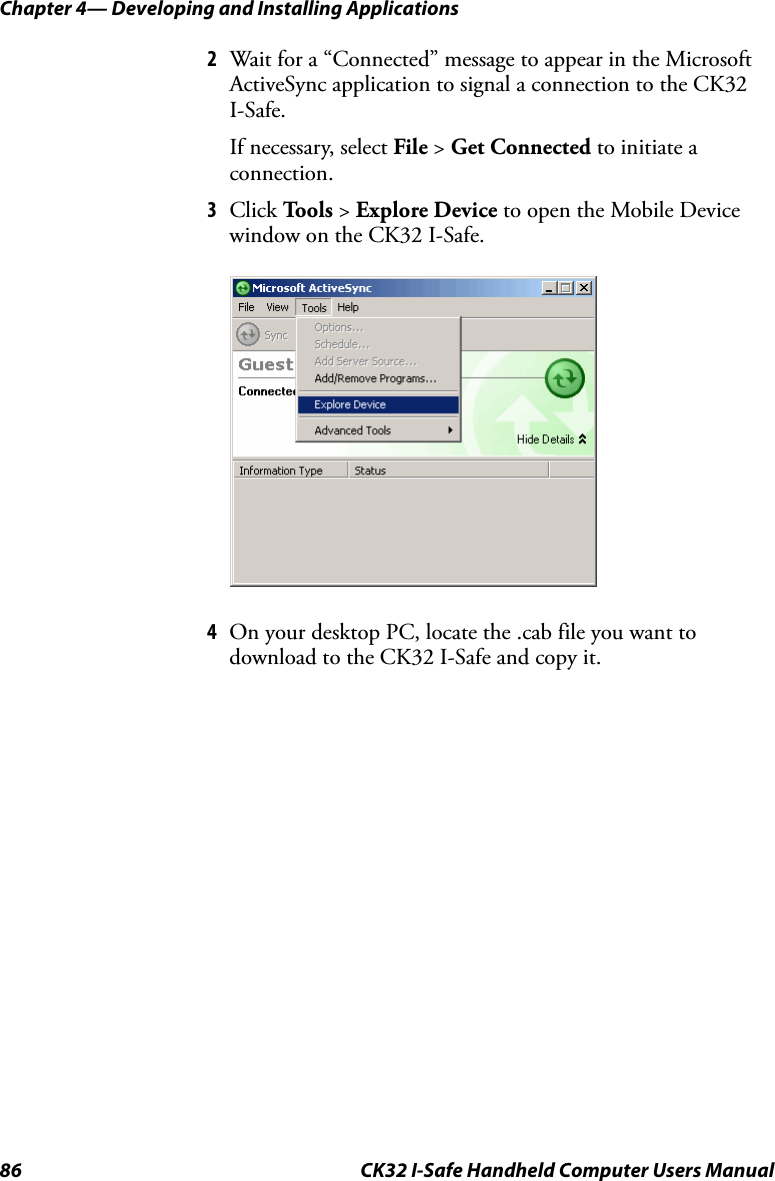
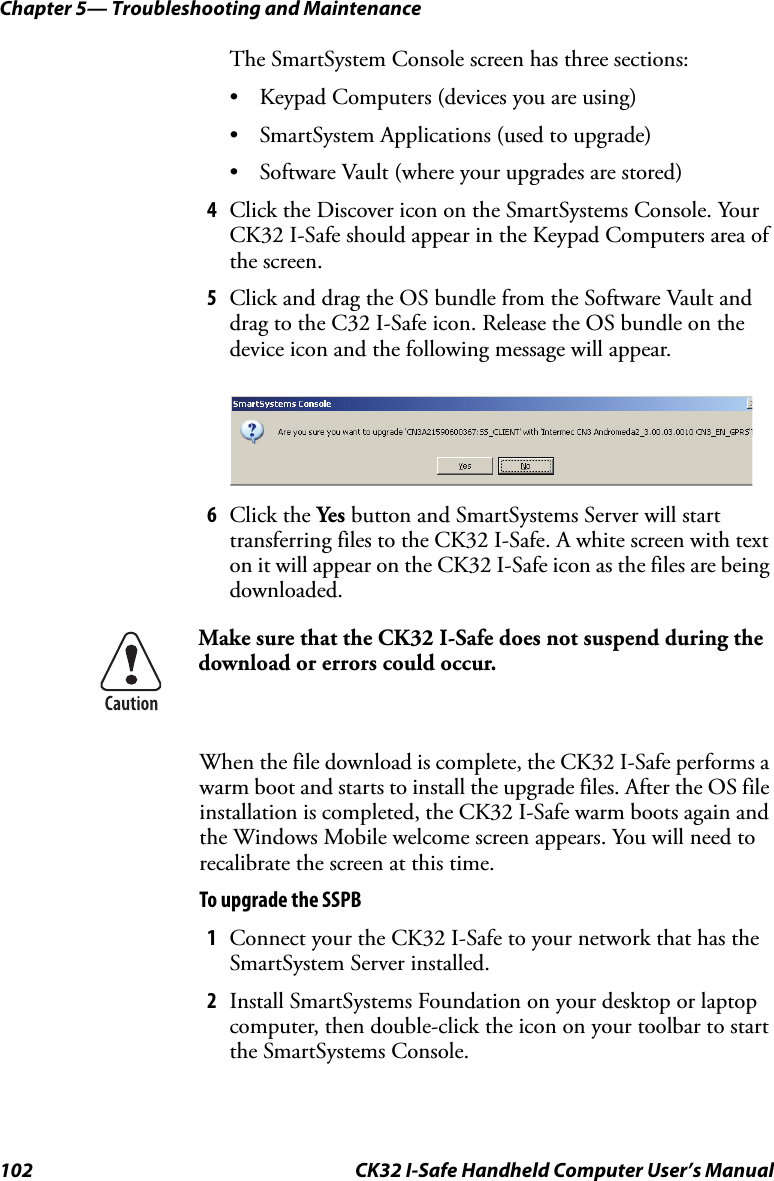
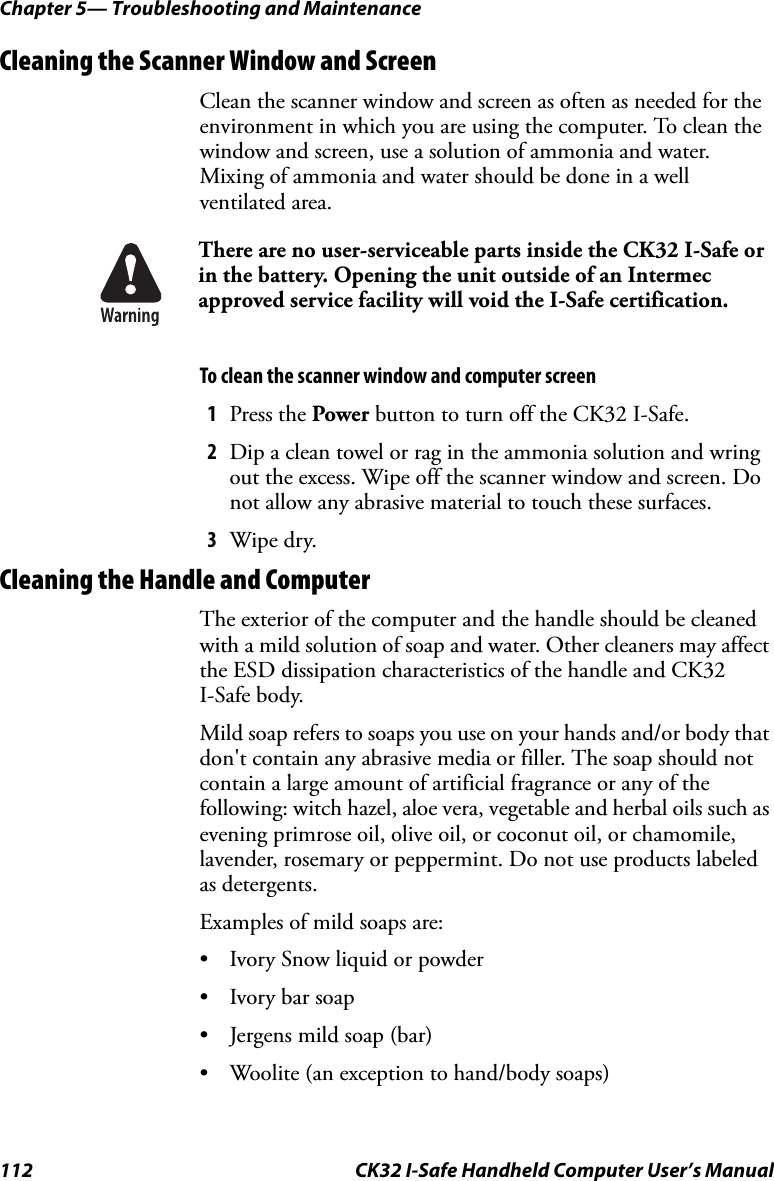
![Chapter 4— Developing and Installing Applications96 CK32 I-Safe Handheld Computer Users ManualExample:; use AutoCopy to copy the control panel from flash file store to windows. autocopy.exe -S"\Flash File Store\System\Audio.cpl" -D"\Windows\Audio.cpl"; use AutoCopy to move the control panel from flash file store to windows. autocopy.exe -M1 -S"\Flash File Store\System\Audio.cpl" -D"\Windows\Audio.cpl"AutoRegThe AutoReg (AutoReg.exe) component adds registry information to the Windows Mobile registry. It has no user interface and is configured through command line arguments. Usage: AutoReg [-D] [-HKey] [-Q] “filename”AutoReg Script CommandsProcess return code uses standard error codes defined in WinError.h.Example:; use AutoReg to install this registry information.autoreg.exe "\Flash File Store\install.reg"; use AutoReg to install this registry information. Delete the file afterwards.autoreg.exe -D "\Flash File Store\install.reg"; use AutoReg to extract registry information to a file. autoreg.exe -HHKEY_LOCAL_MACHINE\Software\Intermec\Version "\version.reg"Command Description-D Deletes the registry file after successfully loading it. This allows for systems that have hives implemented.-H Saves the registry path, and all child entries, to the specific .REG registry file.-Q Indicates whether a message box should appear when a fatal error occurs.filename Fully qualified file name to read from or write to, encased in double quotes to support spaces in paths or file names. See examples below.](https://usermanual.wiki/Intermec-Technologies/DRCB.User-Manual/User-Guide-804254-Page-109.png)
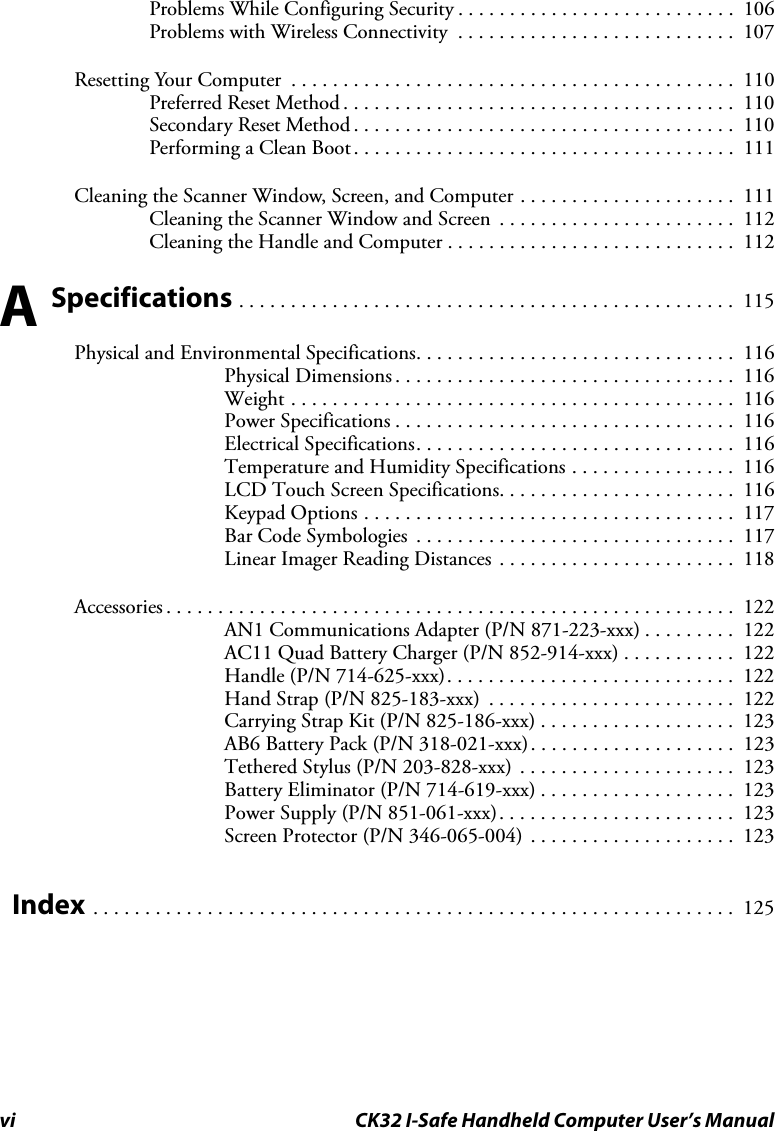
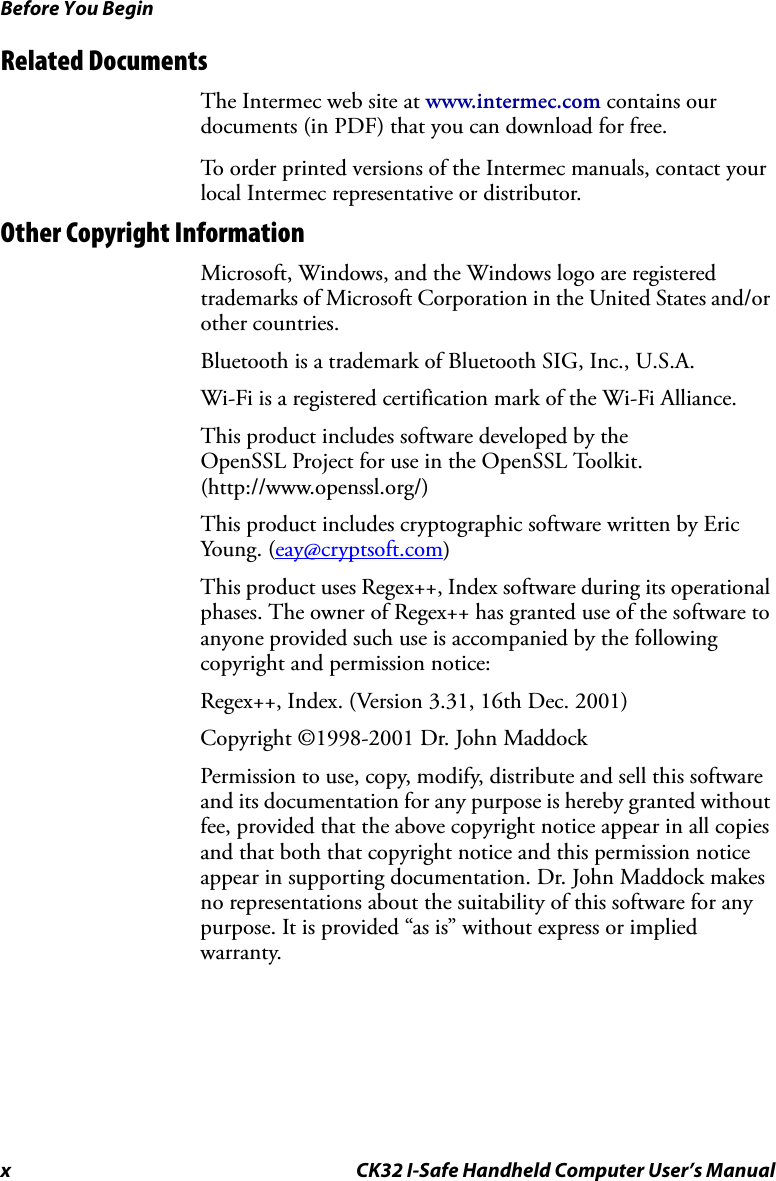
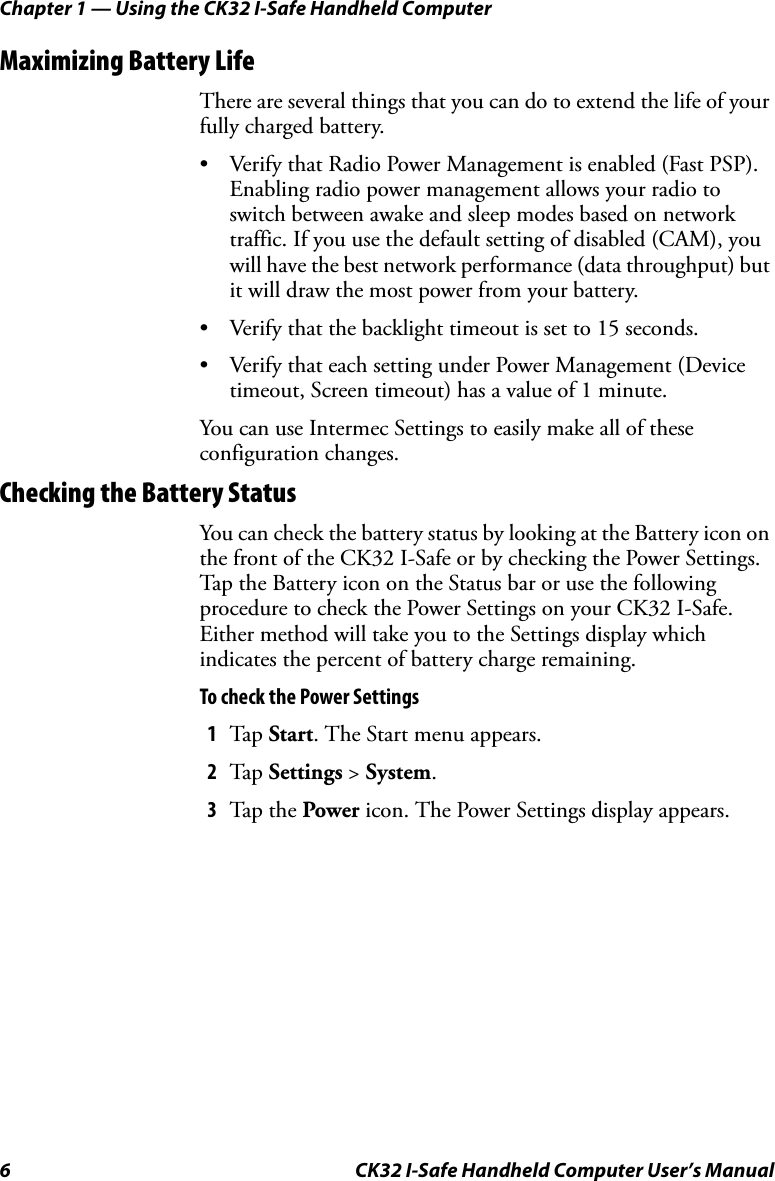
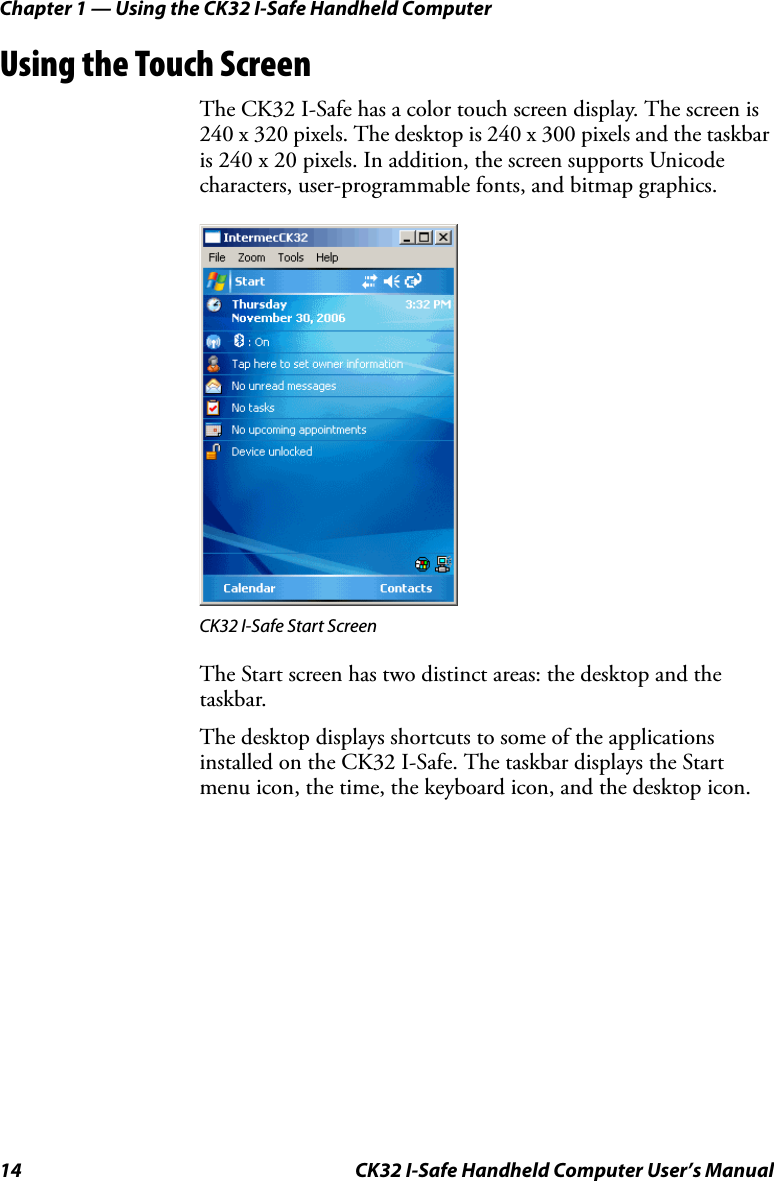
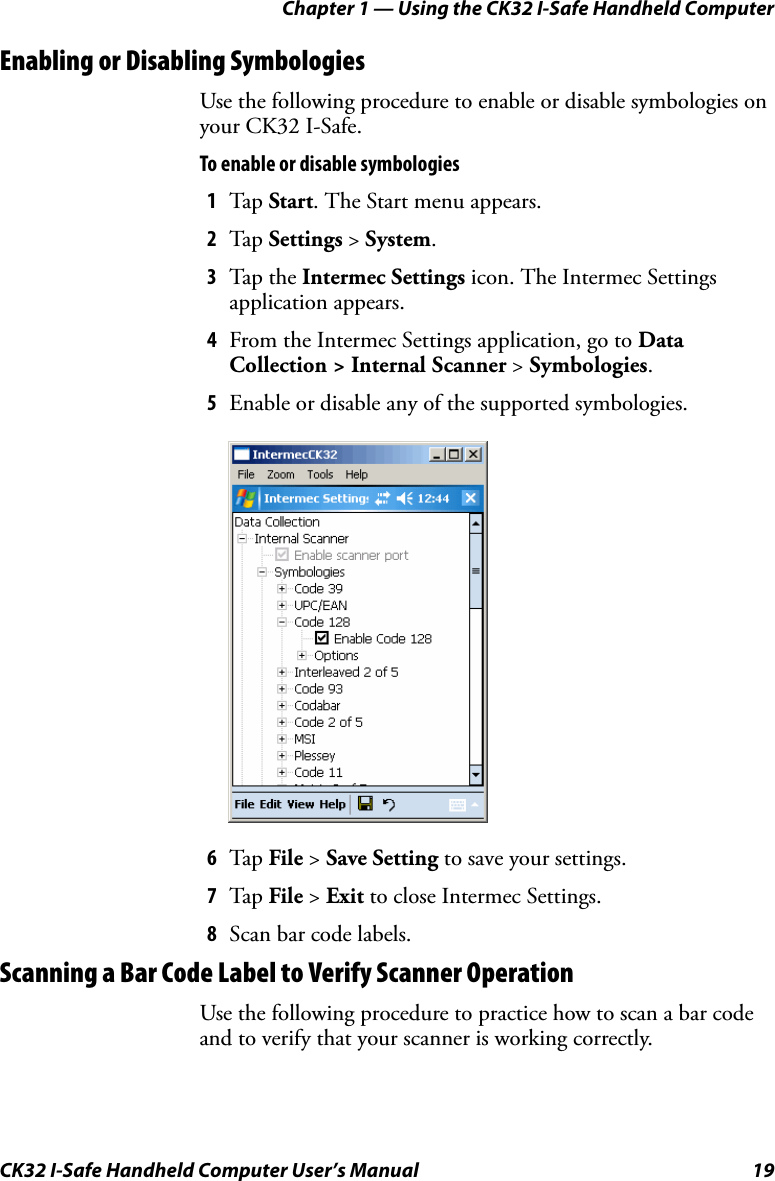
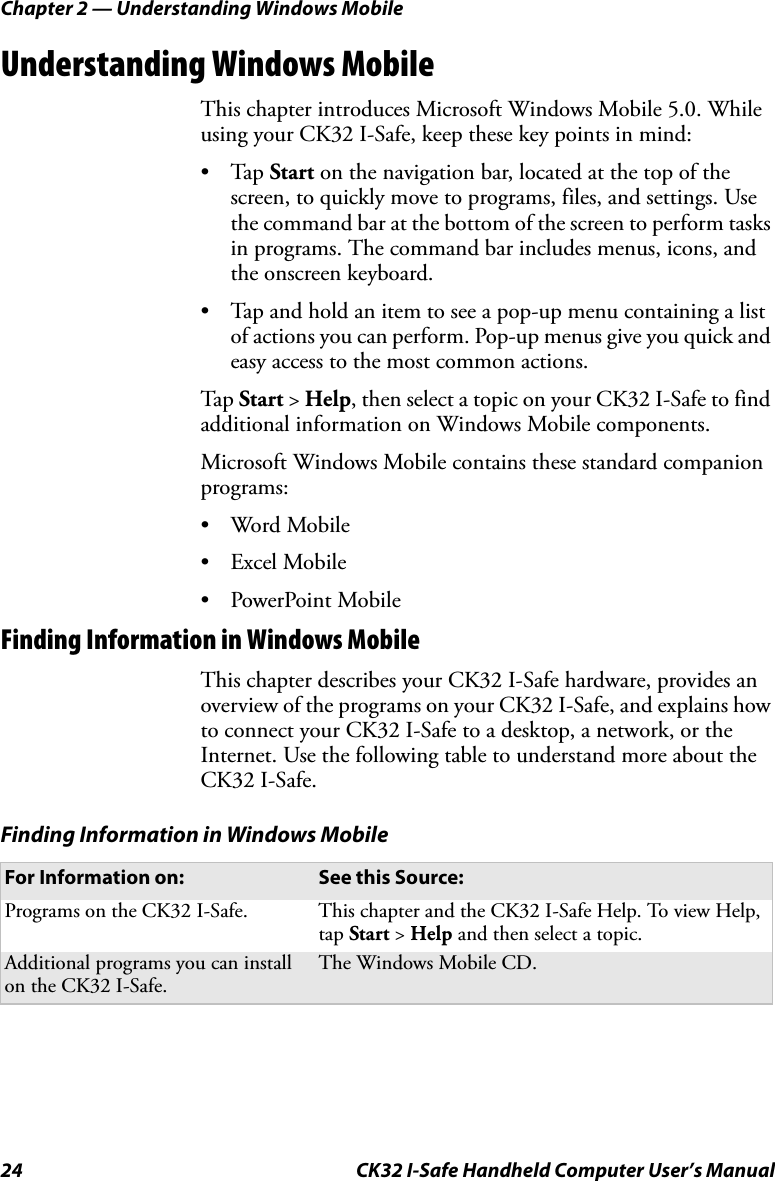
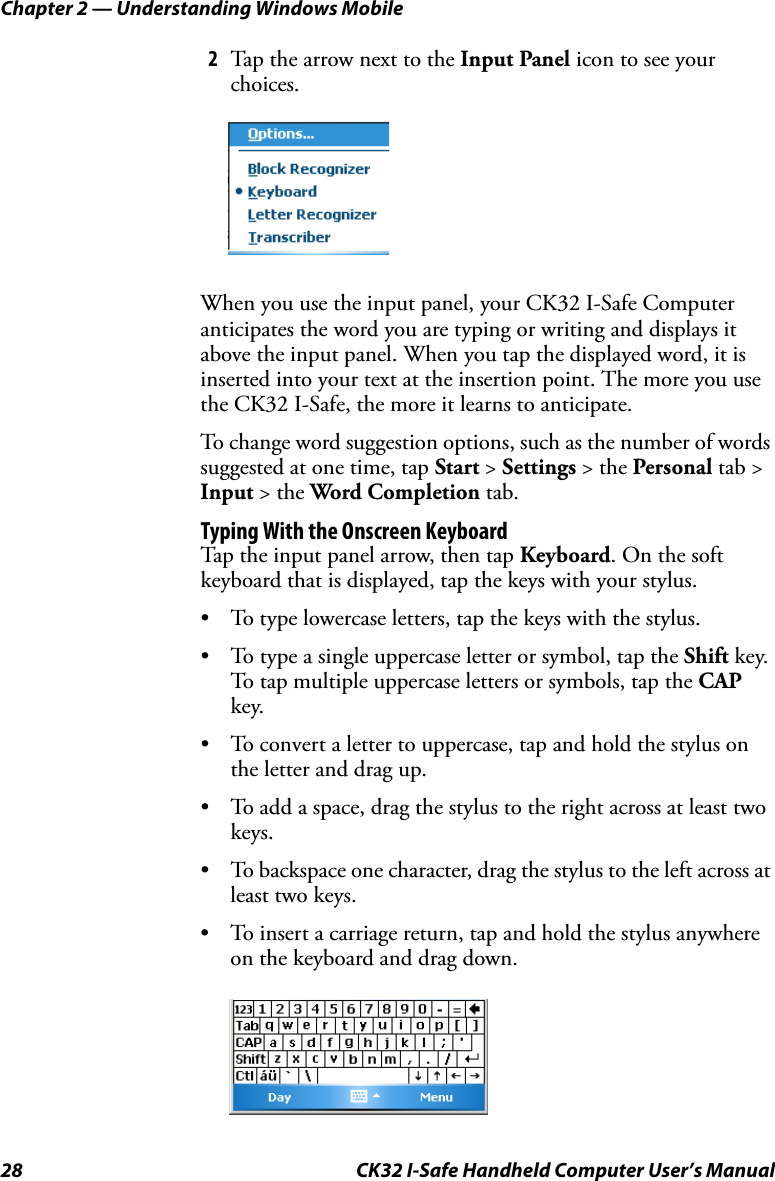
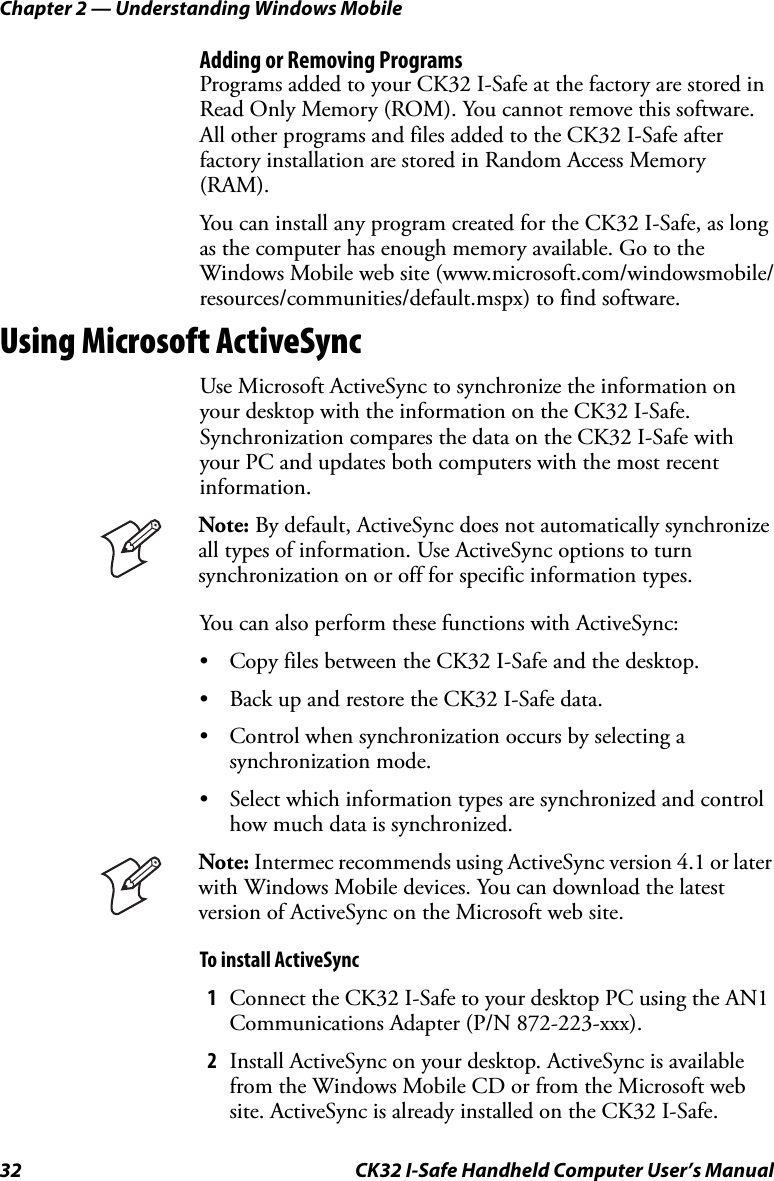
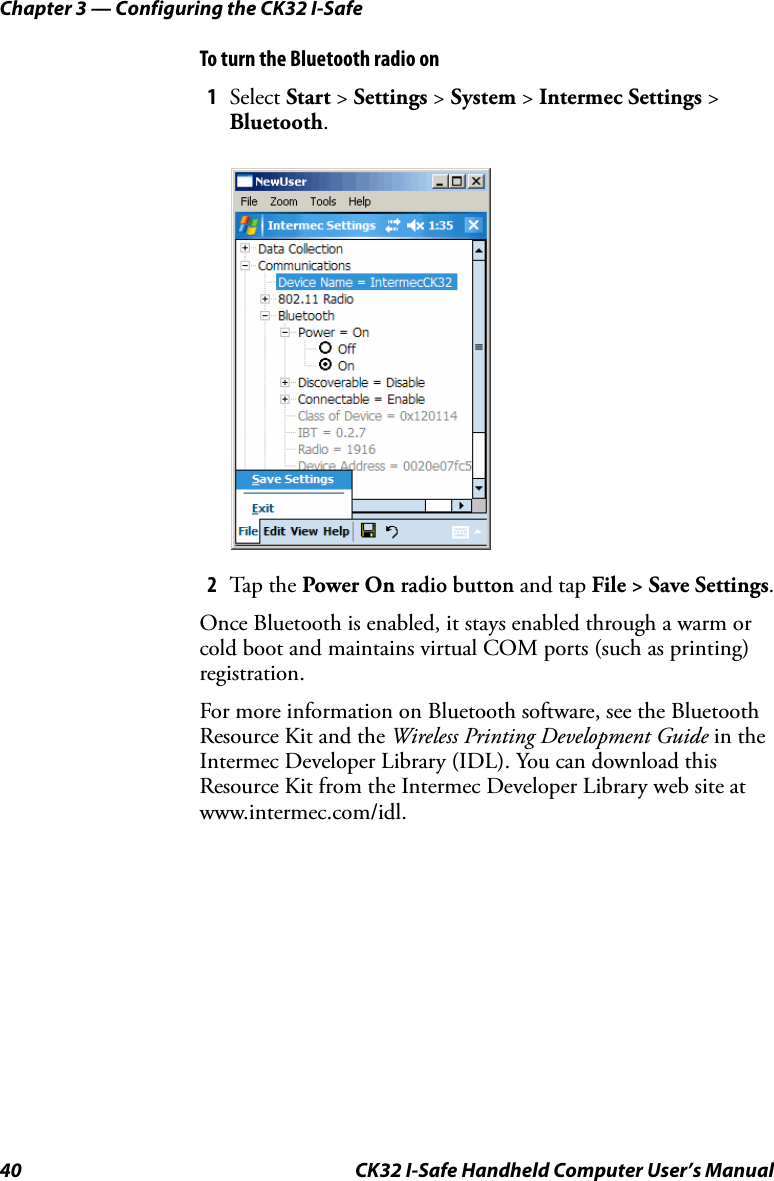
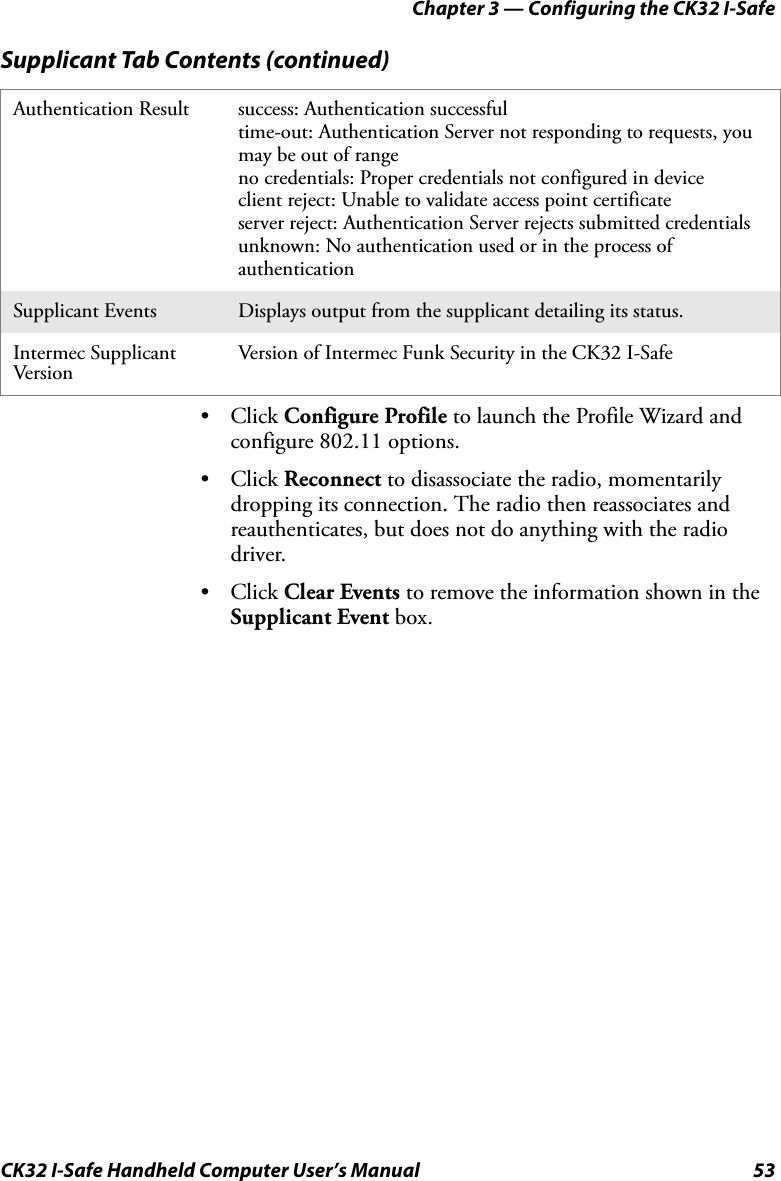
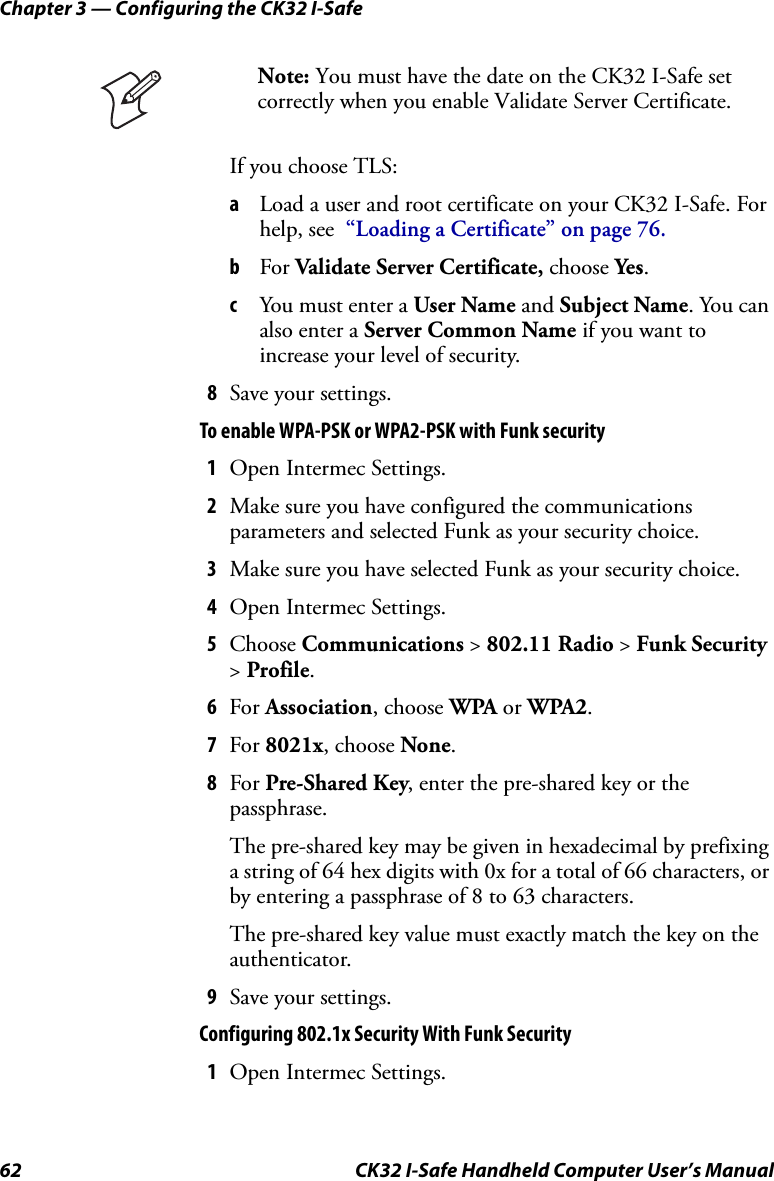
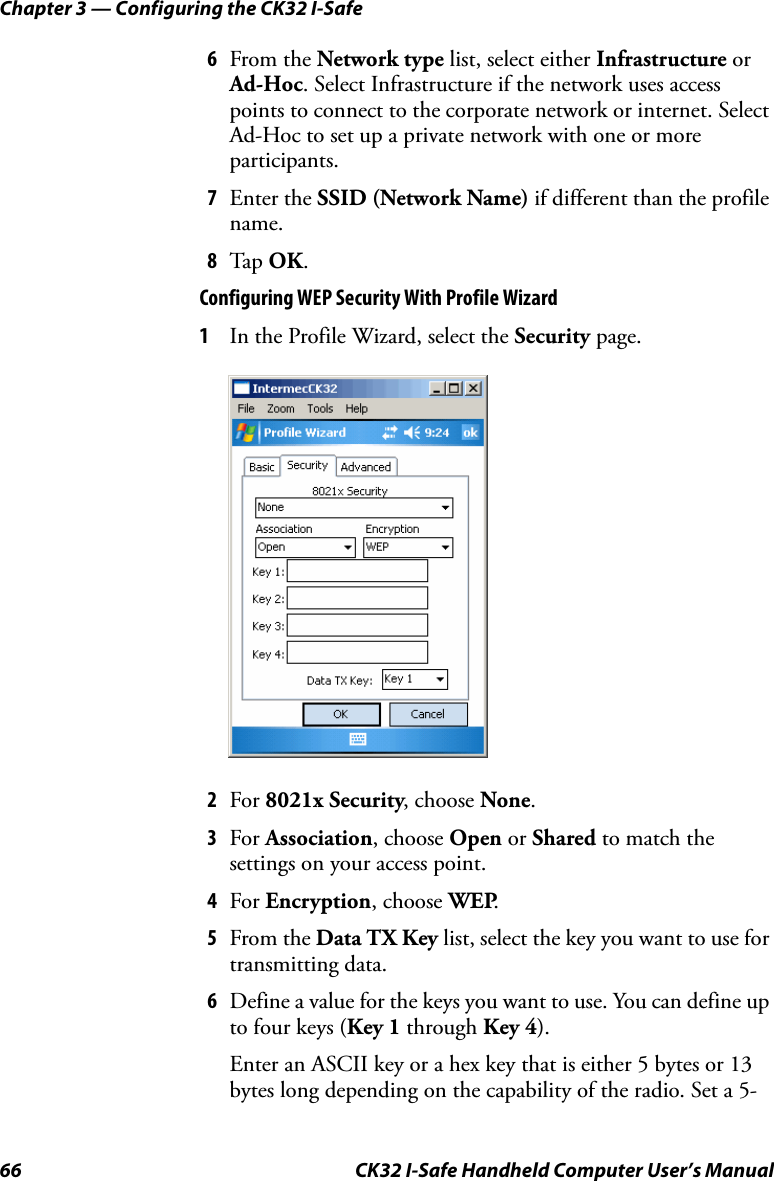
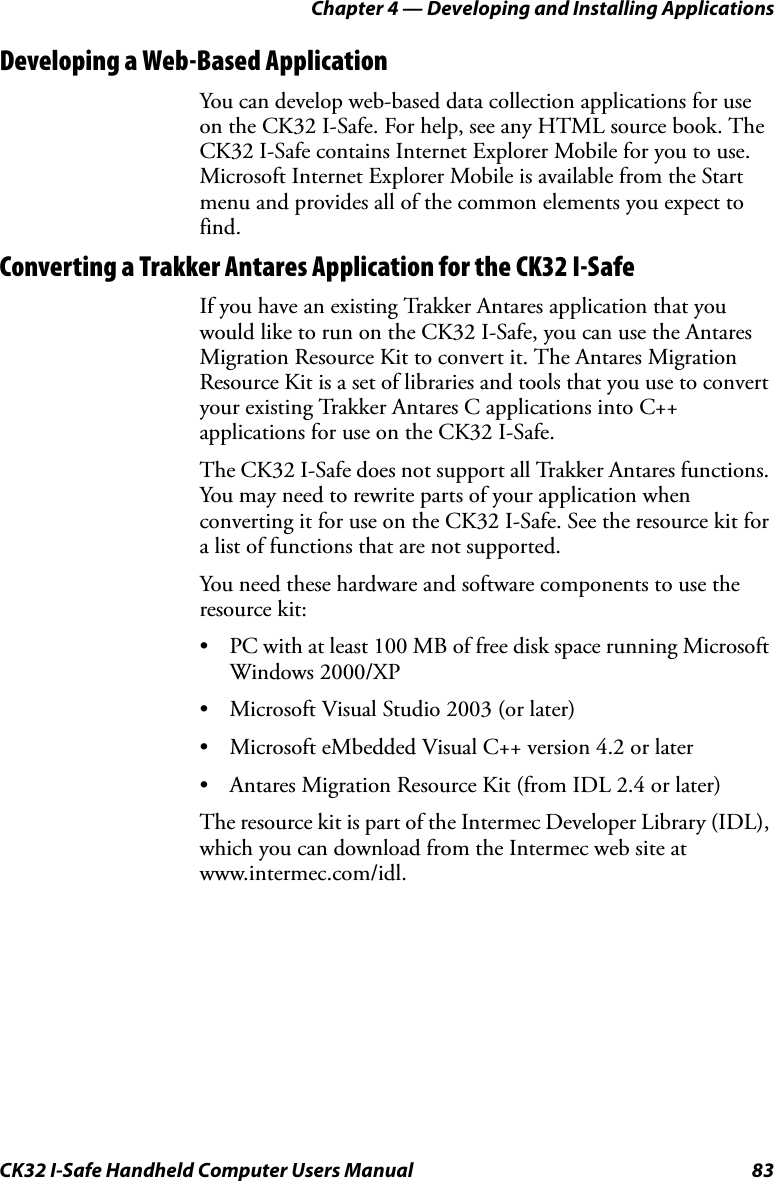
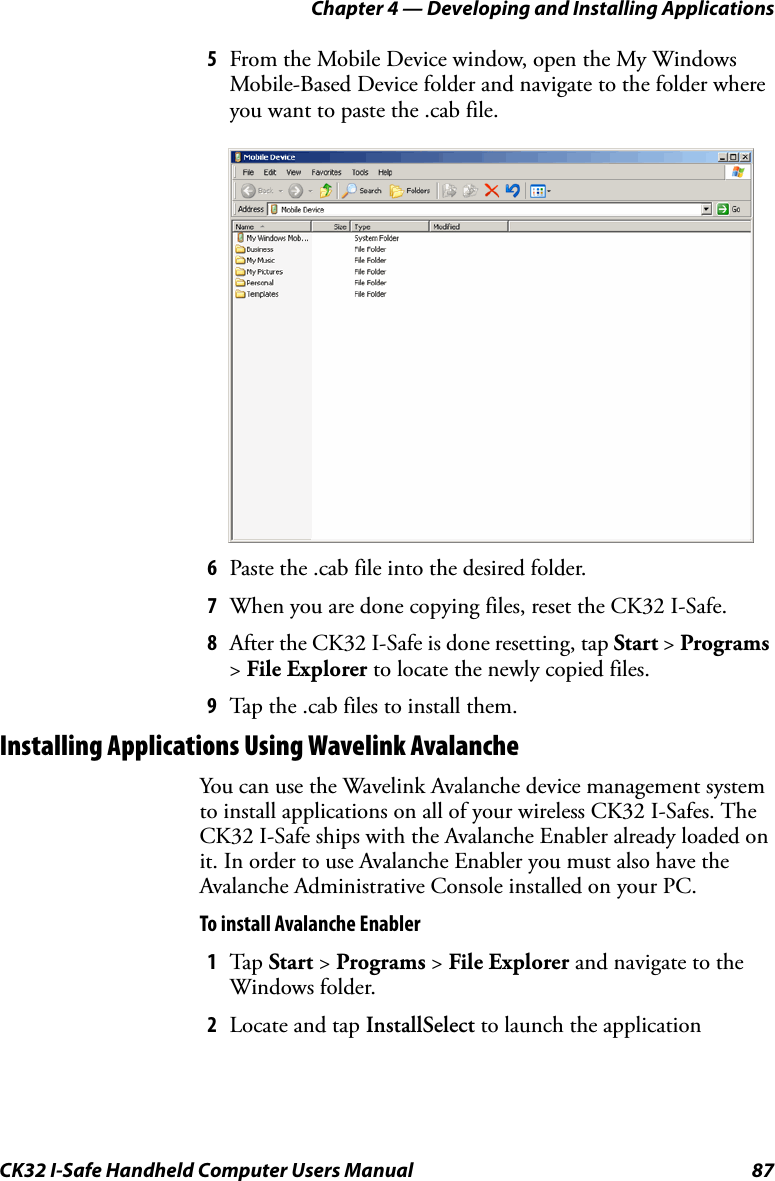
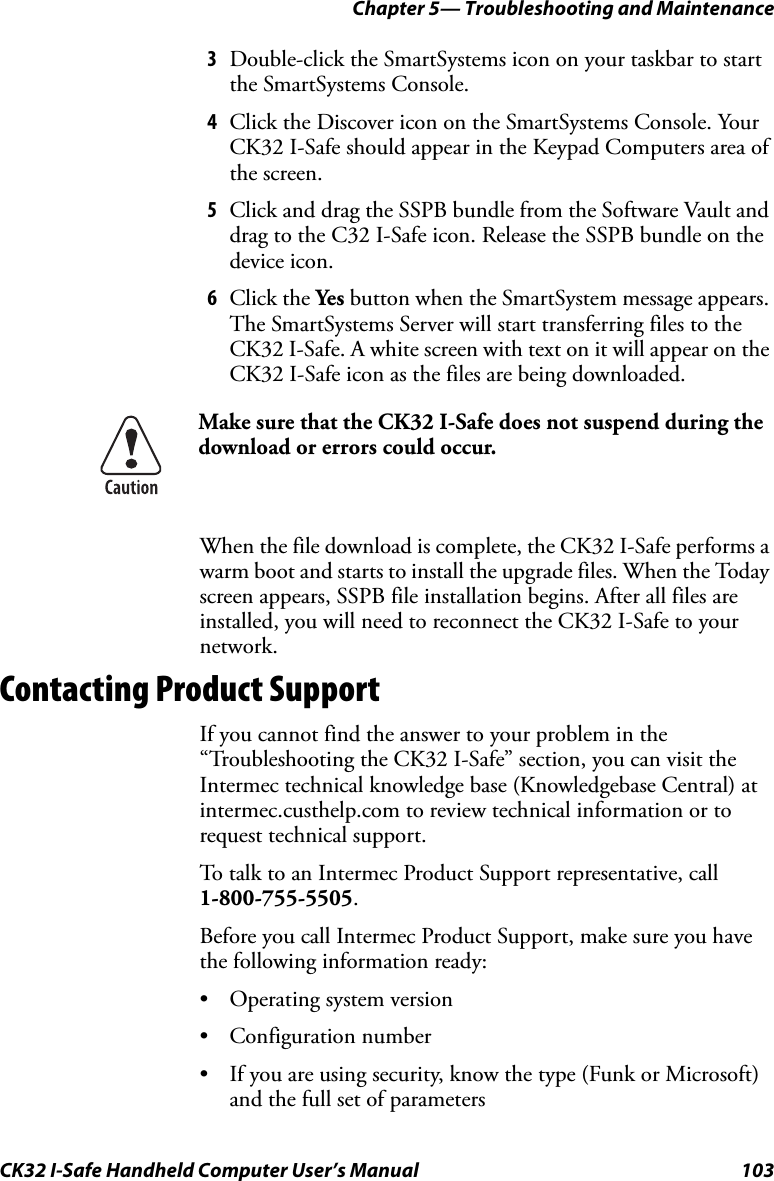
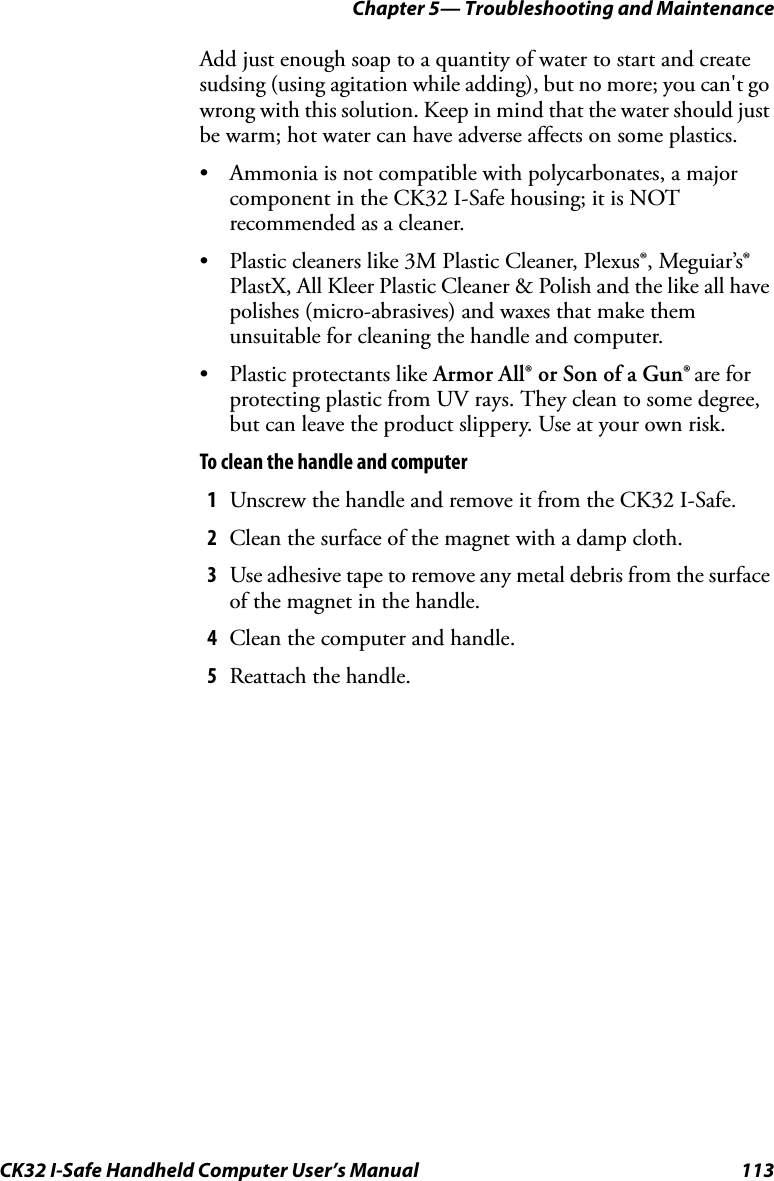
![Chapter 4 — Developing and Installing ApplicationsCK32 I-Safe Handheld Computer Users Manual 97The format of the input file, in this example, is the standard registry format which should ease the creation of the input file since there are many publicly available utilities to generate a registry file besides Notepad. One example of a tool is the Microsoft Remote Registry Editor.AutoCabAutoCab (AutoCab.exe) extracts files, registry settings, and shortcuts from Windows Mobile cabinet (.cab) files. The Windows Mobile startup sequence invokes AutoCab as a part of AutoExec and AutoRun. During the Windows Mobile startup sequence, AutoCab processes all CAB files in the “\CabFiles” directory relative to the current location of Autocab, unless the location is overridden by command line arguments. AutoCab can run as a stand-alone program to install a CAB file or a directory of CAB files.AutoCab only installs the CAB file if it was not installed before by AutoCab. To track the installation of a .cab file, AutoCab marks the .cab file with the System attribute. This attribute is ignored if the device is performing a clean-boot on a non-persistent file system.AutoCab preserves the .cab file after installation if the ReadOnly attribute is set. If not set, the .cab file is deleted automatically after installation. Command line switches are described as follows.Usage: AutoCab [-ChkRst=][-File=][-Force][-Log=][-Move=][-Quiet=][-Show=][-Signal=]If <PathName> references a single .cab file, that file is processed. If <PathName> references a directory, all the .cab files in that directory is processed. If <PathName> is a wild card pattern, all files matching that pattern is processed, If <PathName> is omitted, InstallCab processes all the .cab files in directory “\CabFiles.”](https://usermanual.wiki/Intermec-Technologies/DRCB.User-Manual/User-Guide-804254-Page-110.png)

![Chapter 5— Troubleshooting and Maintenance108 CK32 I-Safe Handheld Computer User’s ManualProblems With Wireless Connectivity (continued)Problem SolutionThe CK32 I-Safe is connected to the Intermec Application Server or host computer and you move to a new site to collect data. The network connection icon was visible but now the no network connection icon ( ) is visible. You may have gone out of range of an access point. Try moving closer to an access point or to a different location to re-establish communications. Once you are in range again, the network connection icon appears again. Any data you collected while out of range is transmitted over the networkWhile configuring or using wireless printing, you see the message, “The Bluetooth COM port does not exist [55]. This is probably because the computer was just resumed. Please wait a few seconds and try again.”If you recently resumed the CK32 I-Safe, wait a few seconds and try again.Otherwise, you need to make sure that the device you selected as the current wireless printer is a printer, is turned on, and is discoverable.To learn about the current wireless printer and the Bluetooth COM port, see ““Creating an Application That Lets You Print Wirelessly” on page 41.While configuring or using wireless printing, you see the message, “Bluetooth is off. Would you like to turn it on and continue?”Tap Yes to dismiss the message. Follow the instructions in “Setting Up Bluetooth Communications” on page 39 to turn on the power to the Bluetooth radio.](https://usermanual.wiki/Intermec-Technologies/DRCB.User-Manual/User-Guide-804254-Page-121.png)

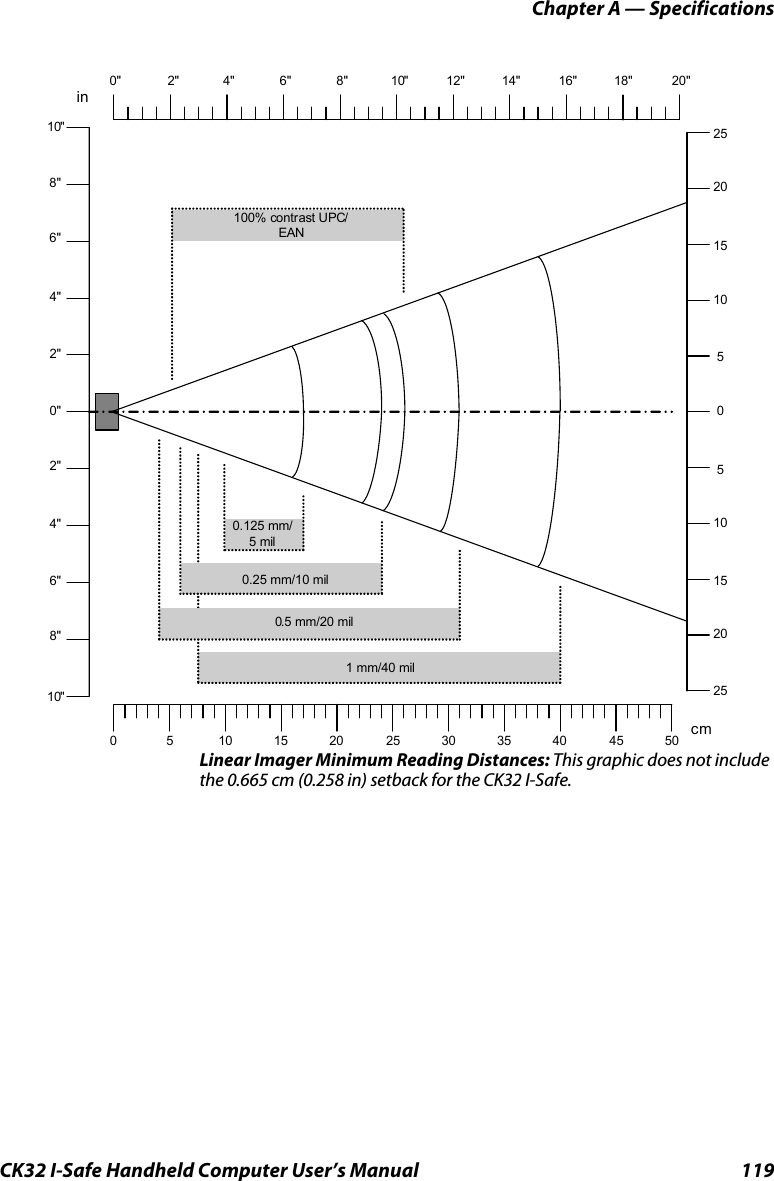
![Chapter A — SpecificationsCK32 I-Safe Handheld Computer User’s Manual 121Typing Hidden Characters on the International KeypadsTyping Hidden Characters on the 3270/5250 TE KeypadsTo Type:Press This Key Sequence on One of the Keypads:42-Key 56-Key$ Not hidden C and then 6{B and then aC and then 9}B and then bC and then 0<B and then _Not hidden>B and then `Not hidden]C and then 9Not hidden[C and then Tab Not hidden,C and then Right EnterNot hiddenTo Type:Press This Key Sequence on One of the Keypads:42-Key 56-Key$ Not hidden C and then 6<B and then _Not hidden>B and then `Not hidden]C and then Alpha Not hidden[C and then Tab Not hidden`Not applicable C and then G! Not hidden C and then I“Not applicable C and then K‘ Not applicable C and then L{B and then aC and then N}B and then bC key and then O:Not applicable C and then P; Not applicable C and then Q?Not hidden C and then R~ Not applicable C and then T,C and then Right Enter Not hidden](https://usermanual.wiki/Intermec-Technologies/DRCB.User-Manual/User-Guide-804254-Page-134.png)
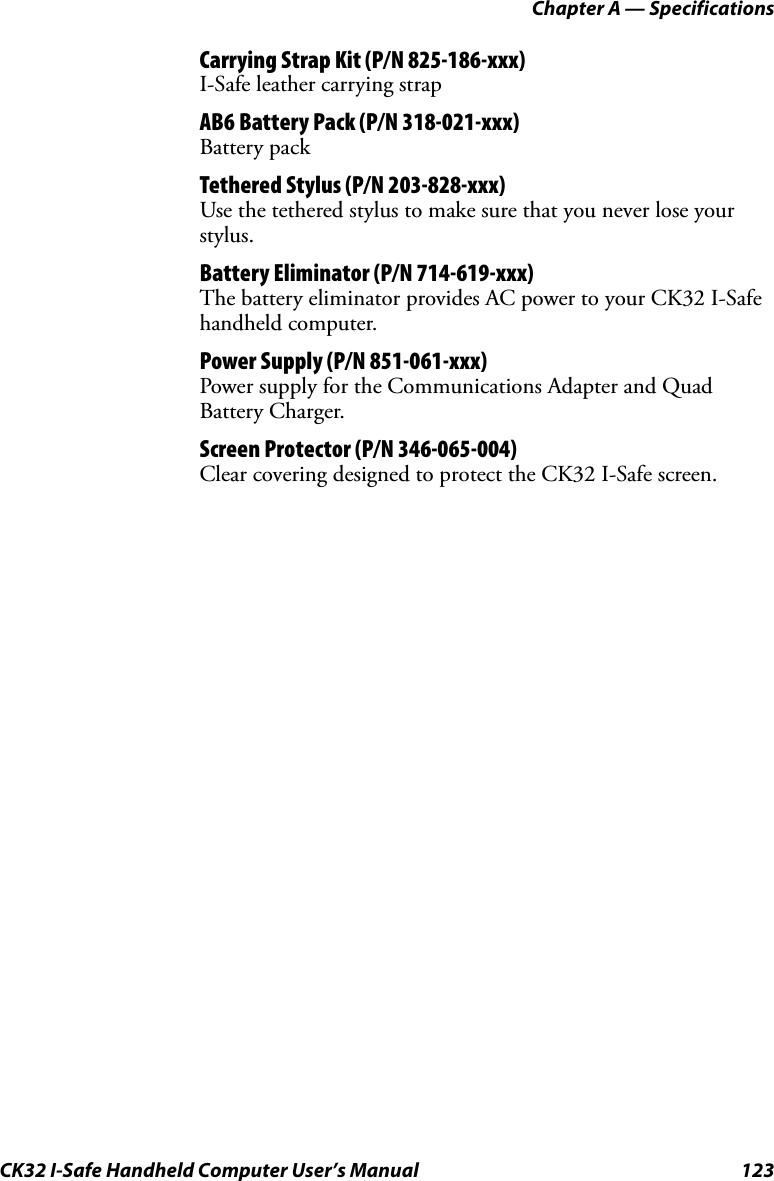
![Appendix A — Specifications122 CK32 I-Safe Handheld Computer User’s ManualTyping Hidden Characters on the VT/ANSI TE KeypadsAccessoriesYou can use these accessories (sold and ordered separately) with the CK32 I-Safe. To order accessories, contact your local Intermec sales representative.AN1 Communications Adapter (P/N 871-223-xxx)An external adapter used to connect the CK32 I-Safe with wired networks.AC11 Quad Battery Charger (P/N 852-914-xxx)Four battery charger. Charge rate is limited by I-Safe requirements.Handle (P/N 714-625-xxx)The handle provides a convenient scanning trigger.Hand Strap (P/N 825-183-xxx)I-Safe leather hand strap To Type:Press This Key Sequence on One of the Keypads:42-Key 56-Key$ Not hidden C and then 6`Not applicable C and then G! Not hidden C and then I« Not applicable C and then K‘ Not applicable C and then L{B and then cC and then N}B and then dC key and then O:Not applicable C and then P?C and then 5C and then R]C and then Alpha Not hidden[C and then Tab Not hidden<B and then _Not hidden>B and then `Not hidden,C and then Right Enter Not hiddenNote: You must use the AN1 Communtications Adapter for all wired connections to the CK32 I-Safe.](https://usermanual.wiki/Intermec-Technologies/DRCB.User-Manual/User-Guide-804254-Page-135.png)