Hanwha Techwin PRO815 Digital Camera User Manual H1 en c v03
Samsung Techwin Co Ltd Digital Camera H1 en c v03
UserManual.wiki
>
Hanwha Techwin
>
PRO815 User Manual
>
Users Manual 2 of 7
Contents
1.
Users Manual 1 of 7
2.
Users Manual 2 of 7
3.
Users Manual 3 of 7
4.
Users Manual 4 of 7
5.
Users Manual 5 of 7
6.
Users Manual 6 of 7
7.
Users Manual 7 of 7
Users Manual 2 of 7
Navigation menu
Upload a User Manual
Namespaces
Wiki Guide
HTML
PDF
Info
Views
User Manual
Discussion / Help
Navigation
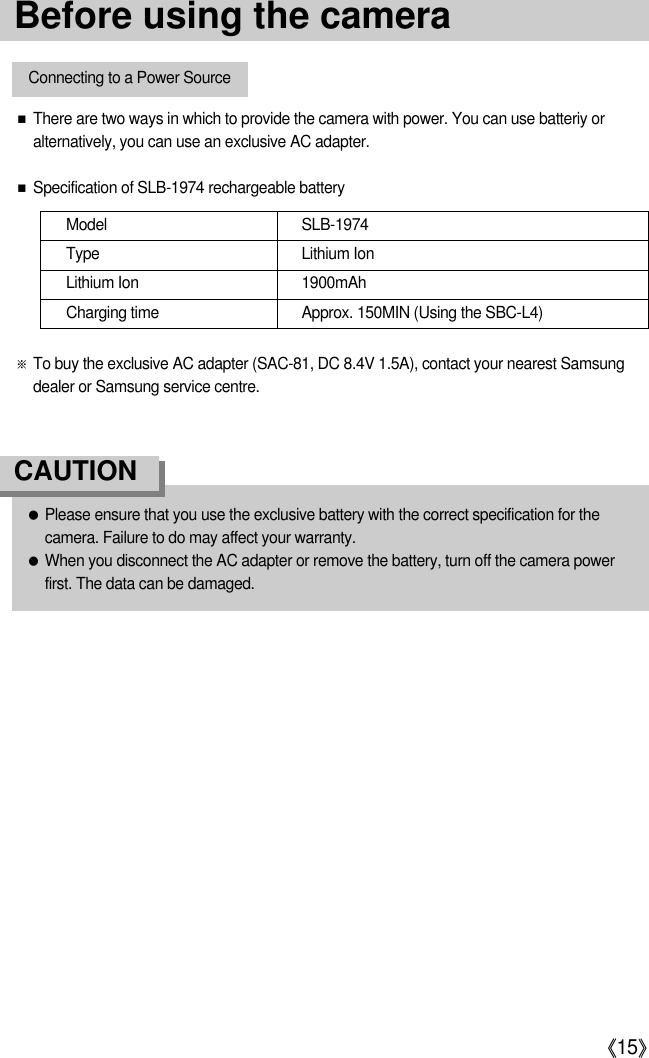
![《20》●Be sure to format the memory card (see p. 79) if you are using a newly purchased memoryfor the first time, if it contains data that the camera cannot recognize, or if it contains imagescaptured with a different camera.●Turn off the camera power whenever the memory card is being inserted or removed.●Repeated use of the memory card will eventually reduce the memory card s performance.Should this be the case, you will need to purchase a new memory card. Wear and tear on thememory card is not covered by the Samsung warranty.●The memory card is an electronic precision device.Do not bend, drop or subject the memory card to any heavy impact.●Do not store the memory card in an environment with strong electronic or magnetic fields,e.g. near loud speakers or TV receivers.●Please do not use or store in an environment where there are extremes in temperature.●Please keep the memory card in its case when not in use.●During and after periods of extended use, you may notice that the memory card is warm. This is perfectly normal.●Do not use a memory card that is used in another digital camera.To use the memory card in this camera, format first the memory card by using this camera.●Do not use a memory card formatted by another digital camera or memory card reader.●If the memory card is subjected to any of the following, the recorded data may becomecorrupted :- When the memory card is used incorrectly.- If the power is switched off or the memory card is removed while recording,deleting(formatting) or reading.●Samsung cannot be held responsible for lost data.●It is advisable to copy important data onto other media as back-up e.g. floppy disks, harddisks, CD etc.●If there is insufficient memory available: A [Card Full!] message will appear and the camera will not operate. To optimise the amountof memory in the camera, replace the memory card or delete unnecessary images storedon the memory.Instructions on how to use the memory cardBefore using the camera](https://usermanual.wiki/Hanwha-Techwin/PRO815.Users-Manual-2-of-7/User-Guide-572121-Page-9.png)