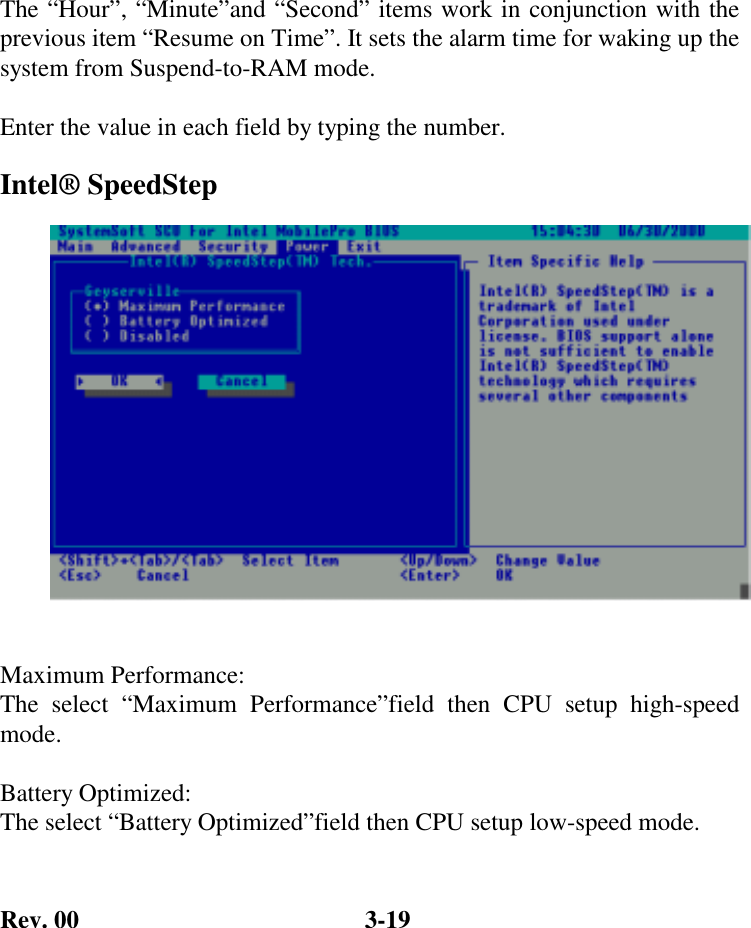
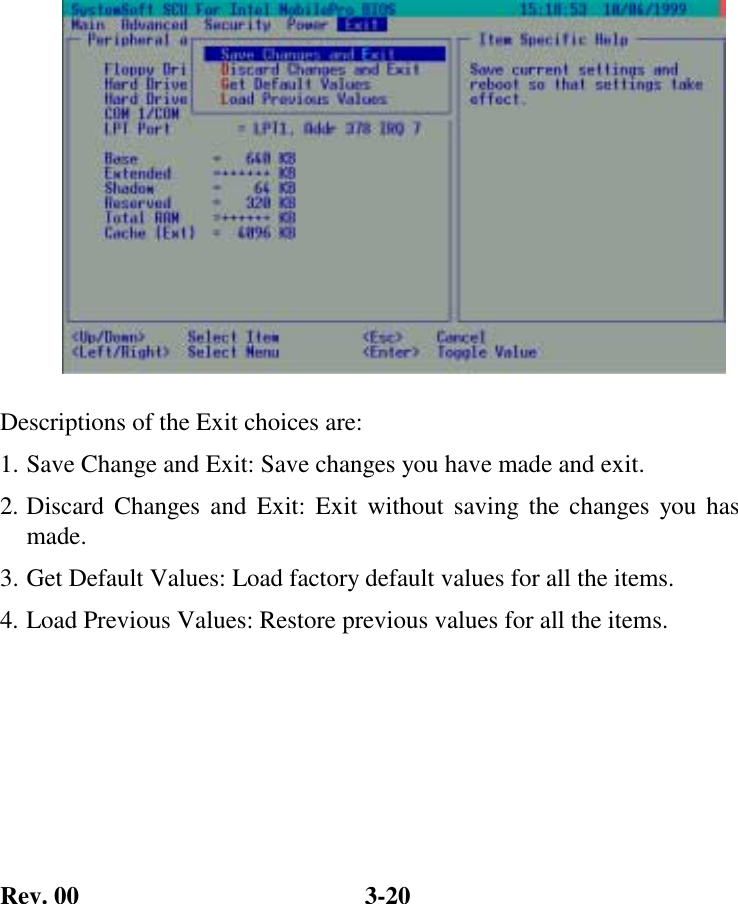
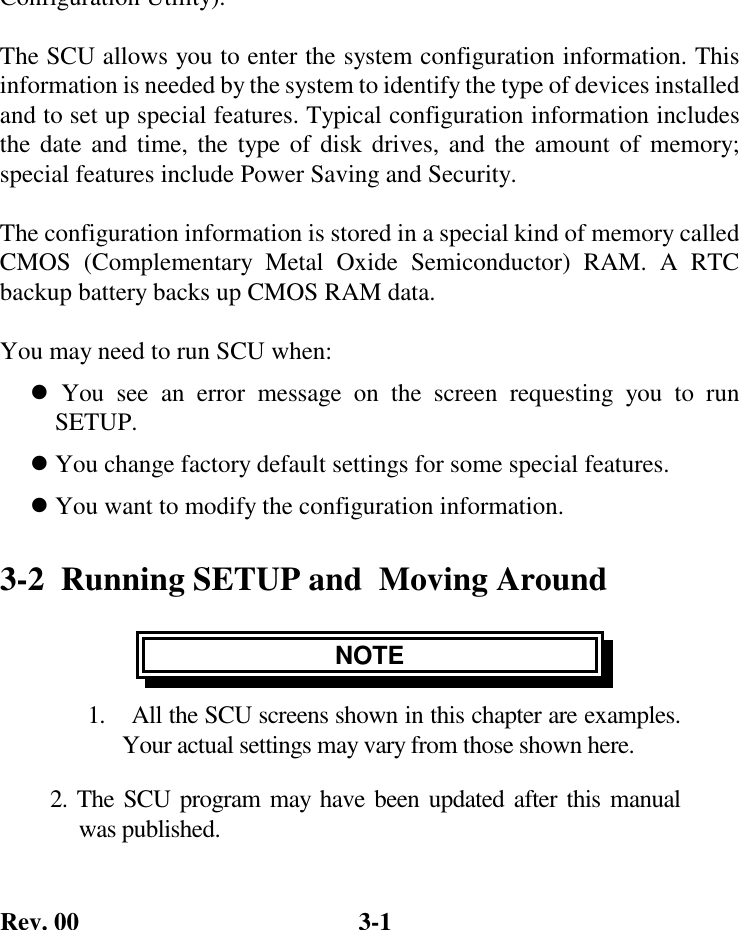
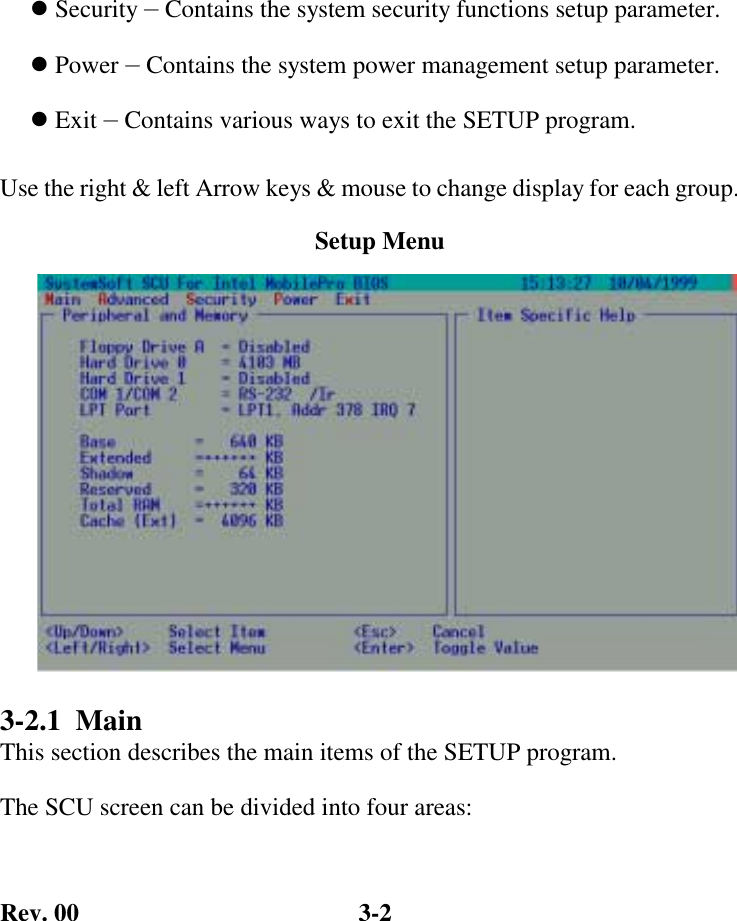
Getac Technology 007 Notebook PC User Manual Chapter 3
Getac Technology Corp. Notebook PC Chapter 3
UserManual.wiki
>
Getac Technology
>
007 User Manual
>
users manual 4 of 6
Contents
1.
contents
2.
chapter 1
3.
chapter 2
4.
chapter 3
5.
users manual 1 of 6
6.
users manual 2 of 6
7.
users manual 3 of 6
8.
users manual 4 of 6
9.
users manual 5 of 6
10.
users manual 6 of 6
users manual 4 of 6
Navigation menu
Upload a User Manual
Namespaces
Wiki Guide
HTML
PDF
Info
Views
User Manual
Discussion / Help
Navigation
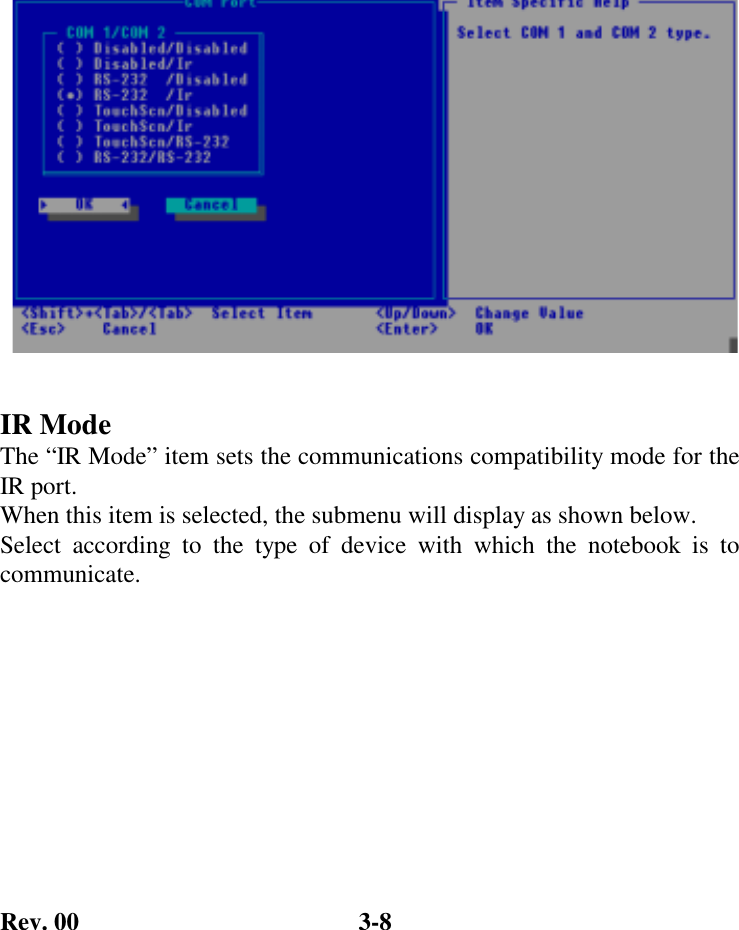
![Rev. 00 3-4 3. Inside most submenus, press the [Tab] key to go to the entry field. Select your desired option with the up/down arrow key or the shortcut key. To complete the setting and leave the submenu, press [Enter] and select the “OK” button. To cancel your selection, press [Esc] or select the “Cancel” button. 3.2.2.1 Main Menu The Main pull-down menu, as shown below, contains the basic configuration settings of the system. Date and Time The “Date and Time” item sets the system date and time. When this item is selected, the submenu will display as shown below.](https://usermanual.wiki/Getac-Technology/007.users-manual-4-of-6/User-Guide-148564-Page-4.png)

![Rev. 00 3-12 3-2.3 Security Menu The Security pull-down menu, as shown below, contains the Security settings that safeguard your system against unauthorized use. The followings describe in sequence all the items of the Security menu. System Password The “System Password”item allows you to set the password for your system. The password is required for starting up the system and running the SCU program. When the item is selected, the submenu will display as shown below. When setting a password, first make sure that Num Lock is off, then type your password in the entry field and press [Enter]. Confirm your password by typing it again and pressing [Enter].](https://usermanual.wiki/Getac-Technology/007.users-manual-4-of-6/User-Guide-148564-Page-12.png)
![Rev. 00 3-13 SCU Password The “SCU Password”item allows you to set the password for your setting SCU program security. When the item is selected, the submenu will display as shown below. When setting a password, first make sure that Num Lock is off, then type your password in the entry field and press [Enter]. Confirm your password by typing it again and pressing [Enter].](https://usermanual.wiki/Getac-Technology/007.users-manual-4-of-6/User-Guide-148564-Page-13.png)