General Sensing M5P001 Wireless hand hygiene monitor User Manual MedSense
General Sensing Limited Wireless hand hygiene monitor MedSense
UserManual.wiki
>
General Sensing
>
M5P001 User Manual
User manual
Navigation menu
Upload a User Manual
Namespaces
Wiki Guide
HTML
PDF
Info
Views
User Manual
Discussion / Help
Navigation

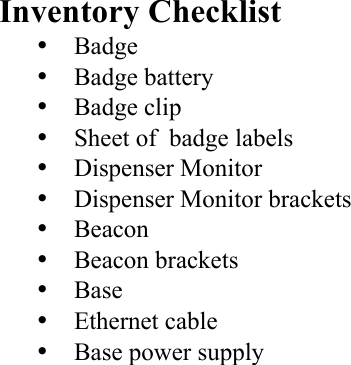
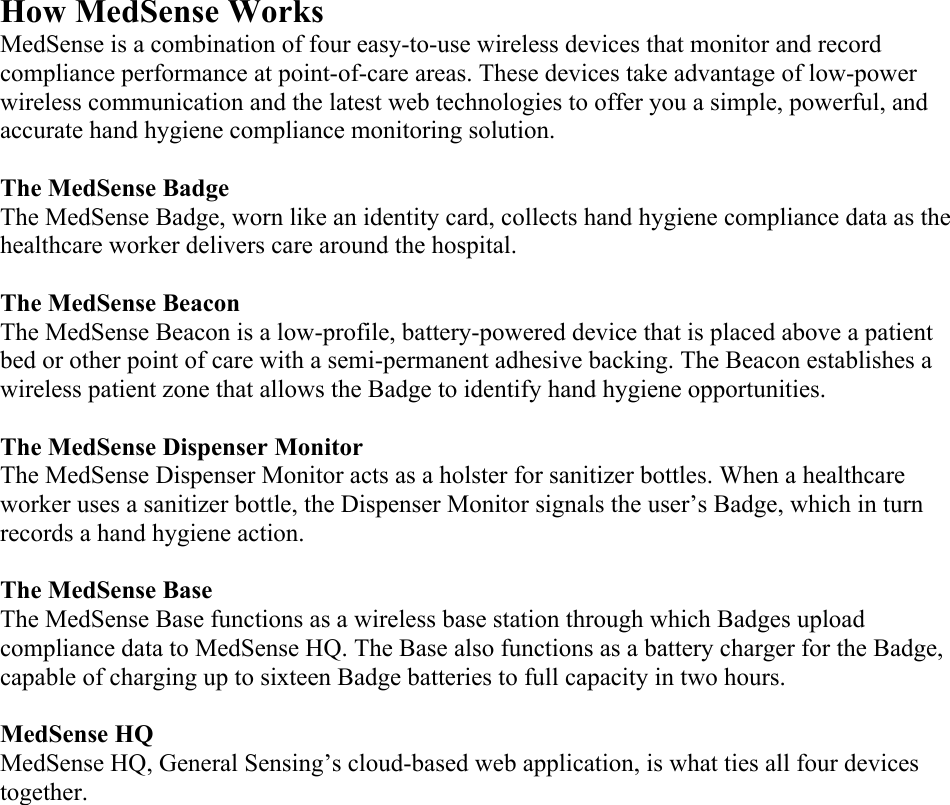
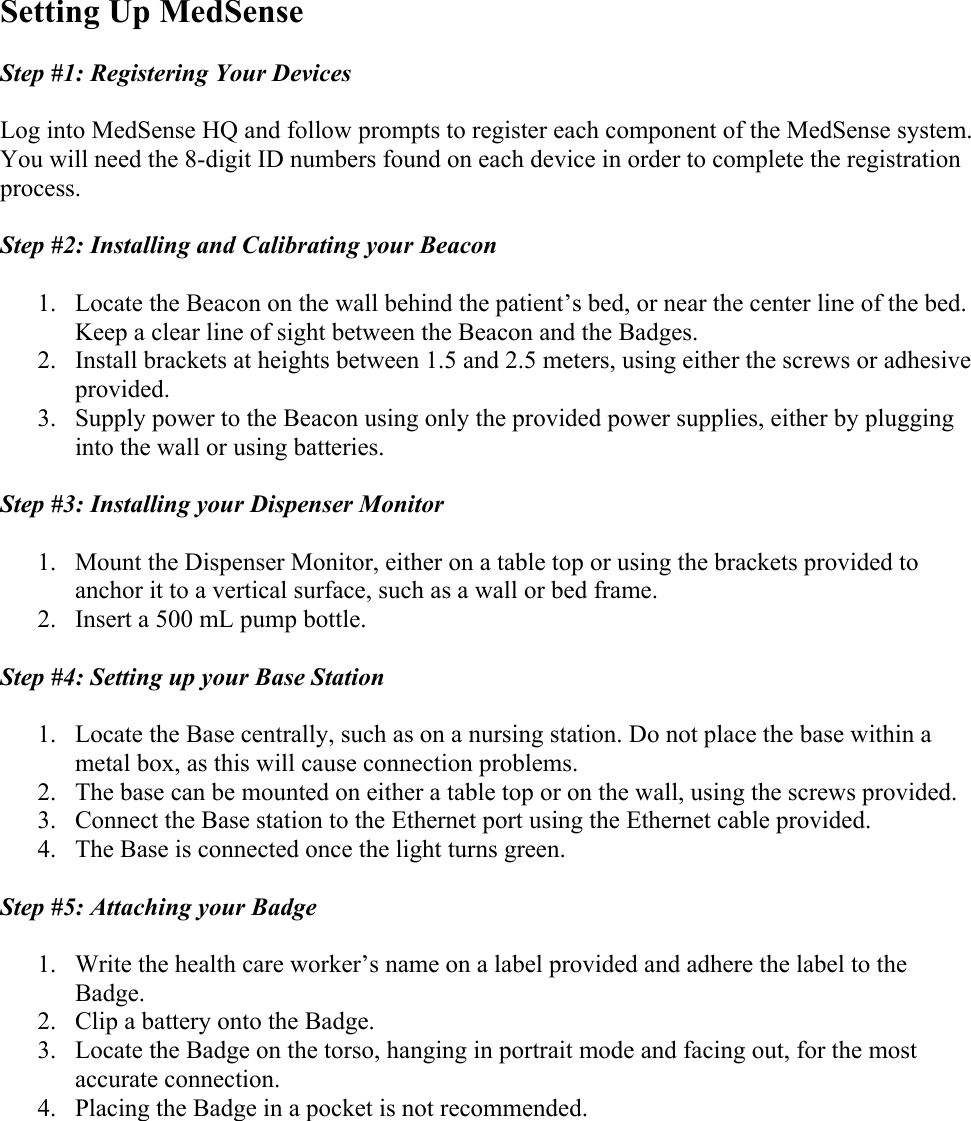
![Using MedSense MedSense Beacon Power When the Beacon is fully charged and working properly, you will see a blue blinking light. If it is battery powered, batteries will last approximately six months. A blinking red light means low power and maintenance is needed promptly. To change the batteries, remove the Beacon from the wall and unscrew the battery door. Replace the batteries with six AA batteries, either Alkaline or rechargeable. Care Instructions To clean the Beacon, wipe down in place with a cloth. MedSense Dispenser Monitor Use The Dispenser Monitor blinks blue when it detects dispensing soap or alcohol to user. Power The expected battery life for the Dispenser Monitor is more than five years. If the light blinks red when product is dispensed, the battery is low. Maintenance is required to change two AA batteries. If no light is flashing when product is dispensed, try cleaning the Dispenser Monitor. If, after cleaning, it is still not activating, contact maintenance. Care Instructions Run water through the top of the device. [Remove pump bottle?] MedSense Base Charging Batteries The Base can charge up to sixteen Badge batteries to full capacity in two hours. Individual indicator lights on each battery slot indicate charging status. A blinking blue light means a battery is charging, with a solid blue light indicating a fully charged battery. Base Connection Status 1. Base Station Online ............................................................................Green, Solid 2. Base Station Attempting to Connect ...................................................Amber, Solid 3. User Attention Required ...................................................................Green, Blinking 4. Base Station Internal Error ...........................................................Amber, Blinking](https://usermanual.wiki/General-Sensing/M5P001/User-Guide-1822850-Page-6.png)