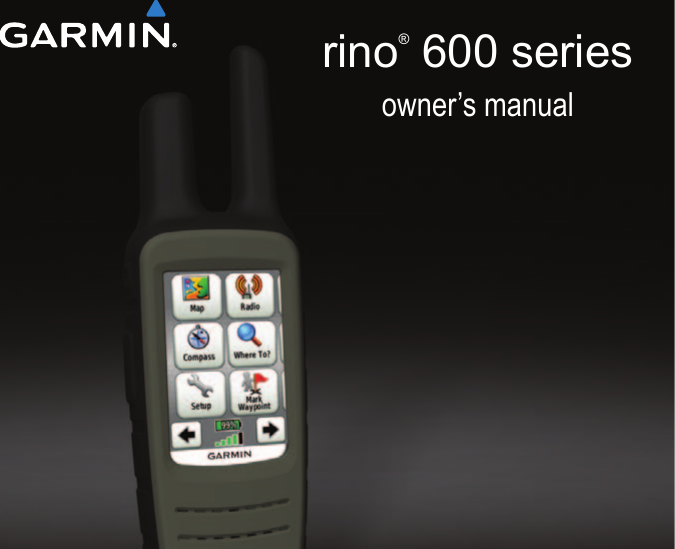
Garmin 01767 Portable GMRS/FRS PTT Radio Transceiver with GPS User Manual users manual
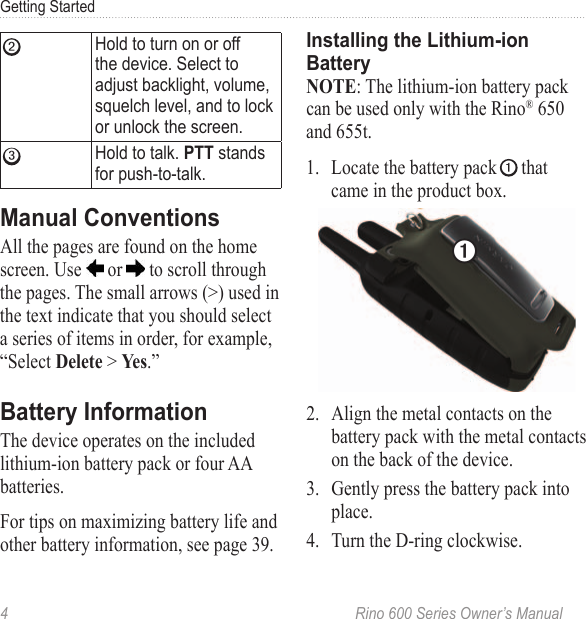
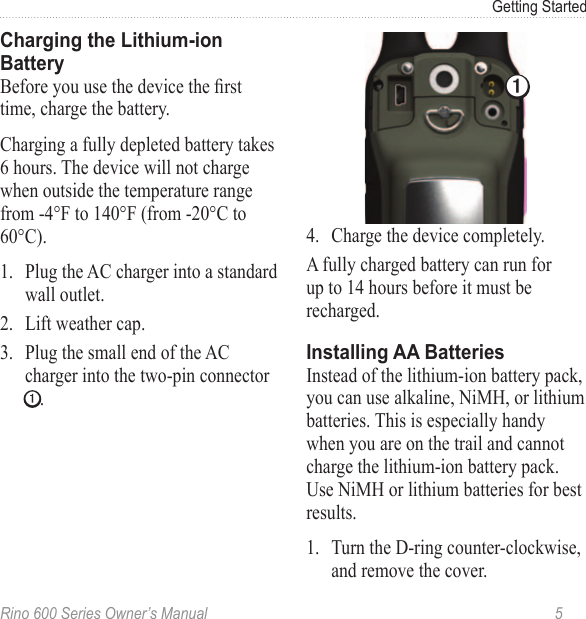
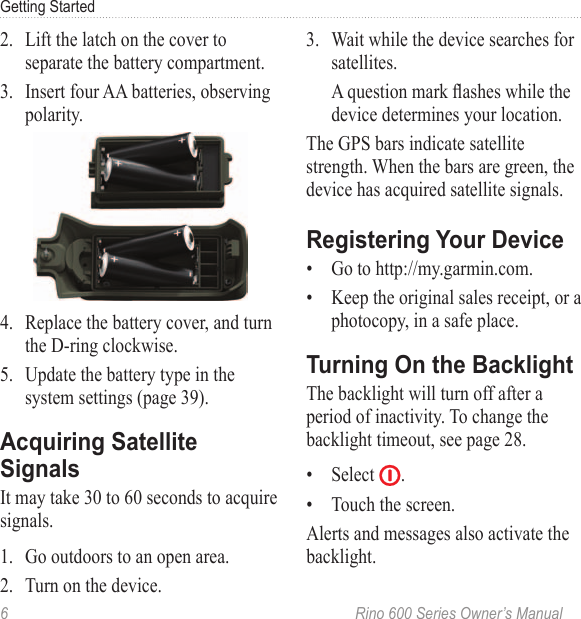
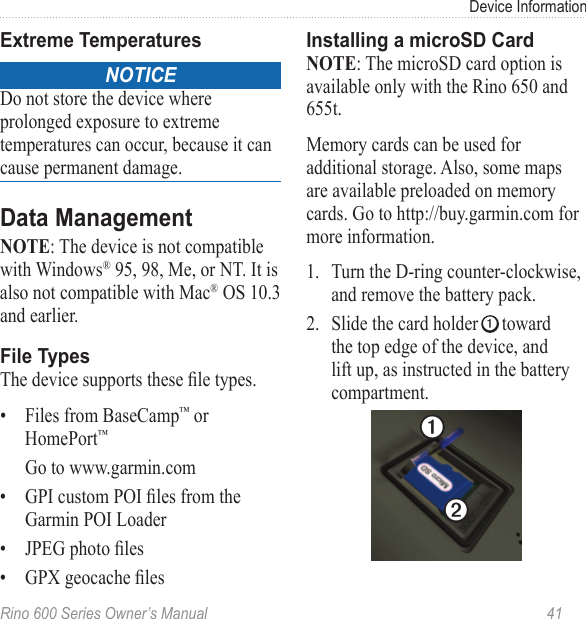
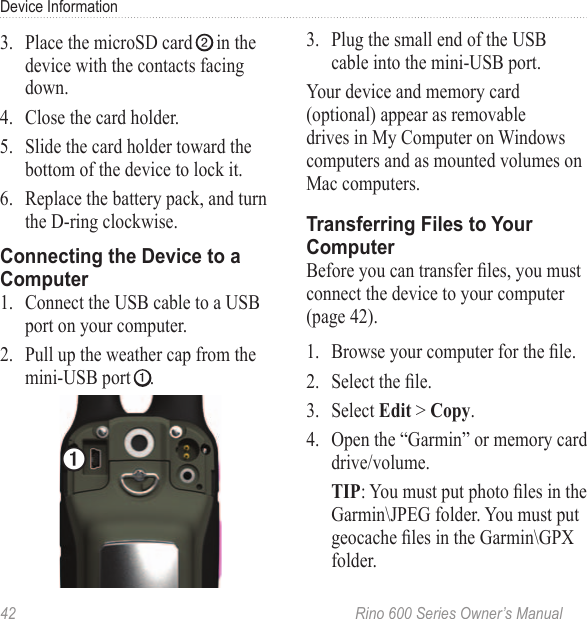
Garmin International Inc Portable GMRS/FRS PTT Radio Transceiver with GPS users manual
Garmin >
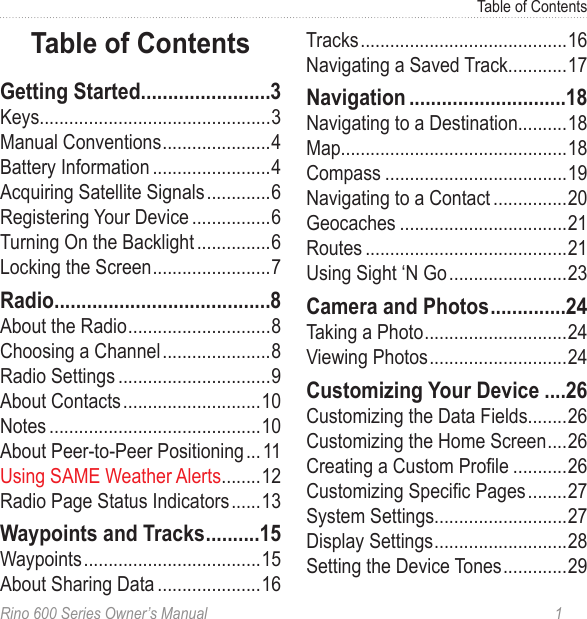
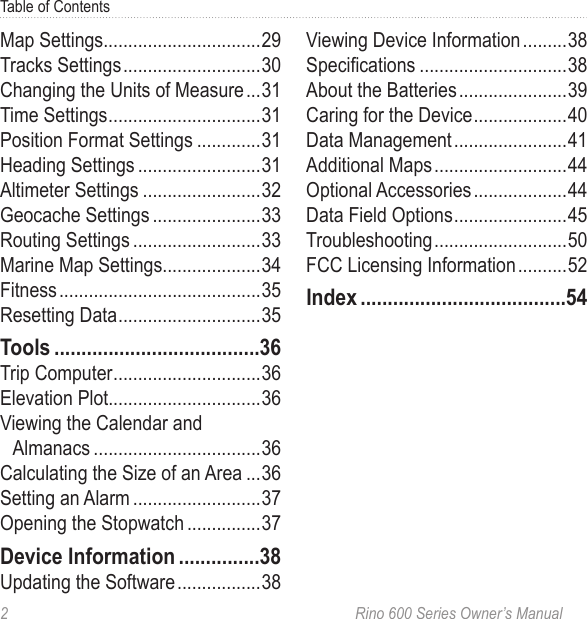
Contents
- 1. users manual
- 2. important safety and product information
users manual