Futaba TMFH-24G Radio Control User Manual Rev 02
Futaba Corporation Radio Control Rev 02
UserManual.wiki
>
Futaba
>
TMFH-24G User Manual
>
User Manual-Rev.02
Contents
1.
Spec.Rev.02
2.
User Manual-Rev.02
User Manual-Rev.02
Navigation menu
Upload a User Manual
Namespaces
Wiki Guide
HTML
PDF
Info
Views
User Manual
Discussion / Help
Navigation
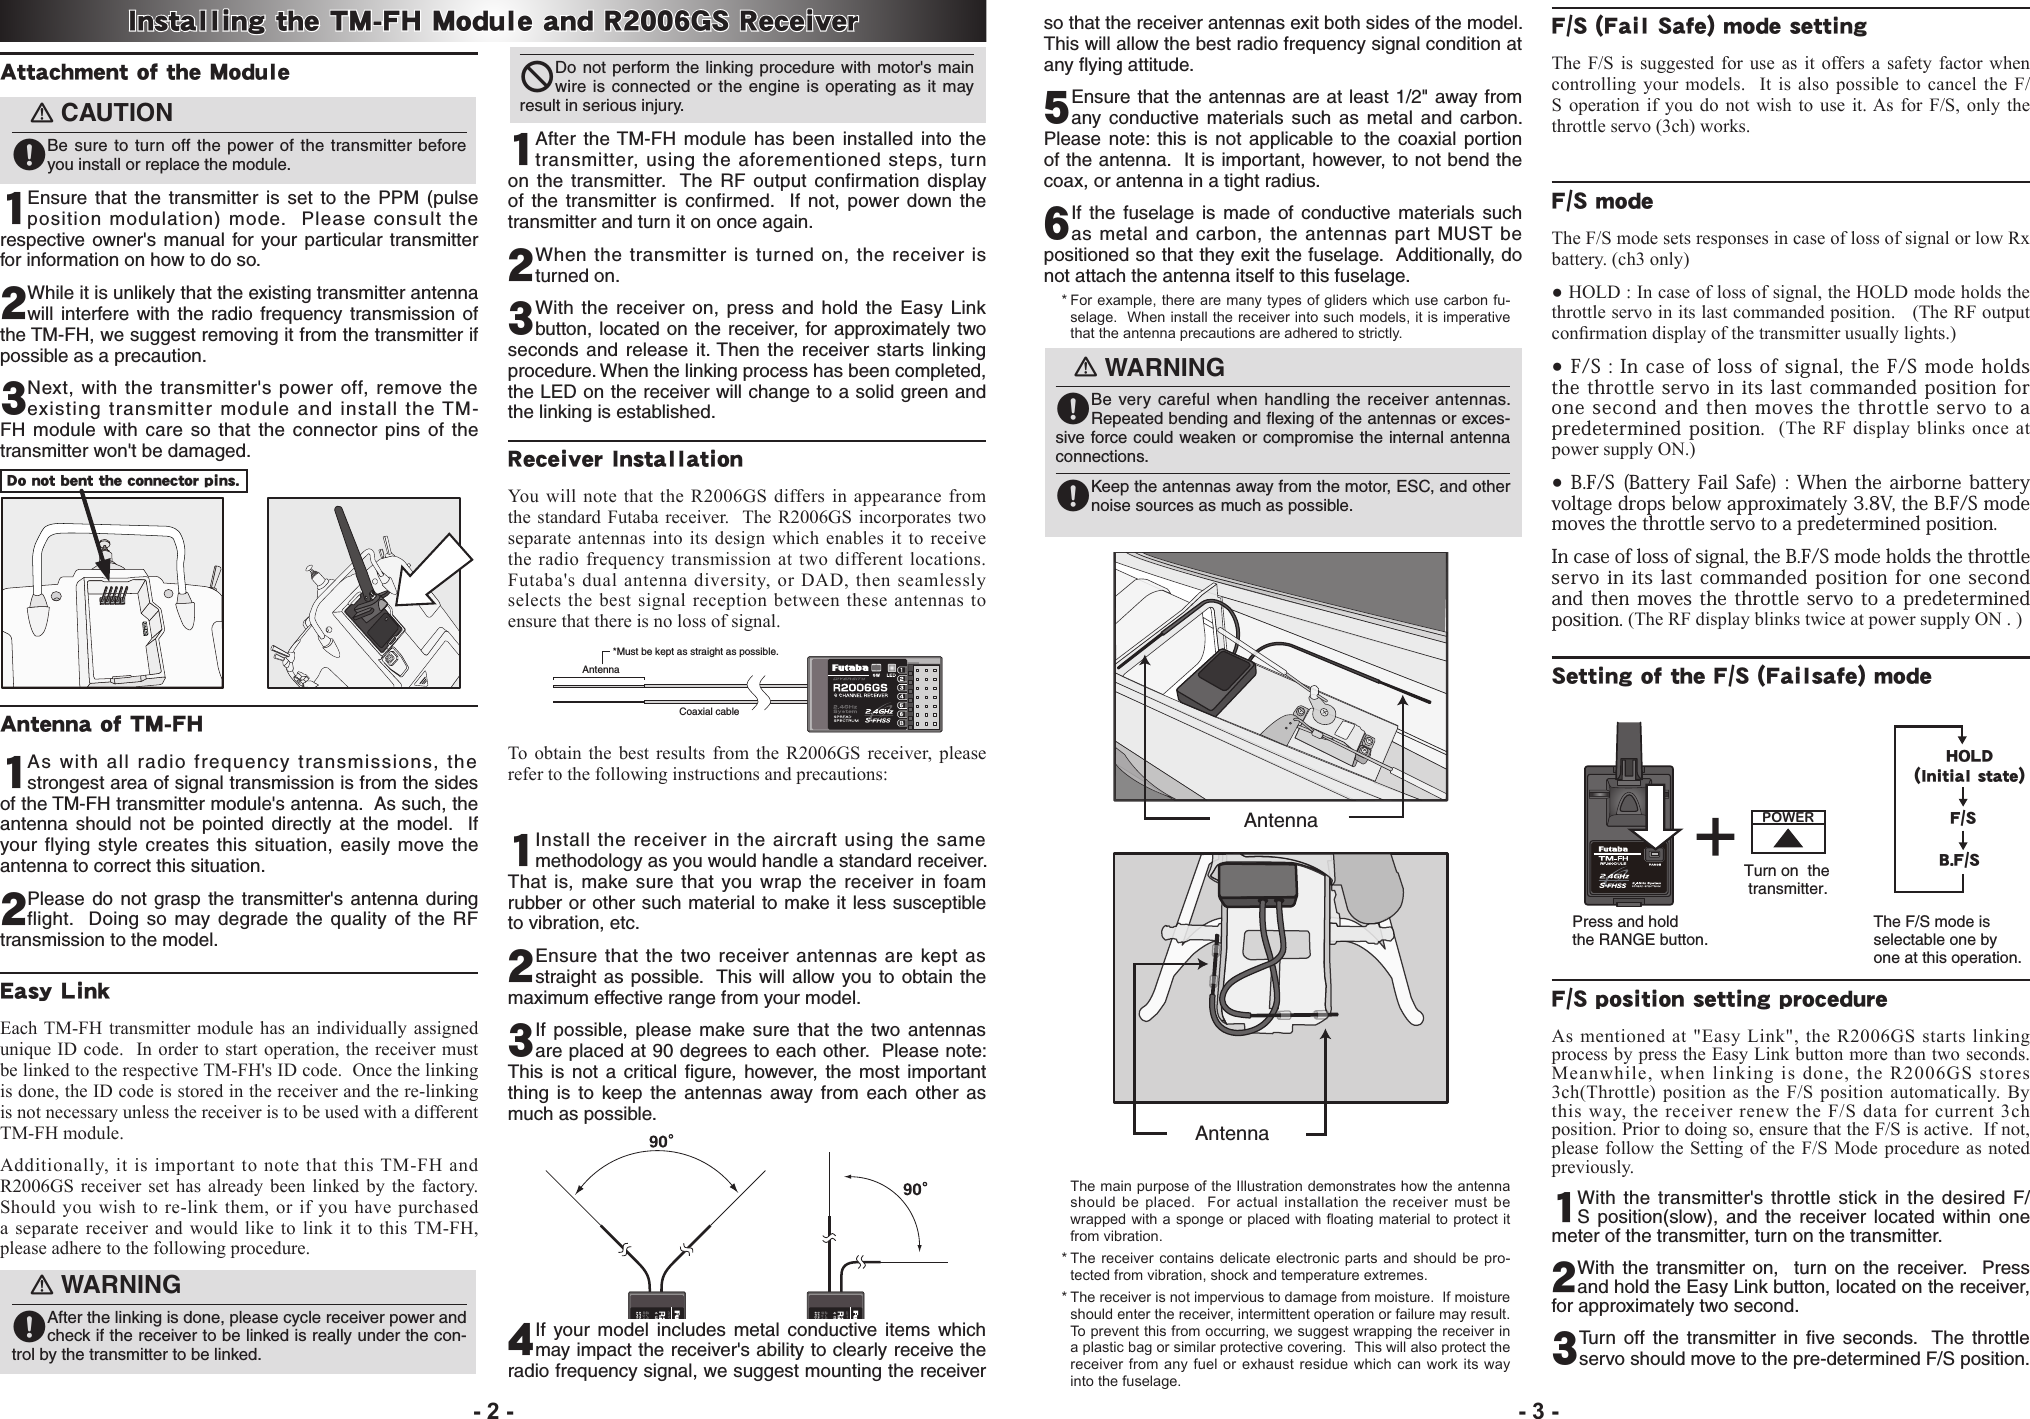
![Important: The 2.4GHz band offers different characteristics than that of the conventional 50MHz and 72MHz. As such, we strongly encourage you to read this manual carefully prior to utilizing the TM-FH and R2006GS S-FHSS system.1M23N25802Contents and Technical SpecicationsYour 2.4GHz system includes the following components: Specications:TM-FH RF Module-•Communicationsystem:one-waycommunication•Antenna:1/2wavelengthdi-pole•Currentconsumption:150mAmaximum•SettingswitchforFailSafe(F/S)settingandrangecheckR2006GS Receiver-•Dualantennadiversity•Powerrequirement:4.8Vor7.4Vbatteryorregulatedout-putfromESC,etc.(*1)•F/SandBatteryF/Sfunctionforthrottlechannel(channelthree)•Size:1.70x0.98x0.35in.(43.1x25.0x8.8mm)•Weight:0.30oz.(8.5g)(*1) Be sure that when using ESC's regulated output the capacityoftheESCmust meetyourusagecondition. NeverusedrycellbatteriesfortheR2006GSreceiverasthismaycausedifcultieswiththereceiver'soperation.TM-FH RF ModuleS-FHSS Air SystemTM-FH RF Moduleand R2006GS ReceiverThank you for purchasing the TM-FH 2.4GHz transmitter module and R2006GS receiver. This system is designed for use only with the Futaba transmitters indicated elsewhere in this manual. In order to use the TM-FH transmitter module, you will need to carefully remove the existing transmitter module and replace it with the TM-FH transmitter module. The receiver R2006GS, as the model number indicates, is capable of controlling models up to six channels. Please note: The installation of the R2006GS differs slightly from that of a typical receiver. Please pay special attention to the information contained within this manual in order to have a pleasant ying experience. Note:Futaba S-FHSS system and FASST system are not compatible each other.Features:• 2.4GHz Spread Spectrum radio communication system.• Exclusive ID code to avoid interference from other S-FHSS systems.• Fail Safe (F/S) function (for throttle channel)-F/S, Battery F/S• Dual antenna diversity (R2006GS)Applicable systems: T9C, T9Zwc2, T10C R2006GS ReceiverMini screwdriver Instruction ManualRepair Service (in U.S.A.)If any difculties are encountered while setting up or operating your TM-FH transmitter module and R2006GS receiver, please consult this instruction manual first. For further assistance you may also refer to your hobby dealer, or contact the Futaba Service Center at the web site, fax or telephone number below:www.futaba-rc.com, www.2.4gigahertz.comFax (217) 398-7721, Tel (217) 398-8970 (option 2) If you are unable to resolve the issue, pack the system in its original container with a note enclosed and a thorough, accurate description of the difculty. Include the following in your note:•Symptoms (Including when the problem occurred)•System (transmitter, Receiver, Servos and model numbers)•Model (Model name)•Model numbers and quantity•Your Name, Address and Telephone numberSend the respective items to the authorized Futaba Service Center address below: Futaba Service Center3002 N Apollo Drive Suite 1Champaign, IL 61822Special Markings; Pay special attention to the safety at the parts of this manual that are indicated by the following marks. [Symbol] ; Prohibited ; MandatoryMark MeaningProcedures which may lead to a dangerous condition and cause death or serious injury to the user if not carried out properly. Procedures which may lead to a dangerous condition or cause death or serious injury to the user if not carried out properly, or procedures where the probability of superficial injury or physical damage is high.Procedures where the possibility of serious injury to the user is small, but there is a danger of injury, or physical damage, if not carried out properly.Please refer to the table below for the LED status of the receiver's condition. Green Red StatusOff Solid No signal receptionSolid Off Receiving signalsBlink Off Receiving signals but ID is unmatchedAlternate blink Unrecoverable failure (EEPROM, etc.) Battery F/S functionThe TM-FH transmitter module and R2006GS receiver also provides you with a second safety system, the Battery F/S (failsafe). When the airborne voltage drops below 3.8V, the battery failsafe function moves the throttle to a pre-determined F/S position. If this happens, you should land immediately! If you need to increase the throttle for your landing approach, you may temporarily reset the failsafe function by moving the throttle stick to the predetermined position, after which you'll have about 30 seconds of throttle control before the battery function reactivates.*Pleasenote:Itis suggestedthatyouutilize a 4-cellNiCDorNiMHreceiverbatterypackasitallowstheeffectiveuseofthebatteryF/Sfunction.Additionally,wedonotsuggestusingdrycellbatteriesforthereceiverpackastheymaycausedifculties.Range Check the RadioIt is extremely important to range check your models prior to each ying session. This enables you to ensure that everything is functioning as it should and to obtain maximum enjoyment from your time flying. The TM-FH transmitter module incorporates a system that reduces its power output and allows you to perform such a range check.1 Turn on the transmitter. 2 After the radio frequency link has been established , press and hold the "F/S, Range" switch located on the rear of the TM-FH transmitter module. The RF output display of the transmitter disappears, and the buzzer of the transmitter rings. the radio frequency power has been reduced to allow for the range check. *Note:Donotpressandholdthe"F/S,Range"switchpriortoturningonthetransmitter.Thiswillalter thestatusofthe F/Ssettingsasnotedpreviously.Inorderto avoid thissituation,pleasewaitfor ashorttimeafterturningonthetransmittertoactivatethelowpowersettingonforrangechecking.3 Walk away from the model while simultaneously operating the controls. Have an assistant stand by the model to confirm that all controls are completely and correctly operational. You should be able to walk approximately 30-50 paces from the model without losing control.4 If the servos jitter or move inadvertently, there may be a problem. We would strongly suggest you do not fly until the source of the difficulty has been determined. Look for loose servo connections or binding pushrods. Also, be certain that the battery has been fully charged.WARNINGPlease make sure that you do not push and hold the F/S, Range switch when flying as this reduces the power output of the transmitter and reduces the overall range of your transmitter.Other precautionsWhen utilizing the trainer function of the transmitter as an instructor, please do not switch to the student's control unit until the RF is active after turning the transmitter on. Failure to adhere to this procedure may result in a malfunction.Usage Precautions:1) Prior to utilizing any radio control system, it is strongly recommended that you read and abide by the Safety Code created by the Academy of Model Aeronautics as well as any site specific rules and regulations that might exist. Doing so will greatly increase your enjoyment of the hobby. 2) In order to maintain complete control of your aircraft it is important that it remains visible at all times. Flying behind large objects such as build-ings, grain bins, etc. is not suggested. Doing so may result in the reduc-tion of the quality of the radio frequency link to the model.3) Please do not grasp the transmitter module's antenna during flight. Do-ing so may degrade the quality of the radio frequency transmission.- 4 - - 1 -©Copyright 2011. No part of this manual may be reproduced in any form without prior permission. The contents of this manual are subject to change without prior notice. While this manual has been carefully written, there may be inadvertent errors or omissions. Please contact our service center if you feel that any corrections or clarications should be made.FUTABA CORPORATION 1080 Yabutsuka, Chosei-mura, Chosei-gun, Chiba-ken, 299-4395, JapanPhone: +81 475 32 6982, Facsimile: +81 475 32 6983©FUTABA CORPORATION 2011, 06 (1)FCC InformationTo assure continued FCC compliance:(1) Any changes or modications not expressly approved by the grantee of this device could void the user's authority to operate the equipment.FCC Label Compliance Statement:This device complies with Part 15 of the FCC Rules. Operation is subject to the following two conditions: (1) this device may not cause harmful interference, and (2) this device must accept any interference received, including interference that may cause undesired operation.Range Check SwichEasy Link Swich1.The outside of the host device into which the module is installed must also display a label referring to the enclosed module, This exterior label can use wording such as the following: “Contains Transmitter Module FCC ID: AZPTMFH-24G” or“Contains FCC ID: AZPTMFH-24G". 2. To comply with FCC RF exposure compliance requirements, a separation distance of at least 20 cm must be maintained between the antenna of this device and all persons. 3. This Transmitter must not be co-located or operating in conjunction with any other antenna or transmitter](https://usermanual.wiki/Futaba/TMFH-24G.User-Manual-Rev-02/User-Guide-1507791-Page-1.png)