First Computer MB02W3BB Notebook Computer With 802.11b WLAN Module User Manual 11b
First International Computer Inc Notebook Computer With 802.11b WLAN Module 11b
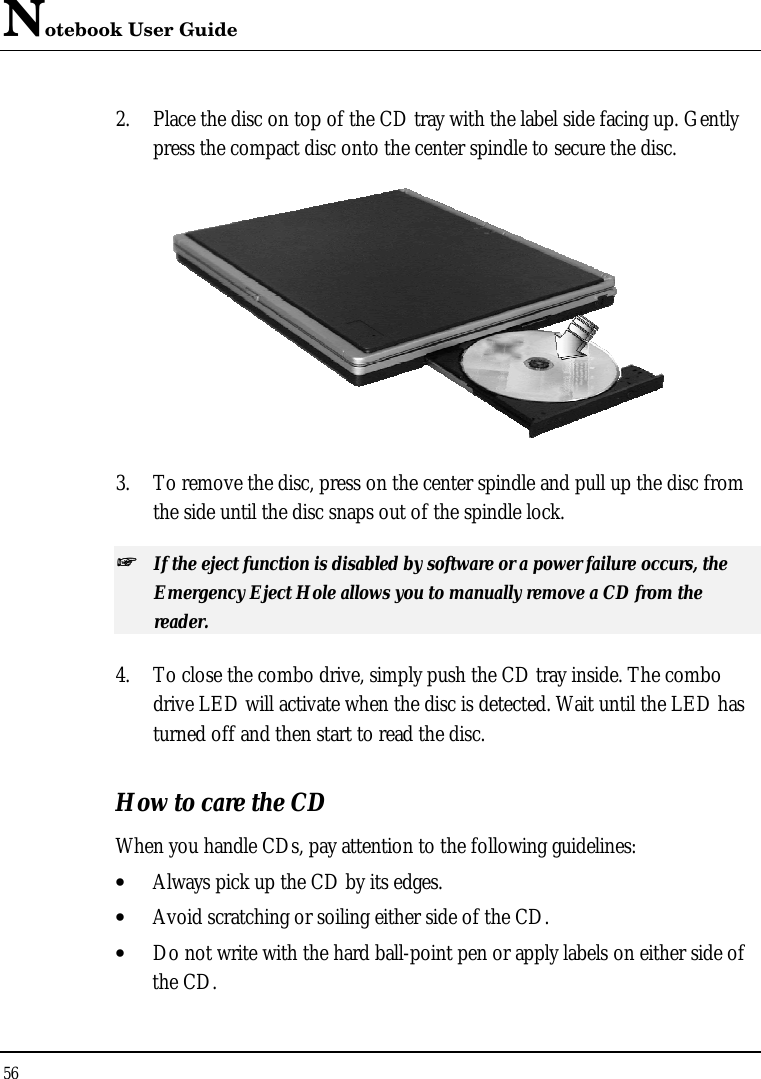
Contents
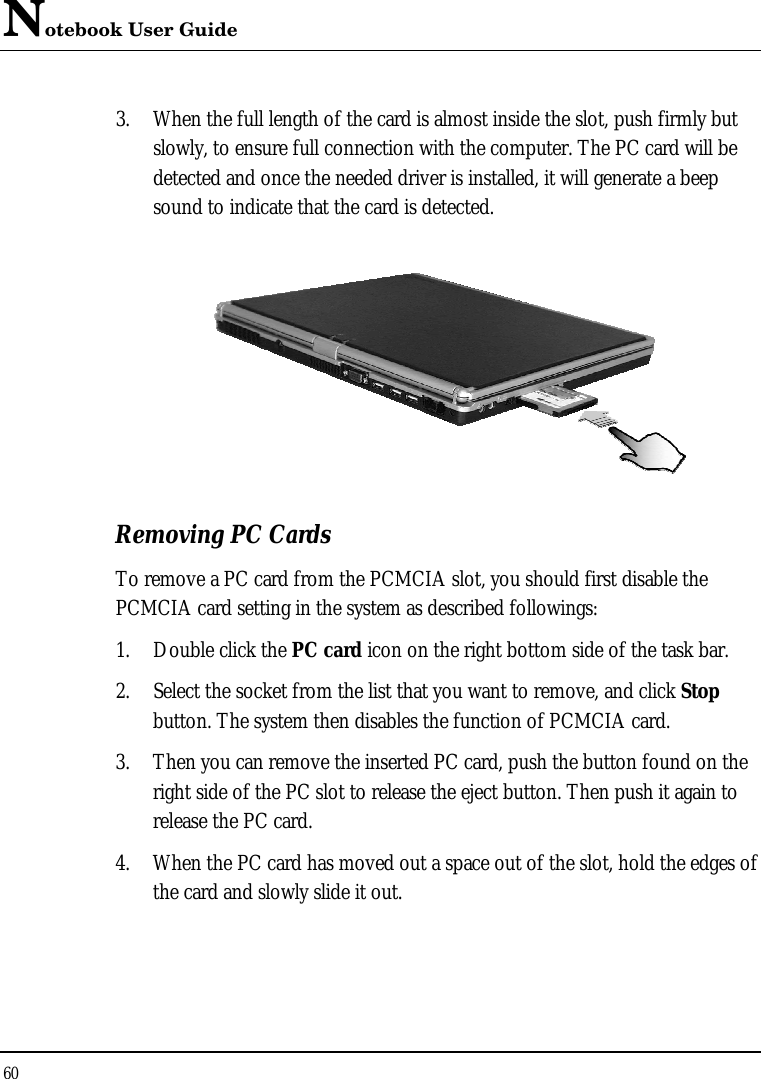
- 1. Page 1 to 30 of user manual
- 2. Page 31 to 42 of user manual
- 3. Page 43 to 60 of user manual
- 4. Pge 61 to 80 of user manual
- 5. Page 81 to 113 of user manual
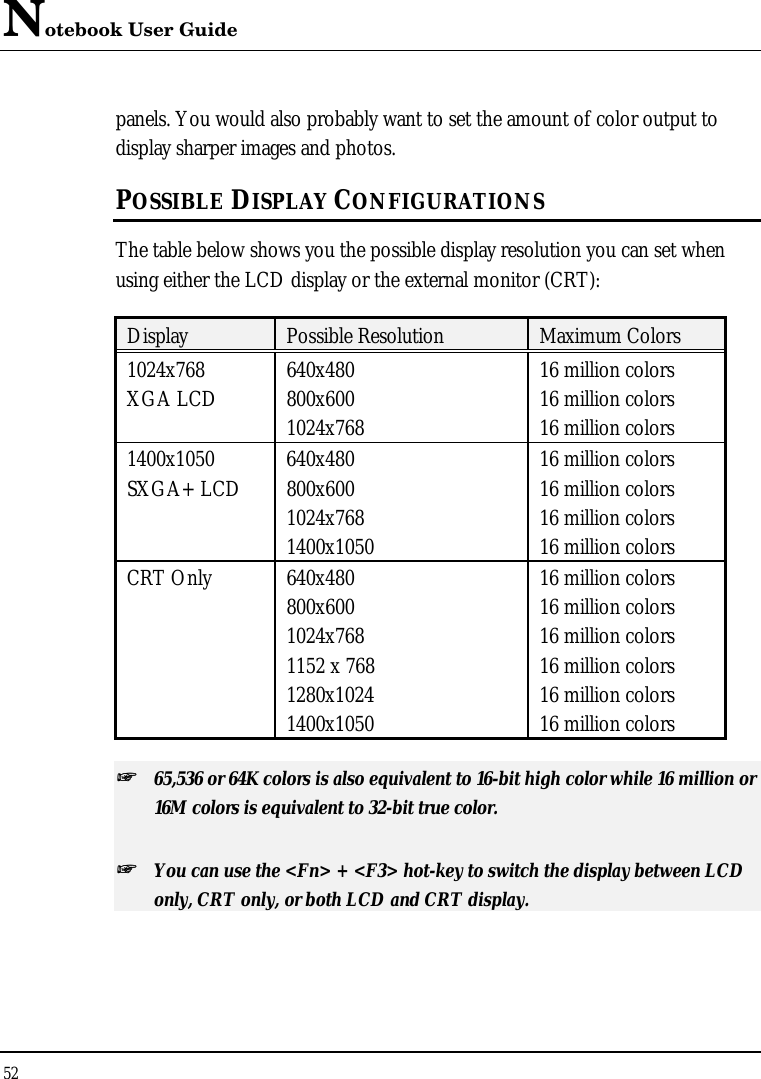
Page 43 to 60 of user manual