First Computer MB02W3BB Notebook Computer With 802.11b WLAN Module User Manual 11b

First International Computer Inc Notebook Computer With 802.11b WLAN Module 11b

Page 31 to 42 of user manual

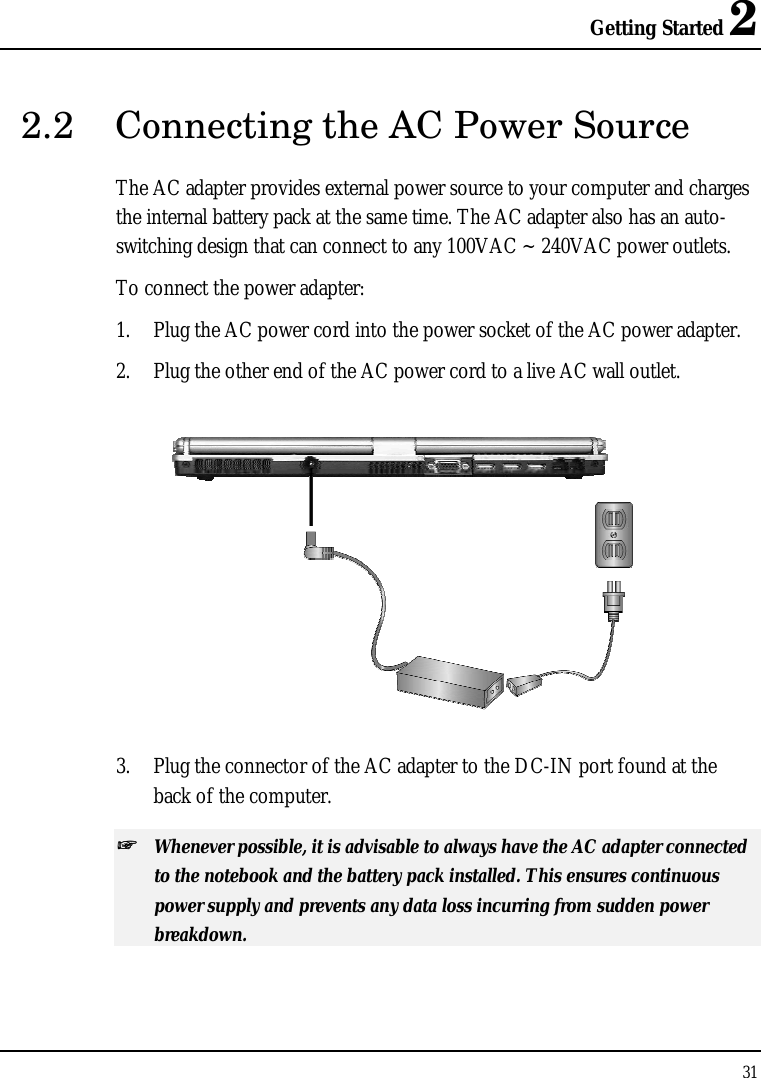
Getting Started 2 31  2.2  Connecting the AC Power Source The AC adapter provides external power source to your computer and charges the internal battery pack at the same time. The AC adapter also has an auto-switching design that can connect to any 100VAC ~ 240VAC power outlets. To connect the power adapter: 1. Plug the AC power cord into the power socket of the AC power adapter. 2. Plug the other end of the AC power cord to a live AC wall outlet.  3. Plug the connector of the AC adapter to the DC-IN port found at the back of the computer. ++   Whenever possible, it is advisable to always have the AC adapter connected to the notebook and the battery pack installed. This ensures continuous power supply and prevents any data loss incurring from sudden power breakdown.
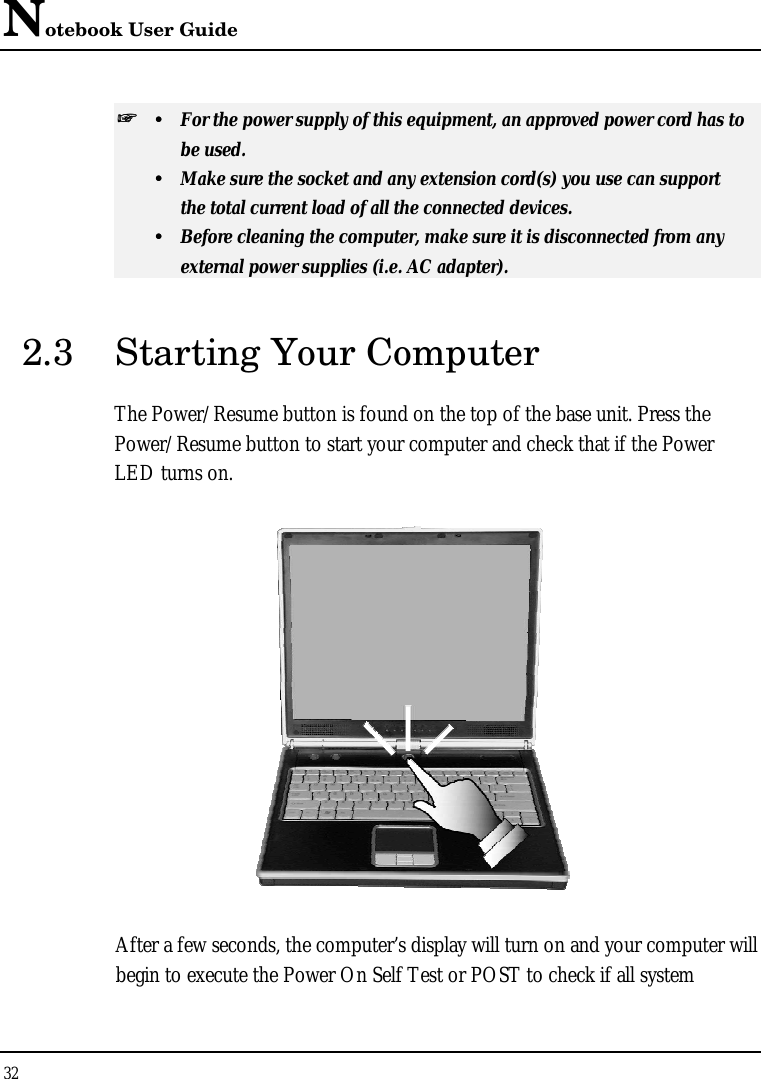
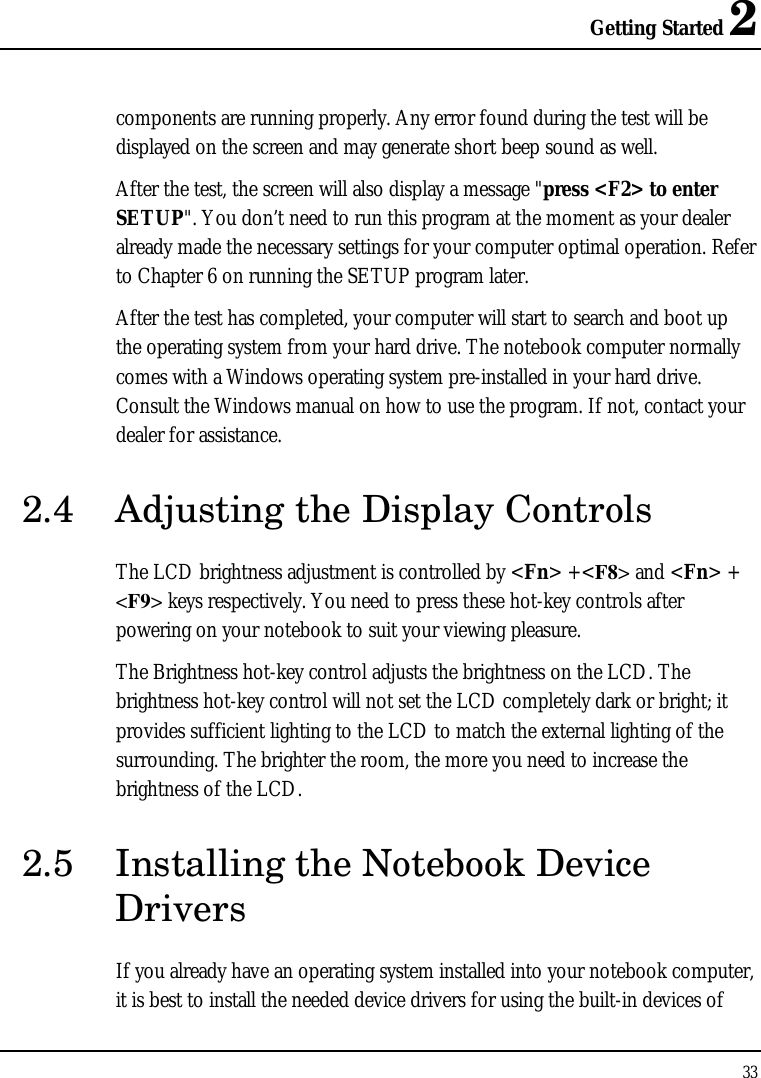
Notebook User Guide 32  ++   ŸŸ For the power supply of this equipment, an approved power cord has to  be used. ŸŸ Make sure the socket and any extension cord(s) you use can support  the total current load of all the connected devices. ŸŸ Before cleaning the computer, make sure it is disconnected from any  external power supplies (i.e. AC adapter). 2.3 Starting Your Computer The Power/Resume button is found on the top of the base unit. Press the Power/Resume button to start your computer and check that if the Power LED turns on.  After a few seconds, the computer’s display will turn on and your computer will begin to execute the Power On Self Test or POST to check if all system
Getting Started 2 33  components are running properly. Any error found during the test will be displayed on the screen and may generate short beep sound as well. After the test, the screen will also display a message "press <F2> to enter SETUP". You don’t need to run this program at the moment as your dealer already made the necessary settings for your computer optimal operation. Refer to Chapter 6 on running the SETUP program later. After the test has completed, your computer will start to search and boot up the operating system from your hard drive. The notebook computer normally comes with a Windows operating system pre-installed in your hard drive. Consult the Windows manual on how to use the program. If not, contact your dealer for assistance. 2.4 Adjusting the Display Controls The LCD brightness adjustment is controlled by <Fn> +<F8> and <Fn> + <F9> keys respectively. You need to press these hot-key controls after powering on your notebook to suit your viewing pleasure.  The Brightness hot-key control adjusts the brightness on the LCD. The brightness hot-key control will not set the LCD completely dark or bright; it provides sufficient lighting to the LCD to match the external lighting of the surrounding. The brighter the room, the more you need to increase the brightness of the LCD. 2.5 Installing the Notebook Device Drivers If you already have an operating system installed into your notebook computer, it is best to install the needed device drivers for using the built-in devices of
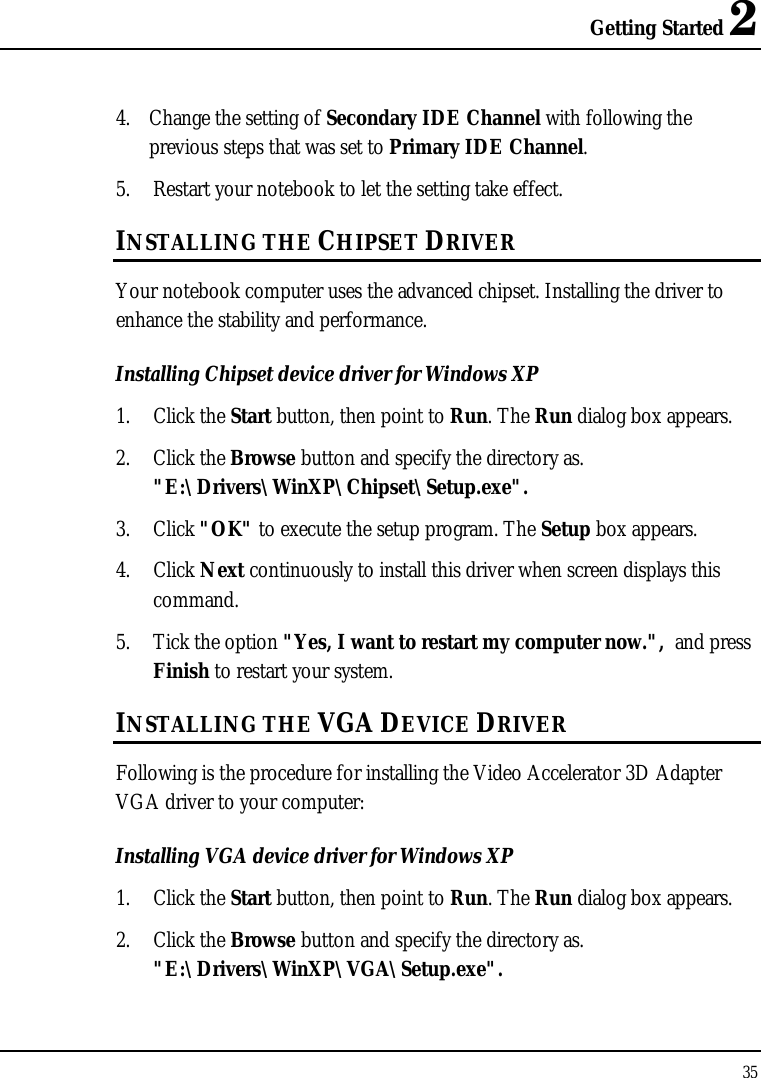
Notebook User Guide 34  your computer. Before installing the drivers, check with your dealer first if they have already installed all the drivers along with the operating system. If not, follow the procedures below: INSTALLING WINDOWS XP FROM COMBO DRIVE To install Windows XP directly from your combo drive, please go to Boot menu of BIOS setup menu. Use arrow key to select "CD-ROM Drive", then use "+" or "-" to move it to the top. Go to Exit menu and select "Exit Saving Changes". Accordingly, insert the Windows XP installation CD into combo drive with following the instructions on the screen to finish the installation. ENABLE DMA CHANNEL FOR BEST PERFORMANCE This Notebook supports DMA function for fastest data bus transmission. The Windows system does not enable this function after you had installed the Windows system. You must enable this function manually to make this notebook running smoothly, especially in music listening and DVD, VCD playback. Enable DMA for Windows XP 1. Please click the following buttons with the procedure Start --> Setting--> Control Panel --> System --> Hardware --> Device Manager. 2. Select and click IDE ATA/ATAPI Controller, you will find Primary IDE Channel and Secondary IDE channel. Please click Primary IDE Channel first. 3. Click Advanced setting Tab. Please change the selection of Transfer Mode to DMA if available on both Device 0 and Device 1. Then Click OK to return to the Device Manager box.
Getting Started 2 35  4. Change the setting of Secondary IDE Channel with following the previous steps that was set to Primary IDE Channel. 5. Restart your notebook to let the setting take effect. INSTALLING THE CHIPSET DRIVER Your notebook computer uses the advanced chipset. Installing the driver to enhance the stability and performance.  Installing Chipset device driver for Windows XP 1. Click the Start button, then point to Run. The Run dialog box appears.  2. Click the Browse button and specify the directory as.  "E:\Drivers\WinXP\Chipset\Setup.exe". 3. Click "OK" to execute the setup program. The Setup box appears. 4. Click Next continuously to install this driver when screen displays this command. 5. Tick the option "Yes, I want to restart my computer now.",  and press Finish to restart your system. INSTALLING THE VGA DEVICE DRIVER Following is the procedure for installing the Video Accelerator 3D Adapter VGA driver to your computer: Installing VGA device driver for Windows XP 1. Click the Start button, then point to Run. The Run dialog box appears.  2. Click the Browse button and specify the directory as.  "E:\Drivers\WinXP\VGA\Setup.exe".
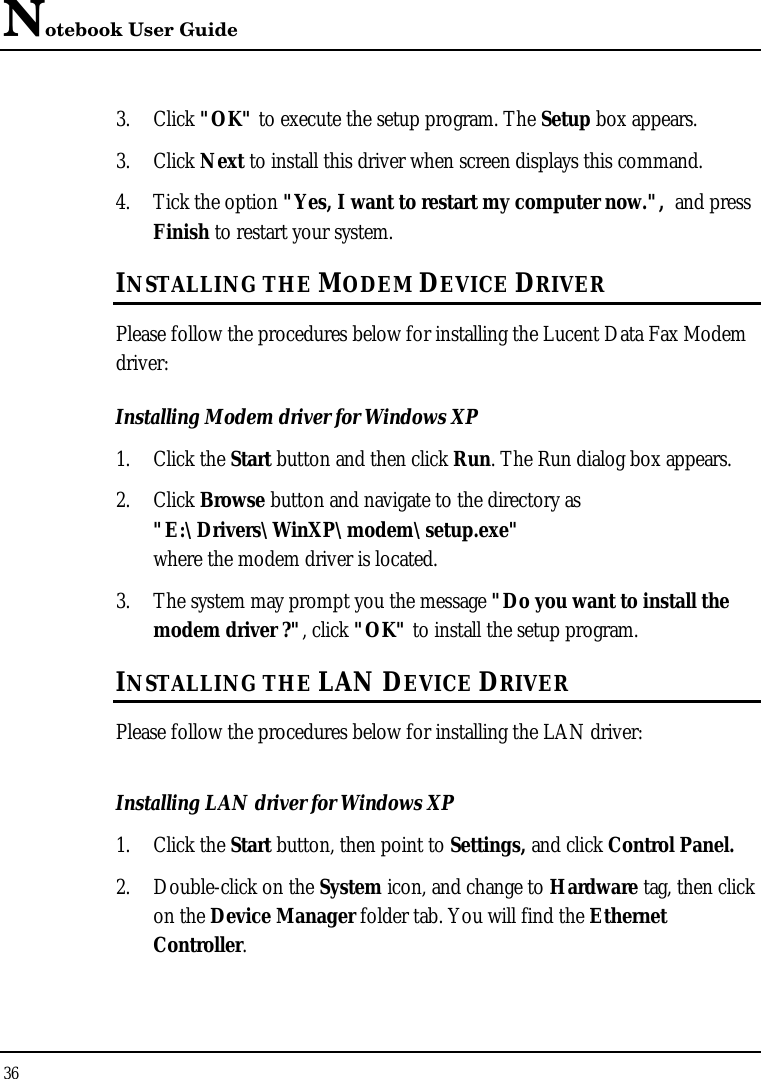
Notebook User Guide 36  3. Click "OK" to execute the setup program. The Setup box appears. 3. Click Next to install this driver when screen displays this command. 4. Tick the option "Yes, I want to restart my computer now.",  and press Finish to restart your system. INSTALLING THE MODEM DEVICE DRIVER Please follow the procedures below for installing the Lucent Data Fax Modem driver: Installing Modem driver for Windows XP 1. Click the Start button and then click Run. The Run dialog box appears. 2. Click Browse button and navigate to the directory as "E:\Drivers\WinXP\modem\setup.exe" where the modem driver is located.  3. The system may prompt you the message "Do you want to install the modem driver ?", click "OK" to install the setup program. INSTALLING THE LAN DEVICE DRIVER Please follow the procedures below for installing the LAN driver: Installing LAN driver for Windows XP  1. Click the Start button, then point to Settings, and click Control Panel. 2. Double-click on the System icon, and change to Hardware tag, then click on the Device Manager folder tab. You will find the Ethernet Controller.
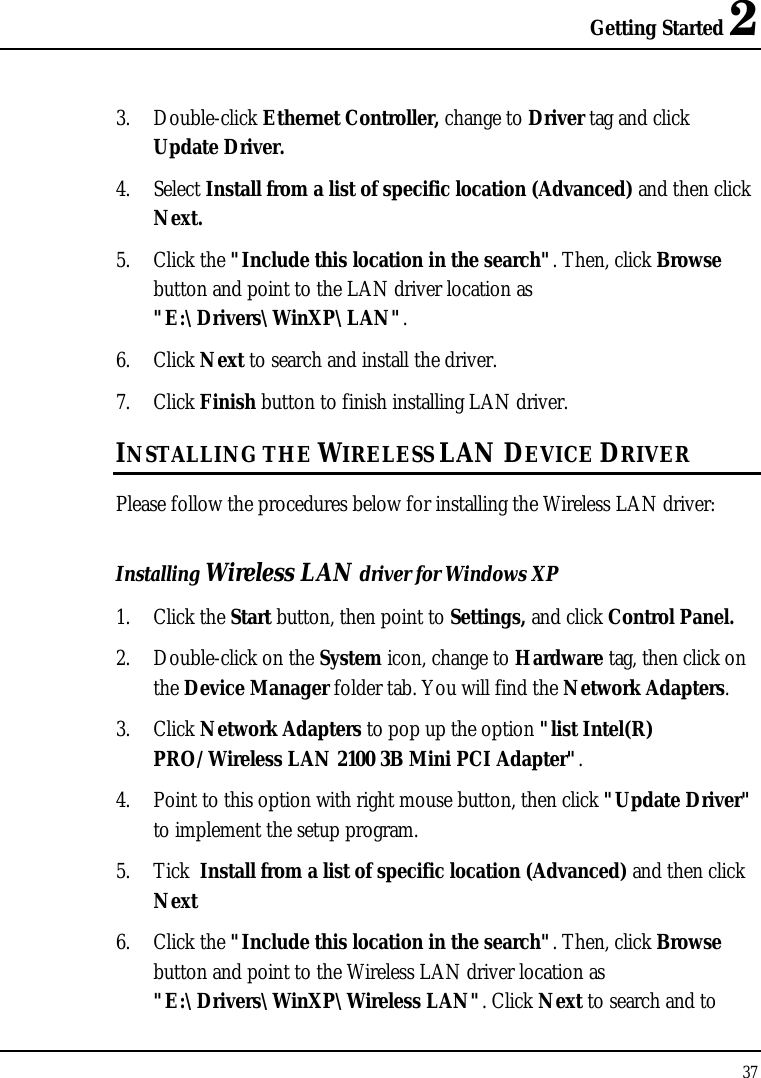
Getting Started 2 37  3. Double-click Ethernet Controller, change to Driver tag and click Update Driver. 4. Select Install from a list of specific location (Advanced) and then click Next. 5. Click the "Include this location in the search". Then, click Browse button and point to the LAN driver location as "E:\Drivers\WinXP\LAN".  6. Click Next to search and install the driver. 7. Click Finish button to finish installing LAN driver. INSTALLING THE WIRELESS LAN DEVICE DRIVER Please follow the procedures below for installing the Wireless LAN driver: Installing Wireless LAN driver for Windows XP  1. Click the Start button, then point to Settings, and click Control Panel. 2. Double-click on the System icon, change to Hardware tag, then click on the Device Manager folder tab. You will find the Network Adapters. 3. Click Network Adapters to pop up the option "list Intel(R) PRO/Wireless LAN 2100 3B Mini PCI Adapter". 4. Point to this option with right mouse button, then click "Update Driver" to implement the setup program.  5. Tick  Install from a list of specific location (Advanced) and then click Next 6. Click the "Include this location in the search". Then, click Browse button and point to the Wireless LAN driver location as "E:\Drivers\WinXP\Wireless LAN". Click Next to search and to
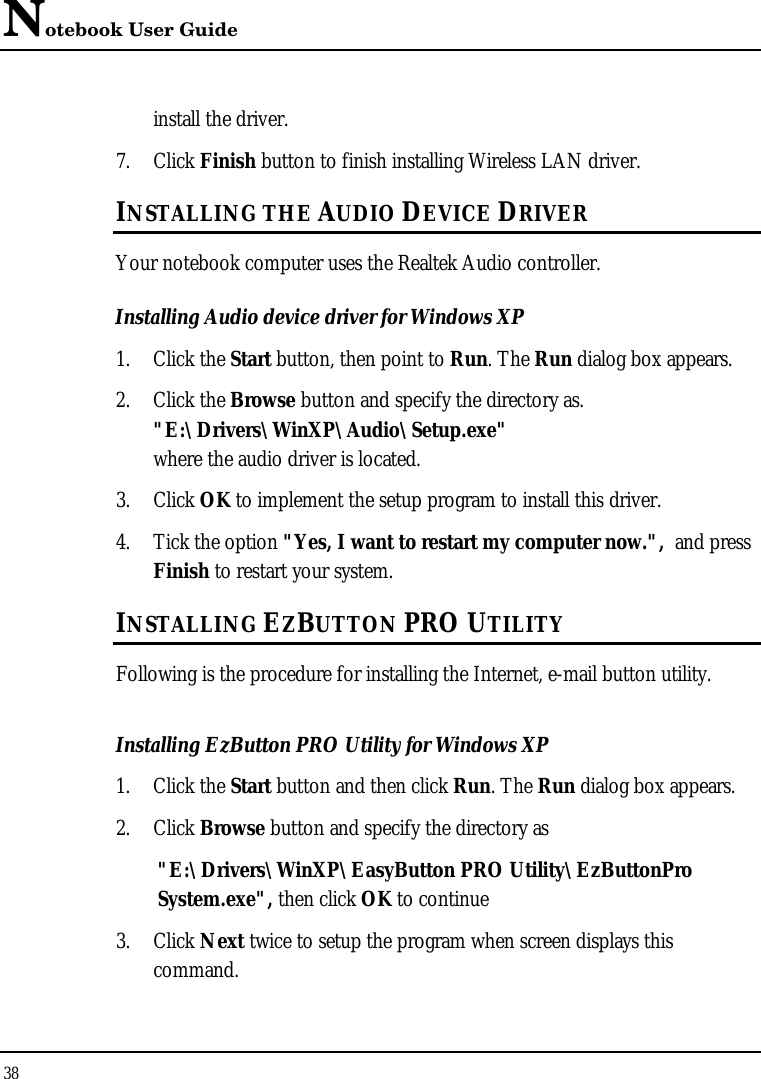
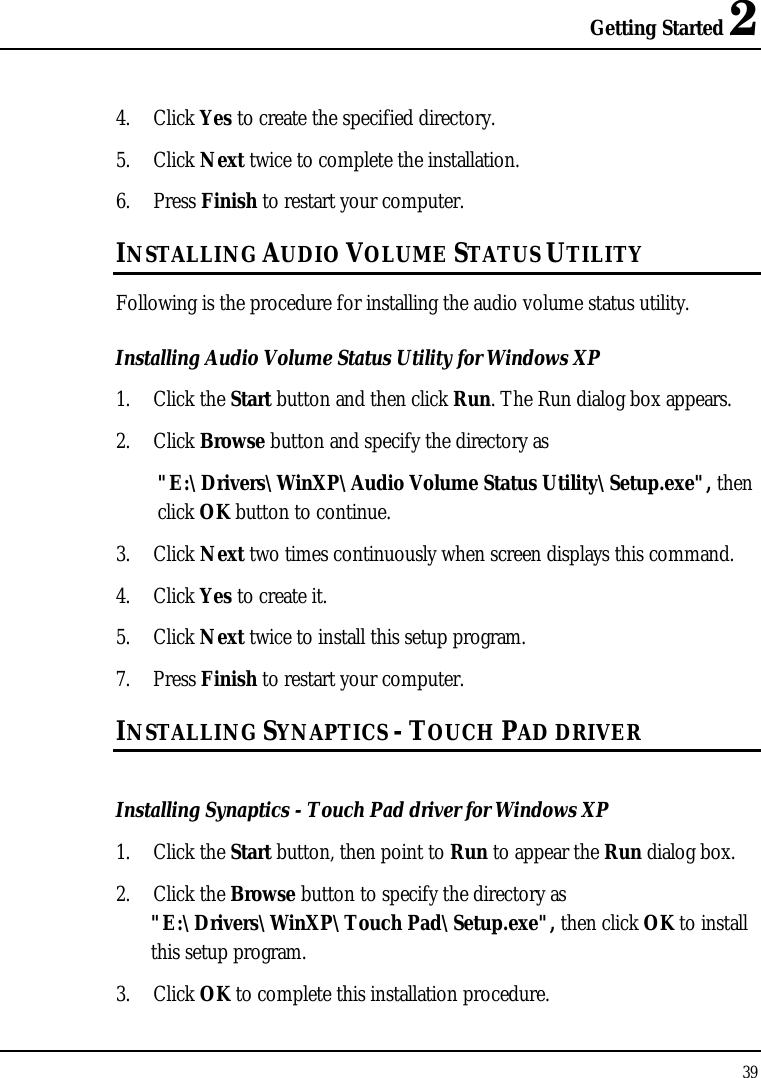
Notebook User Guide 38  install the driver. 7. Click Finish button to finish installing Wireless LAN driver. INSTALLING THE AUDIO DEVICE DRIVER Your notebook computer uses the Realtek Audio controller. Installing Audio device driver for Windows XP 1. Click the Start button, then point to Run. The Run dialog box appears.  2. Click the Browse button and specify the directory as.  "E:\Drivers\WinXP\Audio\Setup.exe" where the audio driver is located. 3. Click OK to implement the setup program to install this driver.  4. Tick the option "Yes, I want to restart my computer now.",  and press Finish to restart your system. INSTALLING EZBUTTON PRO UTILITY Following is the procedure for installing the Internet, e-mail button utility. Installing EzButton PRO Utility for Windows XP  1. Click the Start button and then click Run. The Run dialog box appears. 2. Click Browse button and specify the directory as  "E:\Drivers\WinXP\EasyButton PRO Utility\EzButtonPro System.exe", then click OK to continue  3. Click Next twice to setup the program when screen displays this command.
Getting Started 2 39  4. Click Yes to create the specified directory. 5. Click Next twice to complete the installation. 6. Press Finish to restart your computer. INSTALLING AUDIO VOLUME STATUS UTILITY Following is the procedure for installing the audio volume status utility. Installing Audio Volume Status Utility for Windows XP 1. Click the Start button and then click Run. The Run dialog box appears. 2. Click Browse button and specify the directory as  "E:\Drivers\WinXP\Audio Volume Status Utility\Setup.exe", then click OK button to continue. 3. Click Next two times continuously when screen displays this command. 4. Click Yes to create it. 5. Click Next twice to install this setup program. 7. Press Finish to restart your computer. INSTALLING SYNAPTICS - TOUCH PAD DRIVER  Installing Synaptics - Touch Pad driver for Windows XP  1. Click the Start button, then point to Run to appear the Run dialog box. 2. Click the Browse button to specify the directory as "E:\Drivers\WinXP\Touch Pad\Setup.exe", then click OK to install this setup program.  3. Click OK to complete this installation procedure.
Notebook User Guide 40  2.6 Turning off Your Computer If you are not going to use the computer for a while, it is best to turn off the power of the computer for longer use. Before turning off the power, you need to close first all application programs and shutdown the operating system. After turning off the computer, make it a habit to leave the LVDS panel open for a while whenever used for an extended period of time. This allows the inside parts of the computer to cool off. Closing the panel will force the heat up against the LCD screen, which may degrade the LCD when done regularly. More importantly, never close the LVDS panel for a long period of time when computer is on and power saving features are disabled.
Using Your Notebook 3 41  3 Using Your Notebook   This chapter describes how to operate the standard built-in features of the notebook that you normally would use in your day-to-day computer work. If you are new to computers and to your operating system, you also need to read the manual for the operating system on how to work with your computer. It is very important to familiarize yourself well with the operating system. The succeeding chapters not only guide you to go beyond the basics, but also try other exciting features.
Notebook User Guide 42  3.1 Starting Your Operating System The operating system is a must ingredient in using your computer. Without an operating system, it is like playing chess without the chessboard. It is the platform for all your software application programs to run on. The most popular operating system today is Microsoft Windows. You should have installed one operating system by your dealer unless you are an expert computer user and would need a more powerful operating system. If you have an operating system already installed in your computer, then you would be up and running after you power on your computer and boot up the system. Check your operating system manual on how to run it.  3.2 Understanding the Keyboard Functions Your notebook computer is equipped with an 87/90 keys keyboard that provides all the functionality of a full-sized 101 or 102-key IBM keyboard. Aside from the standard typewriter-layout keyboard of your computer, there are a number of extra features and function controls on the built-in keyboard including Windows system hot keys.

Navigation menu