Ewig Macao Commercial Offshore TPX303 Wireless Cooking Thermo User Manual TPR303 TPX303MANUAL
Ewig Industries Macao Commercial Offshore Limited Wireless Cooking Thermo TPR303 TPX303MANUAL
UserManual.wiki
>
Ewig Macao Commercial Offshore
>
TPX303 User Manual
User Manual
Navigation menu
Upload a User Manual
Namespaces
Wiki Guide
HTML
PDF
Info
Views
User Manual
Discussion / Help
Navigation
![Page 1 of 10 WIRELESS GRILL THERMOMETER MODEL: TPR303 INSTRUCTION MANUAL Congratulations on your purchase of the Wireless Grill Thermometer, a programmable wireless food thermometer. You will now be able to remotely monitor the time and temperature of food cooking in the oven or outdoors from anywhere in your home. The receiver unit will beep to alert you when the cooking temperature is within the 10°F (5°C) range or already reaching the target temperature. Receiver Features LCD - Liquid crystal display to show display icons, Food-Taste, Timer, Received & Set temperatures. See LCD diagram for detailed information. CLIP – Detachable clip for attaching the receiver unit on a wrist belt or for resting on cradle. BATTERY COMPARTMENT - Holds two (2) ‘AAA’ 1.5V batteries. Description of buttons 1. [HR/▲] In Timer mode, press to set hour from 0hr to 23hr. Press and hold for 2 seconds; the hour setting will increase at a faster rate. In Thermometer mode, press to increase the manual temperature from 14ºF to 482ºF ( -10ºC to 250ºC ). LCD CLIP BATTERY COMPARTMENT 1 2 3 4 5 6 7 8 9](https://usermanual.wiki/Ewig-Macao-Commercial-Offshore/TPX303/User-Guide-965678-Page-1.png)
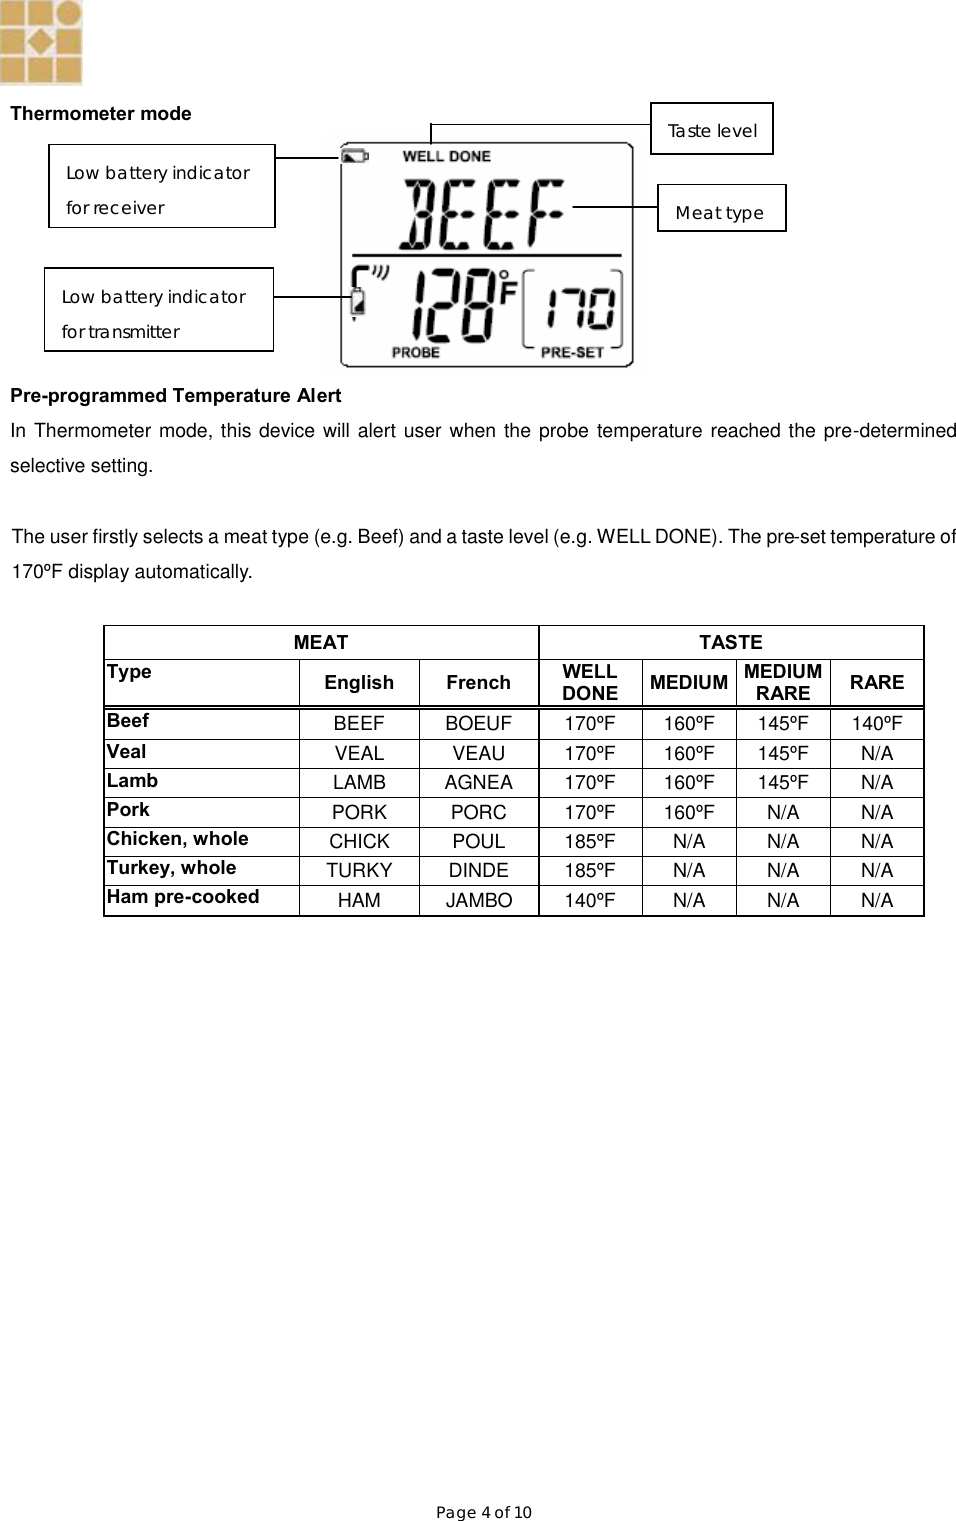
![Page 2 of 10 Press and hold for 2 seconds, the temperature setting will increase at a faster rate. 2. [MIN/▼] In Timer mode, press to set minutes from 0 min to 59 min. Press and hold for 2 seconds; the minute setting will increase at a faster rate. In Thermometer mode, press to decrease the manual temperature from 14ºF to 482 ºF ( -10ºC to 250ºC ). Press and hold for 2 seconds; the temperature setting will decrease at a faster rate. 3. [CLEAR] While the timer count-down or count-up process is stopped, press once to clear the timer reading to zero. In thermometer mode, press to select temperature unit in Celsius or Fahrenheit. 4. [MODE] Press to select Thermometer or Timer mode. Press and hold for 2 seconds to enter RF registration mode. The ‘---‘ icon will appear in the place of the probe temperature and flash in 1Hz; press [Mode] button again to stop the RF registration. 5. [START/STOP] Press to start or stop the timer count-down or count-up. Press to stop the temperature/timer alert sound. 6. [MEAT] In Thermometer mode, toggle [MEAT] button to select meat type: BEEF à VEAL à LAMB à PORK à CHICK (chicken) à TURKY (turkey) à HAM (pre-cooked Ham) à return. Press and hold for 2 seconds to change the display language from English to French. The meat type will be BOEUF, VEAU, AGNEA, PORC, POUL, DINDE and JAMBO. Press and hold [MEAT] button for another 2 seconds to switch the language back to English. 7. [TASTE] In Thermometer mode, toggle [TASTE] button to select the taste level: WELL DONE, MEDIUM, MEDIUM RARE or RARE. 8. [ON/OFF] Power switch for the receiver unit. 9. [LIGHT] Press once to turn on backlight for 10 seconds. While the backlight is on, press any key will extend the backlight illumination for another 10 seconds.](https://usermanual.wiki/Ewig-Macao-Commercial-Offshore/TPX303/User-Guide-965678-Page-2.png)
![Page 3 of 10 Timer mode (Count up /Count down) Count up Count down How to use the count up timer 1. Press [MODE] button to select the Timer mode, the timer icon ‘ ’ will appear. 2. In Timer mode and while the timer is stop running, press [CLEAR] button to reset the timer to 0:00. 3. While the timer display is 0:00, press [START/STOP] button will trigger timer to count up, the icon ‘ ’ will flash in 1Hz. Press [START/STOP] button again to temporarily stop the counting. 4. When the timer reaches the maximum count up time to 23:59:59, it will stop counting at 0:00 and starts beeping for 20 seconds to alert the user. To stop the alert sound, press the [START/STOP] button. How to use the count down timer 1. With the unit in Timer mode and the timer is stop running, press [CLEAR] button to reset the timer to 0:00. 2. Press [HR/▲] and [MIN/▼] button to enter desired count down time. 3. Press [START/STOP] button to start counting down, the icon ‘ ’ will flash in 1Hz. Press [START/STOP] button again to temporarily stop the counting. 4. While the count down time reaches 0:00, the unit will beep for 20 seconds to alert the user. Meanwhile, the timer will automatically switch to count up timer. The icon ‘ ’ and ‘ ’ will blink together to prompt the user that the count down timer is times up and start counting the elapsed time.](https://usermanual.wiki/Ewig-Macao-Commercial-Offshore/TPX303/User-Guide-965678-Page-3.png)
![Page 5 of 10 Pre-Alert When the probe temperature is within 10°F (5°C) of the pre-set temperature, the device unit will beep once every 2 seconds and last for 1 minute. Reach Alert When the probe temperature reaches the pre-set temperature, the device unit will beep in pattern of bi-bi-bi/sec for 5 second, then silent for 7 second. This beeping pattern will repeat and last for 10 minutes. Note: To stop the alert sound, press the [START/STOP] button.](https://usermanual.wiki/Ewig-Macao-Commercial-Offshore/TPX303/User-Guide-965678-Page-5.png)
![Page 6 of 10 Manual temperature setting The user can use [▲] and [▼] button to enter a manual temperature other than the above pre-programmed temperature. When manual temperature is in use, the ‘PRE-SET’ icon change to ‘MANUAL’. RF loss link indication The receiver unit normally works well in the 30 m / 98 ft. range (at sign) with the Transmitter unit. However, if the receiver unit is taken outside the wireless reception range or there is severe external radio interference, the receiver may not able to receive the temperature signal from the Wireless sensor probe. If this loss link condition persists more than 3 minutes, the device will start to alert user by emitting a beep sound once for every 2 seconds for a duration of 10 minutes, prompting the user to correct the loss link. To re-link, the user should return the device close to the transmitter cradle. Belt clip installation Put the belt clip in the lower hole in the back of receiver according to step 1 in below picture, keep the belt clip in horizontal position and push it upward to slide into the upper hole as shown in step 2. Turn the belt clip 90 degree clockwise to lock it in the vertical position as step 3. Clip the belt clip to the belt in below picture. Use finger pull out the receiver and raise to horizontal position to easy the user view from top.](https://usermanual.wiki/Ewig-Macao-Commercial-Offshore/TPX303/User-Guide-965678-Page-6.png)
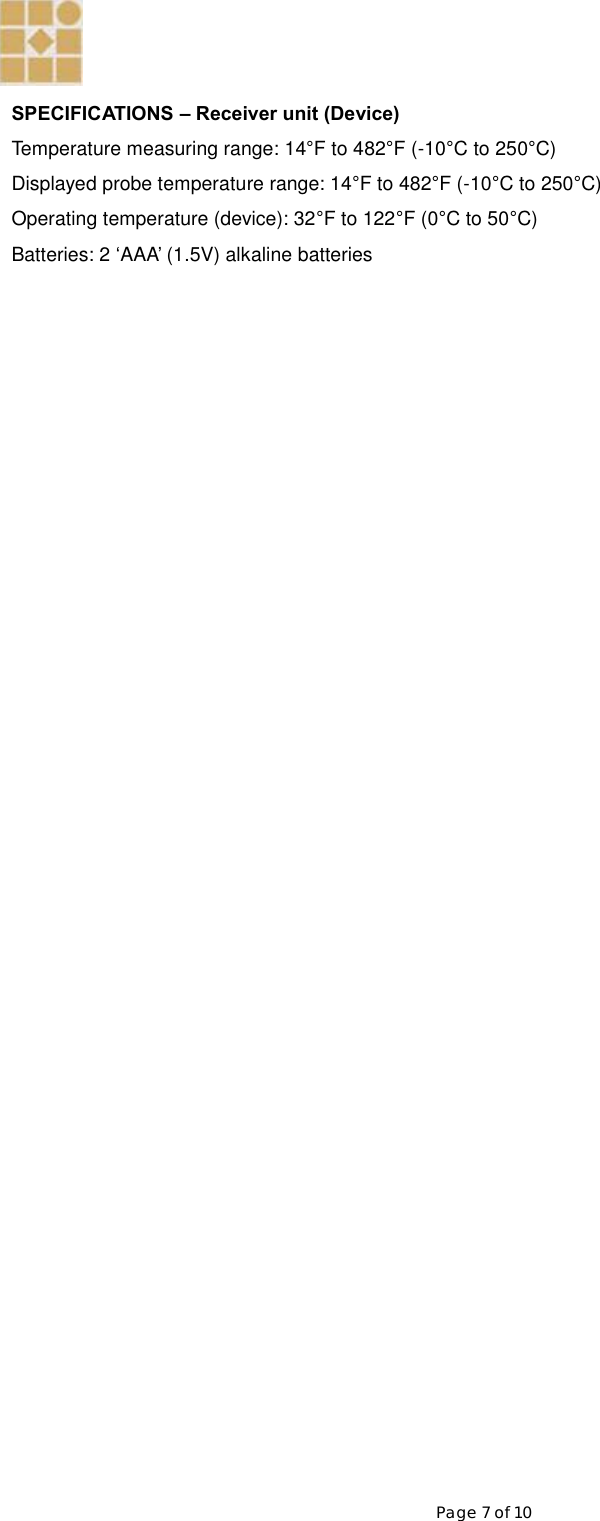
![Page 8 of 10 Transmitter Features Description of buttons 1. [TX] – transmit manually, terminates the auto registration process. Press and hold for 2 seconds to register the radio frequency with the receiver. 2. [On/Off] slide switch – ON - normal operation with full function. OFF - turns transmitter off while not in use. SPECIFICATIONS Temperature measurement range (probe): 14°F to 482°F (-10°C to 250°C) Operating temperature (Cradle): 32°F to 122°F ( 0°C to 50°C) Batteries: two (2) ‘AAA’ 1.5V alkaline batteries Battery installation and RF registration procedure The Remote Thermometer requires the Receiver to link up with the Transmitter unit through signal registration. Please follow below procedures to make sure the receiver can synchronize with the transmitter signal. 1. Install the two AAA batteries into the receiver and the transmitter. 2. Plug the stainless steel probe sensor into the sensor port at the bottom side of the transmitter cradle. 3. Power up the Receiver unit by switching the [On/Off] slide switch to ‘ON’ position. 4. Power up the Transmitter by switching the [On/Off] slide switch to ‘ON’ position. This needs to be done within 2 minutes of turning on the receiver in order for the receiver to register the signal from the transmitter. plug in for stainless steel probe sensor BATTERY COMPARTMENT – holds 2 AAA batteries.](https://usermanual.wiki/Ewig-Macao-Commercial-Offshore/TPX303/User-Guide-965678-Page-8.png)
![Page 9 of 10 5. Registration is complete when the Receiver receives the probe temperature and displays it in place of the flashing icon ‘- - -‘. If the probe temperature does not appear in the receiver within 5-10 seconds, press and hold [MODE] button in the Receiver unit for 2 seconds to re-enter the RF registration mode. The icon ‘- - -‘ will start to flash. Then press and hold [TX] button in the transmitter for 2 seconds to force it to send the registration code to the receiver. HELPFUL HINTS - The display temperature range is 14°F to 482°F (-10° to 250°C). ‘LLL’ will be displayed on the screen when the internal temperature of the meat is lower than 14°F (-10°C) and ‘HHH’ will flash when the temperature is above 482°F (250°C). This is not a malfunction. - ‘LLL’ will also appear when the stainless steel probe is disconnected or malfunctions. - If the receiver and/or the transmitter display ‘LLL’ or ‘HHH’ instead of the probe temperature, wait for probe to reach room temperature. If ‘LLL’ or ‘HHH’ is still displayed, it is likely the internal probe wire has shorted out either through moisture or heat damage. - Do not immerse the probe in water while cleaning. - Do not allow the probe or probe wire to come into contact with flames. If cooking with grill cover closed, use only medium or low heat. - Make sure the probe tip is inserted into the meat at least 2.5 cm / 1 inch. - If the temperature displayed seems to read too high or the temperature seems to be increasing too quickly, check to make sure that the probe tip is not poking through the food to the outside. Reposition the probe tip in the centre of the thickest part of the food. Avoid touching bone or heavy fat areas. Cautions: - Always wear a heat resistant glove to touch the stainless steel probe sensor or wire during or just after cooking. Do not touch with bare hands. - Keep the stainless steel probe sensor and wire away from children. - Clean the stainless steel probe and dry thoroughly after each and every use. - Do not use the receiver in the rain. It is not waterproof. - Do not expose the plug of the stainless steel probe or the plug-in hole of the transmitter to water or any liquid. This will result in a bad connection and faulty readings. - Do not expose the receiver or transmitter to direct heat or surface. - Do not use stainless steel probe in a microwave oven. - The Remote Thermometer registers temperatures as low as 14°F (-10°C) and as high 482°F (250°C). ‘LLL’ will be displayed below 14°F (-10°C) and ‘HHH’ will be displayed above 482°F (250°C). - Do not use the stainless steel probe sensor above 482°F (250°C). Doing so will deteriorate the wire.](https://usermanual.wiki/Ewig-Macao-Commercial-Offshore/TPX303/User-Guide-965678-Page-9.png)