Edimax Technology Co 9574791704 AC1300 DBDC Ceiling-mount AP User Manual 1
Edimax Technology Co Ltd AC1300 DBDC Ceiling-mount AP 1
UserManual.wiki
>
Edimax Technology Co
>
9574791704 User Manual
>
User Manual-1
Contents
1.
User Manual
2.
User Manual-1
3.
User Manual-2
4.
User Manual-3
User Manual-1
Navigation menu
Upload a User Manual
Namespaces
Wiki Guide
HTML
PDF
Info
Views
User Manual
Discussion / Help
Navigation


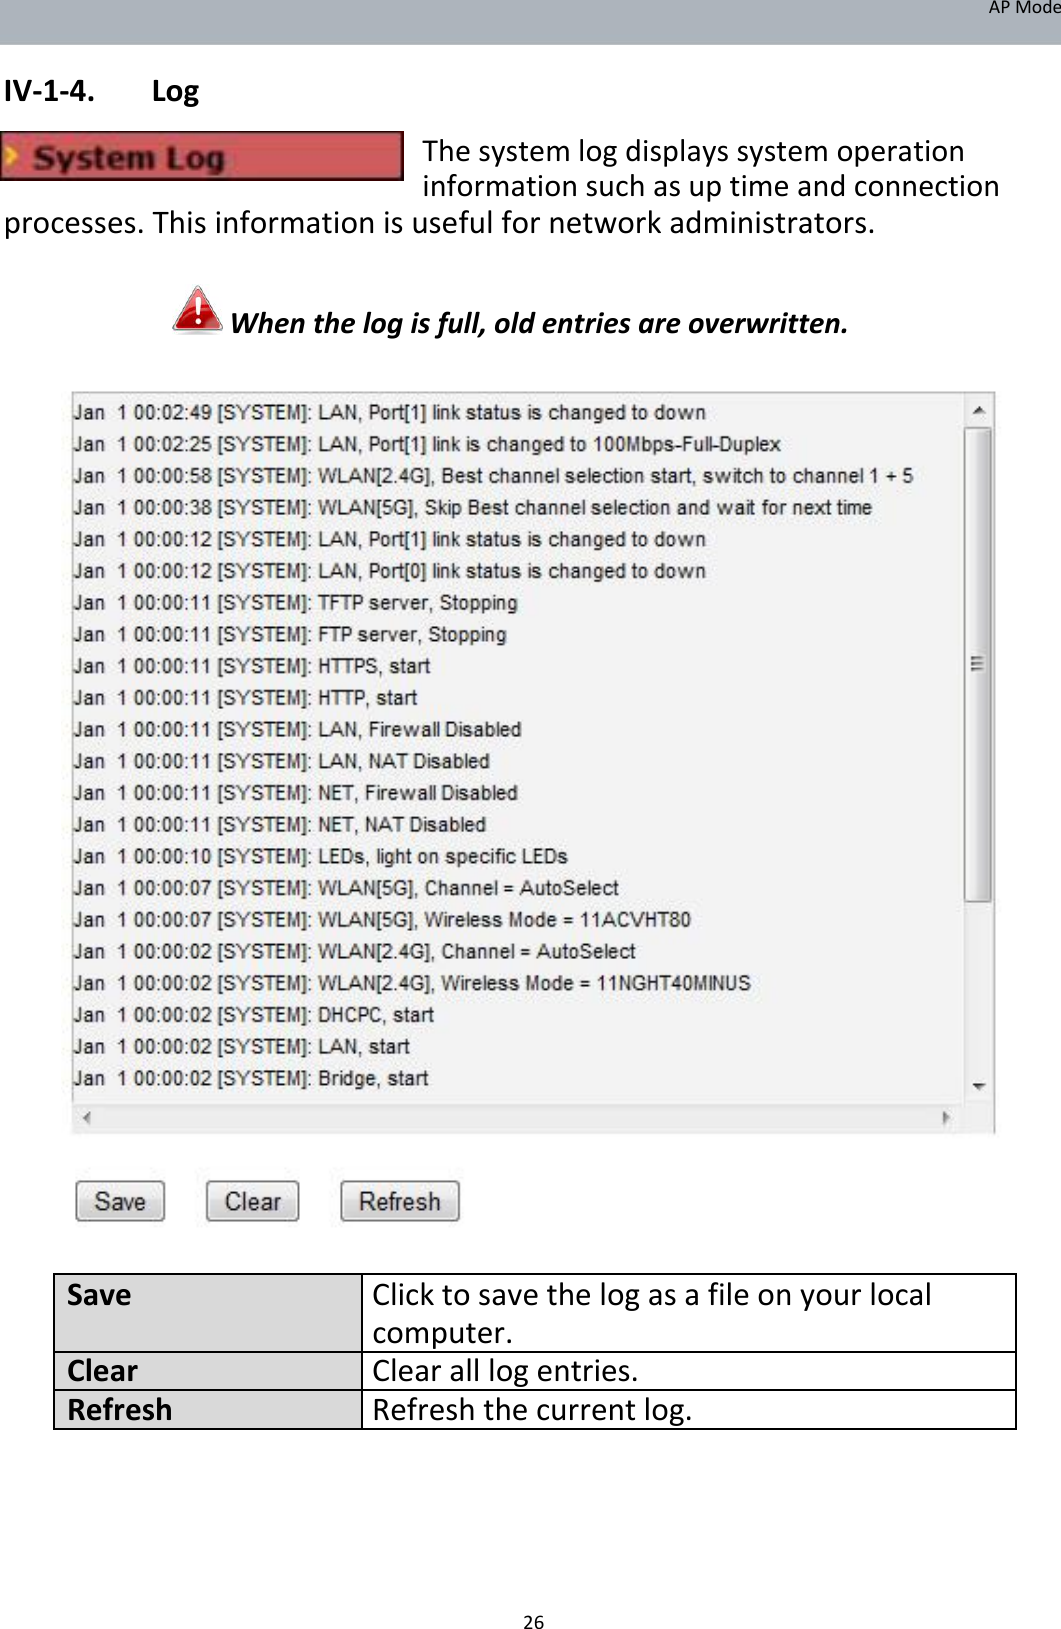
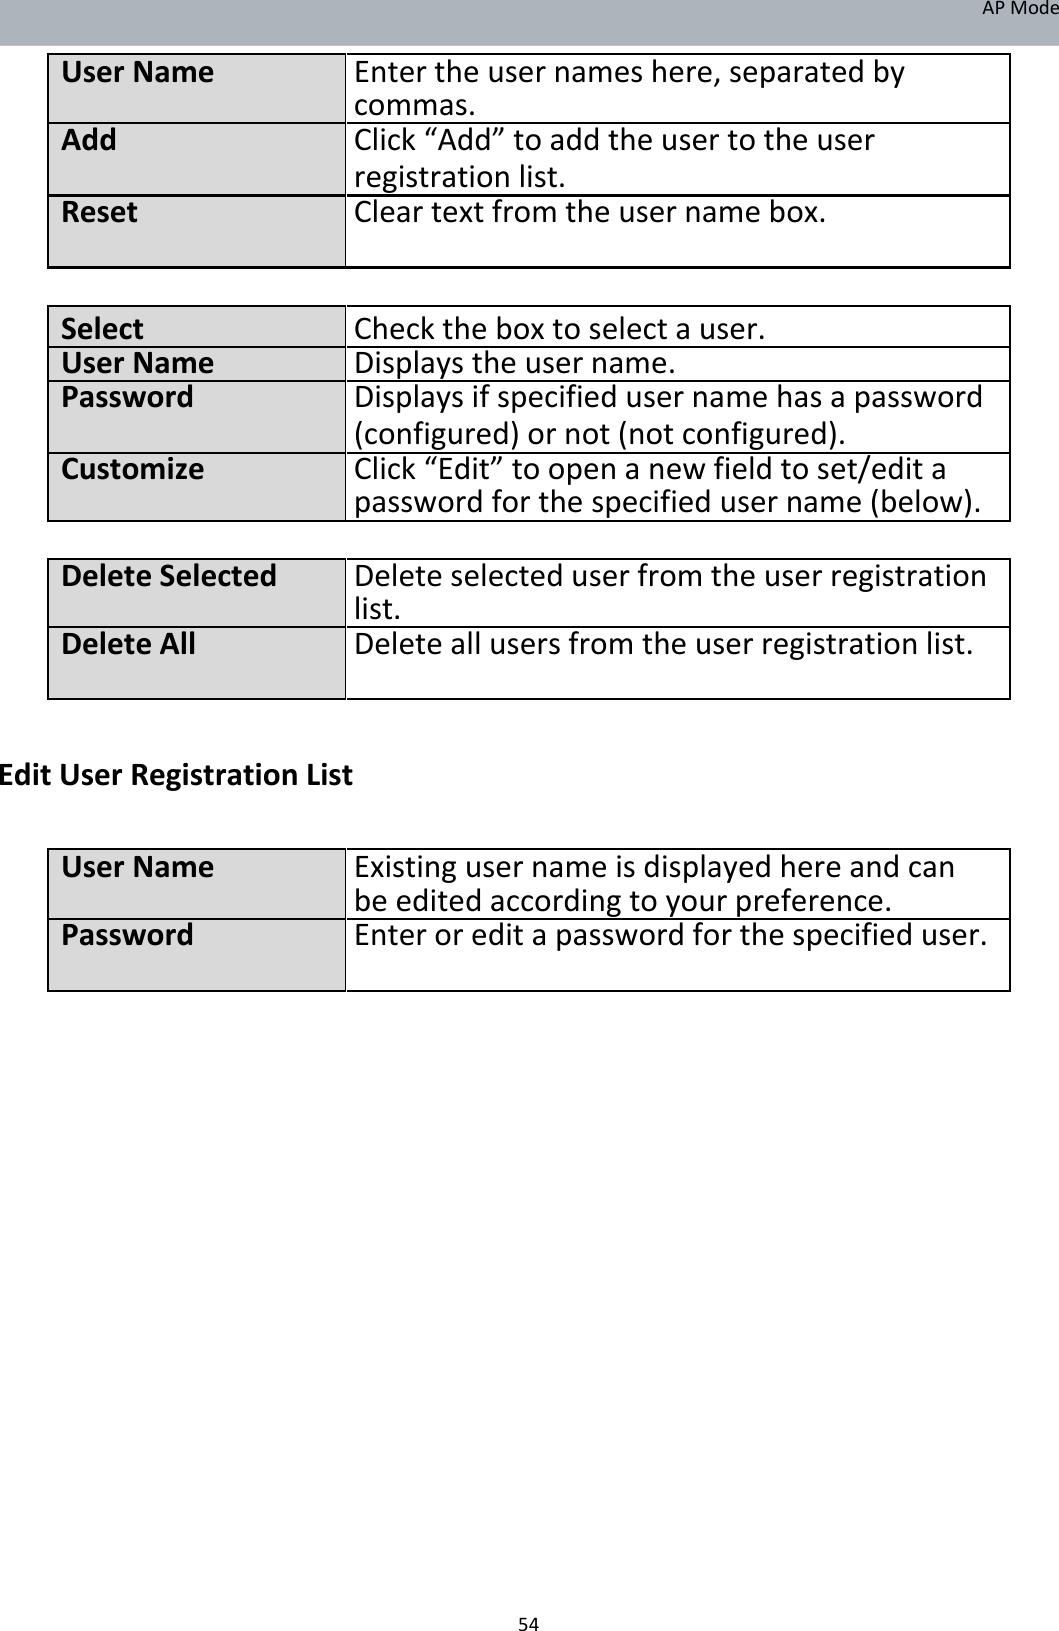
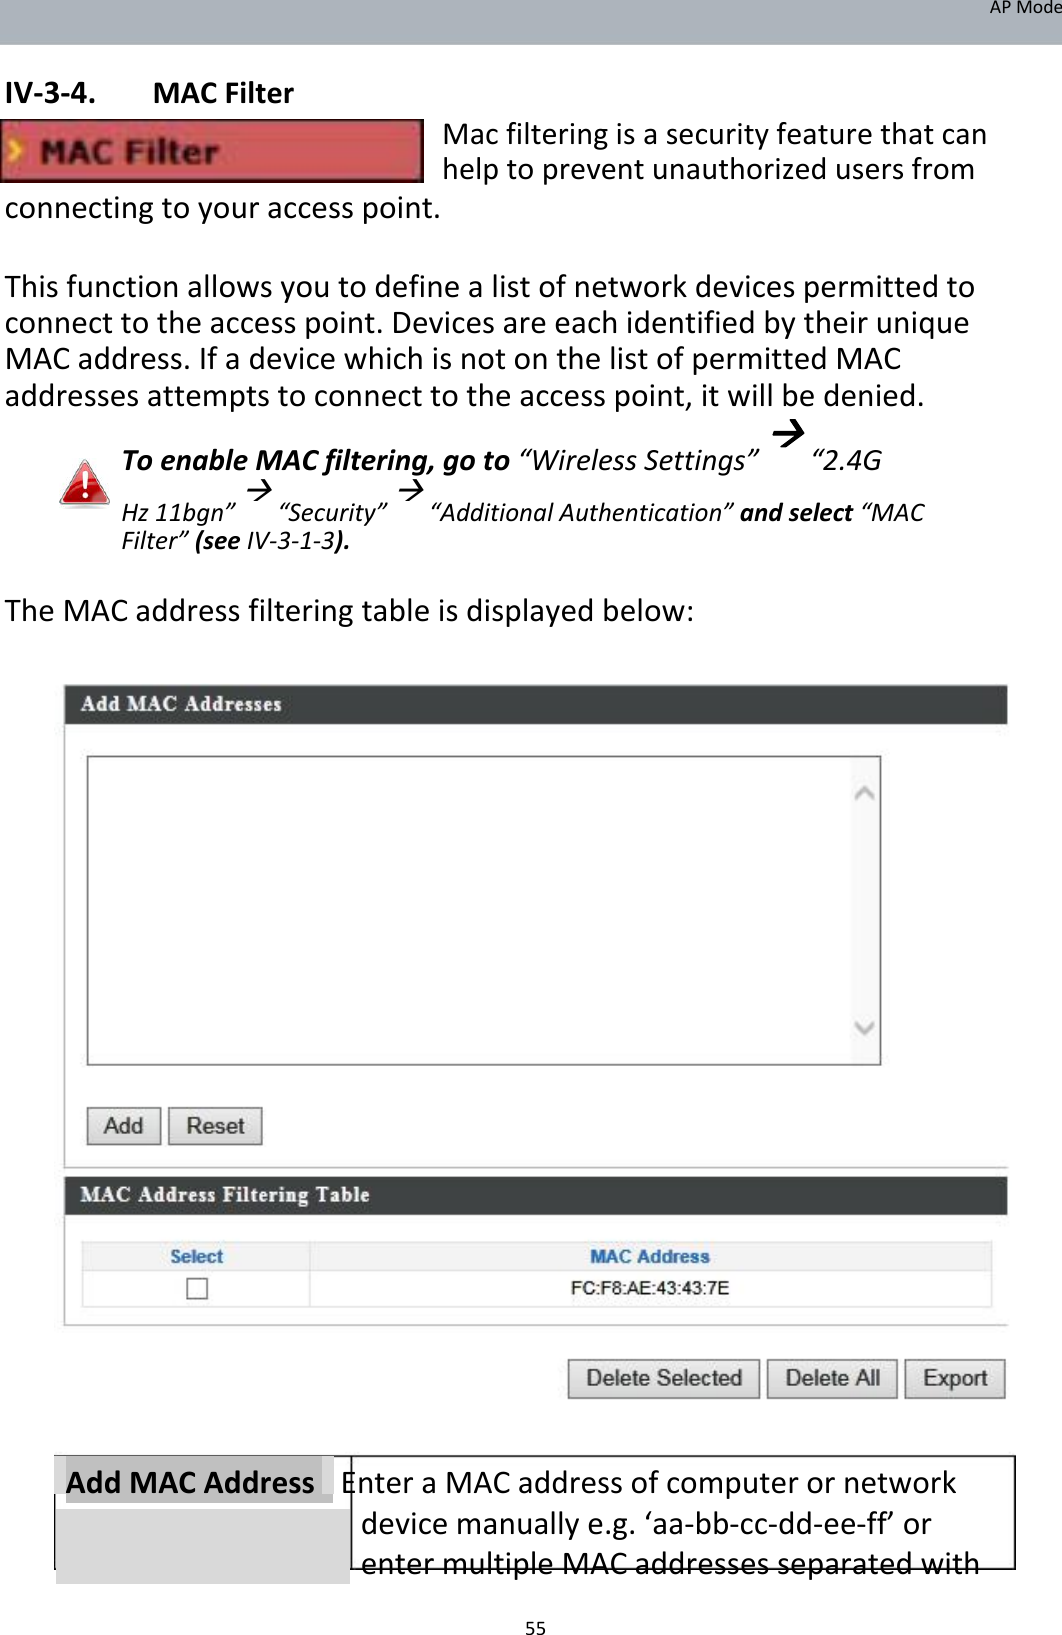
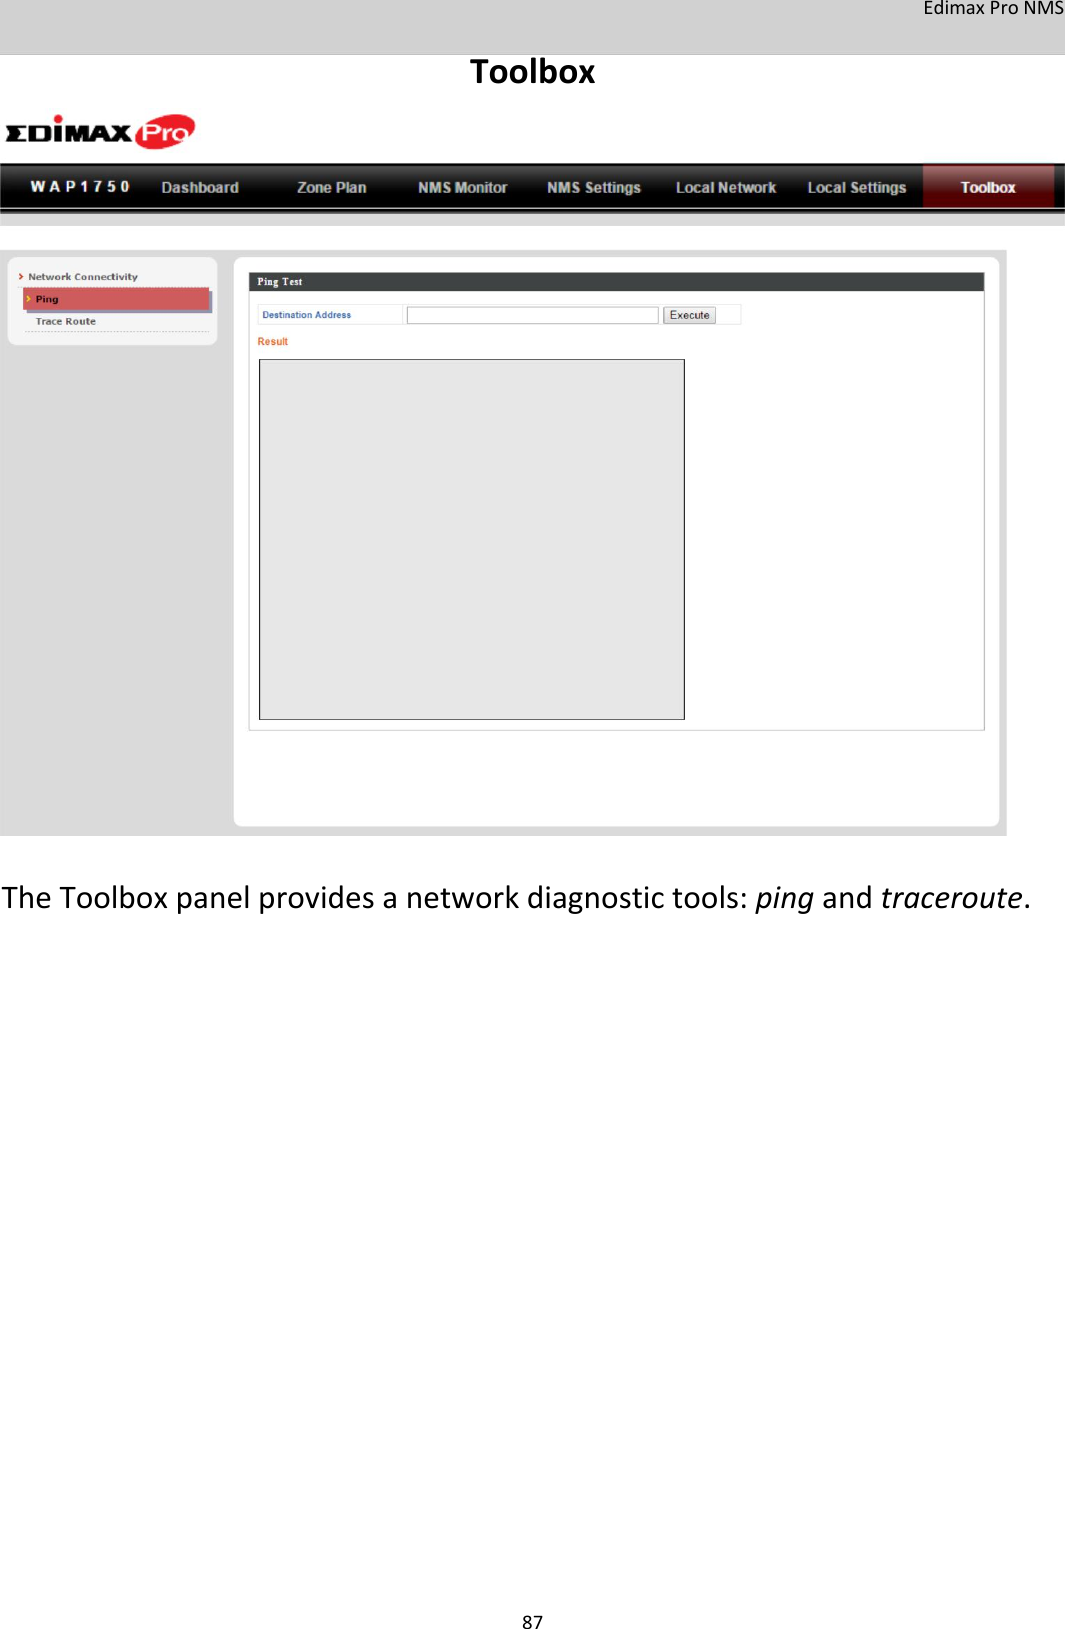
![APMode Thefollowinginformation/eventsarerecordedbythelog: USB Mount&unmount WirelessClientConnected&disconnectedKeyexchangesuccess&fail Authentication Authenticationfailorsuccessful. AssociationSuccessorfail WPS M1‐M8messagesWPSsuccess ChangeSettings SystemBoot Displayscurrentmodelname NTPClient WiredLink LANPortlinkstatusandspeedstatus ProxyARP ProxyARPmodulestart&stop Bridge Bridgestart&stop. SNMP SNMPserverstart&stop. HTTP HTTPstart&stop. HTTPS HTTPSstart&stop. SSH SSH‐clientserverstart&stop. Telnet Telnet‐clientserverstartorstop. WLAN(2.4G) WLAN(2.4G]channelstatusandcountry/regionstatus 27](https://usermanual.wiki/Edimax-Technology-Co/9574791704.User-Manual-1/User-Guide-3550297-Page-33.png)