Dynafine PRM9FL Pager Receiver User Manual compliance statement included
Dynafine Inc Pager Receiver compliance statement included
UserManual.wiki
>
Dynafine
>
PRM9FL User Manual
>
compliance statement included
Contents
1.
manual
2.
compliance statement included
compliance statement included
Navigation menu
Upload a User Manual
Namespaces
Wiki Guide
HTML
PDF
Info
Views
User Manual
Discussion / Help
Navigation
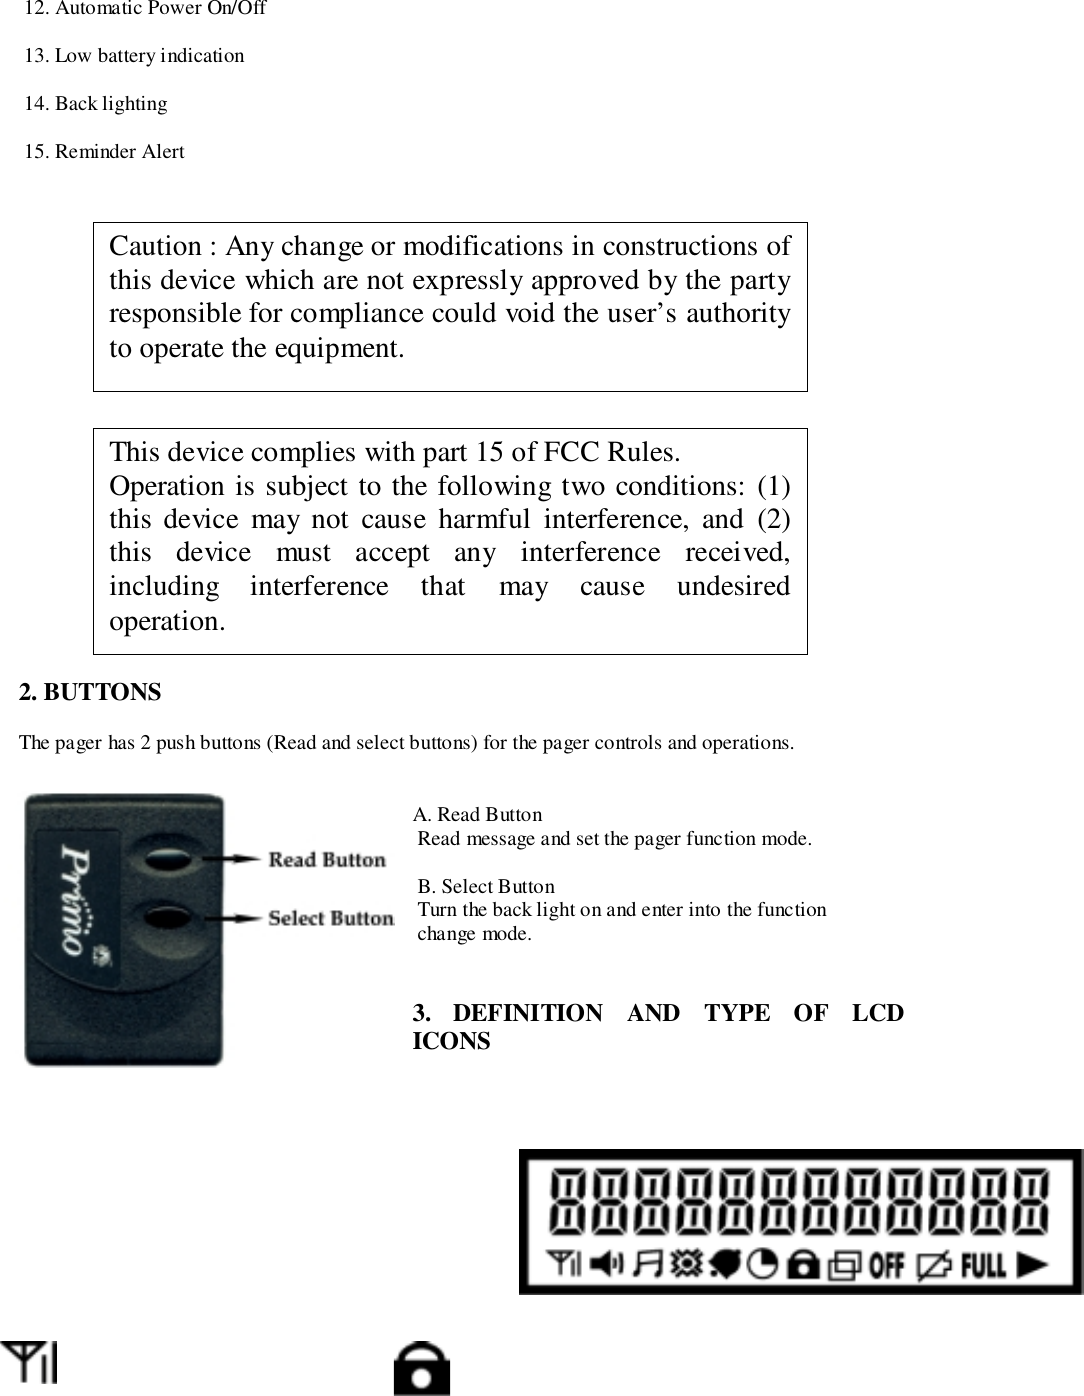


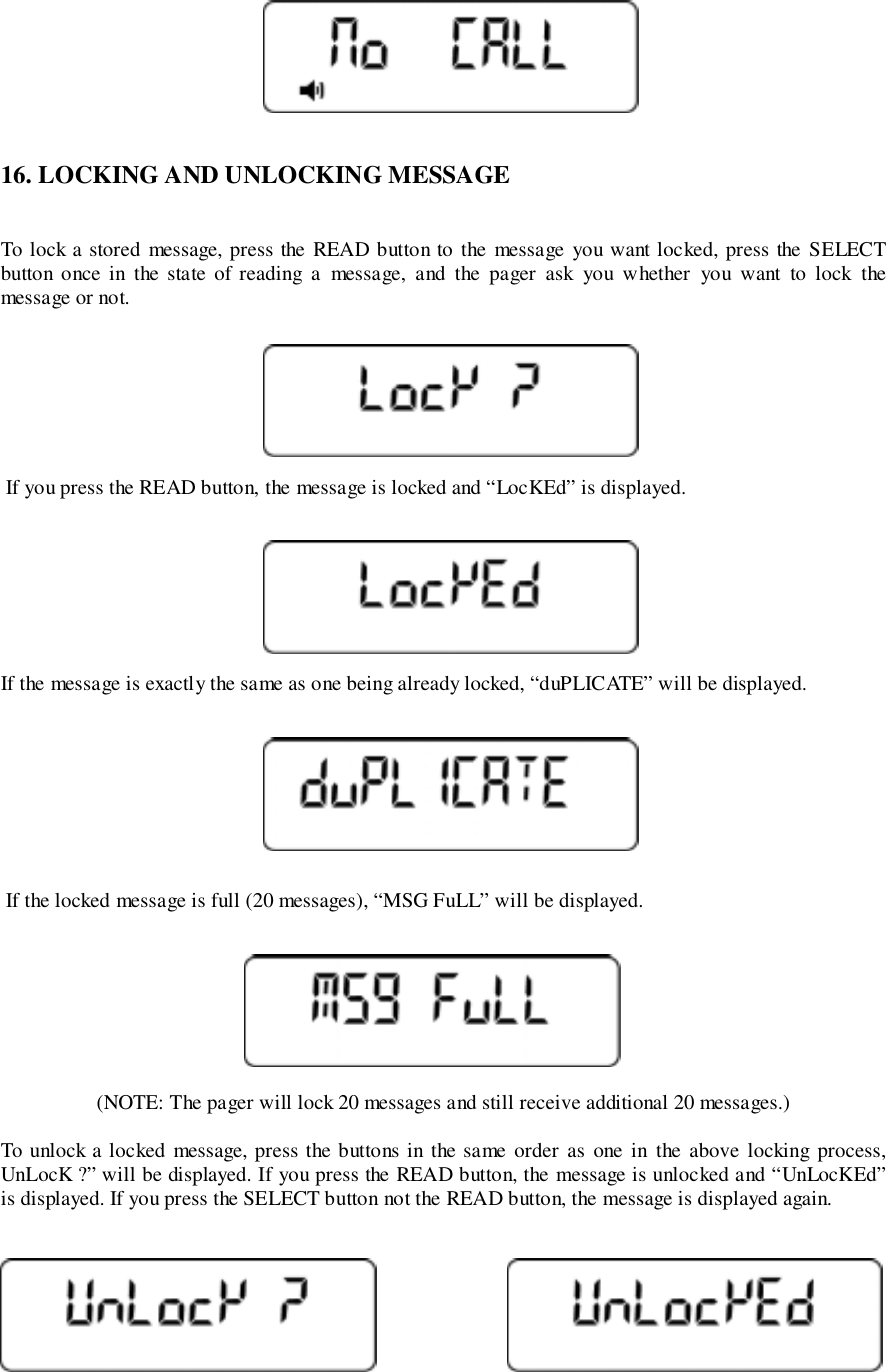
![15. READING STORED & LOCKED MESSAGESPress the READ button, the message is displayed on the LCD as below.Messages are from the most recent to the oldest messages in memory.If the stored message is more than 12-characters long, the message extension icon will appear.If you press the READ button again, the rest of message will be displayed.If you press the READ button after reading the message, the following information will be displayed.01]: storage number31 : Date message received12:50P : Time message received.Press the READ button and the next message will be displayed.You can read the locked message after you read all the stored messages.In case of locked messages, the locked icon will appear and there is no information of the message.If the current message is the last one, the pager returns to the standby mode.If there are no stored messages, “No CALL” will be displayed.](https://usermanual.wiki/Dynafine/PRM9FL.compliance-statement-included/User-Guide-109899-Page-9.png)