DigitalWay MPIO-FL300 MP3 PLAYER User Manual HD200
DigitalWay Co., Ltd. MP3 PLAYER HD200
UserManual.wiki
>
DigitalWay
>
MPIO FL300 User Manual
USERS MANUAL
Navigation menu
Upload a User Manual
Namespaces
Wiki Guide
HTML
PDF
Info
Views
User Manual
Discussion / Help
Navigation
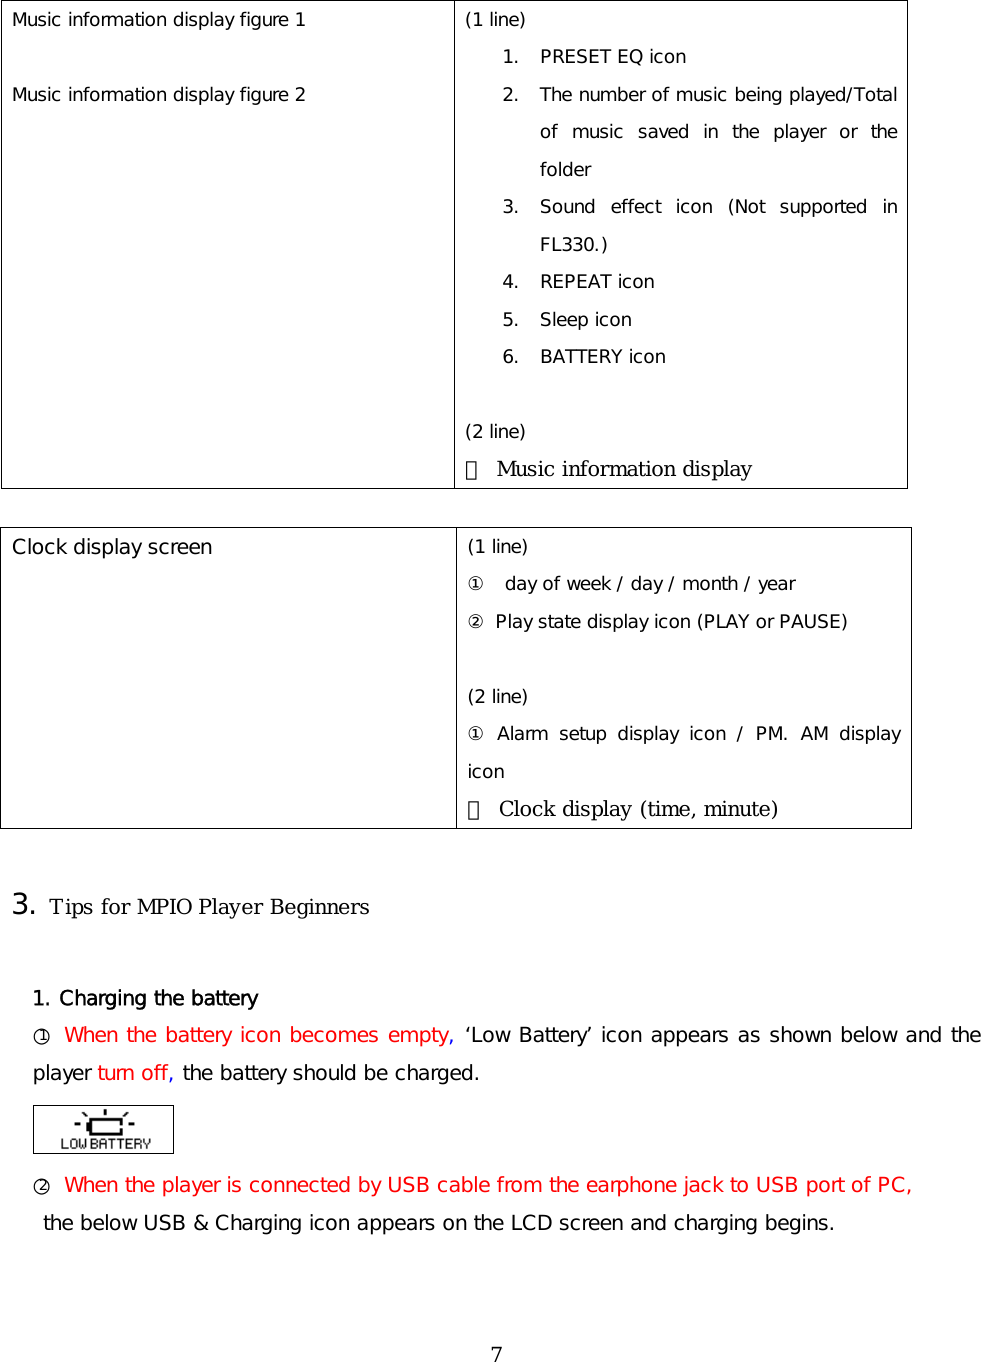
![- Turn on and connect the USB cable with a computer and the USB terminal (Earphone terminal) of this player. - Check the USB link message on the LCD screen of the player as follows (2 image). <Recharging status>. <Fully charged> ! The battery is charged automatically when USB is linked. - To download or copy files, drag and drop files from PC to a removable disk (MPIO drive) by using the Window Explorer. -> -> -> !! An illegal download and duplication of MP3 file with copyright is prohibited by law and company isn’t responsible for any items related to the copyright. 8. Disconnecting the player from a computer !! The followings are recommended for safe disconnection. Please follow the procedure to present any data loss or damage on both player and PC. ① Locate the mouse on the icon for removal and disconnection of Task Tray and click the right button of the mouse. ② Select 'Separate or Remove the Hardware' message to display the below screen. ③ When 'Remove the Hardware Safely' window appears, select ‘USB High Capacity Storage’ on the Hardware Device window and click the [Stop] button. ④ When ‘Hardware Device Stop’ window appears, check the 'USB High Capacity Storage’ item and click the [Confirm] button. ⑤ When ‘Remove the Hardware Safely’ window appears, Click the [Confirm] button and disconnect the player from the computer. 11](https://usermanual.wiki/DigitalWay/MPIO-FL300/User-Guide-446860-Page-11.png)


![(6) Click the Setup Config button to download files to backup initial states. In this Case, Format will not happen. 2. Firmware upgrade (1) Turn on the player and connect with a computer via the supplied USB cable. (2) Execute the MPIO Utility. (3) Click the Firmware Upgrade button to transmit a new firmware to the MPIO Player. (4) Separate the USB cable after the transmission is completed. Then, the player progresses the firmware upgrade. (5) At this time, the progress of firmware upgrade can be checked on the LCD screen of the player. But, the user’s computer should be linked with Internet. 3. WMP (Windows Media Player) Plug-In Installation (1) Power on the PC and insert a MPIO Install CD into the CD-ROM Driver. (2) Double click the CD-ROM icon and then the Plug-In Installer icon in the folder. (3) When ‘WMP Plug-In for MPIO Read Me’ window appears, click [CONTINUE] button. (4) When ‘WMP Plug-In Installer’ window appears, click [INSTALL] button. (5) When ‘Installation was successful’ message appears, click [Quit] button. 23](https://usermanual.wiki/DigitalWay/MPIO-FL300/User-Guide-446860-Page-23.png)