DREAMUS PMP140 PORTABLE MULTIMEDIA PLAYER User Manual USERS MANUAL 2
IRIVER LIMITED PORTABLE MULTIMEDIA PLAYER USERS MANUAL 2
UserManual.wiki
>
DREAMUS
>
PMP140 User Manual
>
USERS MANUAL 2
Contents
1.
USERS MANUAL
2.
USERS MANUAL 2
3.
USERS MANUAL 3
4.
USERS MANUAL 4
5.
USERS MANUAL 5
6.
USERS MANUAL 6
USERS MANUAL 2
Navigation menu
Upload a User Manual
Namespaces
Wiki Guide
HTML
PDF
Info
Views
User Manual
Discussion / Help
Navigation
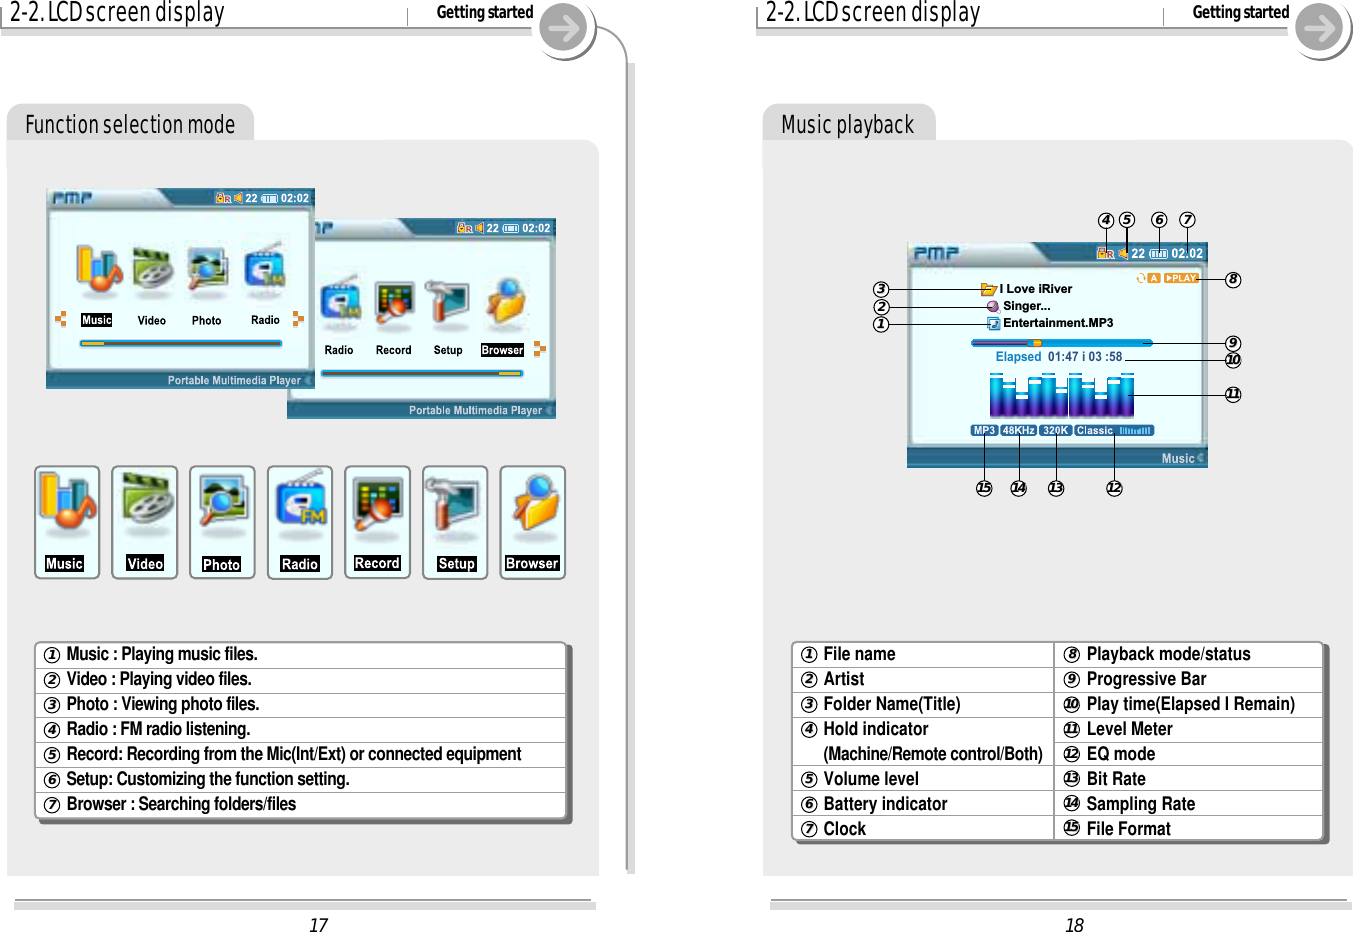
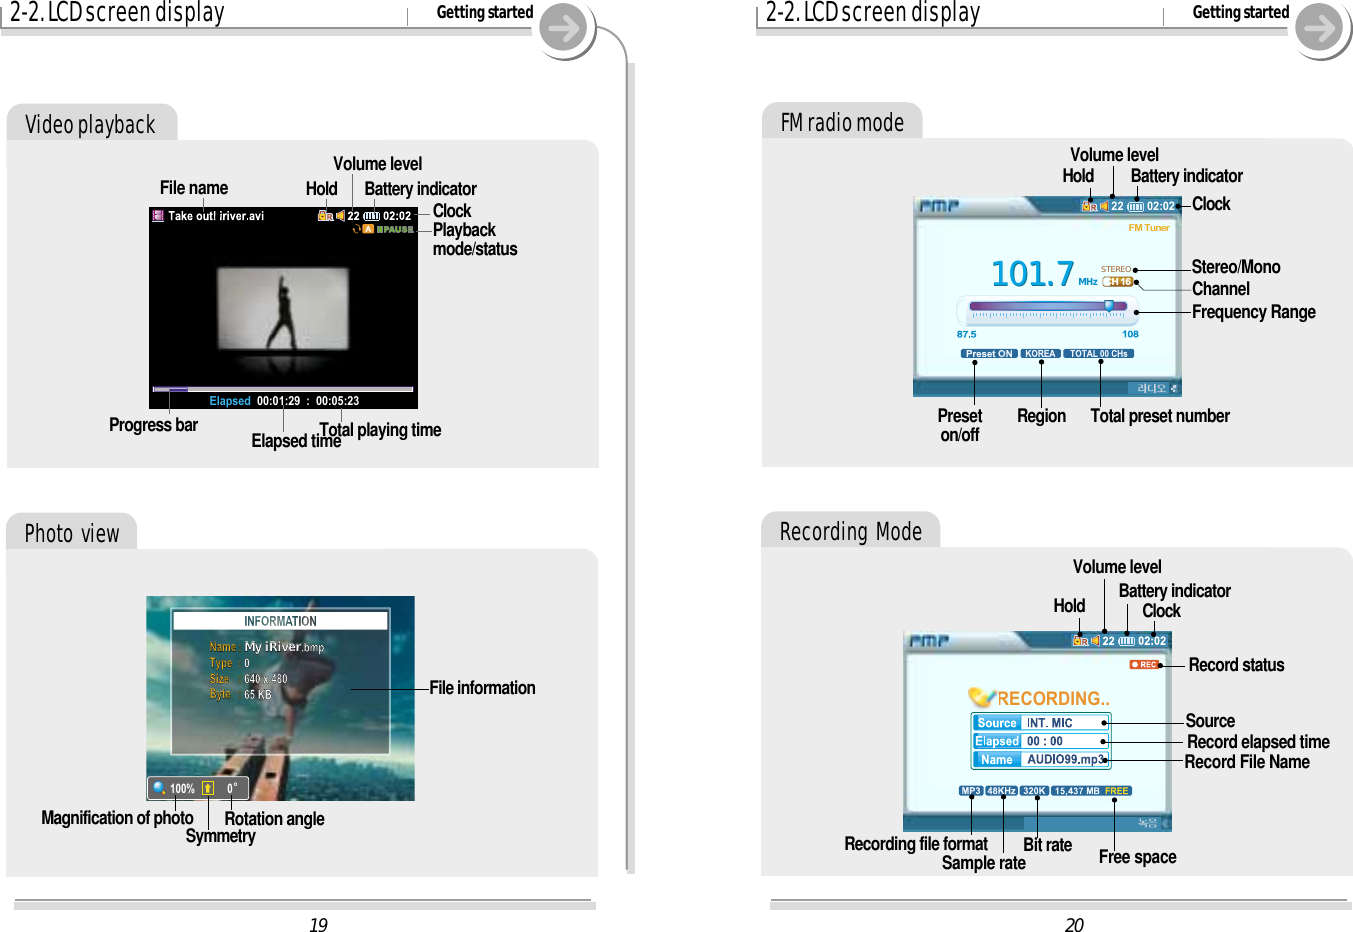

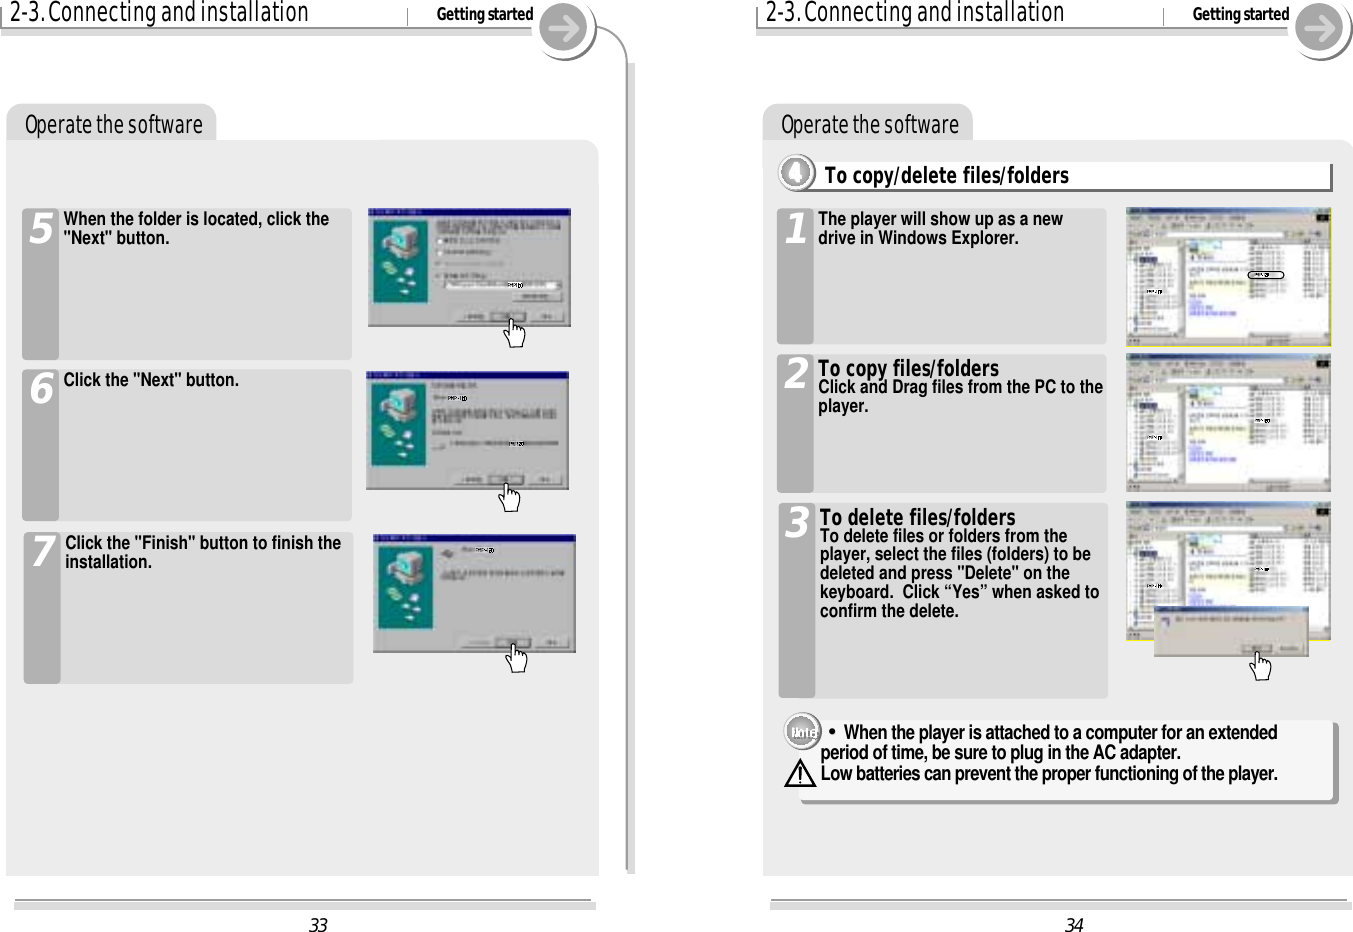
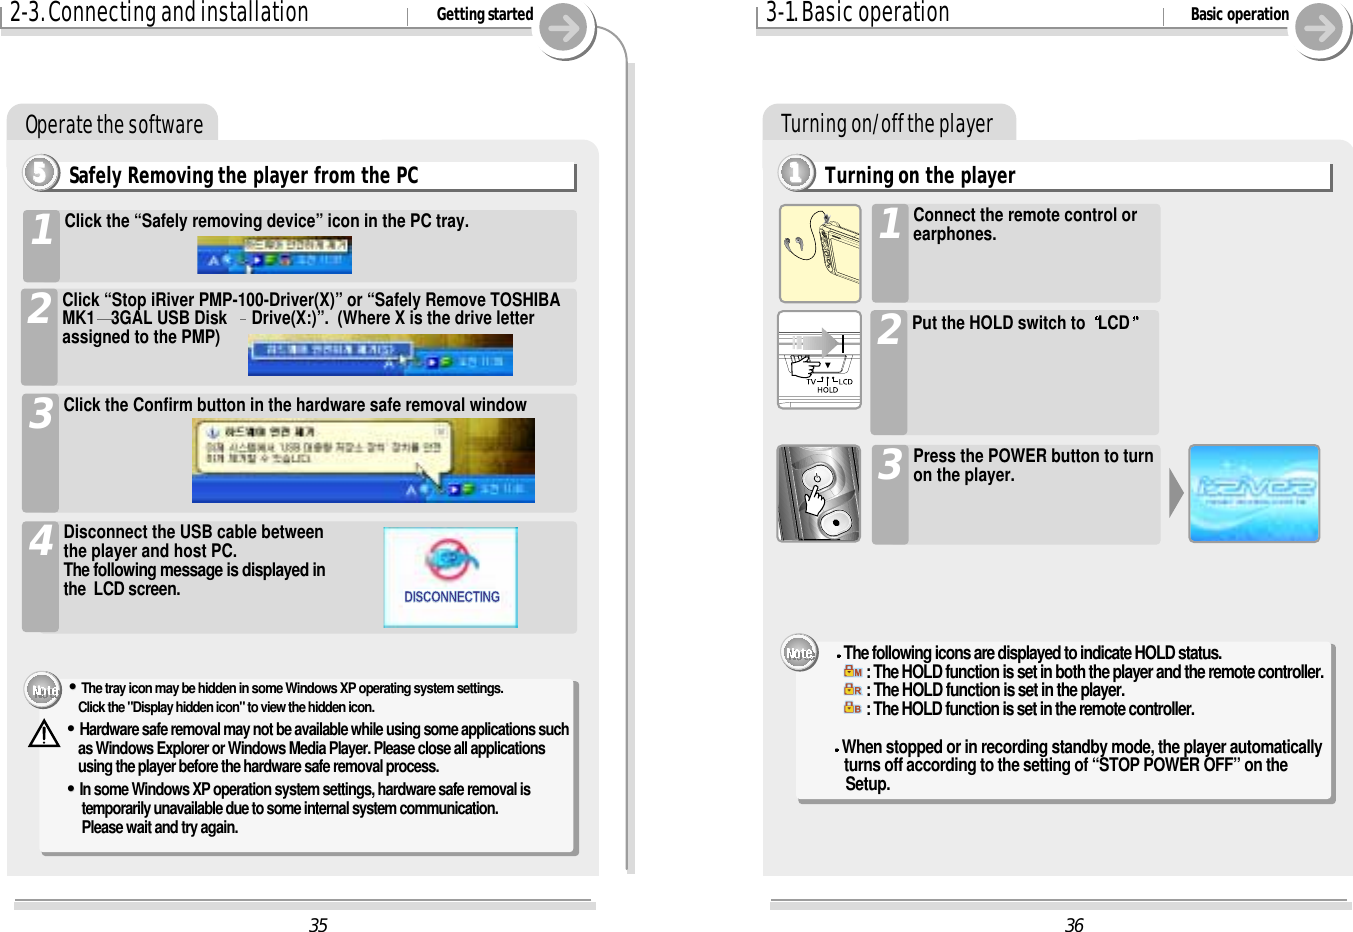
![322-3. Connecting and installation Getting startedOperate the softwareInstalling the device driver manually (Windows98 SE only]3333If the player is not recognized by thePC, an "Add new hardware wizard"window is opened. Click the "Next"1Click the "Search for the best devicedriver (recommended)" and click the"Next" button.2Click ‘the specify a location’ optionand click the "Browse" button.3Select the installation folder thatincludes the iRiverH.inf file(C:\Program Files\iRiver\PMP100\drivers) and click the "OK" button.4312-3. Connecting and installation Getting startedOperate the softwareIf a "Hardware Installation" warningmessage appears, click "ContinueAnyway". (Windows XP)The iRiver software driver will not causeany damage to your computer.5Complete the driver installation after installing the PMP Manager software.Windows XP and Windows 2000 willdisplay a "Device Attached" icon. Windows may ask to install a driver for thePMP. Please follow the provided driverinstallation guide on the following page.6Once installed, open WindowsExplorer and an additional driveshould be listed called “PMP-100”.7](https://usermanual.wiki/DREAMUS/PMP140.USERS-MANUAL-2/User-Guide-441623-Page-8.png)