DEI Sales Polk Audio OMNIS2 Wi-Fi Network Speaker User Manual P OMNIS2r QSG3121A indd
Polk Audio Wi-Fi Network Speaker P OMNIS2r QSG3121A indd
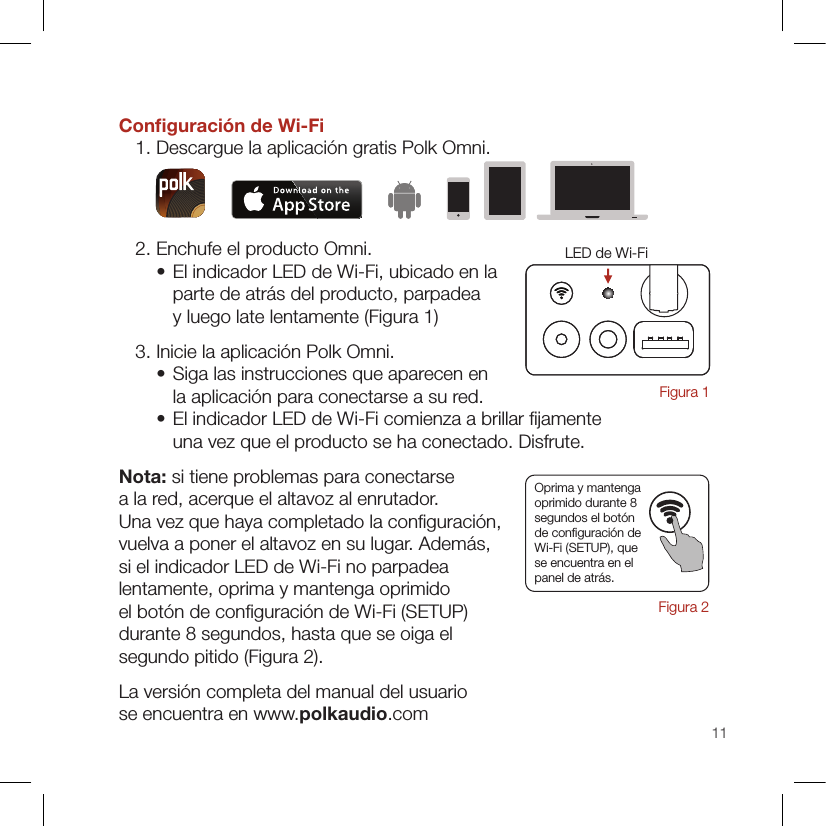
Contents
- 1. Manual warning
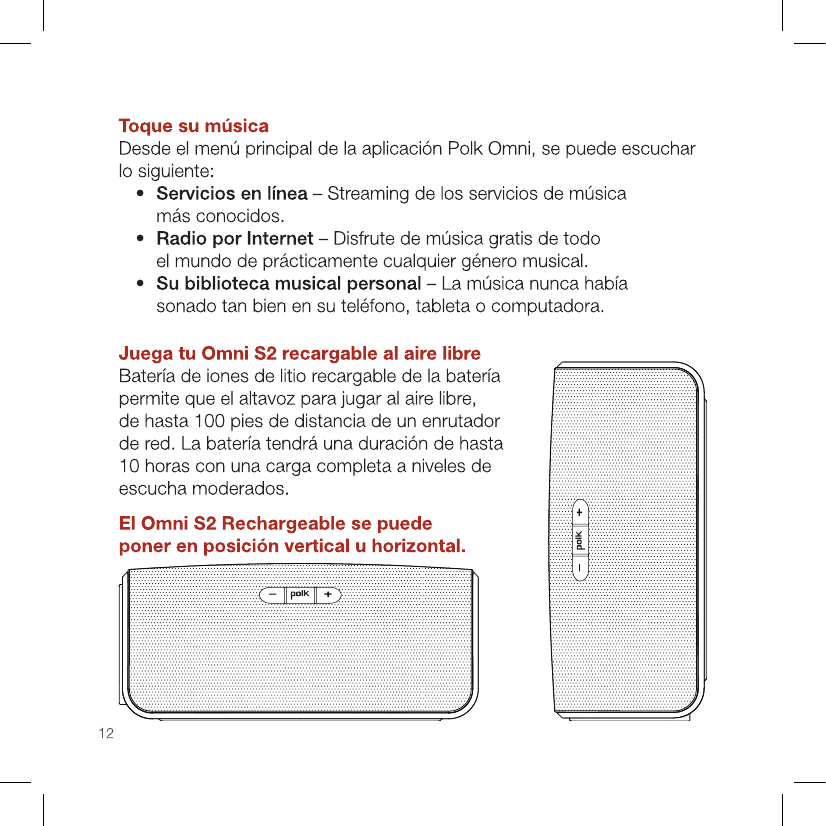
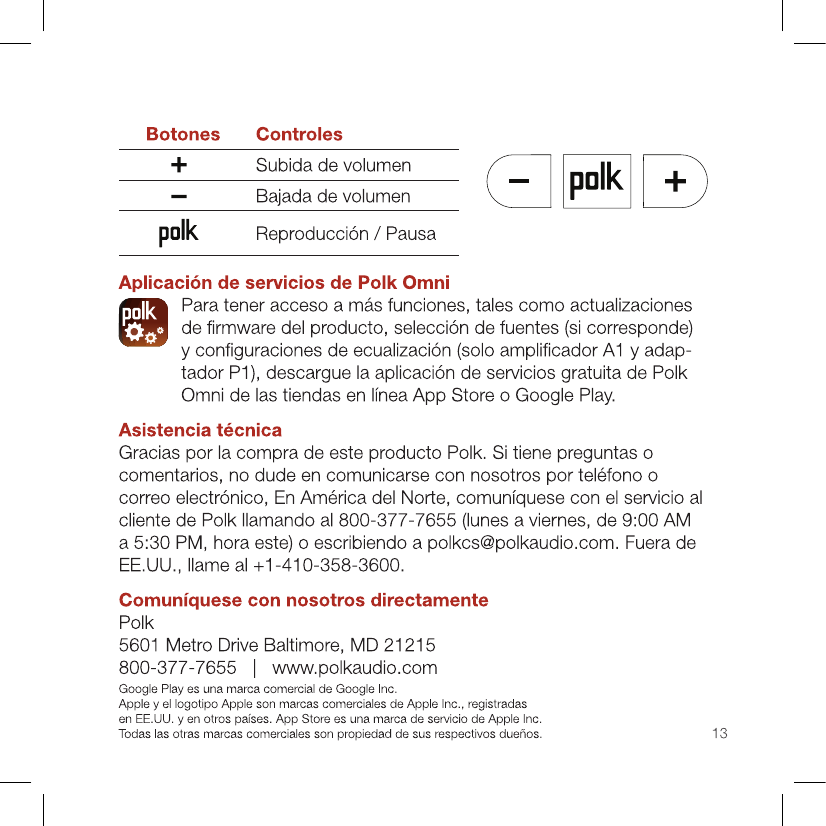
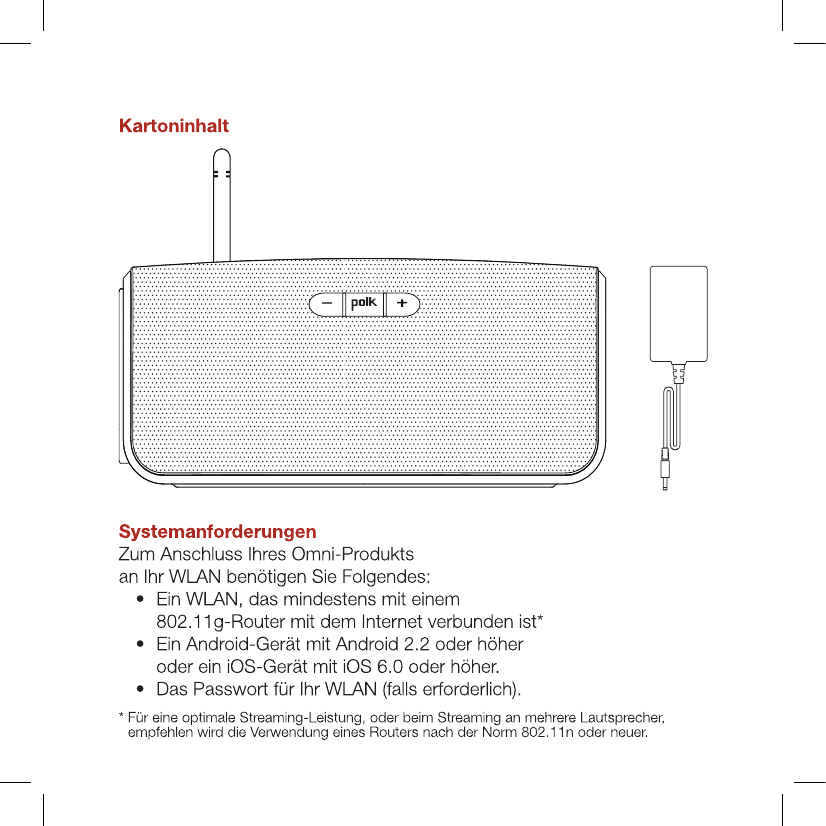
- 2. Manual Omni S2 Rechargeable
- 3. Manual Omni S2
- 4. User manual warning
Manual Omni S2 Rechargeable