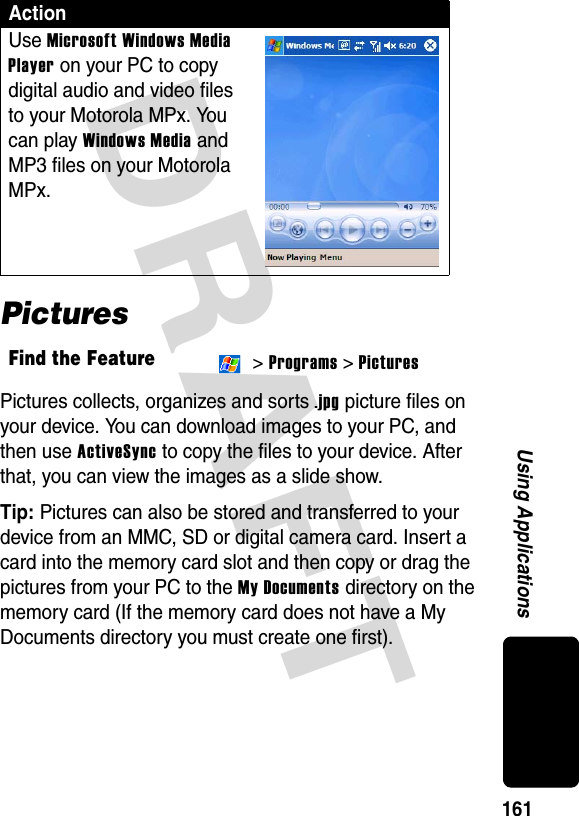
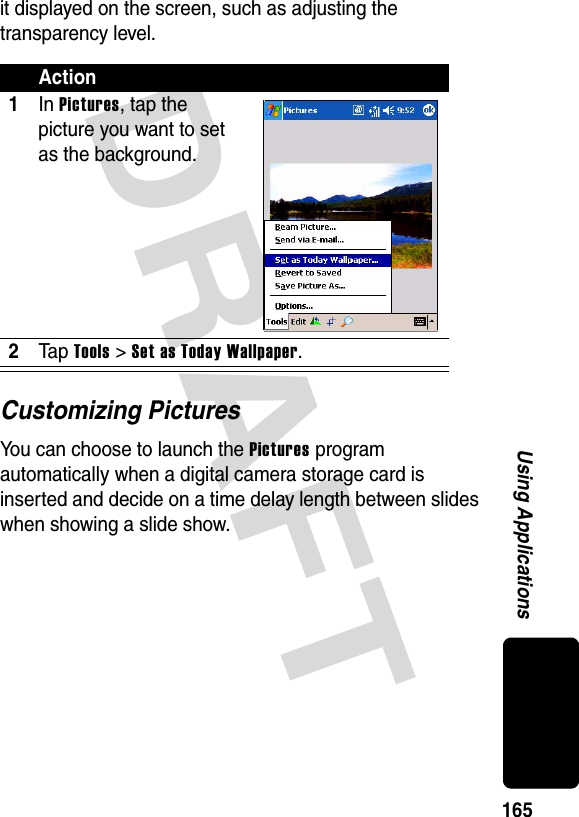
Compal Electronics MPX001 GSM Transceiver with WLAN and Bluetooth User Manual There are no user accessible adjustments or tuning in this portable cellular transceiver
Compal Electronics Inc GSM Transceiver with WLAN and Bluetooth There are no user accessible adjustments or tuning in this portable cellular transceiver
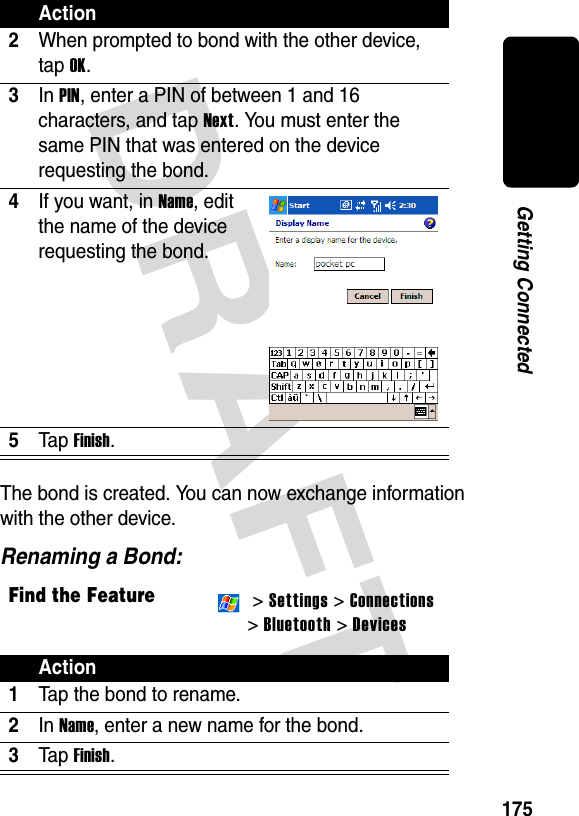
Contents
- 1. Exhibit 8 Users Manual
- 2. Exhibit 8A updated users manual RESPONSE TO CRN27896
- 3. Exhibit 8A Updated Users Manual RESPONSE TO CRN27893
Exhibit 8A Updated Users Manual RESPONSE TO CRN27893


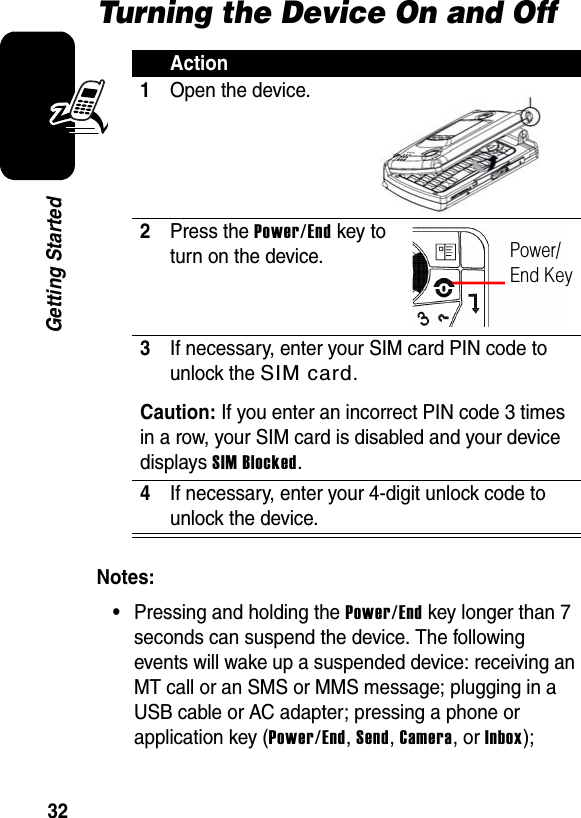
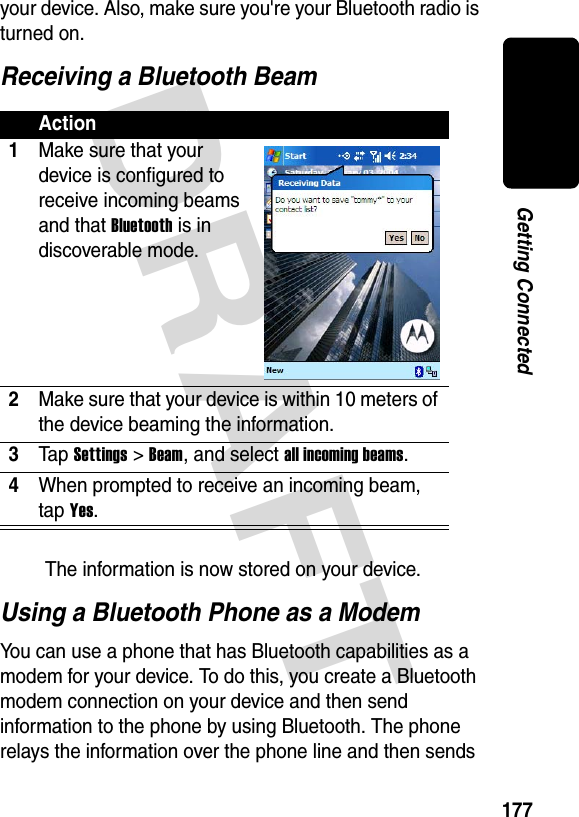
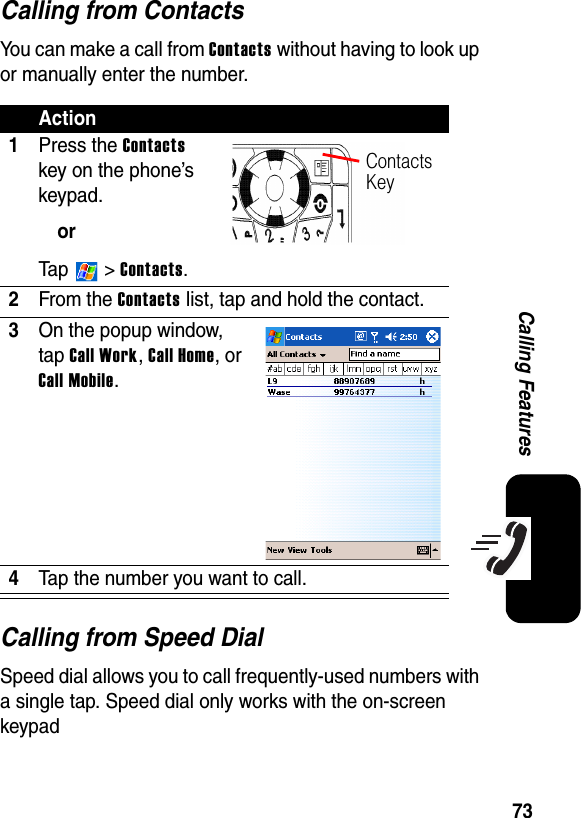
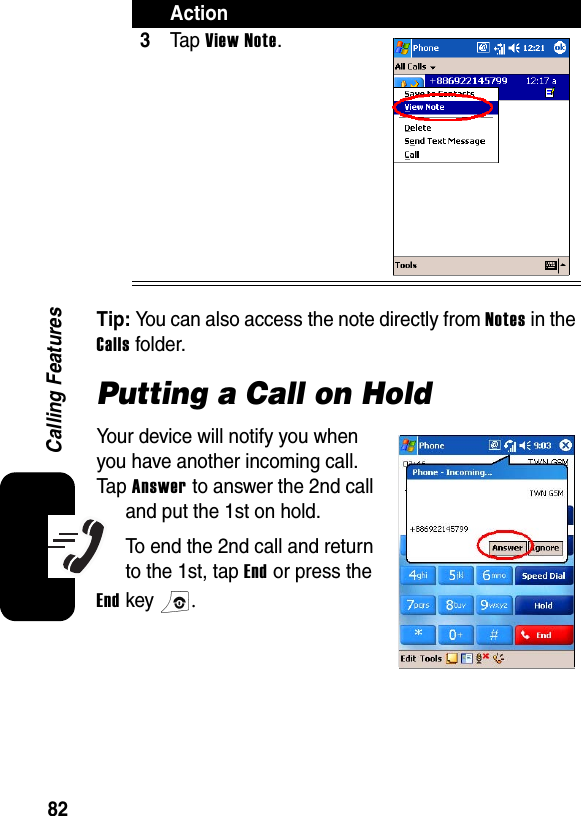
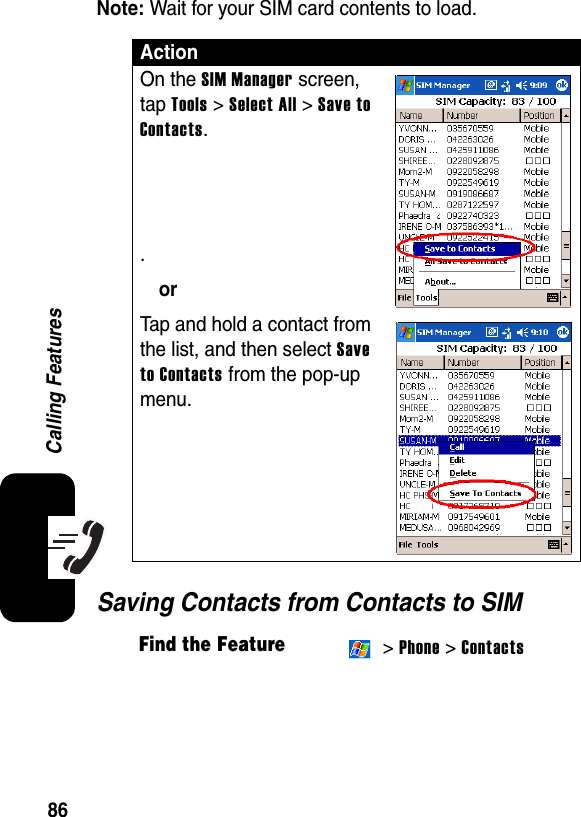
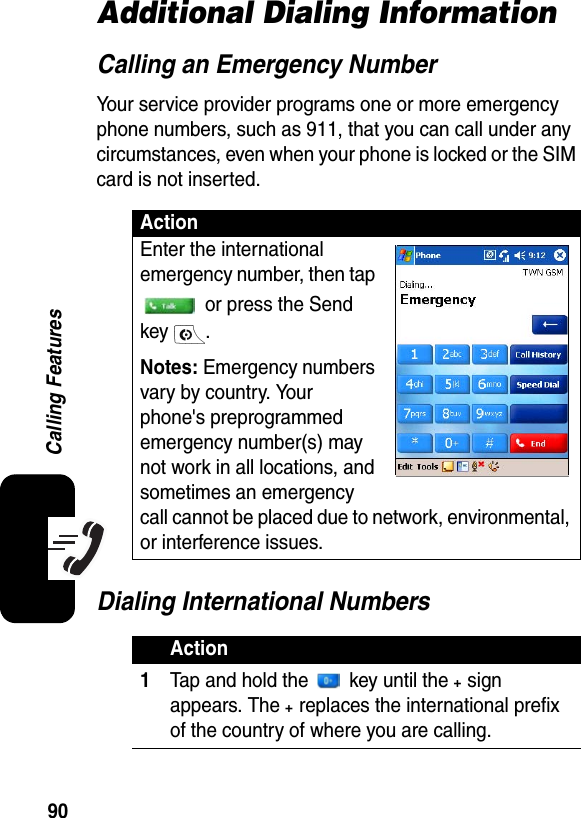
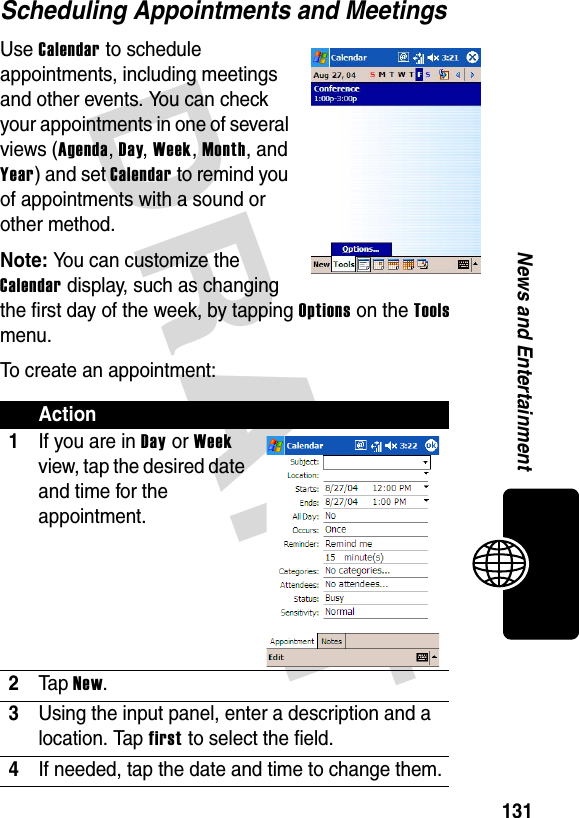
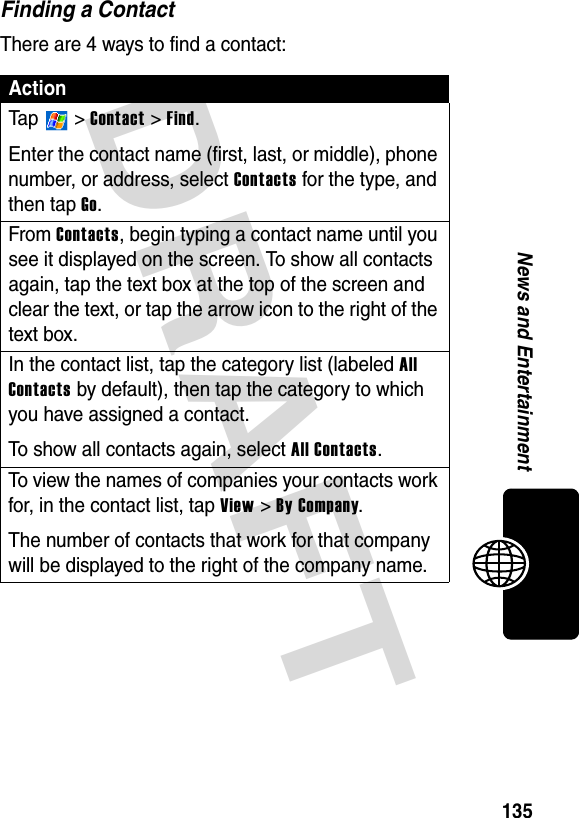
![35Getting StartedMaking a Call4Ta p th e Align Screen button.5Using your stylus, tap the center of the cross as it moves around the screen.Action1On the device’s keypad, press the number keys to enter the number you want to call.Note: Make sure the device is set to Symbolic input mode . (Press [ALT] then [Shift] to change between Symbolic and Alpha input mode .)2Press the Send key .Action](https://usermanual.wiki/Compal-Electronics/MPX001.Exhibit-8A-Updated-Users-Manual-RESPONSE-TO-CRN27893/User-Guide-486518-Page-38.png)
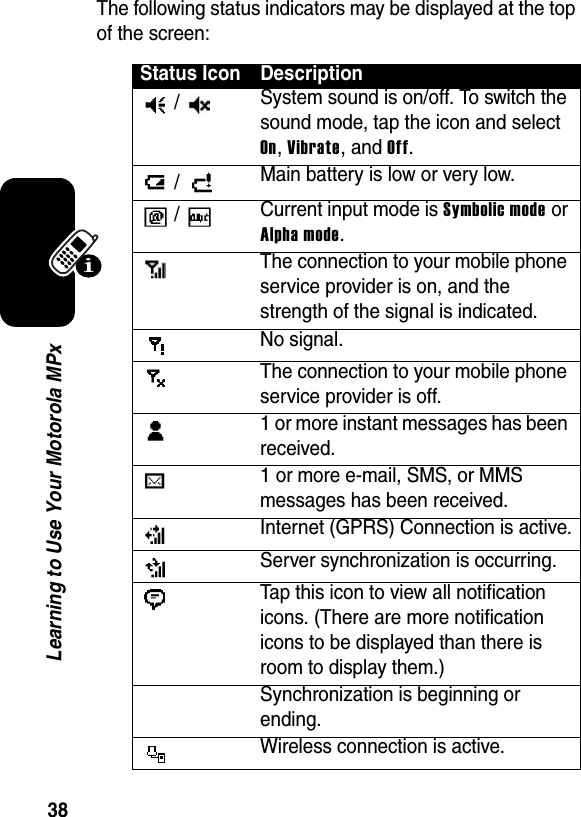
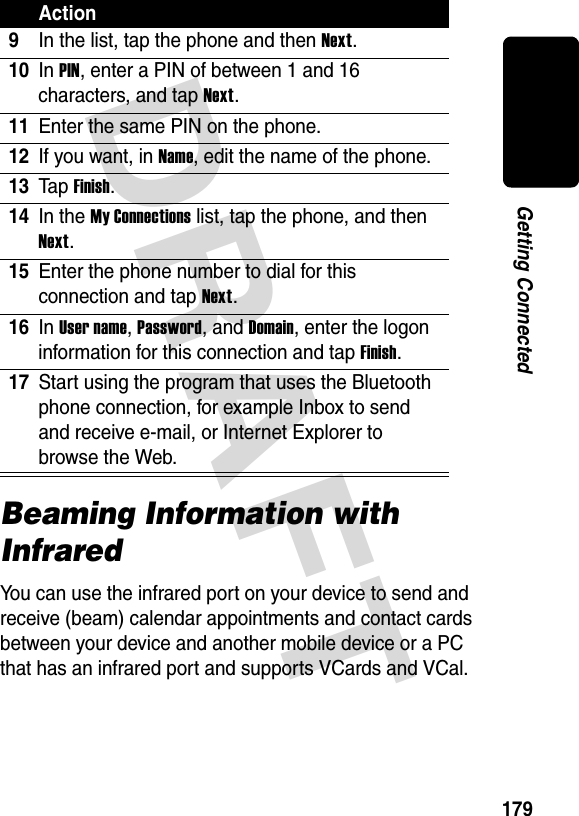
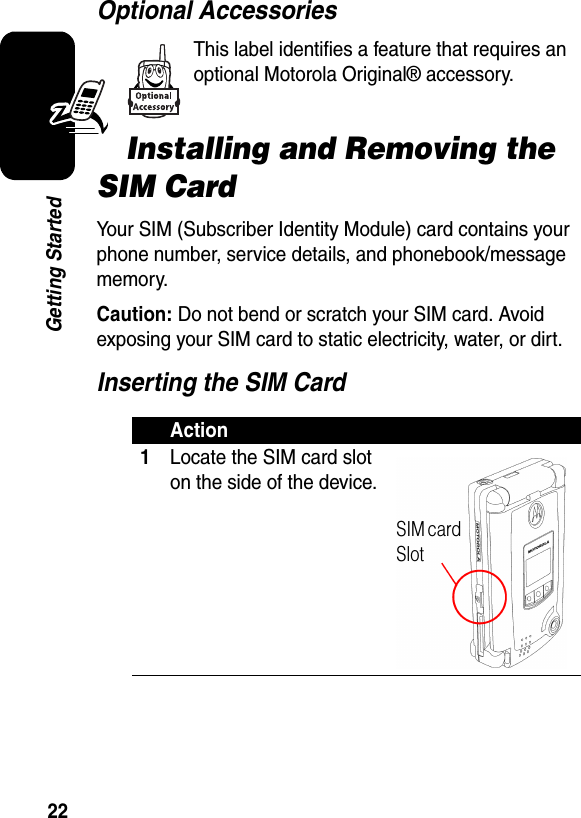
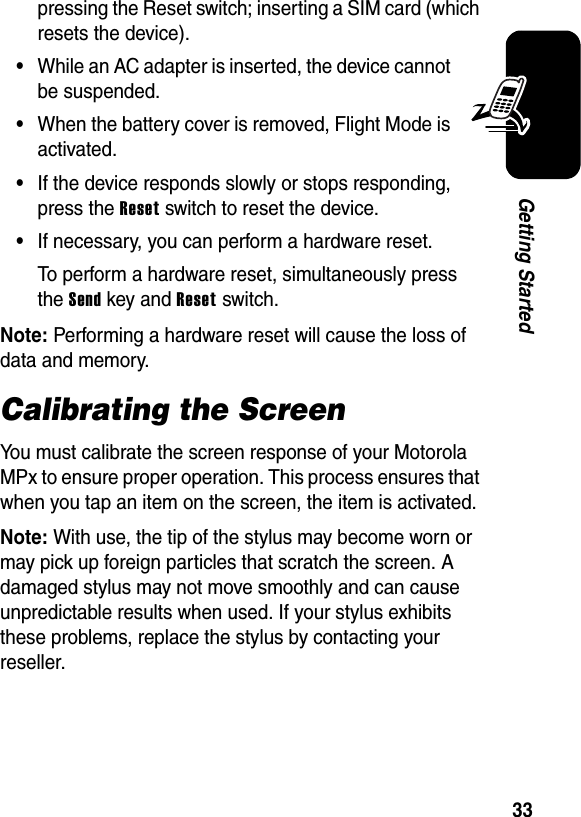
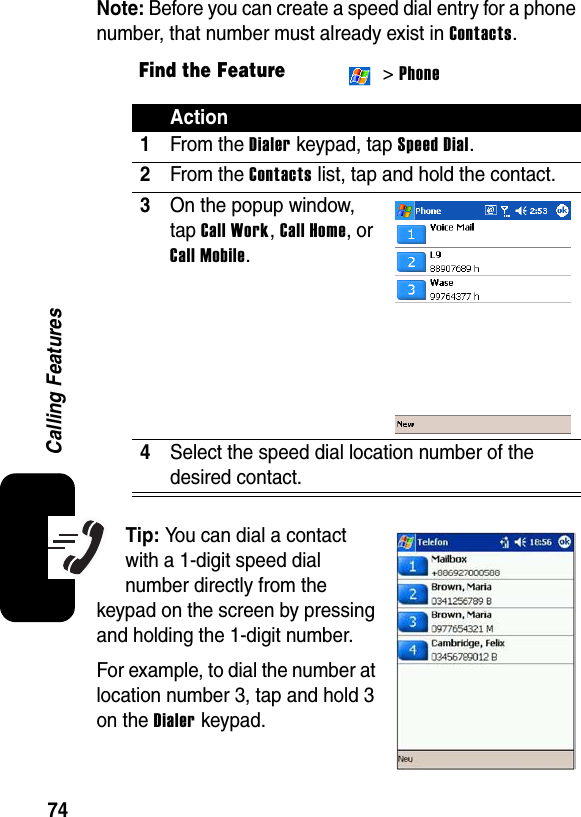
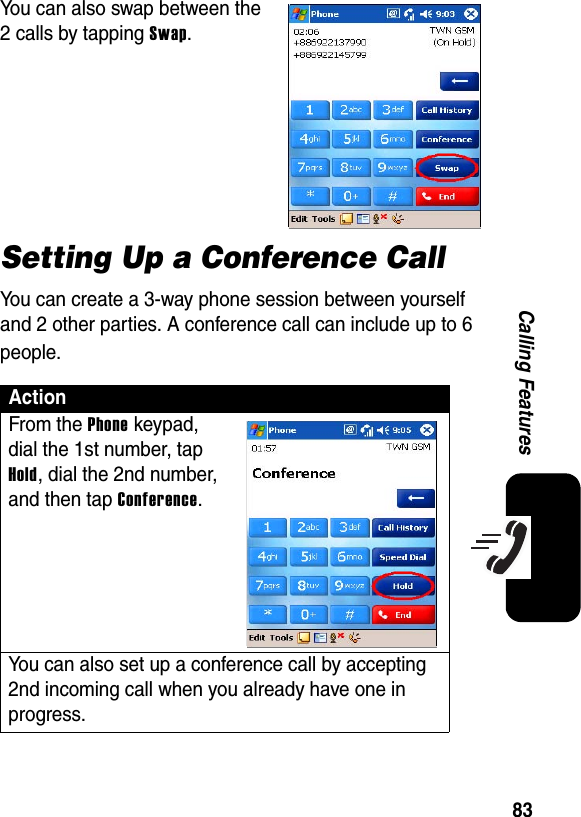
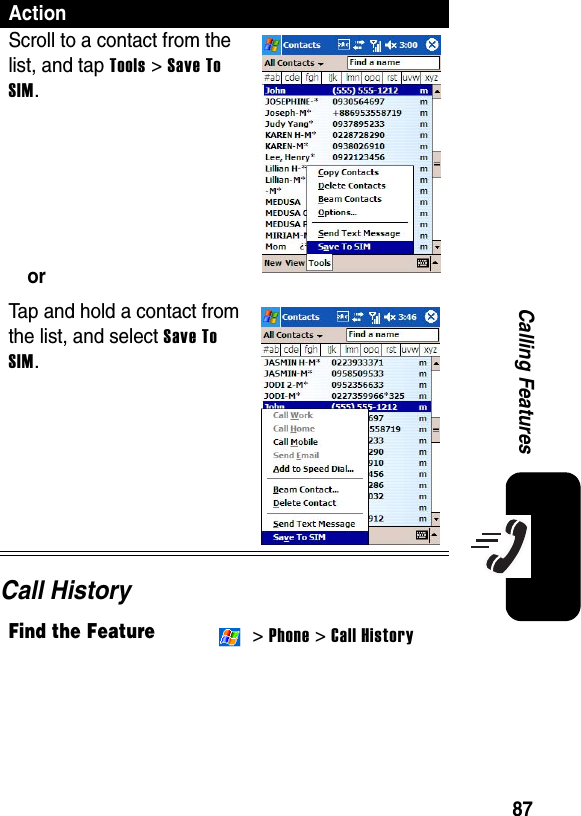
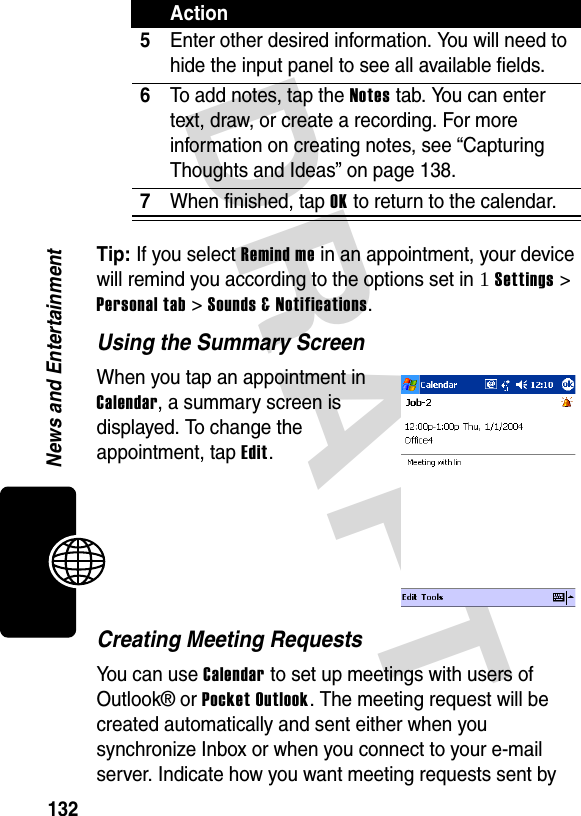
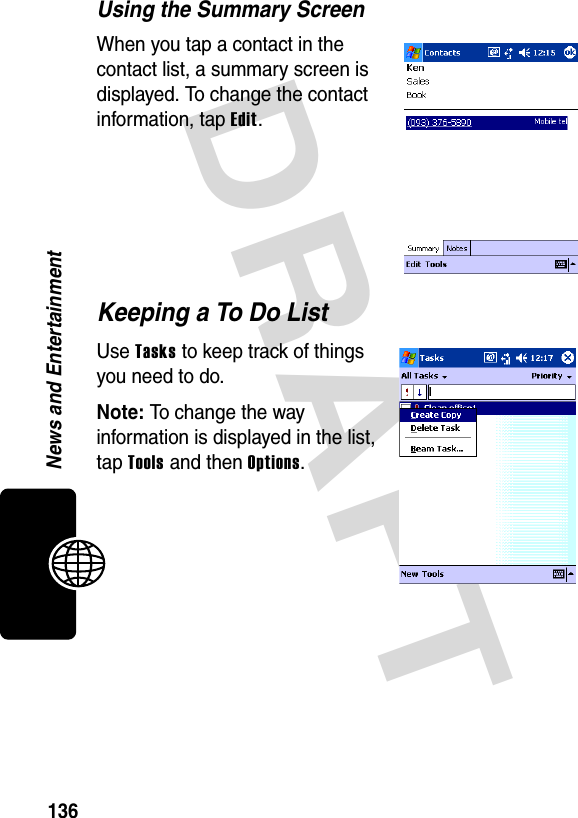
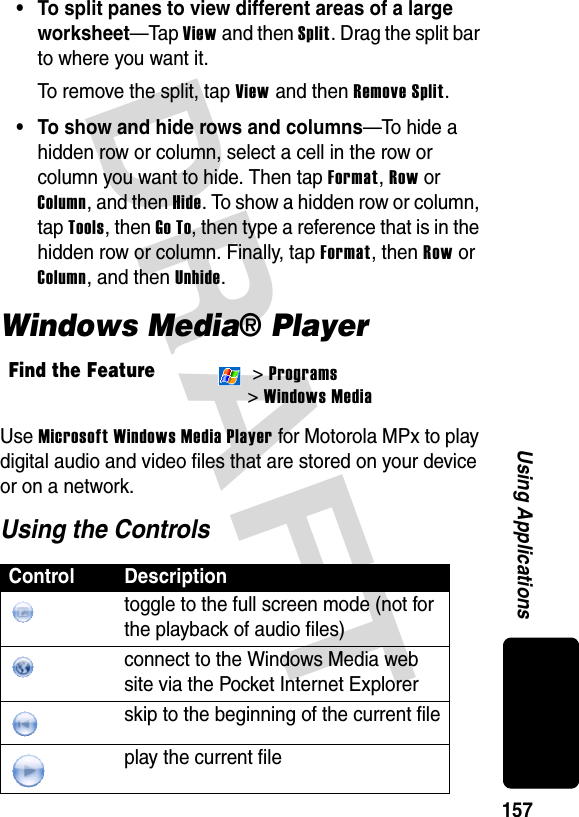
![41Learning to Use Your Motorola MPxEntering Text with the Keypad and KeyboardYou can type letters and numbers on the keypad just as you would on a typical computer keyboard. Use the 4-way navigation key to move the cursor as you type.A 12-key numeric keypad is embedded in the keypad. To enter a number, press [ALT], then the desired number(s) or symbol (if in alpha mode).RecordingUse the microphone to record a spoken message or note.SynchronizingUse Microsoft® ActiveSync® to exchange or copy information between your PC and device.Entry Method DescriptionMove the cursor up for one line.Move the cursor down for one line.Move the cursorleft for onespace.Move the cursor right for one space.](https://usermanual.wiki/Compal-Electronics/MPX001.Exhibit-8A-Updated-Users-Manual-RESPONSE-TO-CRN27893/User-Guide-486518-Page-44.png)
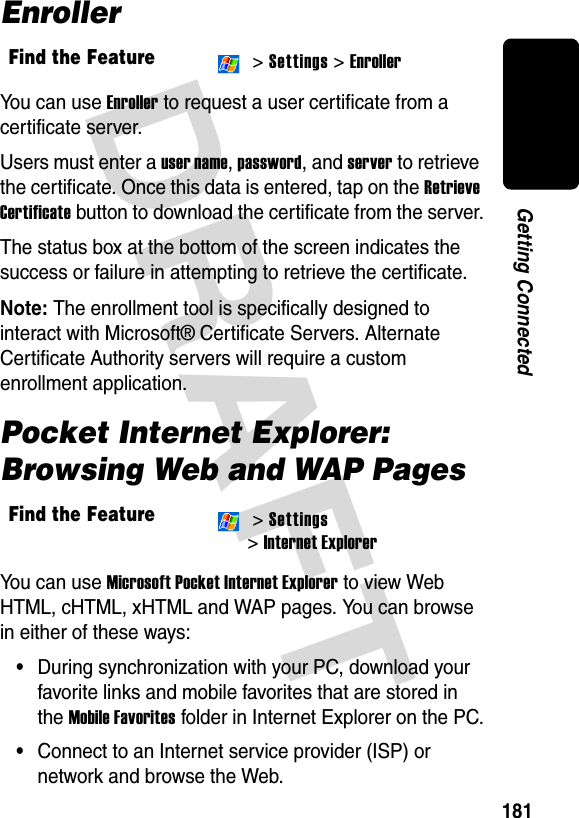
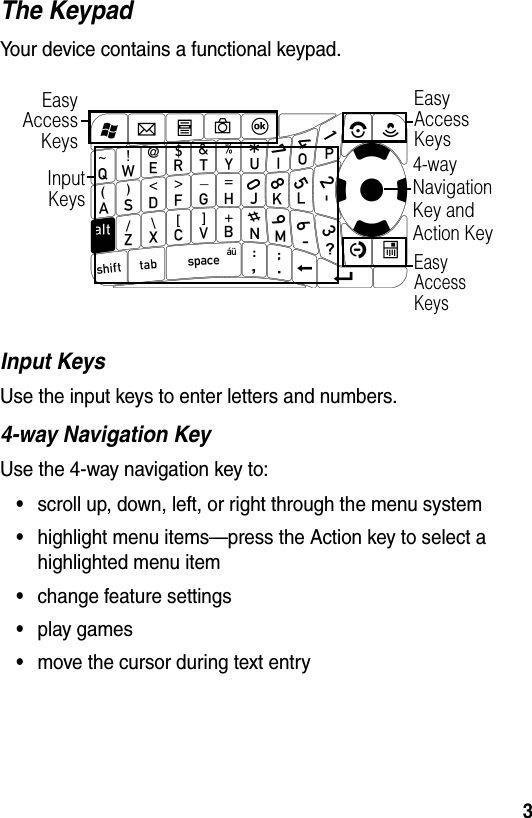
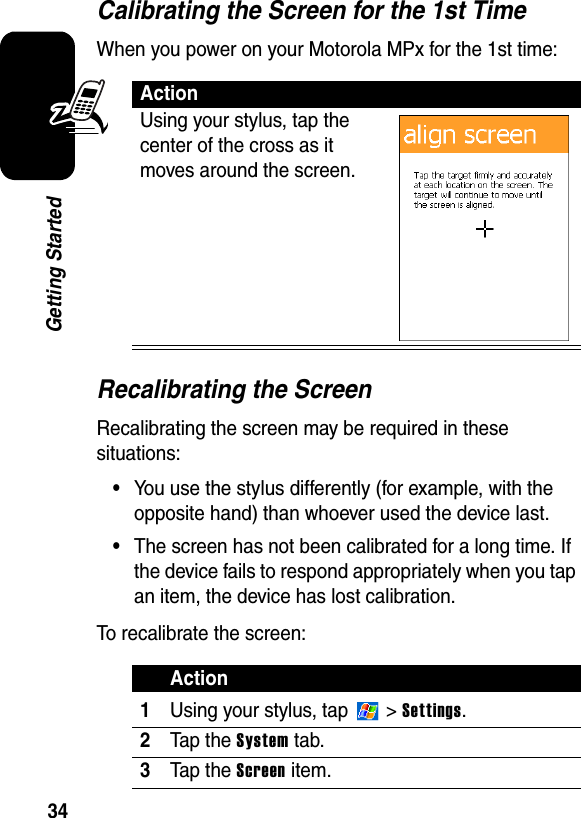
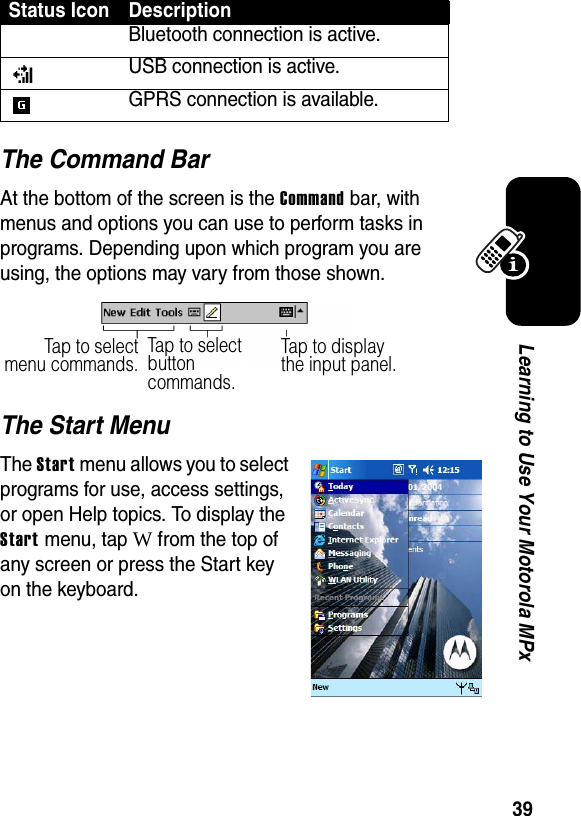
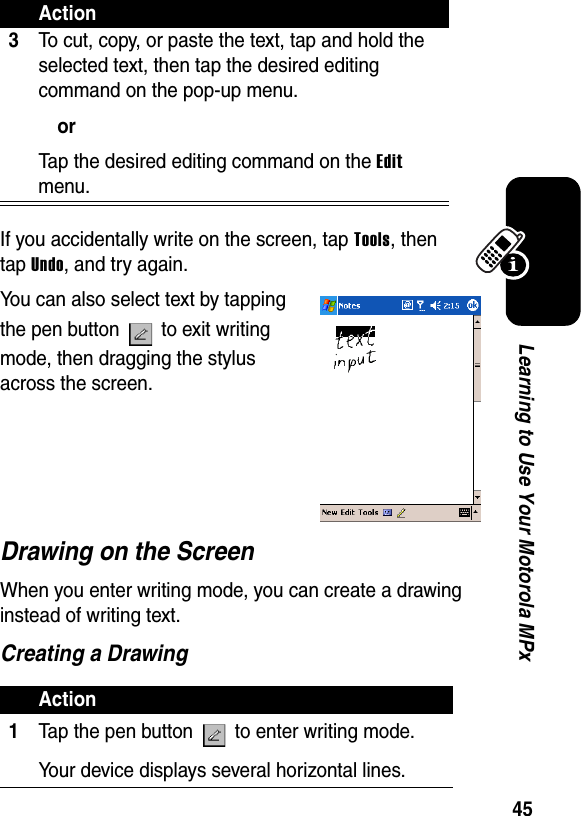
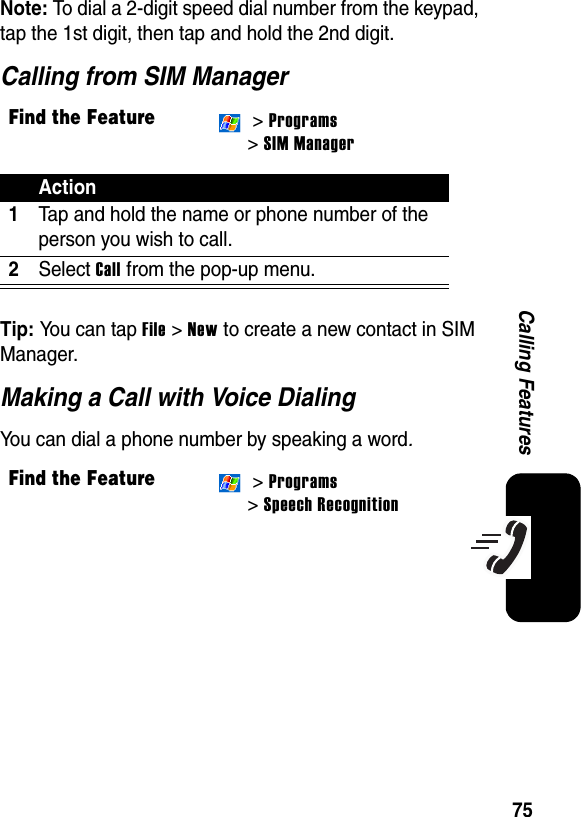
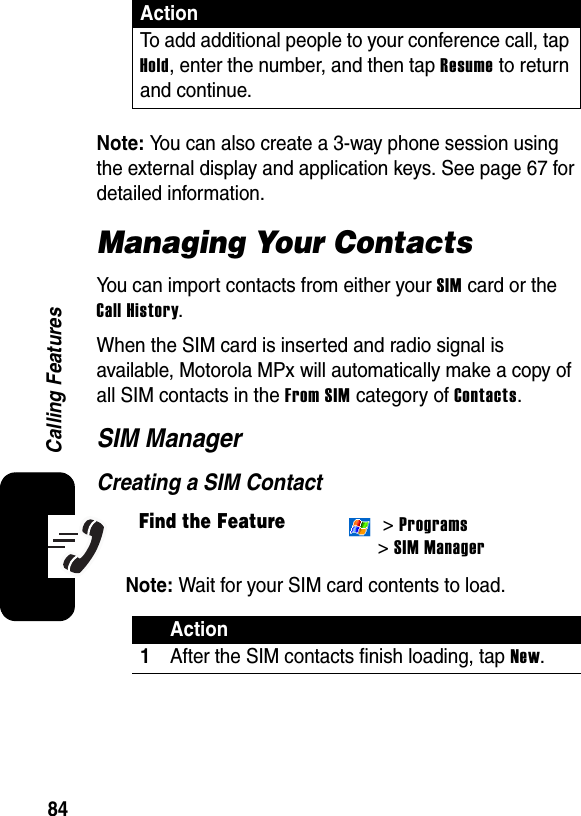
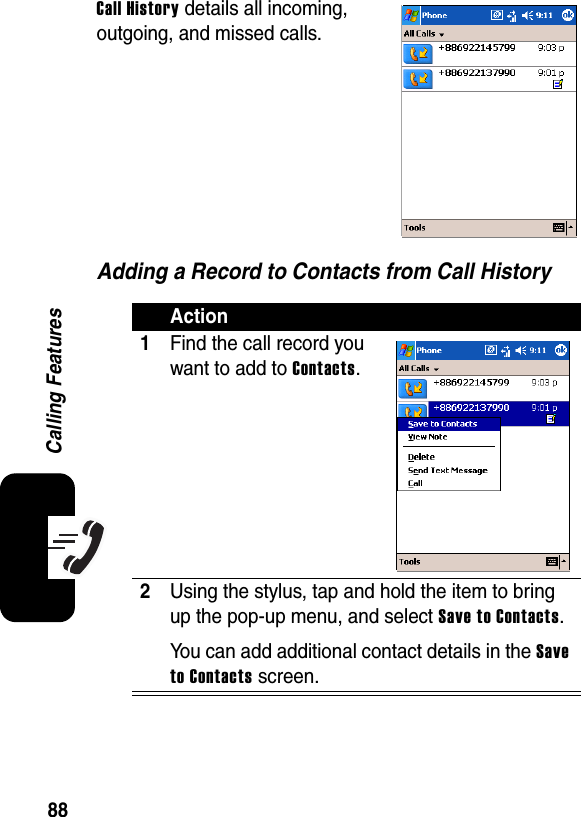
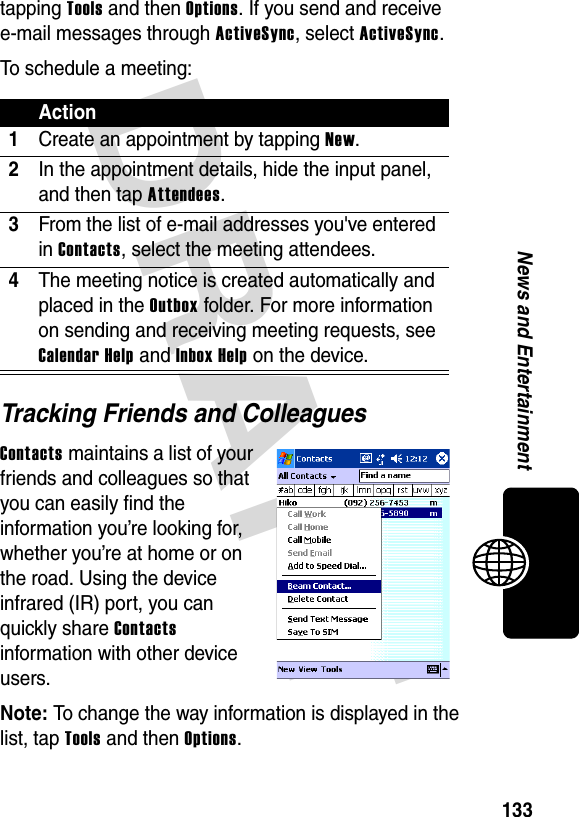
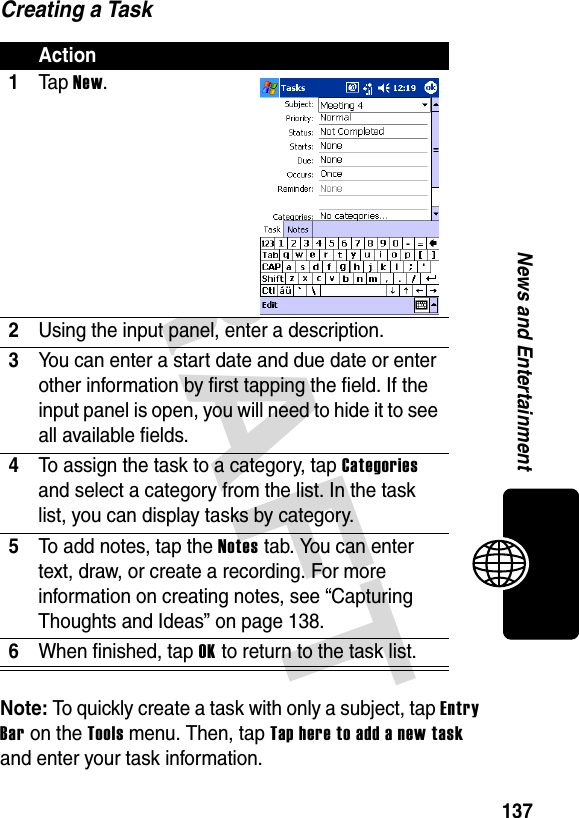
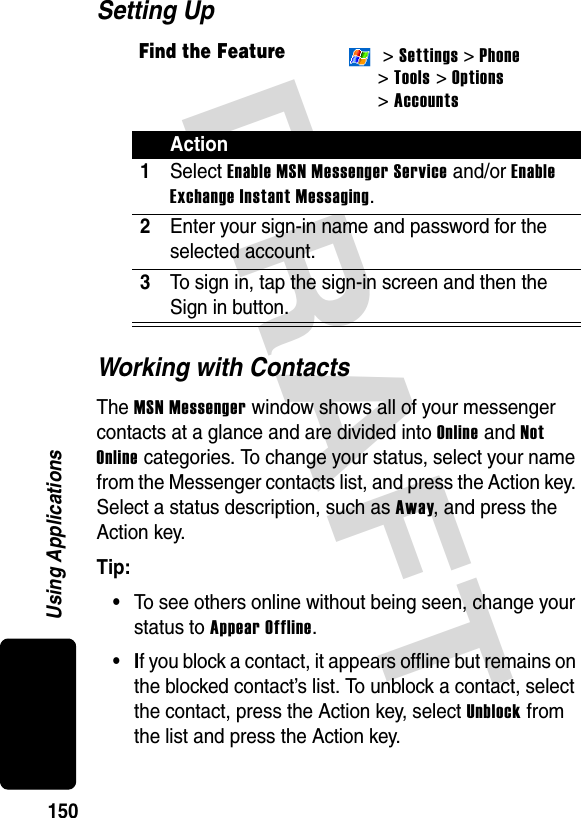
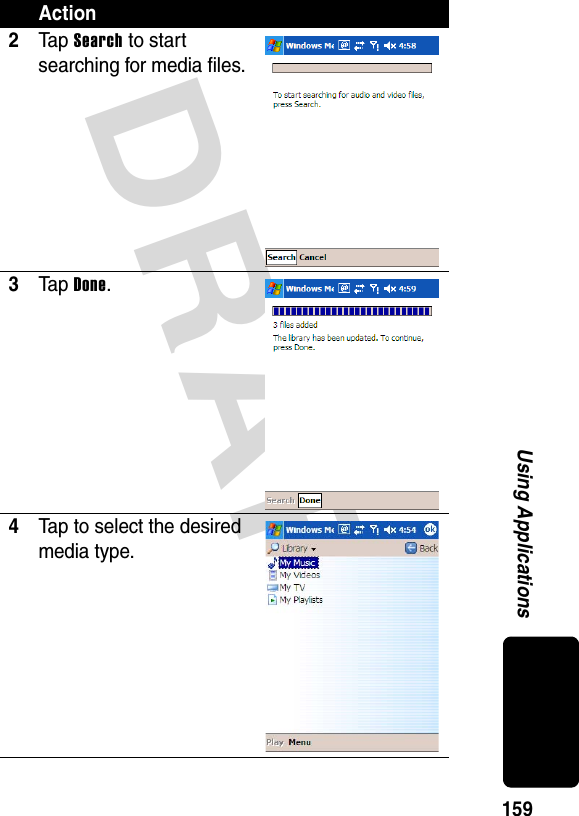
![42Learning to Use Your Motorola MPxThe following table lists all special keys and their functions:Entering Text with the Input PanelTo show or hide the selected input method, tap on the command bar. To select a different input panel, tap the arrow, then tap the input panel that you want.When you use the keyboard input panel, your device anticipates the word you are typing or writing and displays it above the input panel. When you tap the displayed word, the word is inserted at the insertion point. The more you use your device, the more words it learns to anticipate.Press To[ALT]toggle between letters and numbers[shift]toggle between uppercase and lowercase[tab]insert a tab[shift] then [ALT] toggle between the alpha and symbolic modes](https://usermanual.wiki/Compal-Electronics/MPX001.Exhibit-8A-Updated-Users-Manual-RESPONSE-TO-CRN27893/User-Guide-486518-Page-45.png)


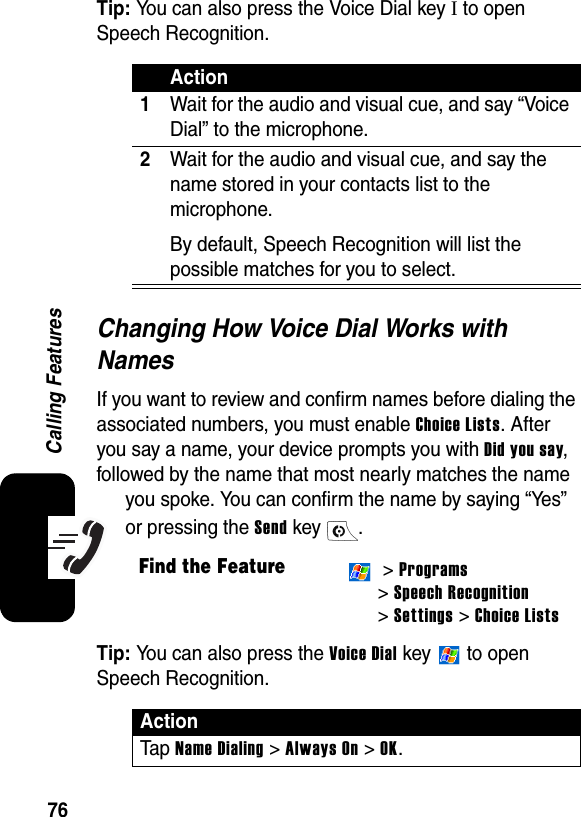

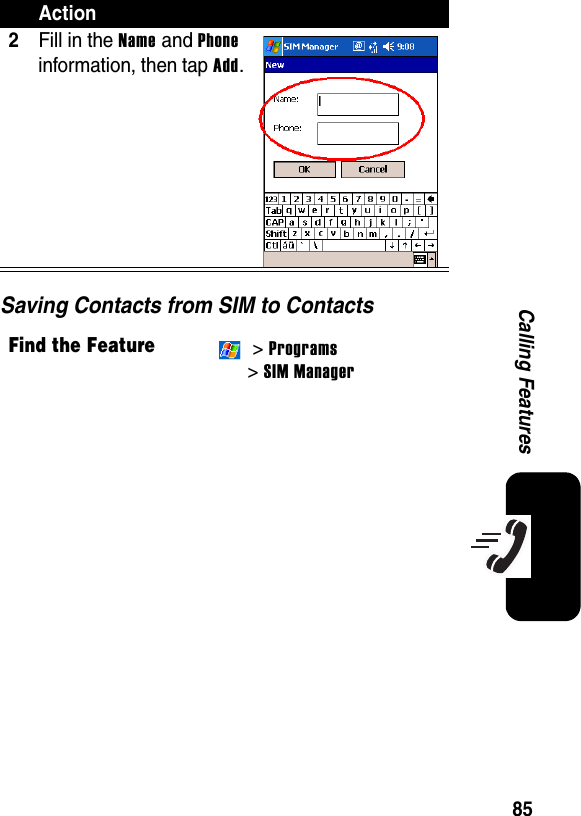
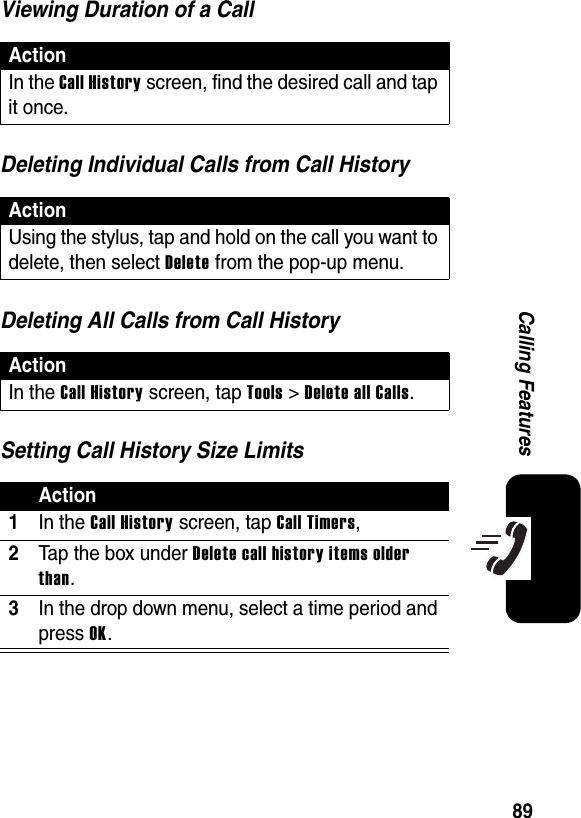


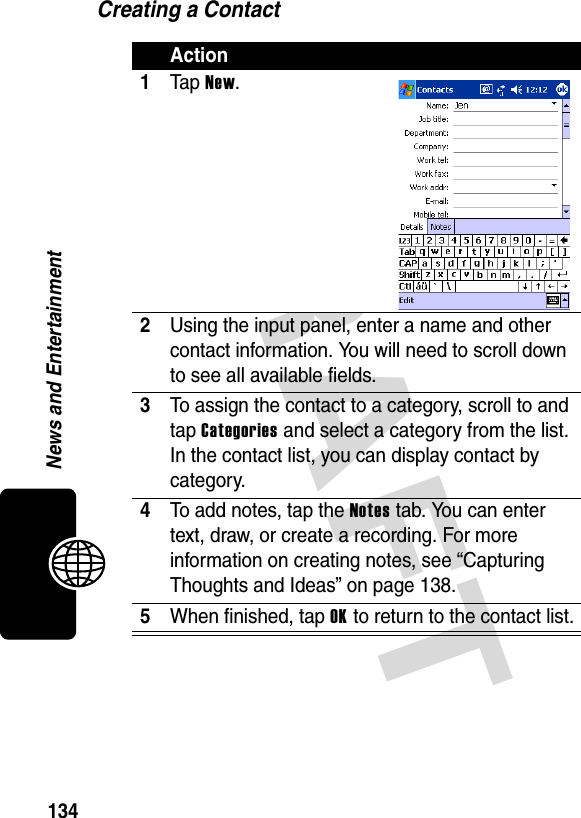
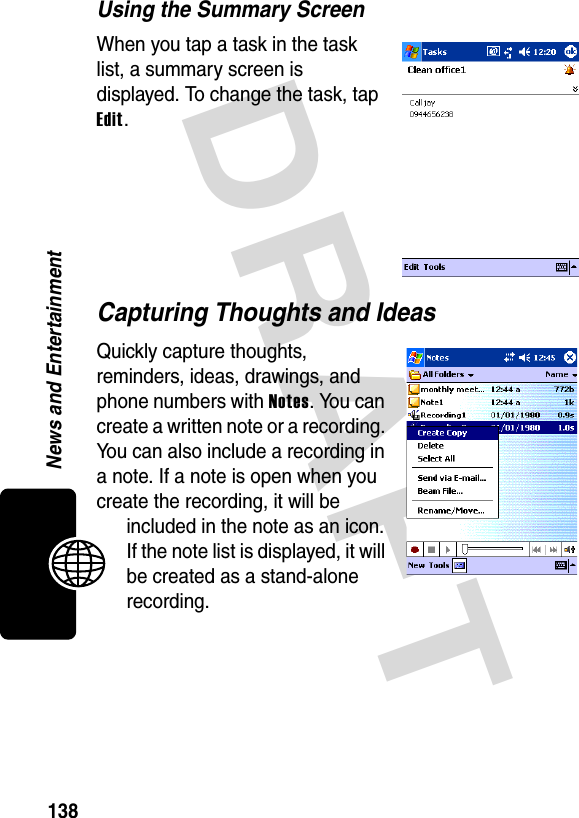


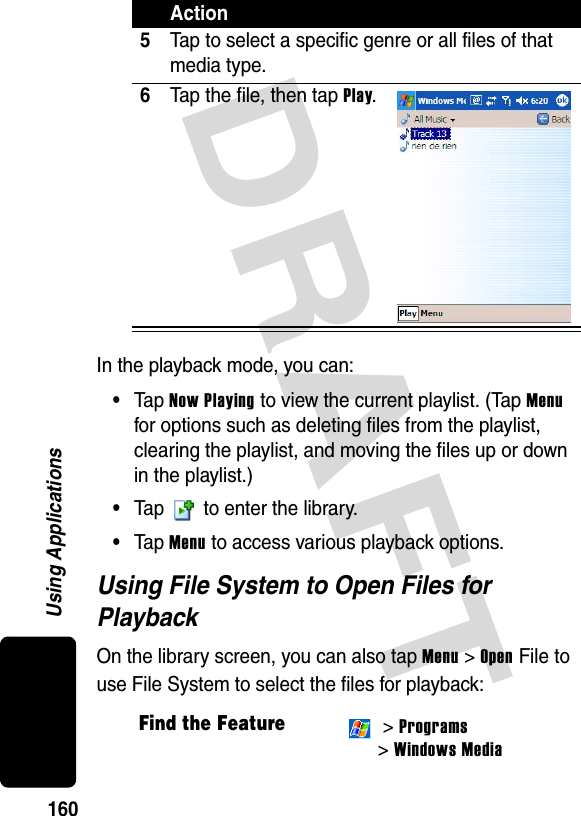


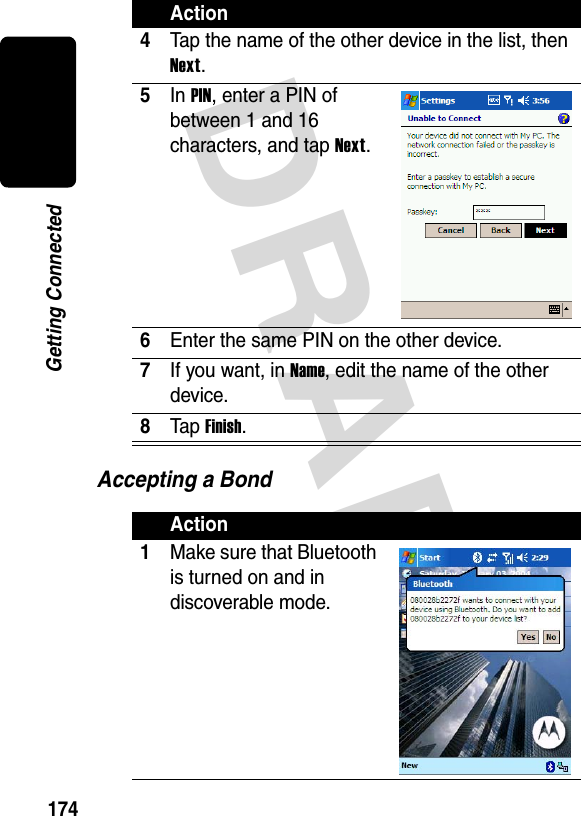
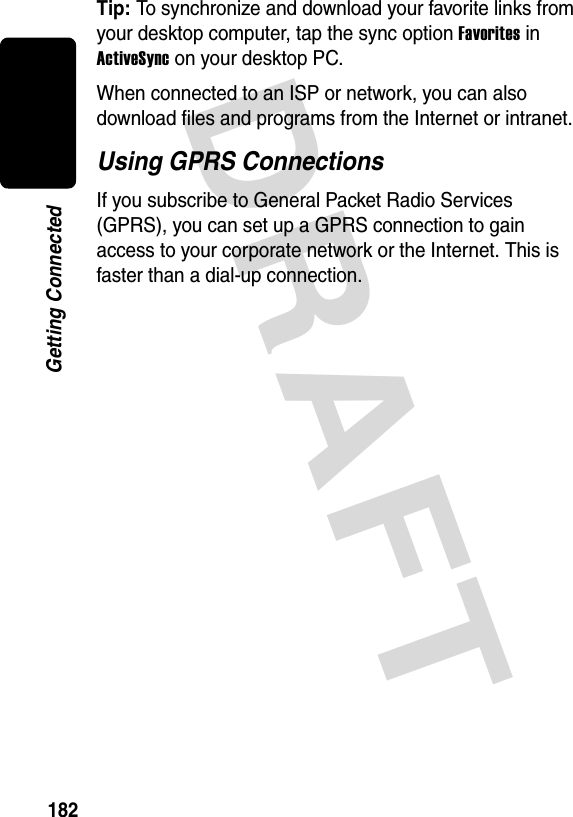
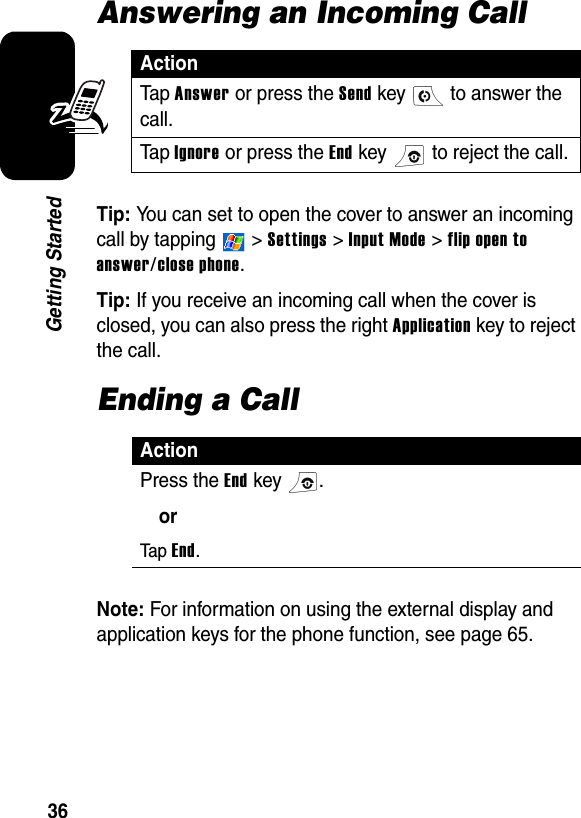
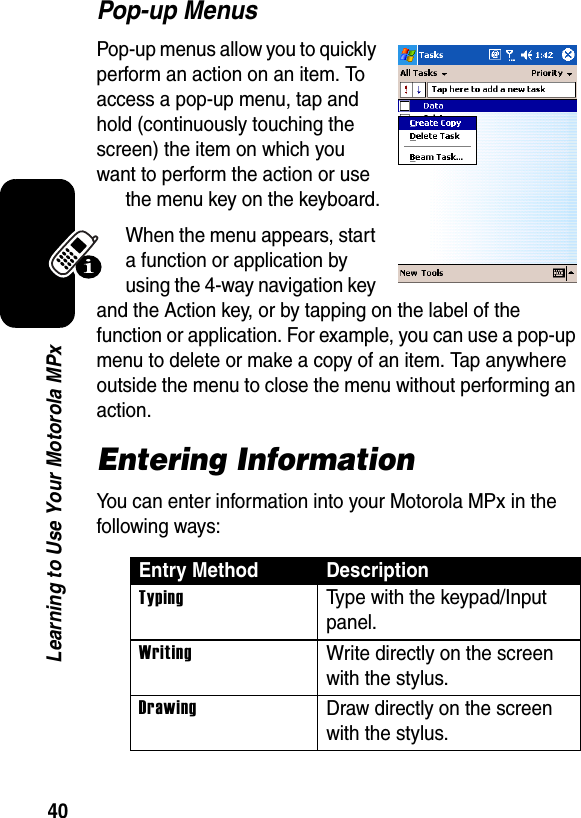
![DRAFT 176Getting ConnectedDeleting a BondBeaming Information with BluetoothThe item is beamed to the device you selected.Tip: If the device that you want to beam to does not appear in the list, make sure that it is turned on, in discoverable mode, and within 10 meters (10 meters) of Find the Feature > Settings > Connections> Bluetooth > DevicesAction1Tap and hold the bond to delete.2Ta p Delete.Action1Tap and hold an item to beam, such as an appointment in Calendar, a task in Tasks, a contact card in Contacts, or a file in File Manager.2Ta p Beam [type of item].3Tap the device to which you want to send the beam.](https://usermanual.wiki/Compal-Electronics/MPX001.Exhibit-8A-Updated-Users-Manual-RESPONSE-TO-CRN27893/User-Guide-486518-Page-182.png)