Cobra Electronics XRS9845 Radar Detector User Manual XRS 9845 L4
Cobra Electronics Corporation Radar Detector XRS 9845 L4
UserManual.wiki
>
Cobra Electronics
>
XRS9845 User Manual
Users Manual
Navigation menu
Upload a User Manual
Namespaces
Wiki Guide
HTML
PDF
Info
Views
User Manual
Discussion / Help
Navigation
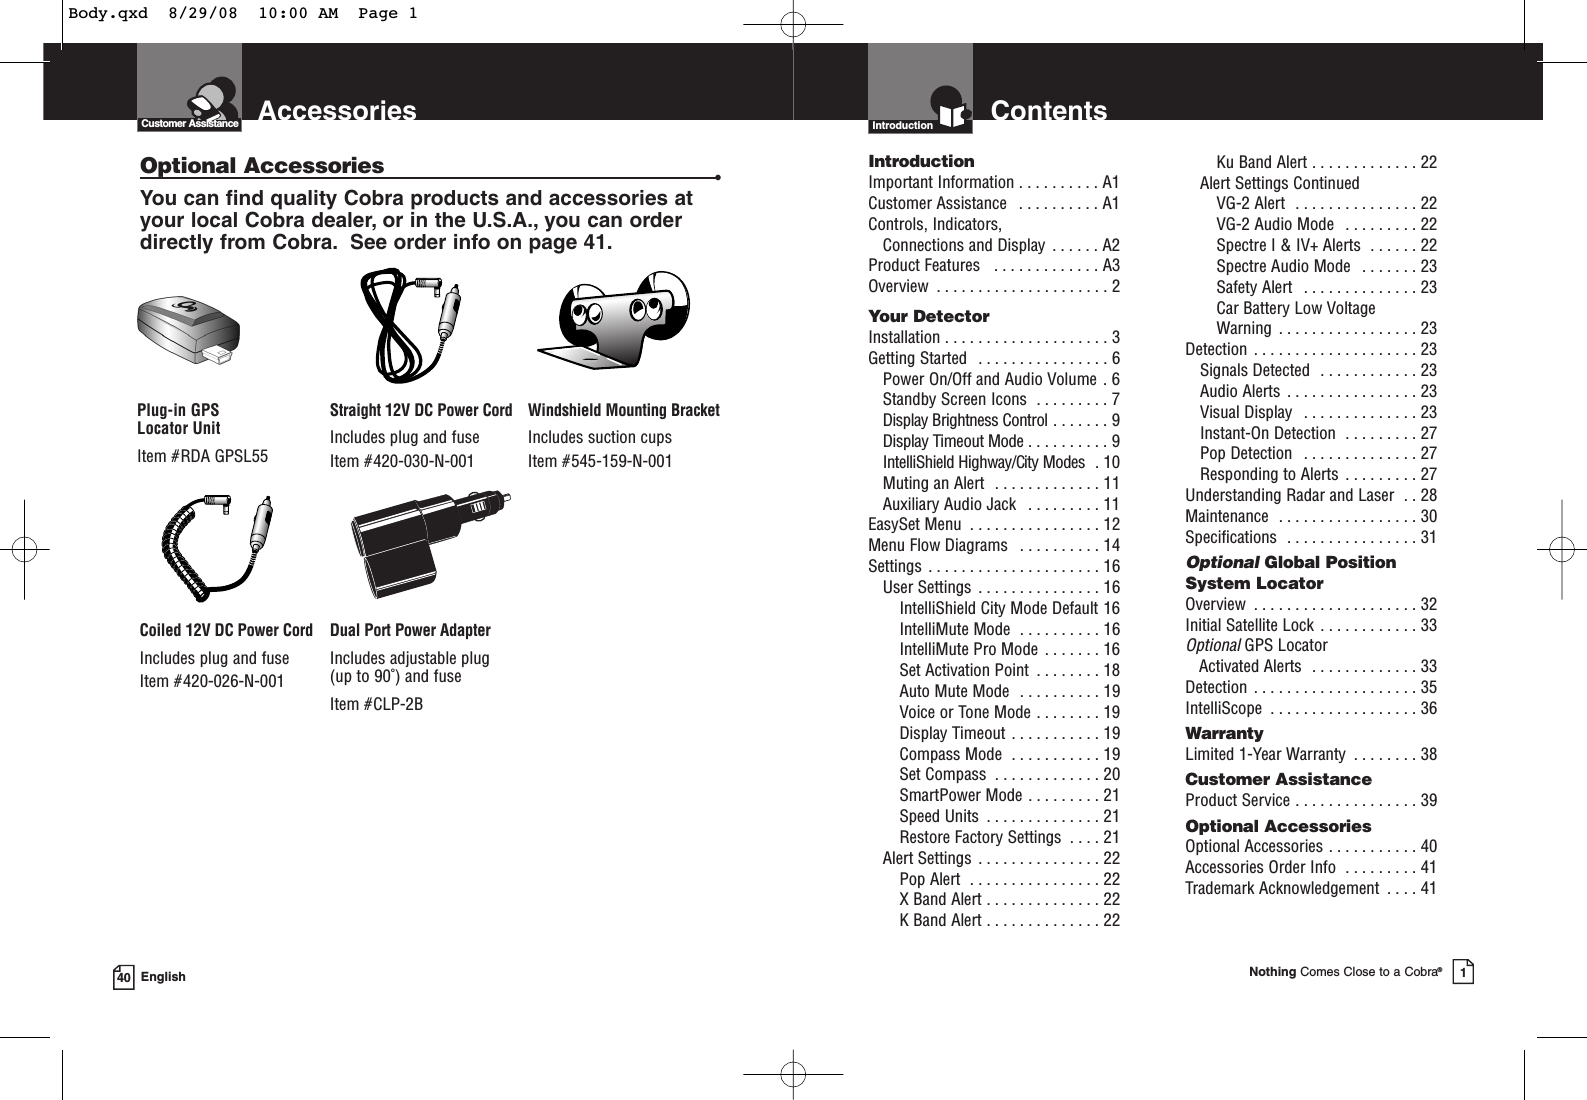
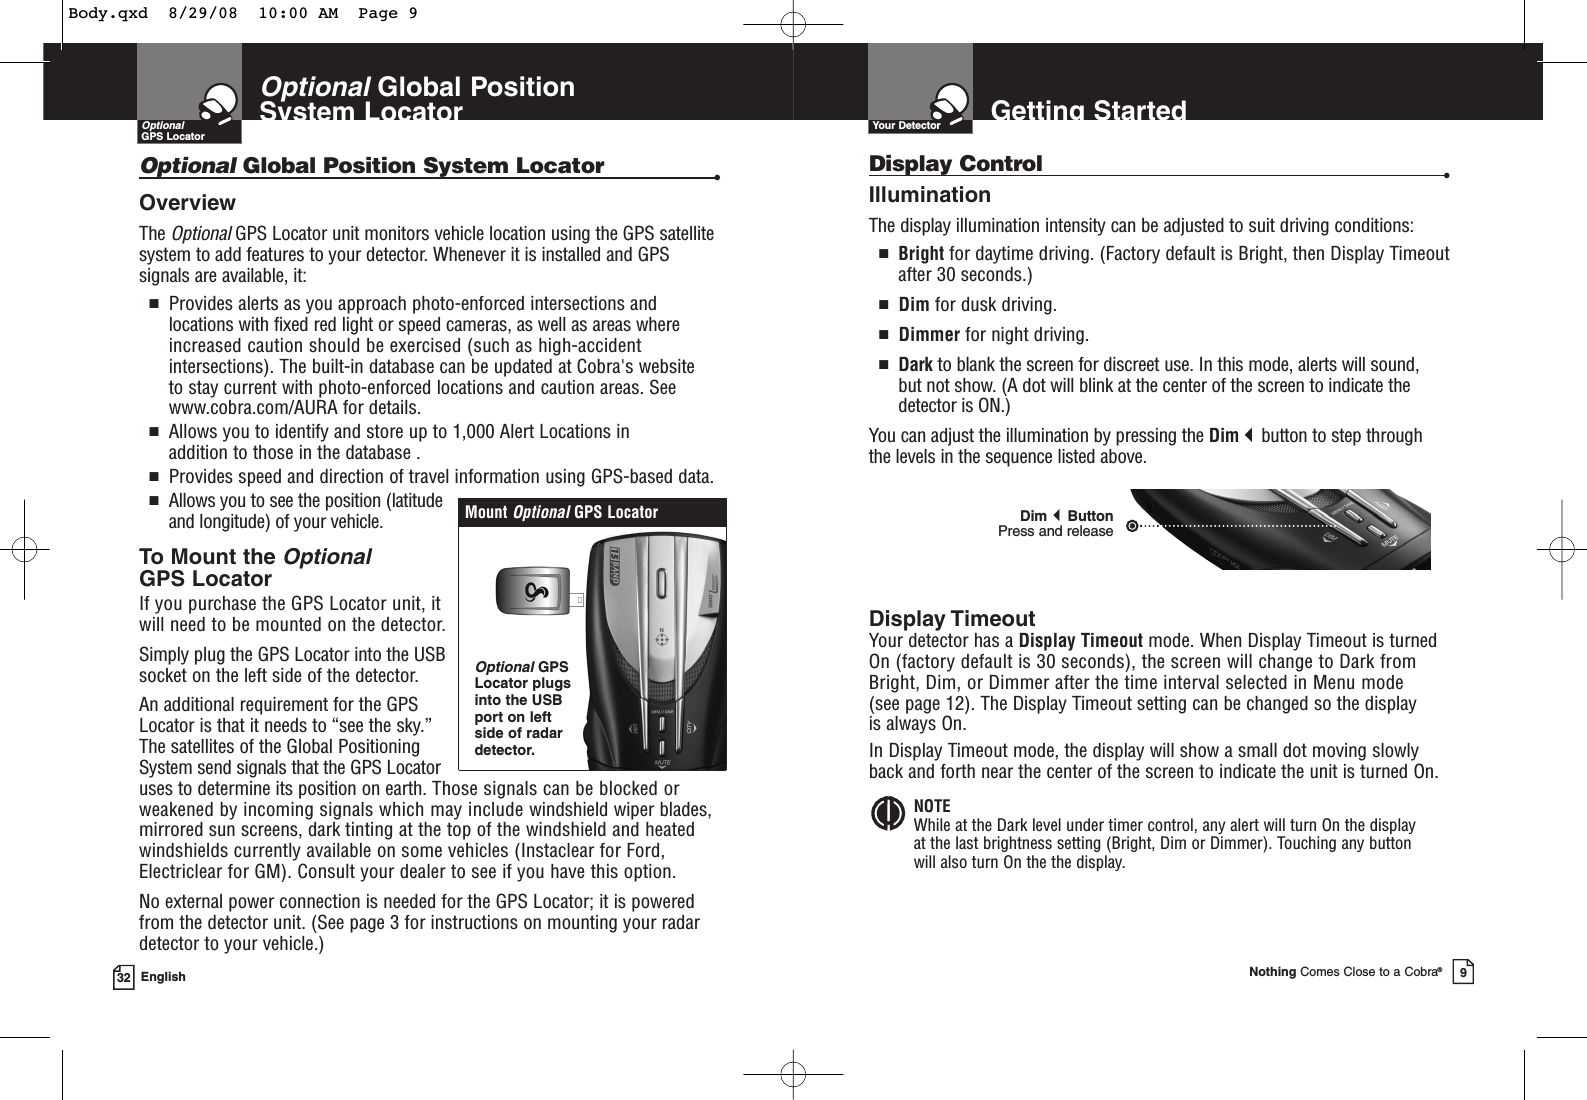
![IntroductionA2 EnglishControls, Indicators,Connections and DisplayIntroductionControls, Indicators, Connections and Display •12V DCPower JackOn-Off/Volume ControlAllows user to adjust the volume of the tone and voice alerts.MuteButtonFor manual mute of audio alerts.In Menu mode, steps down through options for the selected setting.Menu/Save ButtonPress once to enter Menu mode. Press again to save settings.LaserEye For 360° detection of laser and strobe signals.Windshield Bracket Release ButtonSpeakerAuxiliary Audio JackOn right side of unit.DimButton Adjusts the display brightness.In Menu mode, steps backward through settings. CityButtonSwitches between Highway and City modes.In Menu mode, steps forward through settings.Windshield Bracket Mounting SlotExtremeBright DataGrafixTM DisplayBlue sunlight-readable, extremely bright display provides intuitive graphical interaction and alert screens.Nothing Comes Close to a Cobra®41Product FeaturesIntroductionNothing Comes Close to a Cobra®A3IntroductionXtreme Range Superheterodyne TechnologyWith super-fast sweep circuitry, XRS providesextra detection range and the best possibleadvance warning to even the fastest radar gunsUltra PerformanceProvides advanced warning with extradetection range Detection and Separate Alerts For radar signals (X, K, Ka and Ku bands, with signal strength indicated), Laser signals,Safety Alert signals, Strobe Alert signals, VG-2 signals, Spectre I & IV+ signals8-Point Magnetic Compass Displays direction of travelLaserEye For 360° detection of laser and strobe signalsInstant-On Ready Detects radar guns with “instant-On” (very fast) speed monitoring capabilitiesPop DetectionDetects the latest super-fast instant-On single pulse radar gunsVoice or Tone Alert With adjustable volumeExtremeBright DataGrafixTM Display Easy-to-read graphical user interfaceIntelliShield Highway/City ModesReduces falsing in urban areas with Highwaymode and three levels of City mode settingsSafety Alert Traffic warning system distinguishes importantsafety alerts from other K band signalsStrobe AlertEmergency vehicle warning systemManual Mute or Auto Mute A mute function of audio alertsIntelliMute A mute function which automatically reducesfalse audio alerts by sensing engine RPMsIntellimute ProPrevents detection by radar detector detectors(RDDs) when traveling at slower speedsSmartPower A timed power saving function that saves your car’s battery EasySet MenuUser-friendly mode selection and setting with visual guidanceCar Battery VoltageDisplays your car battery voltageLow Car Battery Voltage WarningAlert can be provided when voltage goesbelow 11.9 voltsAuxiliary Audio JackFor external speaker connectionMounting Mounts easily on windshield or dashboardOptionalGPS Ready (See page 33)The Optional GPS Locator unit adds: Photo Enforced, Caution and User LocationAlerts; Speed Alert; GPS Compass andVehicle Location (Latitude & Longitude)IntelliScopeUses OptionalGPS Locator to show direction of Location Based Alerts relative to your moving vehicleCongratulations! You’ve made a smart choice by purchasing an ultraperformance digital radar/laser detector from Cobra. Just look at some ofthe sophisticated features and capabilities your new unit includes:Order Information and Trademark AcknowledgementCustomer AssistanceOrdering From U.S.A.Call 773-889-3087 for pricing or visit www.cobra.com.For Credit Card OrdersCall 773-889-3087[Press one from the main menu] 8:00 a.m. to 6:00 p.m. Central Time, Monday through Friday.Make Check or Money Order Payable ToCobra ElectronicsAttn: Accessories Dept.6500 West Cortland StreetChicago, IL 60707 U.S.A.To Order OnlinePlease visit our website: www.cobra.comItem # DescriptionRDA GPSL55 Plug-in GPS Locator Unit420-030-N-001 Straight 12V Power Cord420-026-N-001 Coiled 12V Power Cord545-159-N-001 Windshield Mounting BracketCLP-2B Dual Port Power AdapterUSB PortFor connection of OptionalGPS Locator.WARNINGModifications or parts substitutions not approved by Cobra Electronics Corporation may violate FCC Rules and void your authority to operate this equipment.Trademark Acknowledgement •Cobra®, DigiView®, EasySet®, Extra Sensory Detection®, IntelliMute®, IntelliMute®Pro,IntelliShield®, LaserEye®, Nothing Comes Close to a Cobra®, Safety Alert®Traffic WarningSystem, Strobe Alert®, VG-2 Alert®, Xtreme Range Superheterodyne®and the snake design are registered trademarks of Cobra Electronics Corporation, USA.Cobra Electronics Corporation™, 14 Band™, 15 Band™, Extreme Bright DataGrafix™,IntelliLink™, IntelliScope™, IntelliView™, Revolution™ Series, SmartPower™, SpectreAlert™, Super-Xtreme Range Superheterodyne™, S-XRS™, UltraBright™, and Voice Alert™are trademarks of Cobra Electronics Corporation, USA.Opticom™ is a trademark of 3M Corporation. Instaclear®for Ford is a registered trademark of Ford Motor Company, Inc. Electriclear®for GM is a registered trademark ofGeneral Motors Corporation. 20-20™ and Ultra-Lyte™ are trademarks of Laser Technology,Inc. ProLaser™ and ProLaser III™ are trademarks of Kustom Signals, Inc. Bee III™ and Pop™ are a trademarks of MPH Industries. Stalker™ LIDAR is a trademark of AppliedConcepts, Inc. Spectre I™ and Spectre IV+™ are trademarks of Stealth Micro Systems Pty. Ltd.SpeedLaser™ is a trademark of Laser Atlanta, LLC. Interceptor VG-2™ is a trademark ofTechniSonic Industries LTD. Tomar®is a registered trademark of TOMAR Electronics, Inc.XRS 9845_L4 8/29/08 9:40 AM Page A2](https://usermanual.wiki/Cobra-Electronics/XRS9845/User-Guide-1008157-Page-2.png)