Cellon Communications Technology PCD2001B MOBILE PHONE User Manual T38PCD2001B
Cellon Communications Technology (Shenzhen) Co.,Ltd. MOBILE PHONE T38PCD2001B
UserManual.wiki
>
Cellon Communications Technology
>
PCD2001B User Manual
Users Manual
Navigation menu
Upload a User Manual
Namespaces
Wiki Guide
HTML
PDF
Info
Views
User Manual
Discussion / Help
Navigation

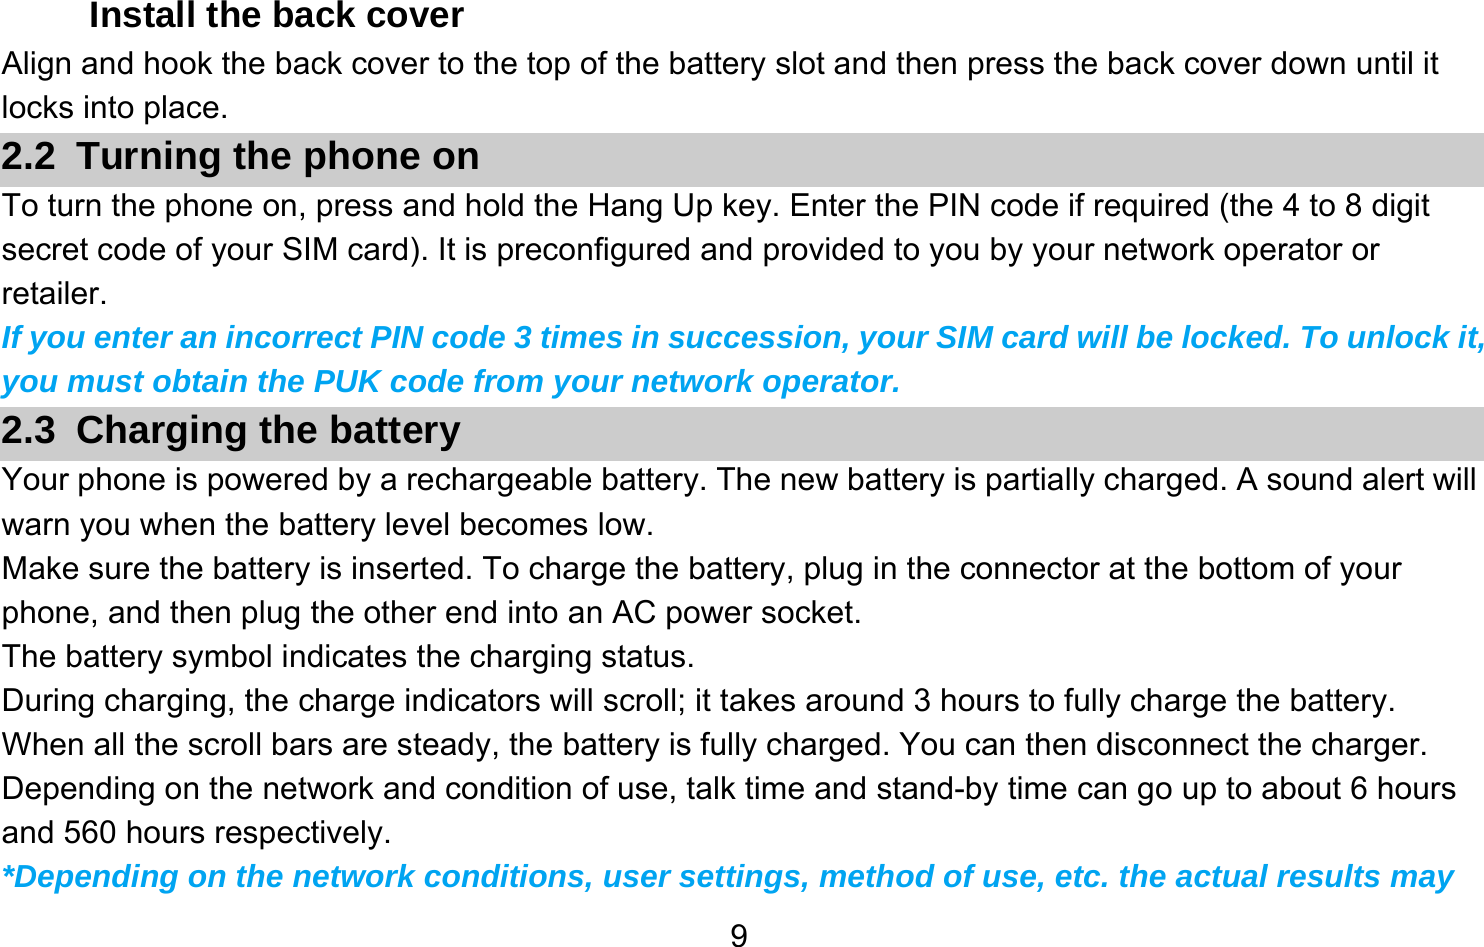
![10vary. When the battery is fully charged, the only way to turn off the charger is to unplug it, so it is advisable to use an easily accessible AC power socket. If you do not intend to use your phone for several days, we recommend that you remove the battery. If the battery is completely uncharged, the battery icon will reappear after a few minutes of charging. 2.4 Important Password Phone password is 1122. 2.5 Keypad Lock and Unlock Go to Settings > Security Setup > Auto Keypad Lock to select the time for keypad lock. In idle mode, if the time expires, the keypad will be locked automatically. Press the Right Soft Key [Unlock] and then the # Key to unlock the keypad.](https://usermanual.wiki/Cellon-Communications-Technology/PCD2001B/User-Guide-1292427-Page-11.png)