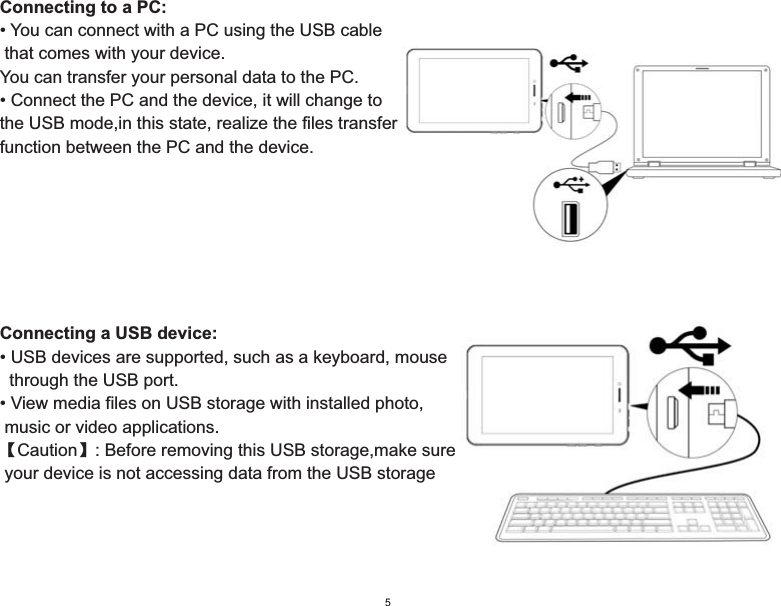
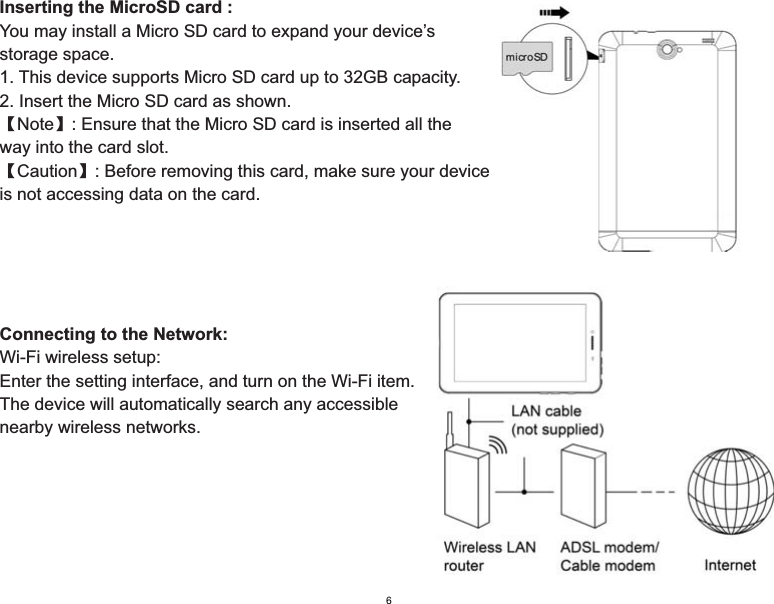
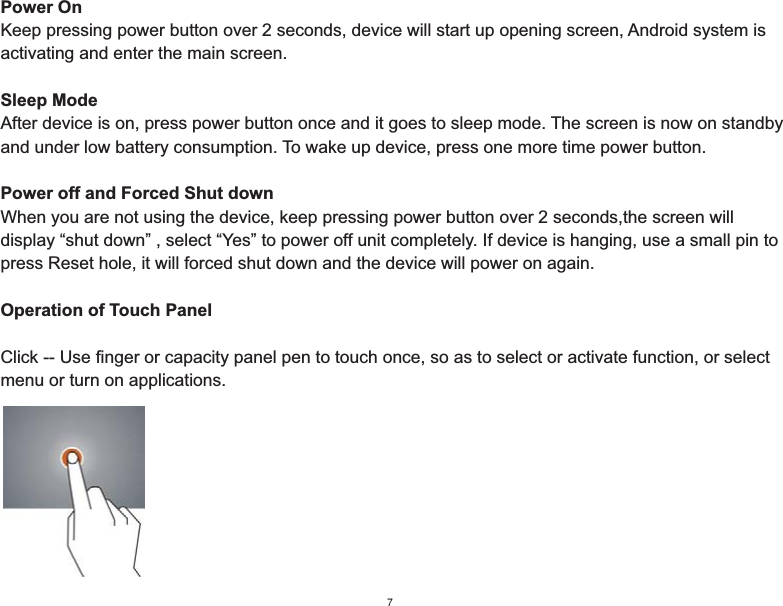
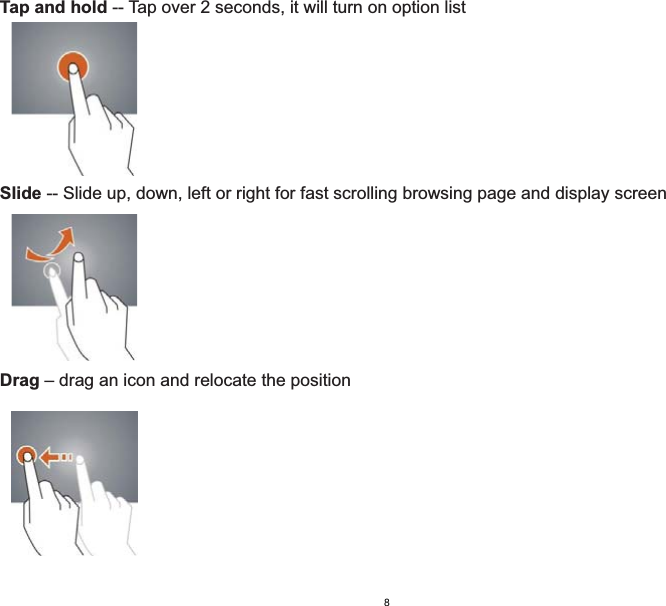
CLC PLUMZ708 Tablet PC User Manual
CLC Hong Kong Limited Tablet PC Users Manual
UserManual.wiki
>
CLC
>
PLUMZ708 User Manual
>
User manual
Contents
1.
User Manual
2.
User manual
User manual
Navigation menu
Upload a User Manual
Namespaces
Wiki Guide
HTML
PDF
Info
Views
User Manual
Discussion / Help
Navigation
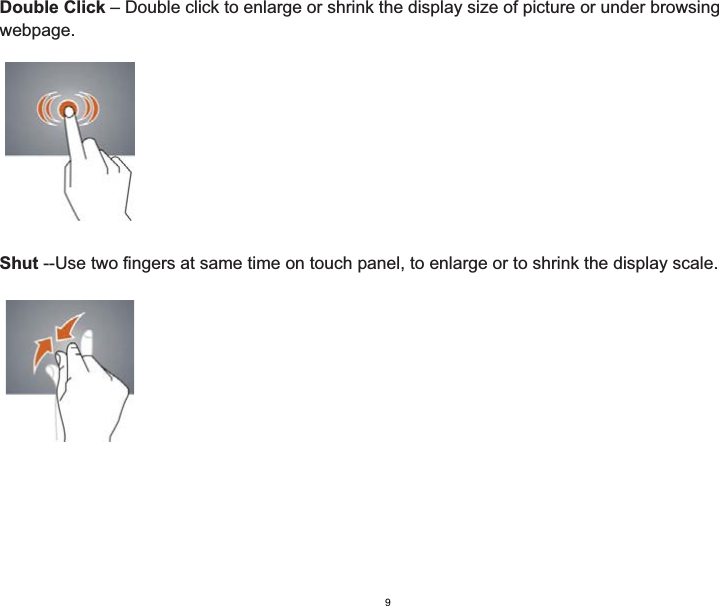

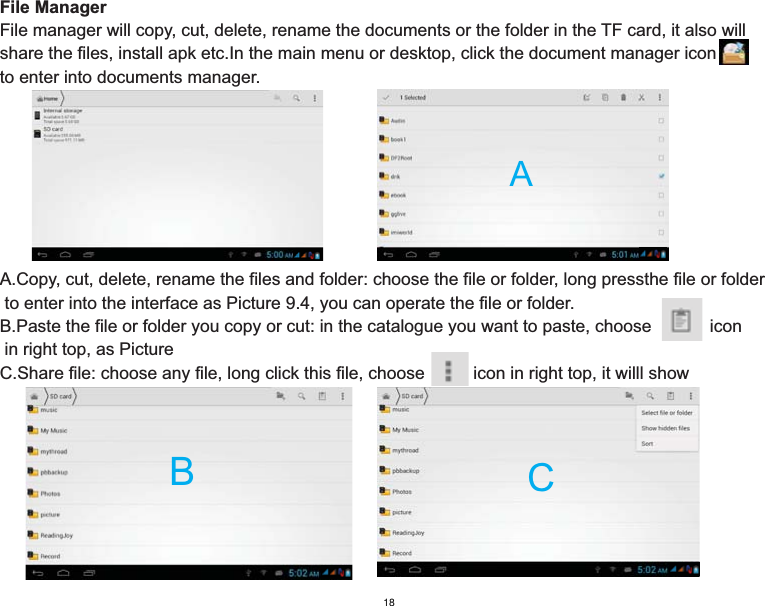
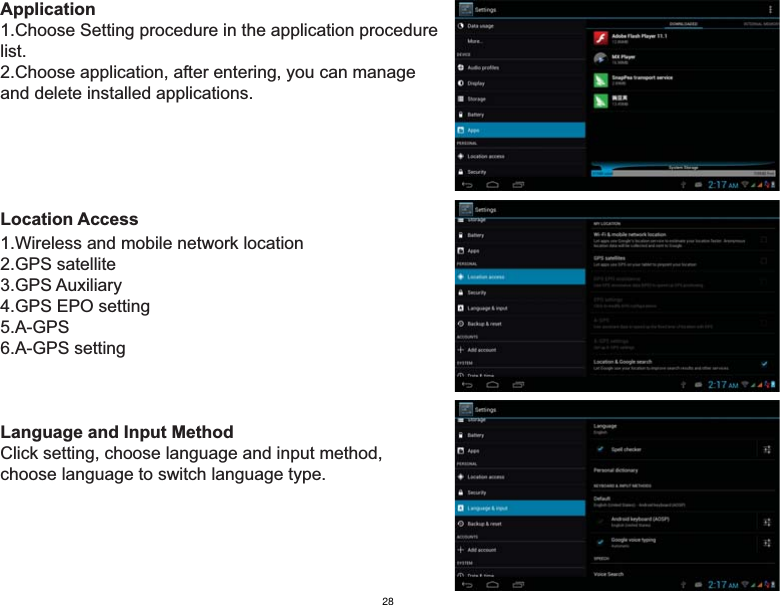
![FM RadioClick in the main interface or desktop to enter into FM radio interface:[Note]: Use FM radio, you need to insert earphone, if no antenna, you can’t search radio frequency234567811.Open outer voice2.Channel list3.Menu 4.Save button5.Current frequency6.Next channel7.Play/pause8.Previous channelClick search to scan FM frequency19](https://usermanual.wiki/CLC/PLUMZ708.User-manual/User-Guide-2251458-Page-20.png)