CLC PLUMZ600 Link Tablet PC User Manual Ravi
CLC Hong Kong Limited Link Tablet PC Ravi
UserManual.wiki
>
CLC
>
PLUMZ600 User Manual
user manual
Navigation menu
Upload a User Manual
Namespaces
Wiki Guide
HTML
PDF
Info
Views
User Manual
Discussion / Help
Navigation
![Attention: This handbook contains important security measures and the information for correct usage of the product in order to avoid accidents. Please make sure to read the manual carefully before using the device. Avoid exposure to moisture and dust Avoid exposure to high temperature do not keep the device on the dashboard of the car specially when the windows are closed. Avoid fall or violent shaking of the device This could cause damage to TFT display screen Please choose appropriate volume, if using headphones volume should not be too high Please charge the device in the following conditions, A. The battery power ICON indicates low or no power B. The system automatically shuts off, as soon as device is started C. Operation buttons do not respond D. The icon at the top right corner turns red .When the device is being formatted or during uploading and downloading of files, please do not suddenly disconnect as this can cause application error Do not use the device in places where use of electronic devices is prohibited e.g. during flights Don’t disassemble the product, don’t use alcohol Thinner or benzene to scrubbing products Please do not use the Tablet PC when you in driving or walking The company reserves right to improve product, products specification and design and make any changes without prior notice. This tablet is not waterproof [Remark.] : All images in this manual is only for your reference. products specification and design may differ. The information is subject to changes without prior notice.](https://usermanual.wiki/CLC/PLUMZ600/User-Guide-1854548-Page-2.png)
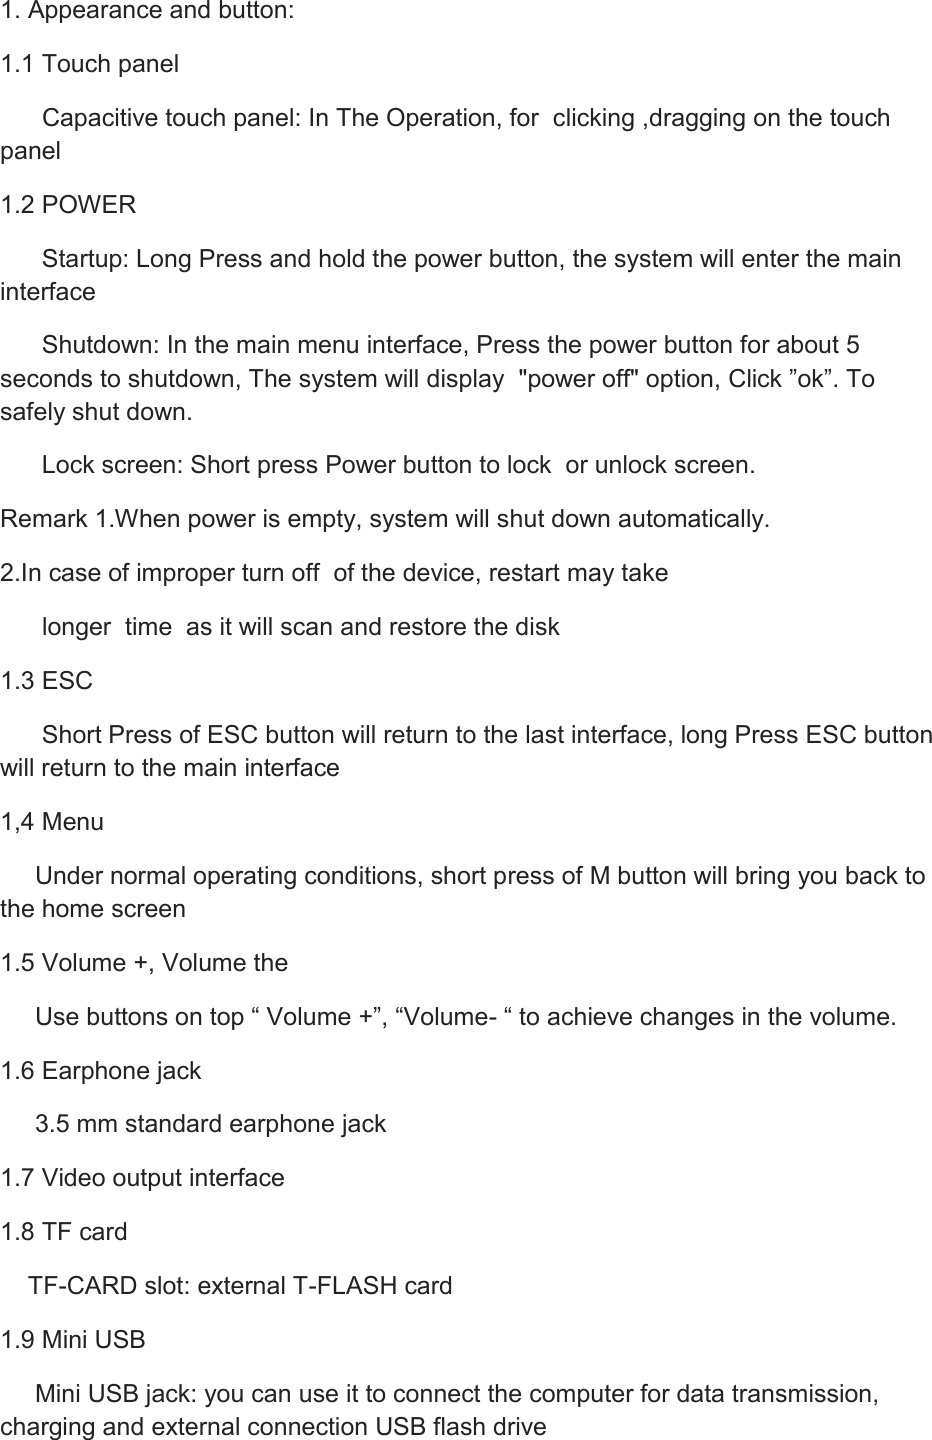
![1.10 Reset When the Tablet seems to have hung up or has stopped taking commands , use a small object to short press RESET button, Tablet will be forced to shut down. .[Remark.]: unless actually unable to shutdown do not use the reset, methods as this can easily cause to damage the machine system. 2. First use 2.1 Battery management and charge Before first use, please fully charge the device's battery For charging you only need to connect the adaptor or USB interface to power source, On the first two instances charge battery for about 6 hours, subsequently4 hour charging will suffice. .[Remark].: This tablet uses its Built-in type polymer battery, Charging device must be a standard adaptor, This device can be charged without DC supply , using USB interface , for this , Choose USB interface to charger During the charging, the battery icon will scroll, When finished charging, battery icon will become green and stop scrolling. In order to prolong the service life of the machine, suggest use out battery power before again charging it .[Remark]: 1. If tablet is not in use for long time, ,in order to avoid power consumption caused damage please charge/play the battery once a month,. 2 .When battery is low ,shut down device ,connect DC adaptor , wait for some time until the battery is enough power to enter into main menu. 3. While charging please keep devise in standby mode for faster charging.](https://usermanual.wiki/CLC/PLUMZ600/User-Guide-1854548-Page-4.png)
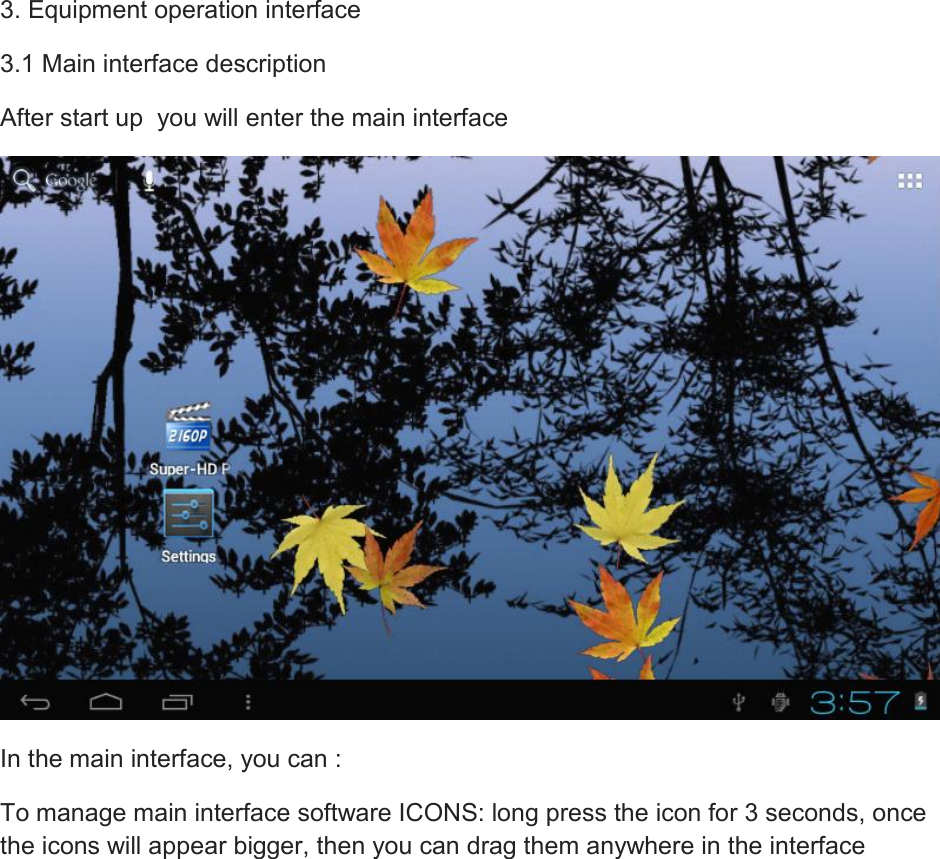

![3.2 status bar description The status bar appears above of the screen Top left part displays main interface software, T-Flash card, USB connection status and so on . Top right part displays Battery charge icon, Current time, Set time, Settings Menu, ESC button . 3.3 Use touch panel Device equipped with a 7 “ touch screen. The tips for how to use the touch screen Are given below. No matter which interface is on the screen, can go back to main screen by pressing the soft key on the bottom right corner of the main screen. [Attention]The main screen soft key functions as the machine back key In different applications, by tapping the back soft key on the bottom right corner on the touch screen, you can return to its interface on the up floor. In different applications, by tapping the menu key on the upper right corner of touch screen, the screen will appear the operation setting interface as follows, • {Remark•} : The main screen soft key functions as the machine menu In the main interface, you can touch the icon to open the Applications . In different browsers (file, music, video, pictures), You can shift or drag on the scroll bar ,to move up or down the file list](https://usermanual.wiki/CLC/PLUMZ600/User-Guide-1854548-Page-8.png)
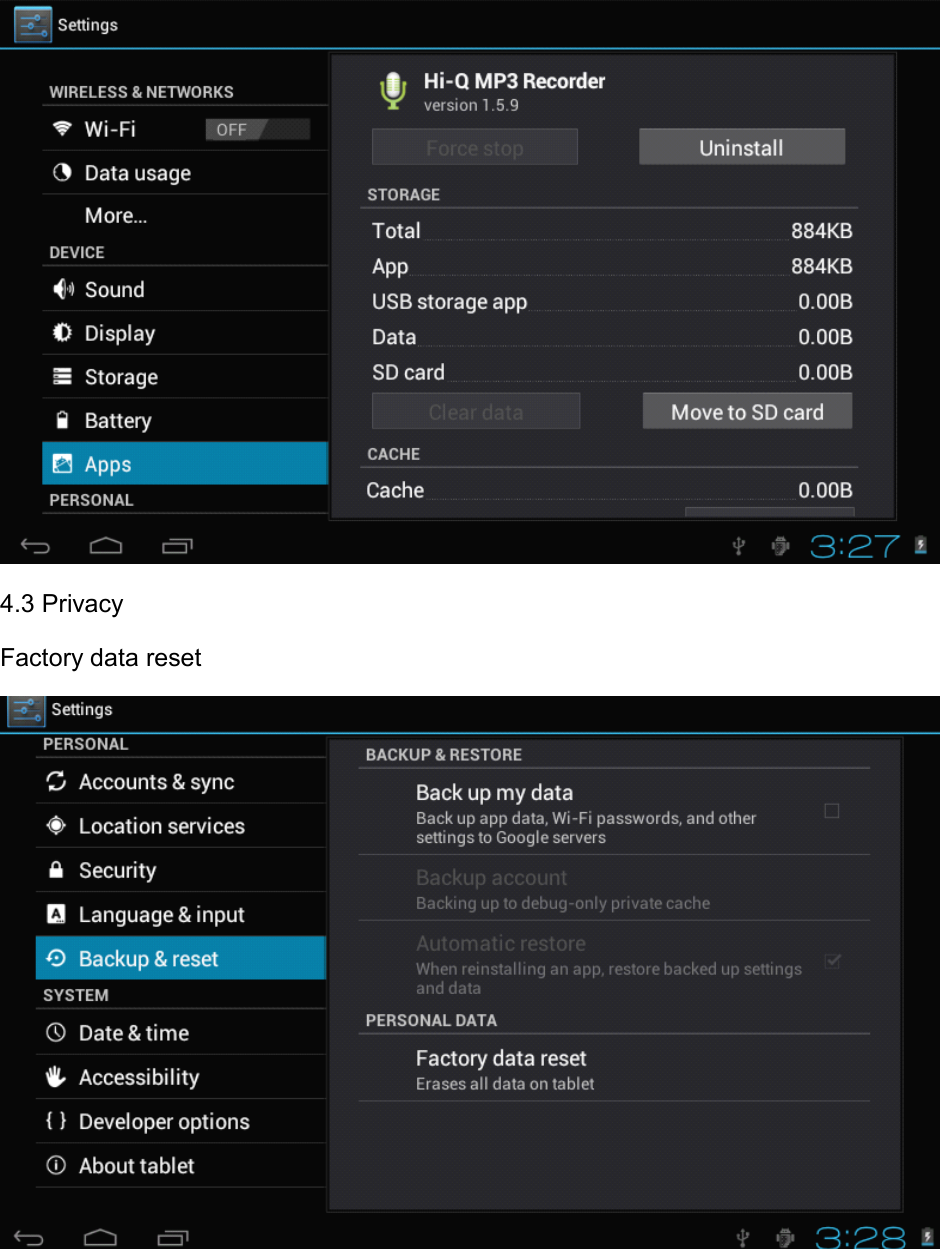
![Unknown sources: Click ”Unknown Sources”, then click ”OK” Manage application: manager and uninstall Application • [Remark•]: when you Firmware Upgrade, close the USB connect How to uninstall? 1. enter “setting”>”Application”>”Manage application” And then there will be installed the program list 2. Click you want to uninstall icons, will enter the following interface 3. Click Uninstall, then you can delete the application](https://usermanual.wiki/CLC/PLUMZ600/User-Guide-1854548-Page-11.png)