Brother 8CAA19 Spread Spectrum Transmitter User Manual MFC 440CN UG US
Brother Industries, Ltd. Spread Spectrum Transmitter MFC 440CN UG US
Brother >
Contents
- 1. User Manual 1
- 2. User Manual 2
- 3. User Manual 3
- 4. User Manual 4
- 5. User Manual 5
User Manual 4
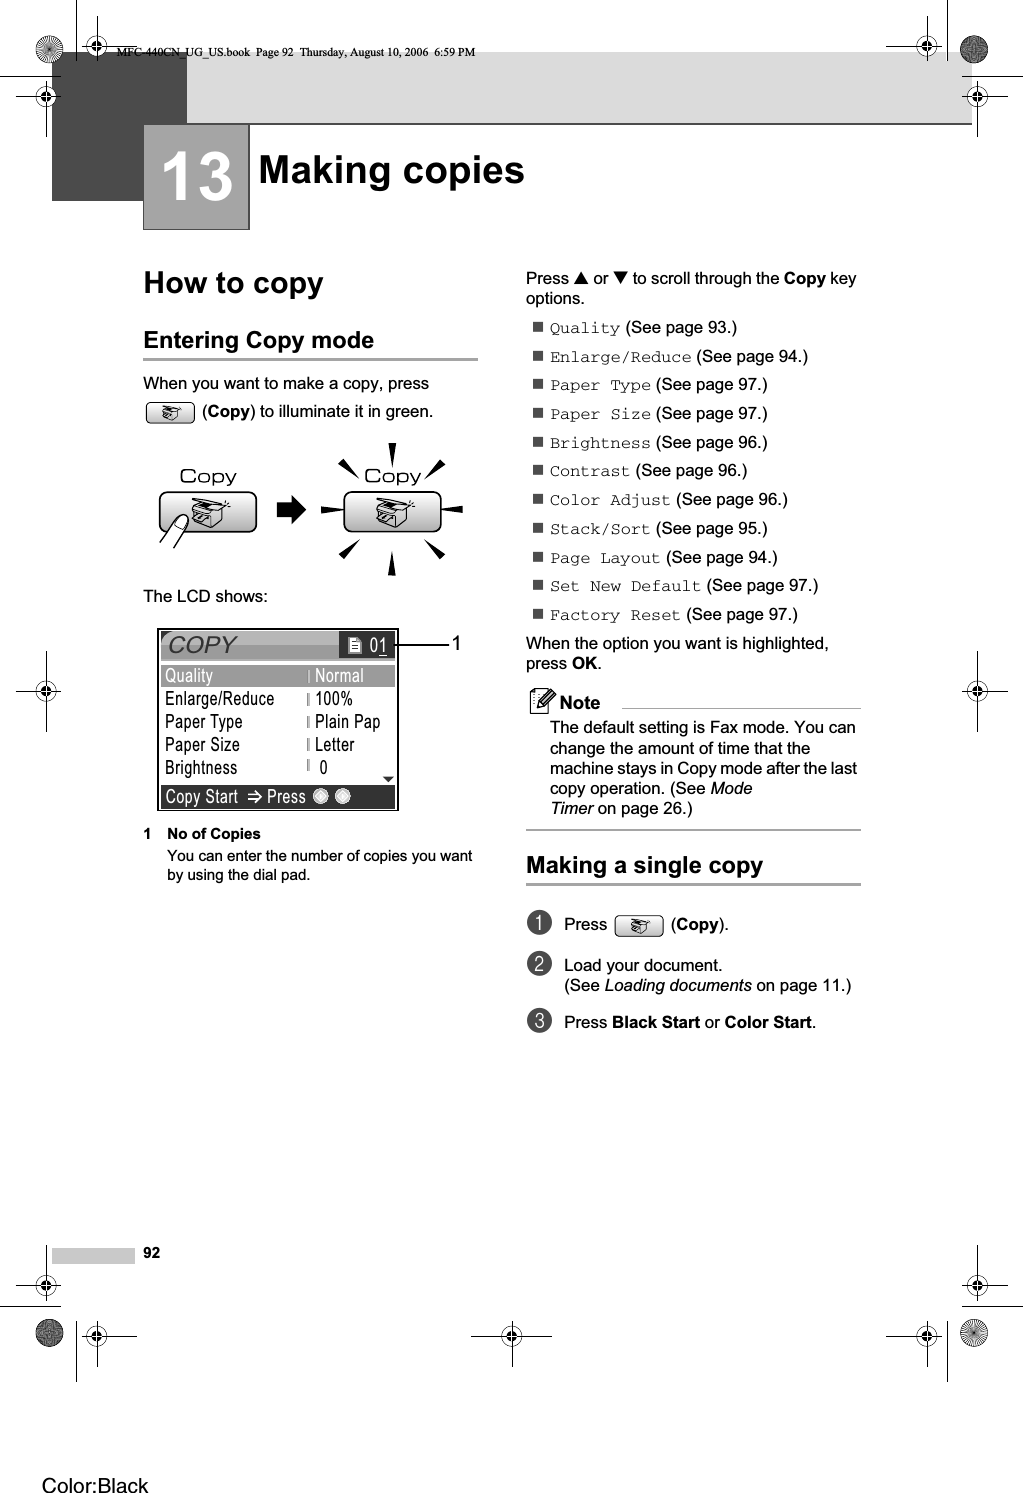
![Making copies9713Paper Options 13Paper Type 13If you are copying on special paper, set the machine for the type of paper you are using to get the best print quality.aPress (Copy).bLoad your document.cEnter the number of copies you want.dPress a or b to choose Paper Type.Press OK.ePress a or b to choose Plain Paper,Inkjet Paper,Brother Photo,Other Photo or Transparency.Press OK.fIf you do not want to change additional settings, press Black Start or Color Start.Paper Size 13If copying on paper other than Letter size, you will need to change the paper size setting. You can copy only on Letter, Legal, A4, A5 or Photo [4 in. (W) × 6 in. (H) or 10 cm (W) ×15 cm (H)] paper.aPress (Copy).bLoad your document. cEnter the number of copies you want.dPress a or b to choose Paper Size.Press OK.ePress a or b to choose Letter,Legal,A4,A5 or 4"x 6".Press OK.fIf you do not want to change additional settings, press Black Start or Color Start.Setting your changes as new default 13You can save the copy settings for Quality,Paper Type,Brightness,Contrast and Color Adjust that you use most often by setting them the default settings. These settings will stay until you change them again.aPress (Copy).bPress a or b to choose your new setting.Press OK.Repeat this step for each setting you want to change.cAfter changing the last setting, press aor b to choose Set New Default.Press OK.dPress 1 to choose Yes.ePress Stop/Exit.Restoring all the settings to factory settings 13You can restore all the settings you have changed to the factory settings. These settings will stay until you change them again.aPress (Copy).bPress a or b to choose Factory Reset.Press OK.cPress 1 to choose Yes.dPress Stop/Exit.MFC-440CN_UG_US.book Page 97 Thursday, August 10, 2006 6:59 PMColor:Black](https://usermanual.wiki/Brother/8CAA19.User-Manual-4/User-Guide-692781-Page-11.png)