Brother 5V6103 MW-145BT User Manual
Brother Industries, Ltd. MW-145BT
UserManual.wiki
>
Brother
>
5V6103 User Manual
>
user manual complete
Contents
1.
user manual quick start
2.
user manual complete
user manual complete
Navigation menu
Upload a User Manual
Namespaces
Wiki Guide
HTML
PDF
Info
Views
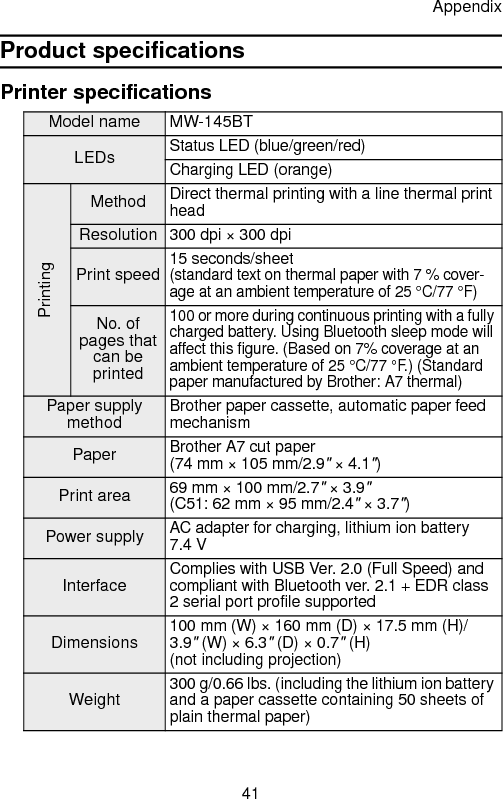
User Manual
Discussion / Help
Navigation
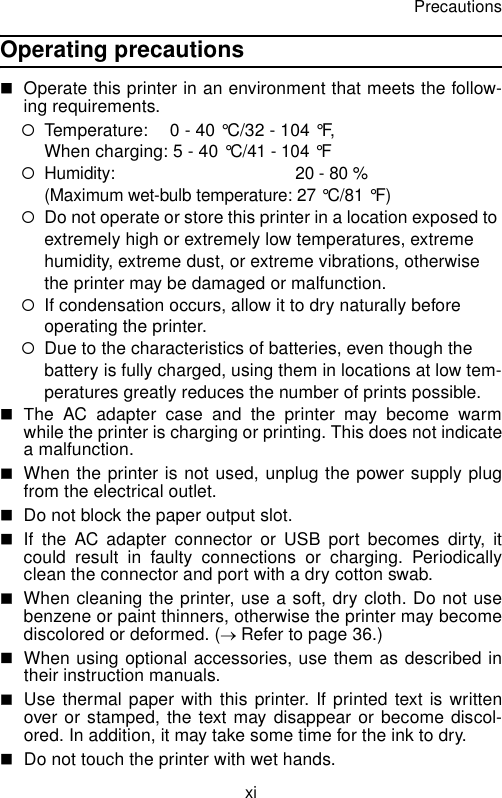

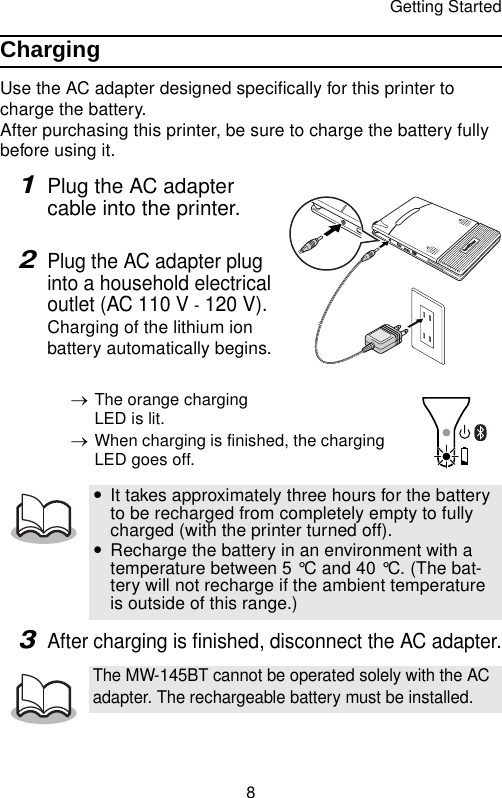
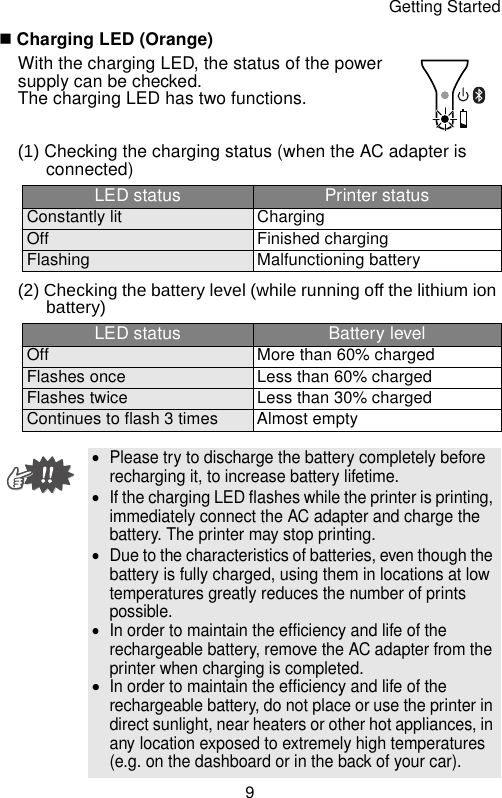
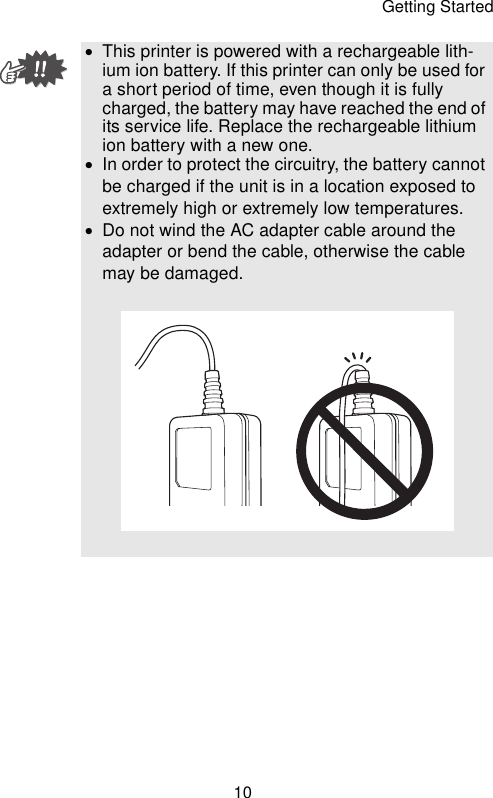

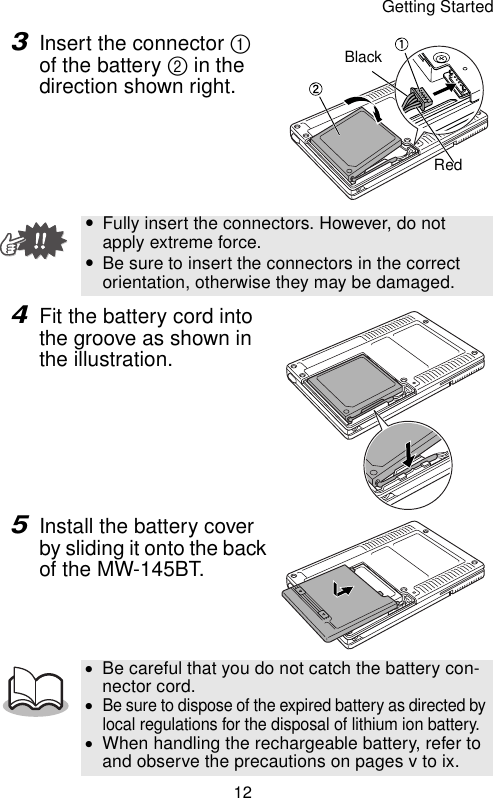
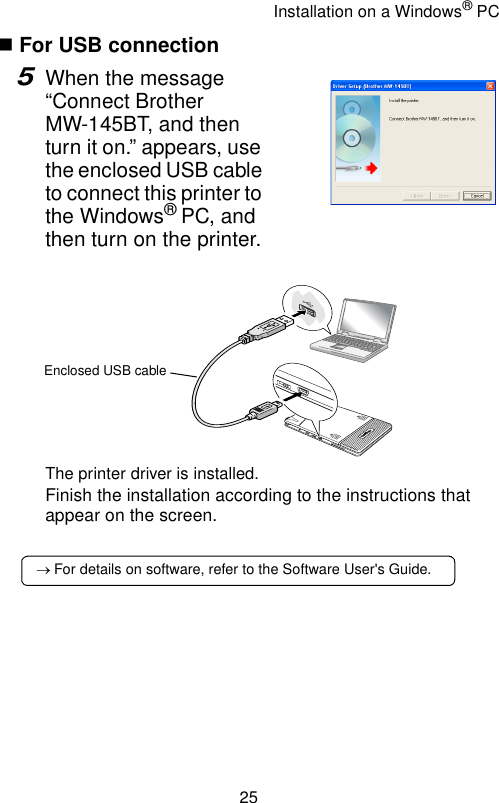
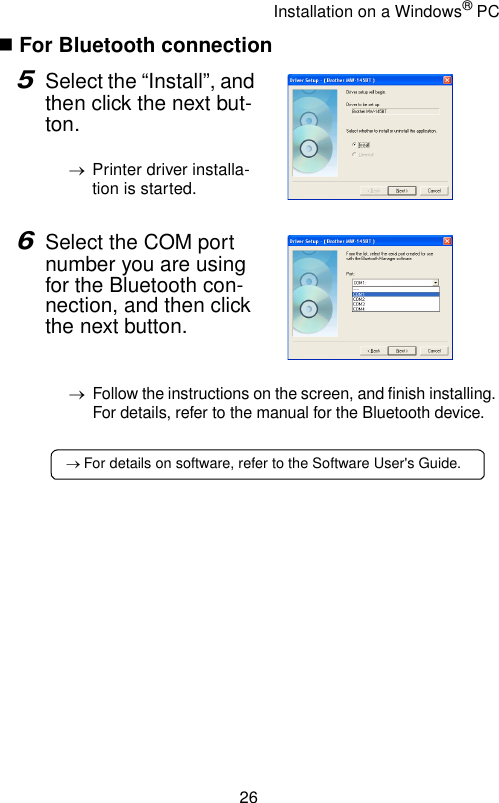
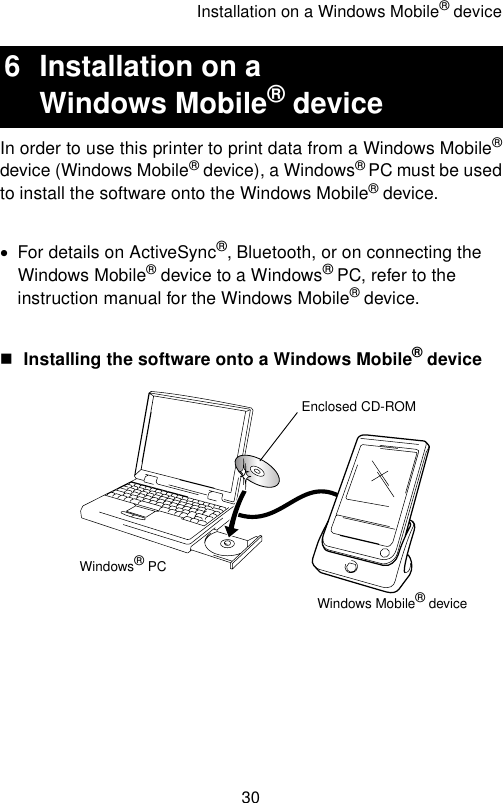
![Getting Started14Turning on/off the printerPress and hold the power button for a short while, until the green or blue status LED illuminates.→When the printer is turned on, the status LED is: Green (if Bluetooth is switched off) Blue (if Bluetooth is switched on)In order to prevent this printer from accidentally being turned on, it will not come on if the power button is lightly pressed.In order to conserve the lithium ion battery during use, follow the operations below.(1) Auto sleep (with Bluetooth switched on):If there is no operation or data transmission for a set length of time, the printer automatically enters sleep mode. The length of time [auto sleep time] until the printer automatically enters the sleep mode can be specified using the Utility software. [→ Refer to the Software User’s Guide.](2) Auto power-off (with Bluetooth switched off)If there is no operation or data transmission for a set length of time, the printer automatically turns off. The length of time [auto power-off time] until the printer automatically powers off can be speci-fied using the Utility software. [→ Refer to the Software User’s Guide.]Power button](https://usermanual.wiki/Brother/5V6103.user-manual-complete/User-Guide-1169568-Page-27.png)