Brother 5V6102 Thermal Printer with Bluetooth User Manual
Brother Industries, Ltd. Thermal Printer with Bluetooth Users Manual
UserManual.wiki
>
Brother
>
5V6102 User Manual
>
Users Manual
Contents
1.
Users Manual
2.
Statements for Users Manual
Users Manual
Navigation menu
Upload a User Manual
Namespaces
Wiki Guide
HTML
PDF
Info
Views
User Manual
Discussion / Help
Navigation


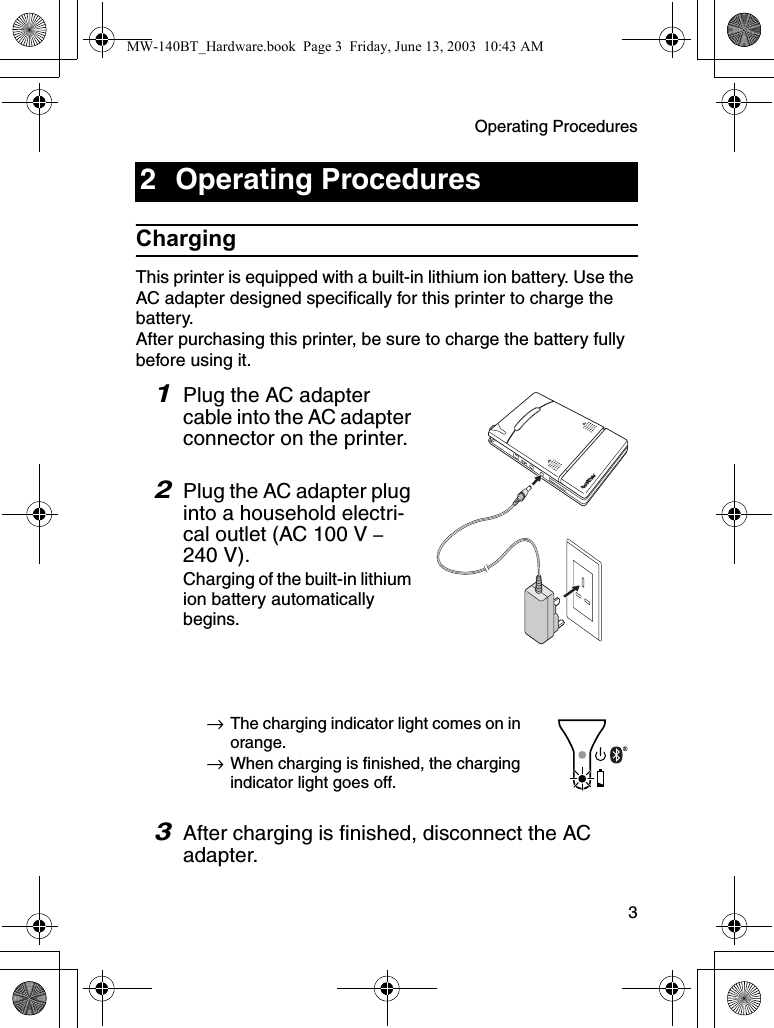
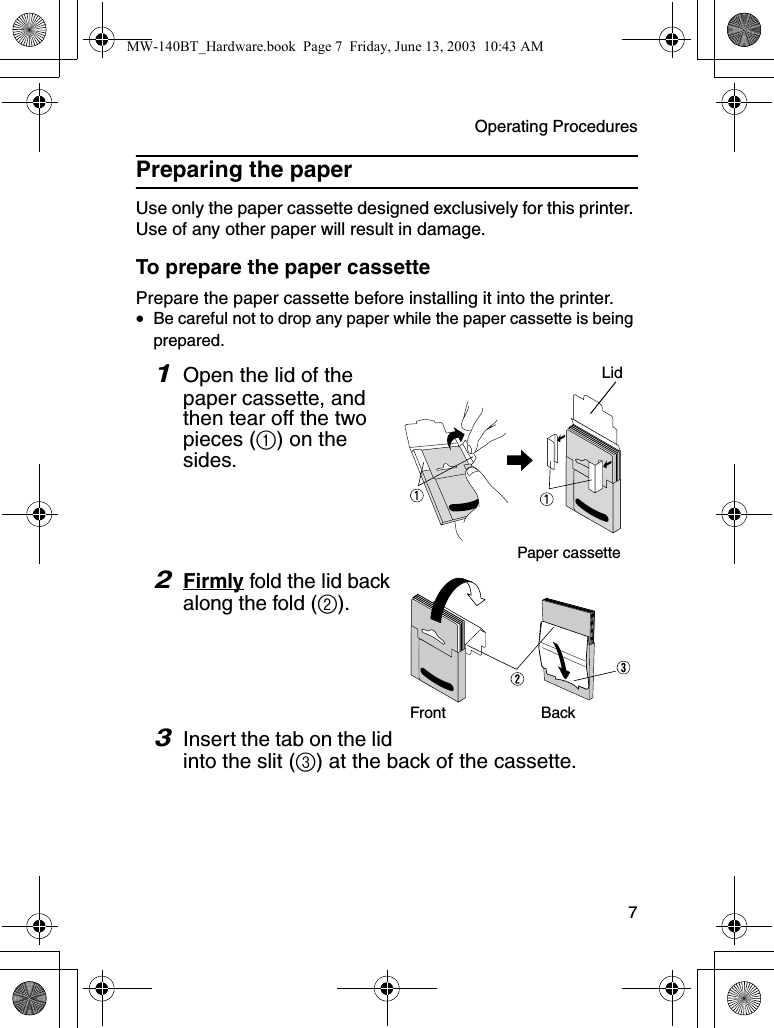
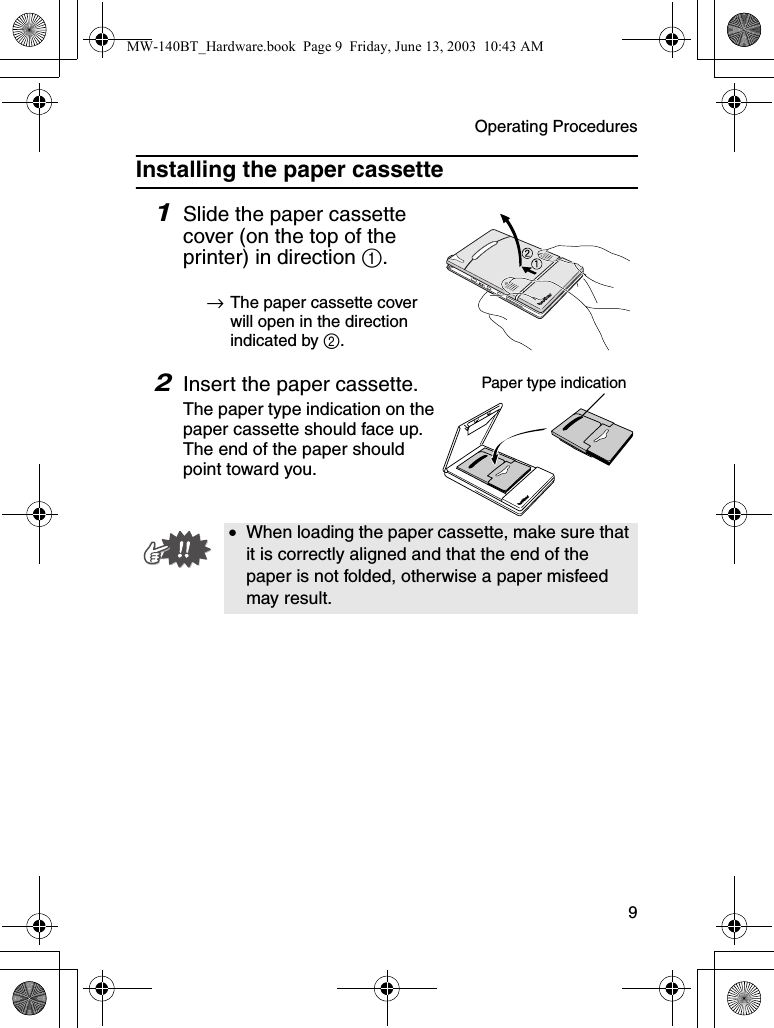
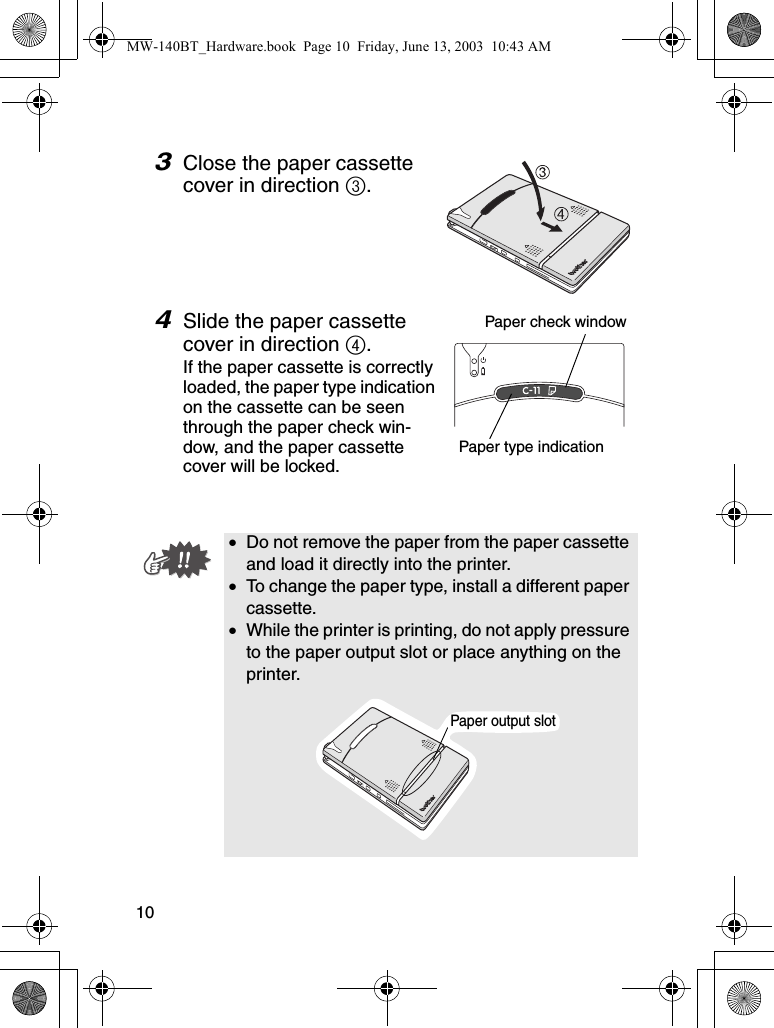
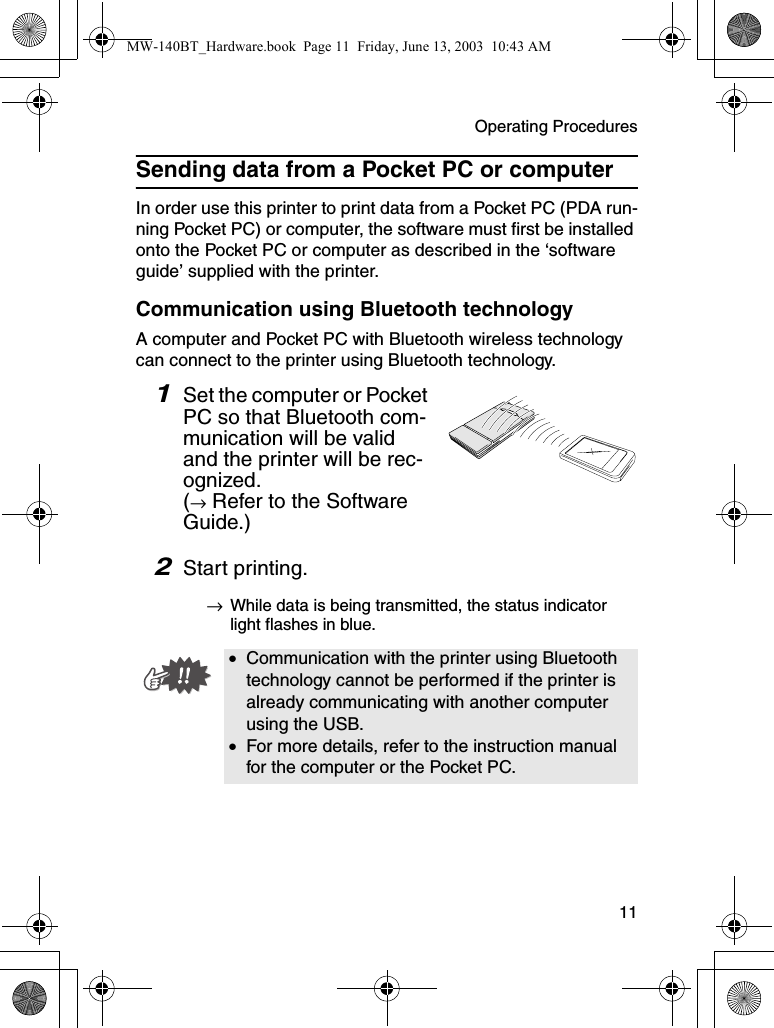
![6Turning on/off the printer1Press and hold the power button for a short while, until the green or blue status indi-cator light illuminates.→When the power comes on, selecting Bluetooth Switch ON, the status indicator light will be blue. Selecting Bluetooth Switch OFF, the status indicator light will be green. (→ Refer to page 21.)In order to prevent this printer from accidentally being turned on, it will not come on if the power button is lightly pressed. Therefore, if the printer does not come on, hold the power button pressed for a little while.In order to conserve the built-in lithium battery during use, follow the operations below.{When the Bluetooth communication ON/OFF switch is set to “ON”, the printer automatically enters the sleep mode (→ refer to page 21) if no operation is performed or if no data is sent to the printer within a specified time. (The length of time [auto sleep time] until the printer auto-matically enters the sleep mode can be specified using the Utility software. [→ Refer to the Software Guide.]){When the Bluetooth communication ON/OFF switch is set to OFF, the printer automatically powers off if no operation is performed or if no data is sent to the printer for five minutes. (The length of time [auto power-off time] until the printer automatically pow-ers off can be specified using the Utility software. [→ Refer to the Software Guide.])MW-140BT_Hardware.book Page 6 Friday, June 13, 2003 10:43 AM](https://usermanual.wiki/Brother/5V6102.Users-Manual/User-Guide-336341-Page-22.png)