Binatone Electronics RM50PU 5-Inch Video Baby Monitor (Parent Unit) User Manual COMFORT50 IFU US EN
Binatone Electronics International Ltd. 5-Inch Video Baby Monitor (Parent Unit) COMFORT50 IFU US EN
UserManual.wiki
>
Binatone Electronics
>
RM50PU User Manual
Users Manual
Navigation menu
Upload a User Manual
Namespaces
Wiki Guide
HTML
PDF
Info
Views
User Manual
Discussion / Help
Navigation
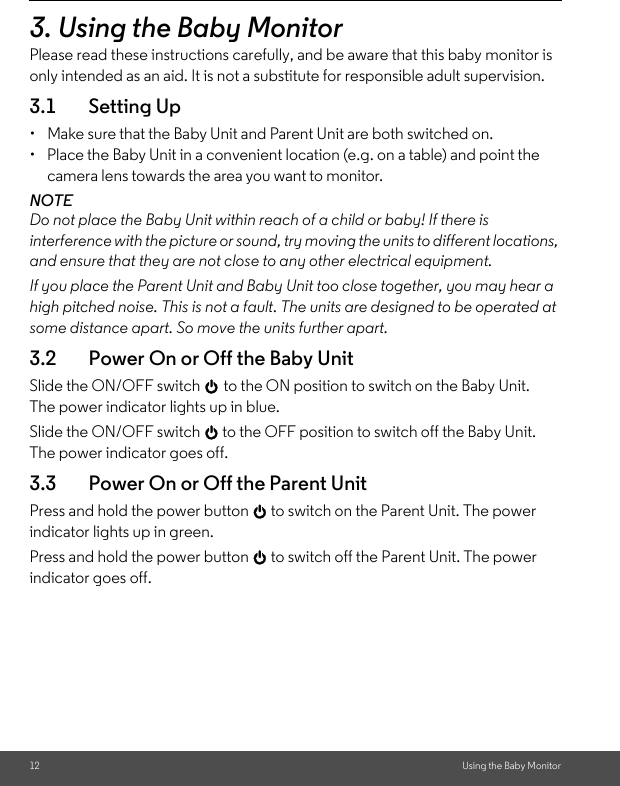
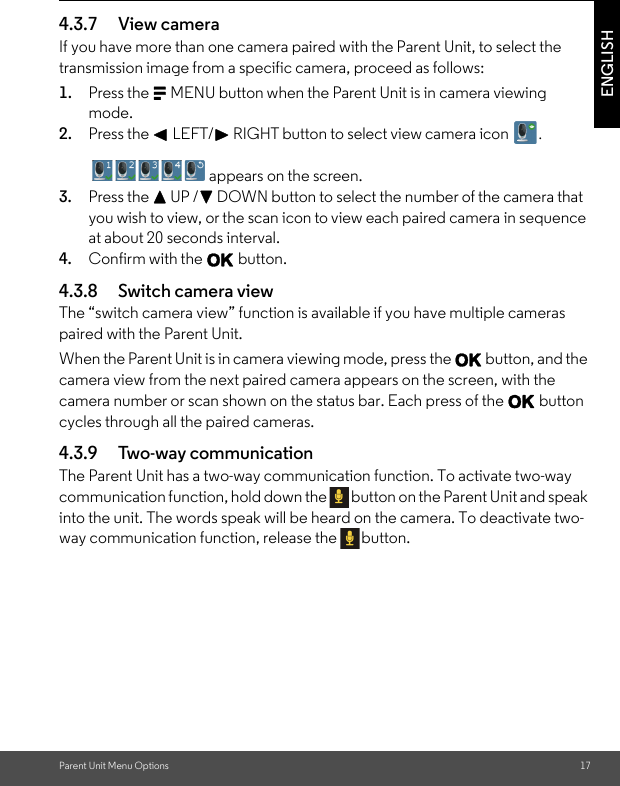
![14 Parent Unit Menu Options4. Parent Unit Menu Options4.1 Adjust Speaker VolumeThe Parent Unit has 8 volume levels + off. To adjust volume, press the + UP or - DOWN button when the Parent Unit is in camera viewing mode.4.2 Set the Screen BrightnessThe Parent Unit has 8 brightness levels.To adjust brightness, press the < LEFT or > RIGHT button when the Parent Unit is in camera viewing mode.4.3 Adjust Settings You can adjust the following settings on the Parent Unit: zoom function, lullabies, alarm, video on timer, add/delete/ view camera and alternating camera image.To access settings menu, switch on the Parent Unit and press the M MENU button.The following menu options appear across the bottom of the Parent Unit screen:You can navigate through the menu options using the+ UP, - DOWN, < LEFT or > RIGHT buttons, and press O to select an option.4.3.1 Zoom and PanYou can zoom in or out when viewing the image on the Parent Unit.1. Press the M MENU button when the Parent Unit is in camera viewing mode.2. Press the < LEFT/> RIGHT button to select .3. Press the + UP /- DOWN button to select [x1]/[x2] zoom, then press O.4. Use the + UP/- DOWN/ < LEFT / > RIGHT button to pan around the image. 5. Press the M MENU button to exit menu mode.\´ .](https://usermanual.wiki/Binatone-Electronics/RM50PU/User-Guide-3243843-Page-14.png)
![16 Parent Unit Menu Options3. Press the + UP /- DOWN button to select the time period after which the screen should switch off automatically (5 mins, 15 mins or 30 mins).4. Confirm with the O button, and return to the main screen.5. You can cancel standby mode by selecting the icon.4.3.5 Add cameraYou can connect one Parent Unit with up to four cameras. To add a compatible camera to the Parent Unit, proceed as follows:1. Press the M MENU button when the Parent Unit is in camera viewing mode.2. Press the < LEFT/> RIGHT button to select add camera icon . appears on the screen.3. Press the + UP /- DOWN button to select a number and confirm with the O button. The sound level indicator will flash in green rapidly while the parent unit searches for a camera. 4. Hold down the PAIR button on the rear of the camera until an acoustic signal is heard and the transmission image from the camera that has been added appears on the screen.4.3.6 Delete cameraIf you wish to delete the connection to a camera, proceed as follows: 1. Press the M MENU button when the Parent Unit is in camera viewing mode.2. Press the < LEFT/> RIGHT button to select delete camera icon . appears on the screen.3. Press the + UP /- DOWN button to select the number of the camera that you wish to delete. 4. Confirm with the O button.5. Press - DOWN button to select [X], and then O to confirm delete. Note: you cannot delete a camera if it is the only unit paired to the Parent Unit.6. Press the M MENU button to return to the main screen..](https://usermanual.wiki/Binatone-Electronics/RM50PU/User-Guide-3243843-Page-16.png)